Tombow Dual Brush Pens: Review + Tips and Techniques

Today I'd like to talk about my latest obsession and that is the Tombow Dual Brush Pens. What can I say? I'm in love with them! They are so versatile and easy to use, adding colour to my every day life. In this post, I'll show you the colours I've got, I'll talk about their characteristics and then I'll show you some of the techniques I use, so that you get the most out of them.
The Tombow Dual Pens are water based, odourless and acid free. That means that they are easy to blend and that your designs will last for a long time. They come with two types of tips:
A flexible nylon brush tip

And a fine tip

The two tips give you lines with a wide range of thickness. With the flexible tip you can create fine, medium or bold strokes by a change in the brush pressure, or you can use the fine tip for more consistent lines.

As you can see in the image above, you can get lines with thickness from 1 cm to 1/2 mm. That makes them great for any project, including colouring, hand lettering, doodling, journaling and much more!
I'm using them constantly to practice my hand lettering.

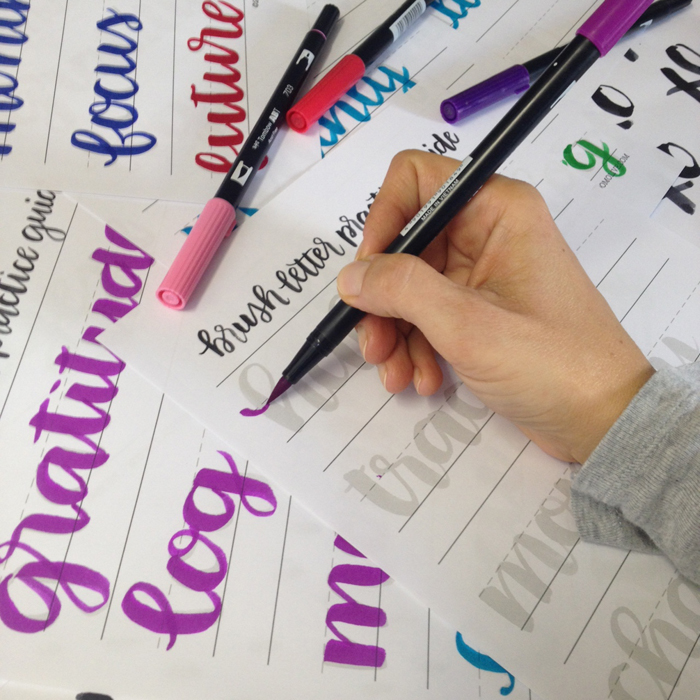
I get my hand lettering practice sheets from the Brush Letter Practice Guide.
And I also use them every day in my bullet journal:

They don't bleed through the pages, they are easy to blend and they add colour to my pages 😊 They come in 96 amazing colours. Each marker has a number that indicates that colour.

I'm currently building my collection slowly-slowly, and I hope that very soon I'll have all 96 of them. 😉 I started with the basic colours, then bought the more light and pastel ones, and from there I add as I go along. The ones I've got so far are:

- 173 - Willow Green
- 245 - Sap Green
- 277 - Dark Green
- 346 - Gray Green
- 192 - Asparagus
- 243 - Mint

- 373 - Sea Blue
- 493 - Reflex Blue
- 553 - Mist Purple
- 476 - Cyan
- 528 - Navy Blue
- 565 - Deep Blue

- 636 - Imperial Purple
- 603 - Periwinkle
- 620 - Lilac
- 673 - Orchid
- 665 - Purple
- 703 - Pink Rose
- 723 - Pink

- 835 - Persimmon
- 847 - Crimson
- 925 - Scarlet
- 933 - Orange
- 025 - Light Orange
- 055 - Process Yellow
- 062 - Pale Yellow

- 990 - Light Sand
- N89 - Warm Gray 1
- N75 - Cool Grey 3
- N15 - Black
You can also get a colourless blender, that you can use with the colours to create a gradient effect and blend them. In the Tombow website
you can find and download the Dual Brush Pen Colour Selector, in order to see the swatches and choose the colours you want. You can also download the Dual Brush Pen Colour Tracker to swatch the colours you have like I did below:

You can get the whole set or you can buy them individually. They also come in convenient smaller sets.
You can use them as they are and have great results, or you can use any of the following techniques to make your drawings have more depth and dimension.

Tips & Techniques
The Tombow pens are water reactive and they will turn into water colours. All you have to do is use the Tombow blending palette, any plastic surface or a porcelain plate (like I did), some water and a brush. I used my Pentel brush, because I just love it, but you can use any brush you want.

Take some colour on your brush and then start colouring on your paper. The result will be a really nice gradient effect:

You can do the same with more than one colours:

You can also use the blender pen instead of a brush, even without water and have similar results.
One more way to use the plastic surface or plate like before, is to use two different colours. Place one colour on the plate and then use a lighter colour to pick some up like in the picture.

Then start colouring on a piece of paper and you'll see the transition from one colour to the next.

The more colour you pick up, the bigger the ombre effect you'll get. In the picture I only picked up a tiny bit and you can see the result. One good thing about these pens is that the tips self clean after blending, so you don't have to worry about ruining them. 😉
You can also touch the tips of two different Tombow pens and have a similar ombre effect too. I like to touch the two tips for about 7 seconds and then start drawing.


Using the above techniques you can colour any page you want and add more depth and dimension like I did in my colouring page below:

By the way, you can download this colouring page from the Resources Library after you've subscribed to my Newsletter 😉.
I was thinking of creating Colouring Secrets: an e-course that will cover tips and techniques on how to colour using coloured pencils, markers and watercolours. If you'd be interested in a fun and affordable ($20) e-course on colouring, enter your info below and I'll notify you when it launches!
COLOURING SECRETS E-COURSE
If this is a product you'd be interested in buying, enter your email below and I'll notify you when it launches!
Have you used the Tombow Dual Brush Pens before? What do you think about them? Any colours you'd suggest I buy next?


FREE Valentine's Day Brush Lettering Worksheet

For today's post I collaborated once again with the lovely Olivia from RandomOlive. Since Valentine's Day is coming up soon (is it really??? Time flies by!!!), I thought it would be fun to create something for our loved ones, using brush lettering.

I chose the phrase: 'I love you to the moon and back', which I find very appropriate :) The idea is to practice (and then practice some more!) in order to be able to recreate this phrase and turn it into a lovely diy Valentine's card. Or you can even frame it and make it even more special.

I like to use my Tombow Dual Brush pens in order to practice my hand lettering. Or you can use paint brushes and paint, like Olivia does. The trick is to hold the marker in a 45 degree angle. I also hold it quite far up - that helps with the thick downward strokes.
If one of your goals is to better your brush lettering and hand lettering, then maybe you should check the Comprehensive Brush Letter Practic Guide out. It promises to turn you into a pro in 45 days! Olivia even gives you a schedule to stay on track. Perfect!
Click here to download your FREE Valentine's Day Brush Lettering Worksheet


Collaboration: Free Brush Letter Practice Guide for your Bullet Journal

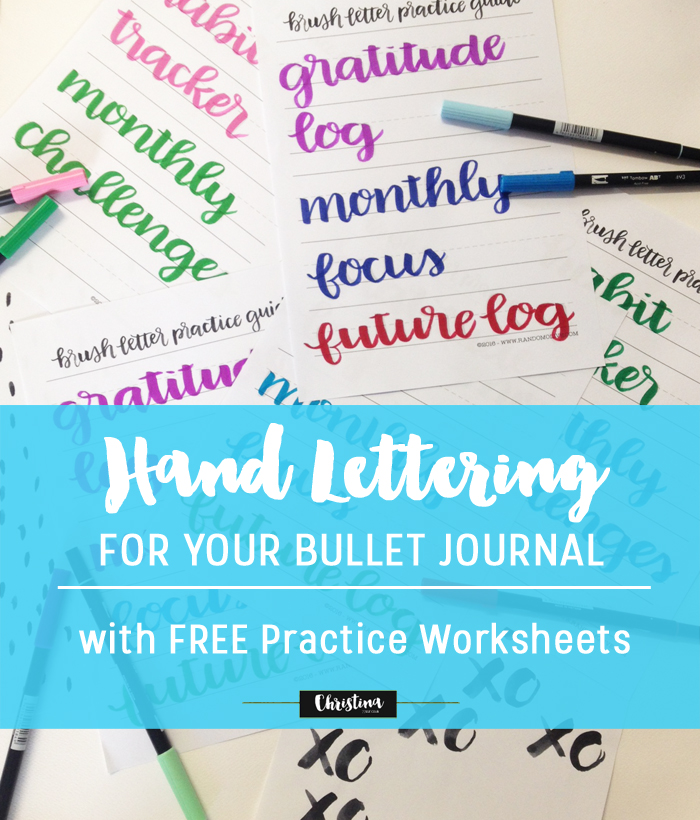
For today's post I collaborated with the lovely Olivia from RandomOlive. I've talked in a previous post about my obsession with handlettering, so when Olivia asked me to share a Free Brush Letter Practice Guide on my blog I was over the moon!
When I had to think of the phrases or words I'd like to have in this Free Printable, I knew I had to make it relevant to my bullet journaling. So, I've chosen titles that are very often used in various spreads like: gratitude log, monthly focus, future log, habit tracker and monthly challenges. The idea is to practice (and then practice some more!) in order to be able to recreate these titles in your bullet journal. :)

I decided to use my Tombow Dual Brush pens in order to practice my hand lettering. I know Olivia uses paint brushes and paint (and I love it!), but I think they are not that practical for a bullet journal, so I prefer using my Tombow markers instead.
The trick is to hold the marker in a 45 degree angle. I also hold it quite far up - that helps with the thick downward strokes.

If you like this, Olivia also has a Practice Guide for the days and months, which I think can be really usefull for your dailies and monthlies. You can make them look pretty and colourful in no time ;)
Lastly, if one of your goals is to better your brush lettering and hand lettering, then maybe you should check the Comprehensive Brush Letter Practic Guide out. It promises to turn you into a pro in 45 days! Olivia even gives you a schedule to stay on track. Perfect!
Download your FREE Brush Letter Practice Guide:
JOIN THE GANG!
Subscribe now to my Newsletter to download the FREE Printable.
Plus get access to the Resources Library!
Brush Lettering Practice Guide
This practice guide has everything you need to practice and improve your brush lettering skills. In formats both for printing and for your iPad.
What do you think of brush lettering? Have you tried practicing it?


My Hand Lettering Practice + Free Worksheets

Since last year I've been obsessed with hand lettering. I took the 30 Days to Better Hand Lettering Course by Caroline from Made Vibrant, which I loved. I bought countless markers, brushes and pens, including a set of Tombow markers. And for a few months now I've been practicing like crazy.

As far as hand lettering is concerned, practice, practice and more practice is very important! And you have to start from scratch. Not from the letters and the alphabet, oh no. But from the lines, the midstrokes and the coils. You won't believe how frustrating it is trying to perfect your uperstroke - arghhhh!

To my quest to perfect my hand lettering, I've found loads of free worksheets online that I've printed quite a few times and I set myself once or twice a week where I practice for an hour. I would love to practice almost everyday, but my current schedule doesn't allow me to do so. But, even the two hours per week have done wonders to my hand lettering!
The following are 4 sets of practice worksheets from some amazing websites I found online and that I've spend countless hours going through many of their posts on hand lettering. I've printed them many times and practice with them over and over again.
 |
| The Postman's Knock |
 |
| Dawn Nicole Designs |
 |
| Lyssy Creates |
 |
| Destination Decoration |
One more amazing blog with everything you need to know about handlettering and calligraphy is the Destination Decoration. Elizabeth has some very detailed posts and videos to guide you along. You can download her basic strokes worksheets here.
I've been really enjoying learning hand lettering and I intent to continue practicing. I'm thinking of joining Liss's Freestyle Calligraphy Online Course. She is amazing! I'm also thinking of taking part in one of those Hand Lettering Instagram Challenges next month. Have you taken part in any of those?


