Brush Lettering for Beginners: The Basic Tools and Techniques
Brush Lettering is a calligraphic style of lettering, in which the letters are formed with lines of different thickness. By using a marker or pen with a brush nib, you apply pressure to create those lines. On the upstrokes, you use light pressure and on the down strokes, you use heavier pressure to create thicker lines.
Brush lettering takes some practice but it’s really fun once you get the hang of it.
What is Brush Lettering?
Brush Lettering is a calligraphic style of lettering, in which the letters are formed with lines of different thickness. By using a marker or pen with a brush nib, you apply pressure to create those lines. On the upstrokes, you use light pressure and on the down strokes, you use heavier pressure to create thicker lines.
Brush lettering takes some practice but it’s really fun once you get the hang of it.
Paper
By using the right type of paper, you'll get a better result. Your pens will write more smoothly and your lines will look more straight and well formed. Also the right type of paper will protect the nibs of your brush pens from getting damaged. I prefer to use marker paper for my brush lettering, and my favourite one is the Canson Artist Series Pro Paper.
Pens
For this style you need some type of brush pen. Try different pens and see which one you prefer the most. The thing to look when you're buying a pen is the thickness of the nib and how soft it is.
My favourite ones that I constantly use are:
- Tombow Dual Brush Markers
- Tombow Fuden Osuke Brush pens ( with both hard and soft nibs )
- Faber - Castell PITT artist pen B
- Pentel Aquash Water Brush
How to hold the pen
You might notice that you're holding the pen differently than the way you normally do in your every day handwriting. If you're holding it vertically towards the paper, it will be very hard to create smooth and consistent upstrokes and downstrokes. I'd advise you to hold the pen in a 45 degree angle. That will help you a lot with your lines, and it will prevent you from damaging the nib of your pen.
Practice
The best tip I can give you is to practice as much as you can. And then practice some more. And don't start from the letters. Oh no! Start from your drills with the basic lines to perfect your upstrokes and downstrokes first. These are excellent warm up exercises as well before you start any brush lettering practice.
Then you can move on to practicing the letters and how to connect them to form the words. Choose to practice with words that have repetitive up and down movement. For example, words like ’minimum’ and ‘aluminium' are ideal for that.
Tips
- Be creative with your practice, so that you don't lose interest.
- Use different pens, colours and watercolours to make it more fun.
- Try and be consistent with your lines that form each letter, and with all the letters that form each word.
- Use guides, especially in the beginning, to create muscle memory.
- Experiment with bouncy letters as well.
Uses
Apart from it being a very nice way of writing, brush lettering can be used in many different ways.
- You can add it in your bullet journal or your diary to personalise your pages and be more creative with them. I tend to use brush lettering for the months or the days in my bullet journal. I also use it in the titles of my pages and to any quotes I add in my journal.
- You can create unique wall art with it. Choose your favourite quote, saying, poem etc. and place it creatively on a piece of paper using brush lettering. Then frame it and add in on your wall. Or you can give it as a present.
- You can create your own personalised cards (birthday cards, xmas cards etc.)
Brush Lettering with the iPad Pro
Even though I truly believe you should start with the traditional way - pen and paper and lots of practice - since I've got my iPad Pro I have fallen in love with brush lettering again, and the many possibilities of it!
** Note that I don't suggest that you should purchase an iPad Pro in order to practice your brush lettering. But if you have one, or you're planning to get one, then it's definitely another creative way to practice your brush lettering skills.
Basic iPad Brush Lettering Tools:
- iPad Pro (I'm currently using the 12.9")
- Apple Pencil
- Procreate App
Want to learn brush lettering with me?
Grab my Brush Lettering Practice Guide now!
This Practice Guide has everything you'll need to practice your Brush Lettering.
Use the practice sheets and set a daily practice routine in order to improve your brush lettering and become better and better. The more you practice the better your brush lettering skills will get.
The Brush Lettering Practice Guide includes the following:
- Detailed instructions to help you use the practice sheets and some tips and suggestions to get you started.
- Suggested Practice Schedule for 45 days.
- Drills / Basic Shapes Practice Sheet
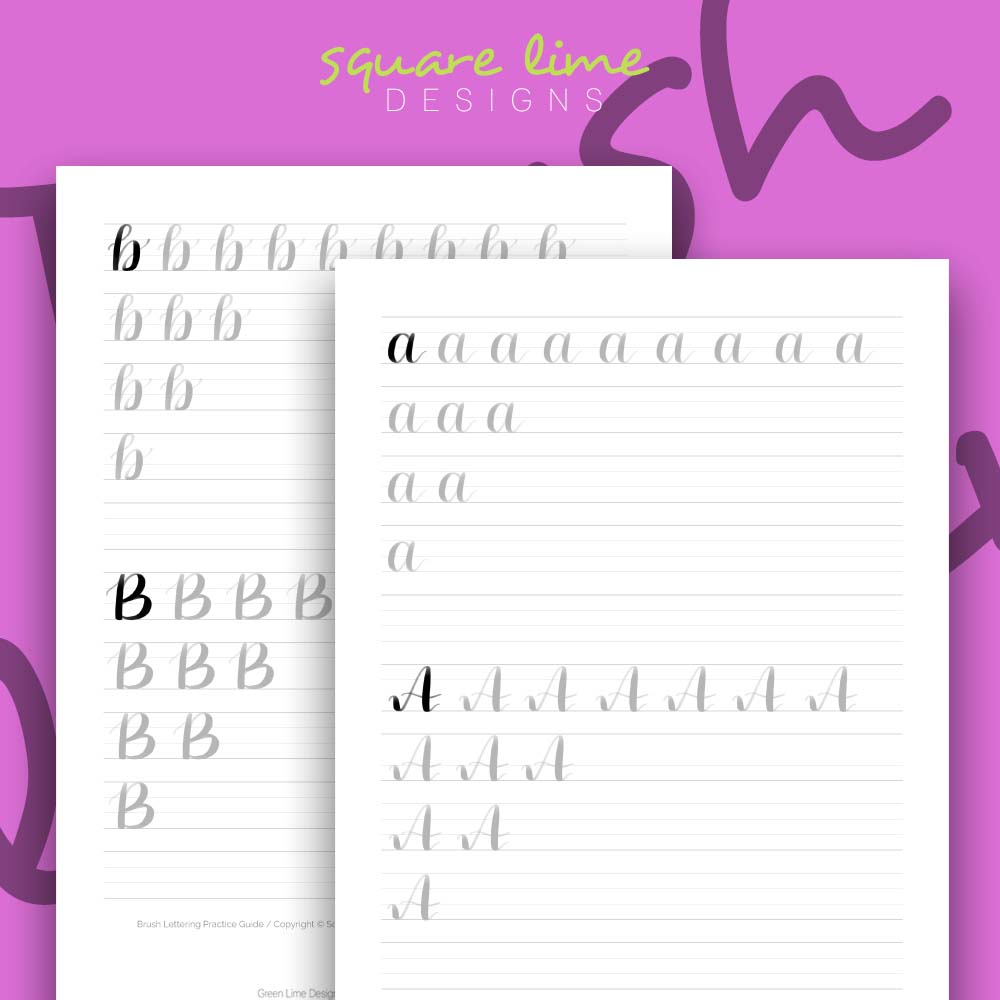
- 26 Practice Sheets - one for each letter in both upper and lowercase form.
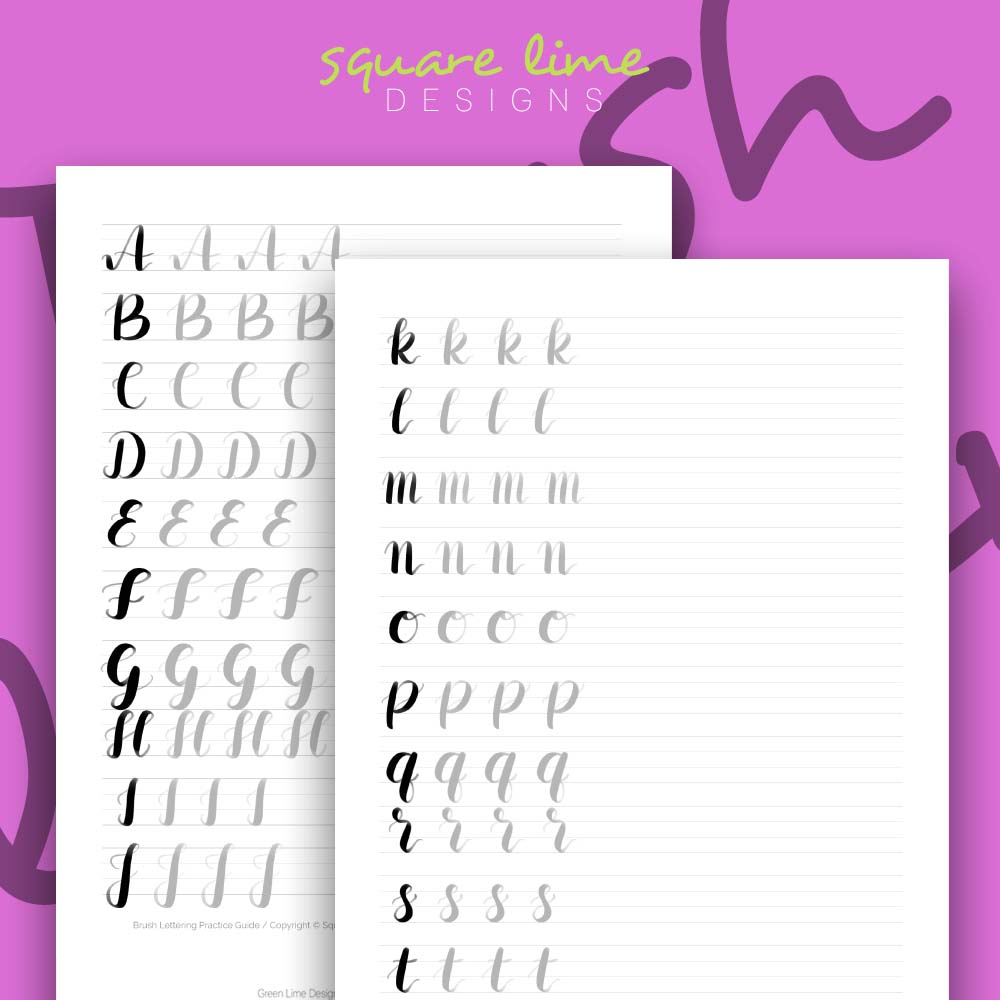
- 3 Express Practice Sheets of the small letters.
- 3 Express Practice Sheets of the capital letters.
- Connection Words Practice Sheet.
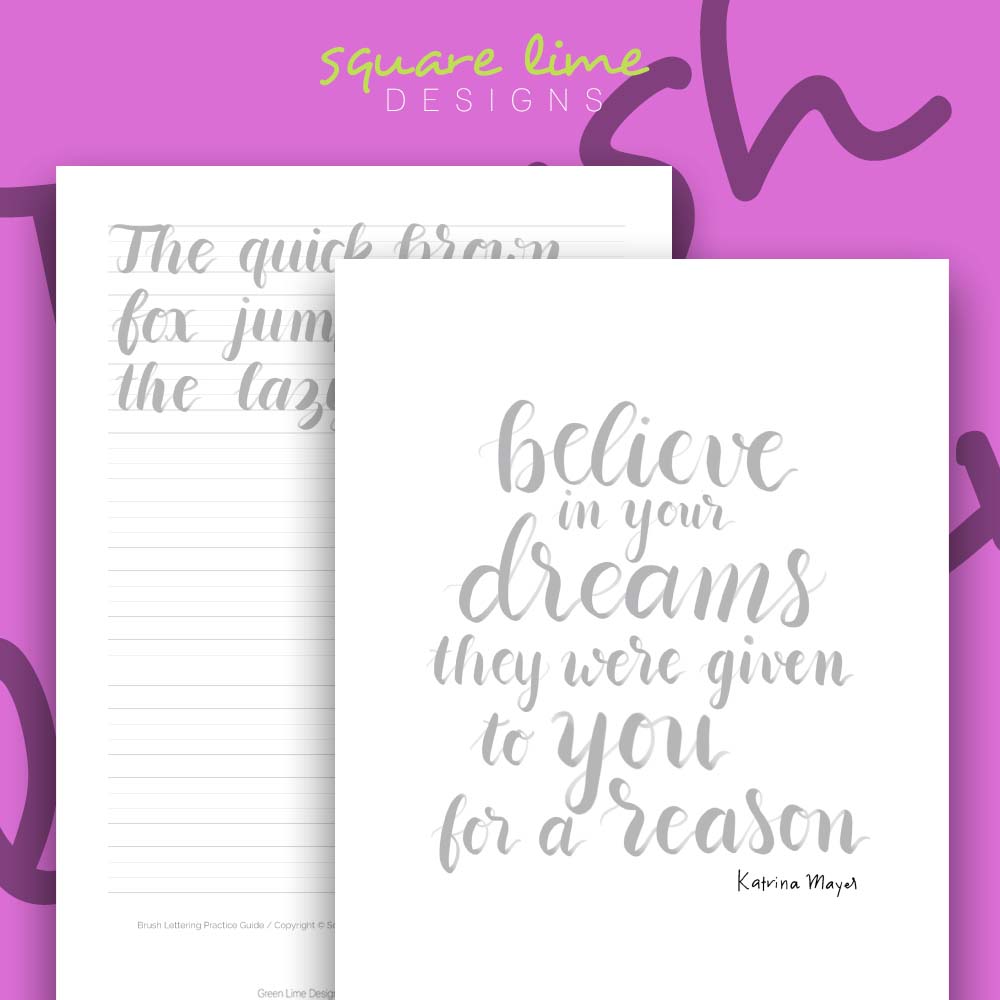
- A Pangram Practice Sheet and a list of Pangrams for you to choose for your practice.
- 3 Quotes Practice Sheets and a list of Quotes for you to choose for your practice.
- Affirmations list to use as prompts for your practice.
- 4 different types of empty practice paper to practice your own words.
This downloadable digital guide comes in PDF format, so that you can easily identify which pages you’d like to print. And you can print as many copies as you want, without worrying about messing up your practice sheets.
You also get the Practice Guide in PNG format as well, to use with your iPad Pro and Procreate App.


