
Instagram Challenge #doodlewithusinmarch
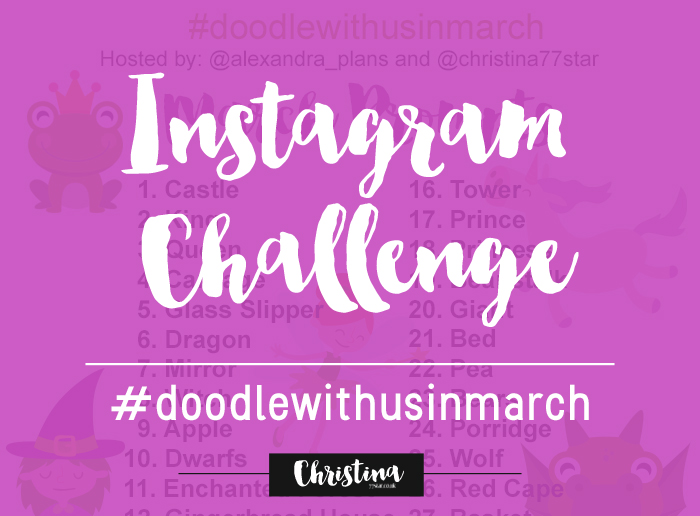
Once again I'm excited to announce our Instagram Challenge for the month of March! It's the #doodlewithusinmarch Instagram Challenge created by me and Alexandra (from @alexandra_plans).
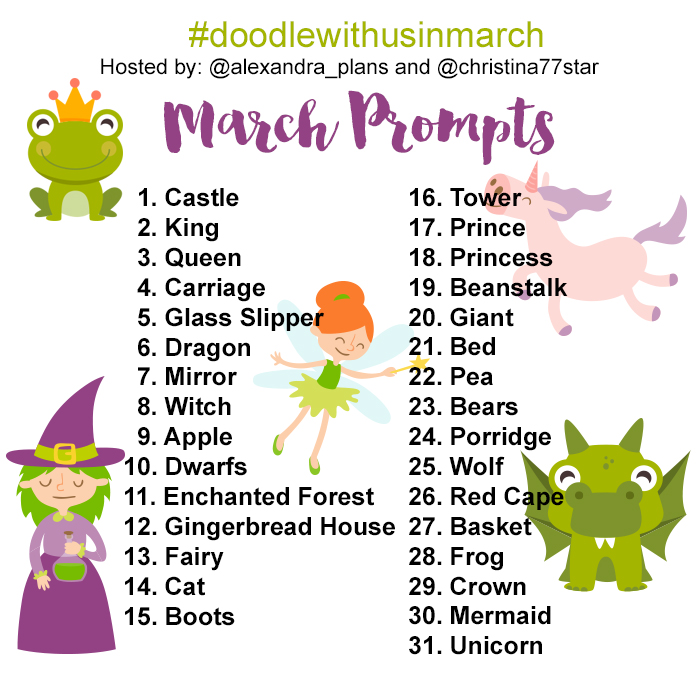
It's going to be 31 days of doodles that will hopefully get you to be creative and have fun! The theme of March's prompts is 'Fairy Tales', and I seriously can't wait to start drawing!!!
As we did before, all the doodles are part of one big comprehensive picture. Imagine each day to be one piece of the puzzle. So, at the end of the month you will have one big doodle picture! :)
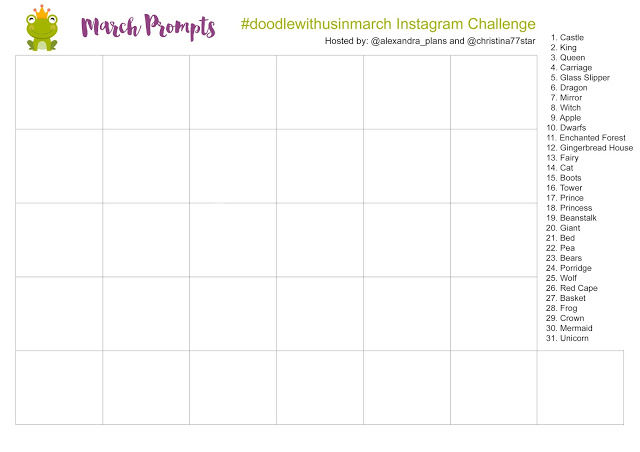
If you decide to follow this way, you'll have to create a table with 5x6 +1 boxes and you shouldn't add the days on the top. You can also make the boxes and dates in pencil, if you don't want the lines to obscure the end result. It's totally up to you.
Of course, if you prefer to draw the doodles in the traditional way, that's absolutely fine as well. The important thing is to have fun!
You can also download a free printout with the daily prompts here.
If you want to join us then:
- Follow me (Christina) @christina77star and Alexandra @alexandra_plans over on Instagram.
- Download the prompts below.
- Draw something according to the day's prompt, take a photo of it, and share it with us on Instagram.
- Don't forget to add the hashtag #doodlewithusinmarch and spread the word.
- Everyone is welcome!
We're excited to see what you'll share!
Thank you for joining in!


How to transition from one bullet journal to the next
It is very common for people to use more than one bullet journal per year. Me personally, I used two bullet journals last year. Other people manage to use only one, but I've also heard of others that use 3 per year, or even more! It all depends on how busy you are, and how many spreads you create in your bullet journal.
No matter how many bullet journals you use per year though, there'll come a point where you'll need to move to a new notebook eventually. And that can feel a bit daunting for some, especially if it's the first time you're doing it. But don't worry. There are certain steps you need to take to make this procedure as simple as possible.
Before we begin with the steps, I need to mention that you need to start thinking about the move when you are on your last 20-25 pages of your current bullet journal. Especially if you have to order your new journal online and you have to wait for it to be delivered to you, you need to give yourself some time to prepare for the move.
So, now we can move on with the steps:
1. Choose your next Notebook
The first thing you need to consider is what notebook you're going to use for your new bullet journal. Were you happy with your previous notebook? Are you going to buy the same one for your next bullet journal, or do you want to try something new? If that is the case, then you might need to do some research, read some reviews on various brands and types of journals and once you've decided, then you can go ahead and buy it or order it online.

For example when I moved to my second bullet journal last year, I was really happy with my Leuchtturm1917 so decided to buy another one in a different colour. Right now, I'm again almost finished with my current bullet journal, but I'm considering to change to a Scribbles That Matter notebook, since I've read a lot of good reviews about that brand.
I have a blog post on'How to choose the perfect bullet journal for you', if you want to check it out.
2. Choose the Collections you want to migrate
Go through your current bullet journal, and make a list of all the collections/spreads you want to move to your new one. You don't have to copy over everything you've created. Take your time with this one and think what worked in the past and what didn't. You'll need to move the spreads you use the most plus any still active collections that you want to continue in the new bullet journal. Don't forget to write down the number of the page of the old spreads you want to move.

In my previous bullet journal the Calendex system didn't work for me. Therefore, I didn't migrate that spread in the new bujo.
3. Make any necessary changes
Once you have the list with the collections you want to migrate, go through each one and see if you want to keep them as they are, or if you want to change them around a bit. You might have seen a similar spread online that you preferred, so you might want to change it in your new bullet journal. Take a picture of the spread you've seen for your reference, or make some notes on a piece of paper (or even better your current bujo!) of the changes you want to make. If you don't have something in mind, you can still go online, do some research and get some inspiration.
When I moved to the second bullet journal, one of the spreads I knew I wanted to recreate was my 'Level 10 Life' one. But I wanted to make it a bit different. After looking around and getting some inspiration online, I decided to change completely the design and I'm really happy with the way it turned out. You can see the changes in the pictures below:


4. New Collections you want to add
Now is the time to consider any new collections you want to add. There is so much inspiration online, so you're bound to find even more spreads you might want to include in your new bullet journal.
I have put together a FREE printable with 150 Categories and Collection Ideas for your bullet journal that you might find useful.
JOIN THE GANG!
Subscribe now to my Newsletter to download the FREE Printable.
Plus get access to the Resources Library!
5. Order
One of the advantages of moving to a new journal, is that now you can actually put your spreads in the order you want. You also get to have them in the beginning of the journal, which makes it easier to access them.
Don't forget that some spreads need one page, while others need two pages or more. Also, consider that some spreads require two facing pages.

To preplan your order, you can write in your new journal the title of the collection on the page you plan to add them with a pencil. Another way, that allows you to play around more and see how things look while deciding on the order, is to use sticky notes. This makes it easier to move collections around instead of writing and erasing each time.
When I changed journal the second time around, I chose the following order:
- Word of the Year / Mission Statement
- Useful Numbers
- Key / Colour Code
- Year at a Glance
- Future Log
- Level 10 Life
- Books to Read
- Publications per Month
- Books Read in 2016
- My Planning Routine
- Housework Routine
- Menu Planning
- Supermarket Master List
- Vegetable Shopping Master List
You can see pictures and a video of the first spreads in my new bullet journal in this post.
Once you get your new notebook, even before you finish your current one, you should begin preparing it and start creating the collections in it. That way, you'll do things in your own time and you'll be ready before your current journal is finished.

Creative Journaling Course
Step by step video lessons that will help you set up and organise your life in your journal.
If this whole transition from one bullet journal to the next is too much for you and you'd prefer to avoid doing it every time you move to a new bullet journal, then you should consider using a binder system or a disk-bound system. That way you get to keep your spreads as they are, and you only add new pages once your bullet journal is full.
Have you moved to a new bullet journal already? Did you find it easy?


6 Index Hacks for your Bullet Journal
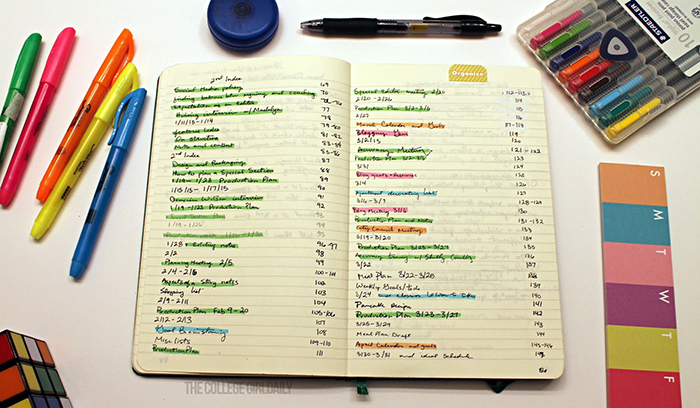
The Index page is the core of your Bullet Journal. It's where you archive all your entries so that you can easily find them when needed. However, not many people talk about the Index page and I know a lot of people neglect to fill in the entries as they create their spreads in their notebook. Today I'll show you how to make your Index Page even more functional with a few Index hacks.

The Index page is the core of your Bullet Journal. It's where you archive all your entries so that you can easily find them when needed. However, not many people talk about the Index page and I know a lot of people neglect to fill in the entries as they create their spreads in their notebook. Today I'll show you how to make your Index Page even more functional with a few Index hacks.
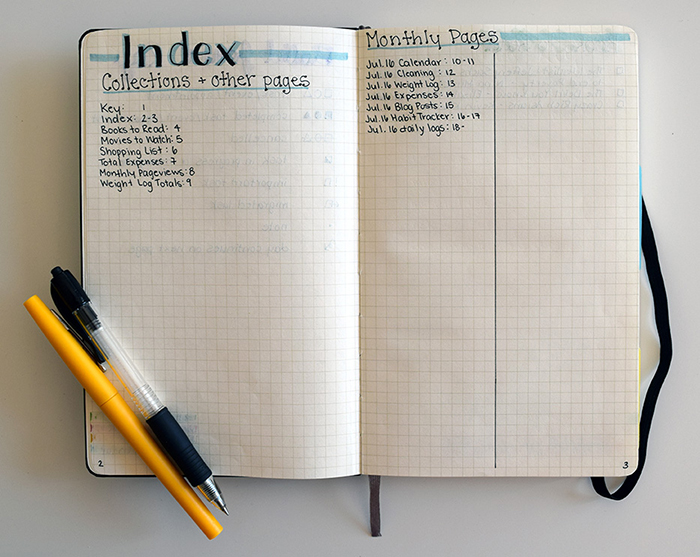
Split it into two to maximise the space
Use a vertical line to split the index page into two sections. That way you can maximise and utilise better the space, especially if you have a very thorough Index page with lots of entries.

Original Bullet Journal Website
Separate Collections from Calendar pages
The way you've split the Index page into two section as shown above, you might want to use each section for different entries. Like Kalyn does with hers, where she separates it into Calendar pages and Collection pages.

Or you can choose to have a separate Index page for each category, like Katie does with her Index Page. As you can see, she has one page dedicated to all the collections she creates and the other page to write down all the monthly entries.
Make certain entries bolder
You can make the first entry of each month bolder, to indicate the change of the month and that way to visually separate the entries of each month. Kara does this by simply making her letters thicker:

Or you can use highlighters to mark each new month like Reagan:

Mark the most used pages for easier access
In your bullet journal, there are certain pages that you tend to refer to very often. So, you can mark those pages in order to be able to find them quicker. Like Rhianna does in her bullet journal:

Colour code each entry
You can use markers or highlighters to mark specific entries according to your colour coding system like Hannah-Beth has done:
Or you can add a coloured box in the beginning of each entry to categorise it according again to your colour coding system like Dawn:

You can even write each entry in different colour according to the category it belongs, like Paula does:

Use symbols to indicate different spreads
You can use different symbols (signifiers) before each spread to mark each category and differentiate them from each other. You can use as many different signifiers as you want, or you can keep it simple and use only one symbol to separate again the calendar from the collection pages as you can see below:

As you can see there are various ways that can help you make better use of the Index page. Do you use any of the above? Are you thorough with your Index page or do you usually neglect to fill it in?
FREE Valentine's Day Brush Lettering Worksheet
For today's post I collaborated once again with the lovely Olivia from RandomOlive. Since Valentine's Day is coming up soon (is it really??? Time flies by!!!), I thought it would be fun to create something for our loved ones, using brush lettering.
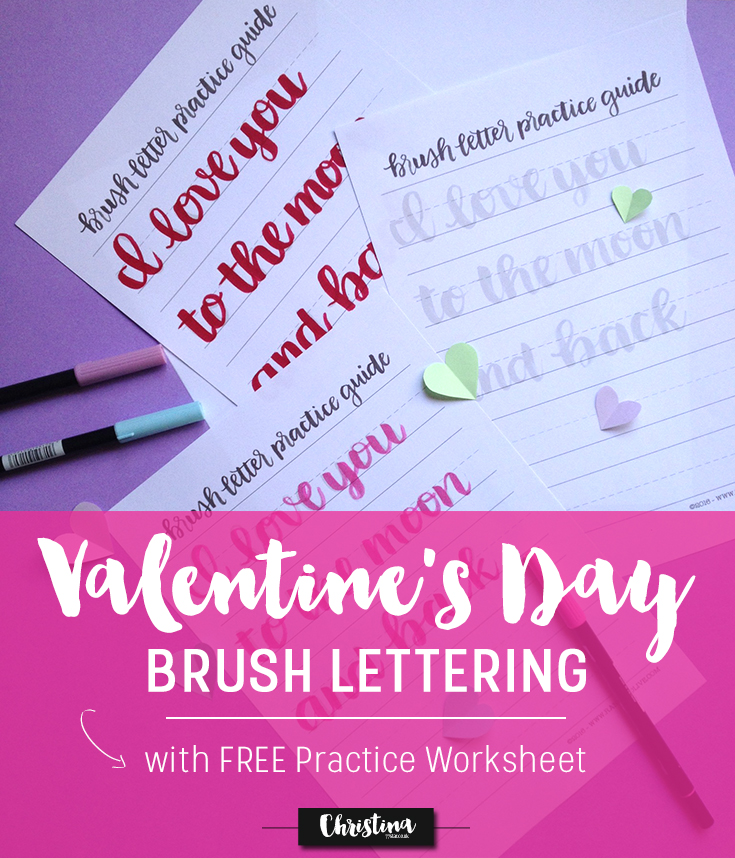
I chose the phrase: 'I love you to the moon and back', which I find very appropriate :) The idea is to practice (and then practice some more!) in order to be able to recreate this phrase and turn it into a lovely diy Valentine's card. Or you can even frame it and make it even more special.
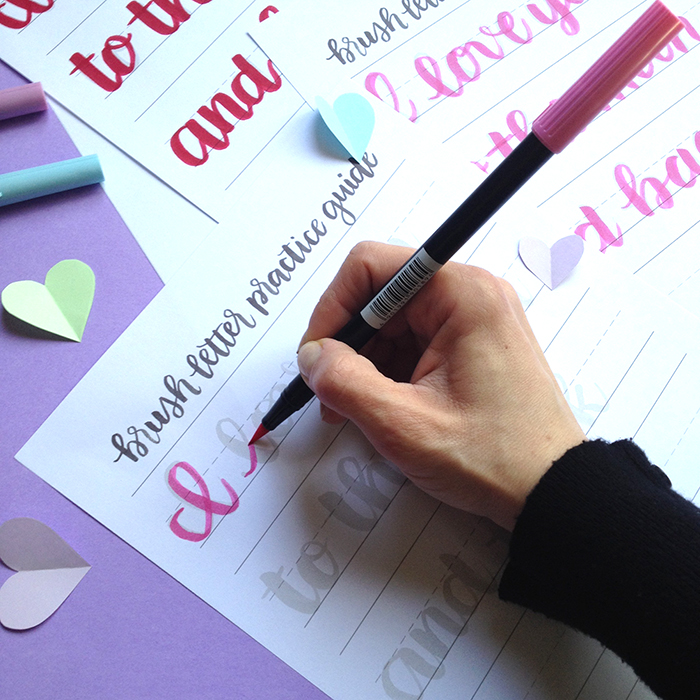
I like to use my Tombow Dual Brush pens in order to practice my hand lettering. Or you can use paint brushes and paint, like Olivia does. The trick is to hold the marker in a 45 degree angle. I also hold it quite far up - that helps with the thick downward strokes.
If one of your goals is to better your brush lettering and hand lettering, then maybe you should check the Comprehensive Brush Letter Practic Guide out. It promises to turn you into a pro in 45 days! Olivia even gives you a schedule to stay on track. Perfect!
Click here to download your FREE Valentine's Day Brush Lettering Worksheet


How to choose the perfect bullet journal for you
Bullet Journaling in it's core is a simple organisational system in a notebook, where you basically create your own planning layout and inserts according to your needs. And that is the beauty of it - everything is created by you and therefore is unique!
And even though it is true that, in order to start bullet journaling you only need a notebook and a pen, I do believe that there isn't one notebook that is perfect for everyone. Each one of us, depending on how we're using our bullet journal, has different needs. Some people like to doodle and draw, others use watercolours and fountain pens, and others like to simply write their day-to-day tasks. So, choosing the right journal is very important in order to have an enjoyable experience with it.
When choosing your journal you'll have to think about:
The Size:
How big you want your journal to be?

The most common size is an A5 for a lot of bullet journalists. However, you might need more space to write things down, so an A4 might be a better size for you. On the other hand, if you're planning to take your bullet journal with you in your bag every day, then a small pocket-sized notebook would be ideal for you, and therefore maybe an A6 is the size you need.
Design:
You might prefer beautifully designed notebooks.
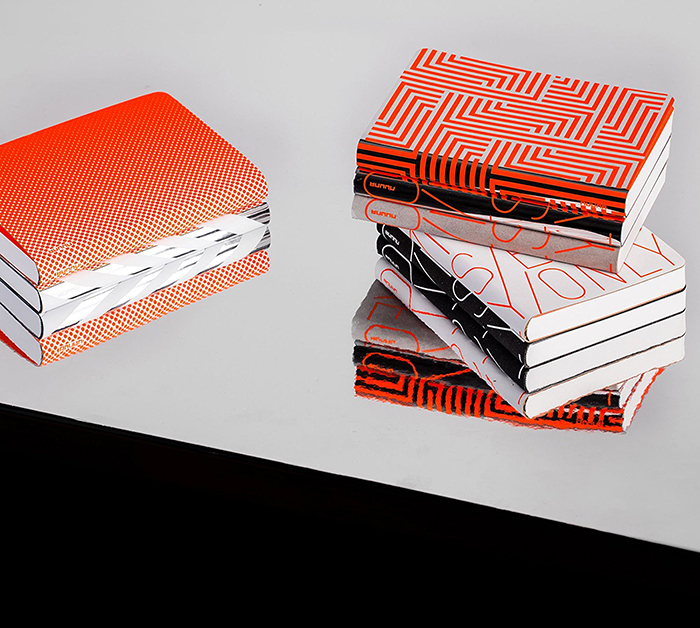
Leather-bound journals or nicely decorated ones might be what inspires you. For example, the original Bullet Journal used to come out only in black and that was a no-no for me. I love my notebooks to be colourful, and therefore I chose a bright orange Leuchtturm1917. Others might want intricate designs on the cover of their bullet journal, and therefore a Nuuna notebook might appeal to them more. You also have to consider if you prefer the cover to be hard or soft.
No. of Pages:
The number of the pages is another thing to consider, since the more pages a notebook has, the longer it will last. When starting a bullet journal, a lot of people are concerned that they will fill in their notebook before the end of the year. And even though it's very common to have 2 (or even more) bullet journals per year, I have to admit that starting over a new notebook is not that easy, especially if you need to migrate some of the spreads you've already created in your first journal.
Type:
You can choose dotted, lined, squared or plain - it's really up to you and what you prefer.
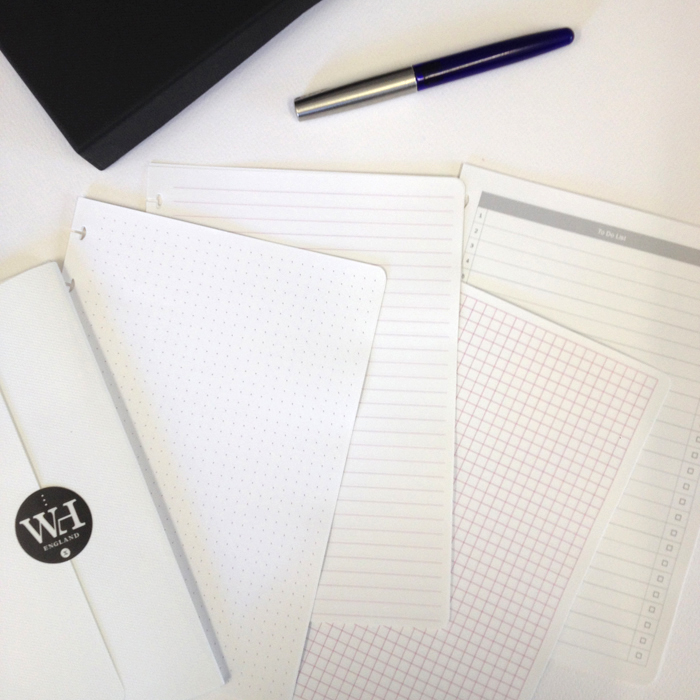
Another thing to consider would be how dark the lines (squares or dots) are, and how big is the space between them. Generally Moleskine notebooks have lighter lines, if that's what you prefer. And about the spacing, there are bullet journals where the dots are 5mm apart (like the Leuchtturm1917), 4mm apart (like the Fabriano), or 3.5mm apart (like the Nuuna).
Quality of Paper:
The thickness and smoothness of the paper will definitely affect the way you write. You might be fine with any kind of paper, or you may prefer a better quality one. A better quality paper will have a smooth finish, high opacity (so when you write on one side, it's not visible on the other side) and minimal to no feathering (the ink doesn't spread out on to the page).
One way to measure the quality of the paper is to check the g/sqm. Grams per Square Meter is a basic measurement that shows the weight of the paper. In practical terms it is used to describe and understand the heaviness of the paper.
* I'd like to state here that this is not the only way to measure the quality of a paper. Other things that should be taken under consideration are the finish, the texture, the brightness and the opacity. However, my intentions for this post, are not to get too technical, so we're going to take into consideration the g/sqm only.
Another thing that you should consider when choosing the quality of paper you prefer, is what writing instruments are you going to use. For example, you can't use a nice fountain pen on a low quality notebook, because the results will be disappointing!
Type of Binding:
Do you prefer case bound or spiral bound notebooks? Do you like them to be tread-stitched or glued? Do you like the notebook to lie flat open or not? Do you mind having spirals or coils in-between the pages? Do you prefer an ARC customisable notebook system like Jane's Agenda, the Happy Planner or the William Hannah one? Lots of choices there!
Now let's take a look at the most popular notebooks used for bullet journalin:
1. The Original Bullet Journal
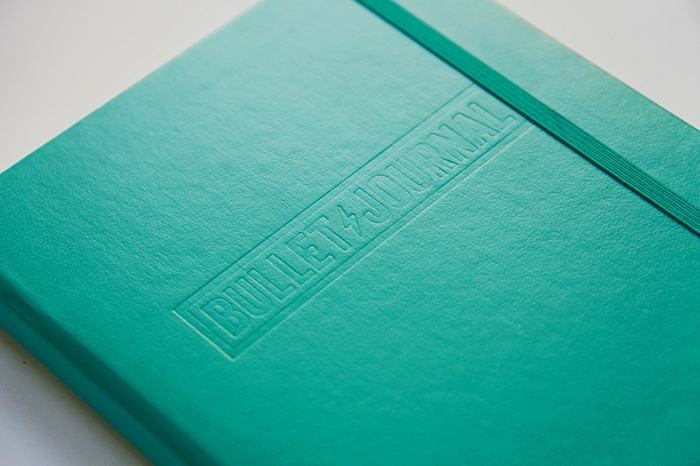
A5 Dotted notebook. Comes in black and emerald with hard cover
80g/sqm ink proof paper
expansive cover pocket, elastic band and 3 coloured ribbon book marks
index page, bullet key page, 249 pre-numbered pages
|Find on Bullet Journal Website|
2. Leuchtturm1917
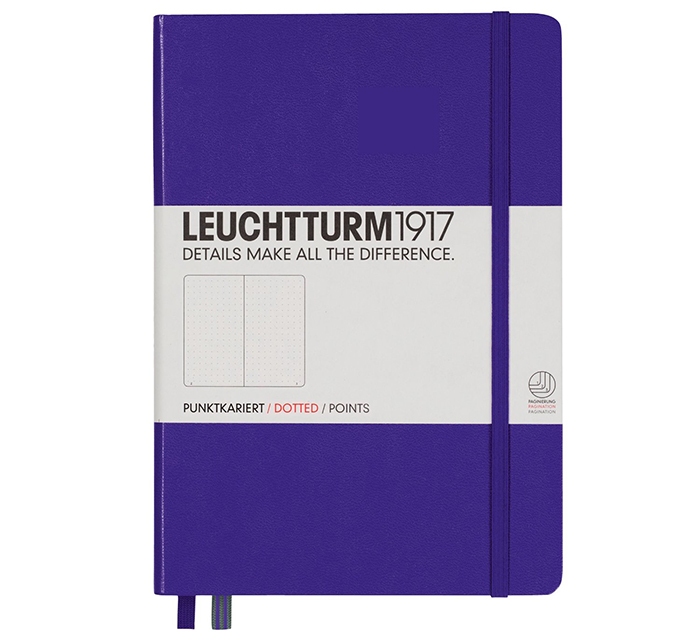
A5 Dotted notebook with colourful hard cover
80g/sqm ink proof paper
expansive cover pocket, elastic band and 2 coloured ribbon book marks
index page, 249 pre-numbered pages
3. Moleskine
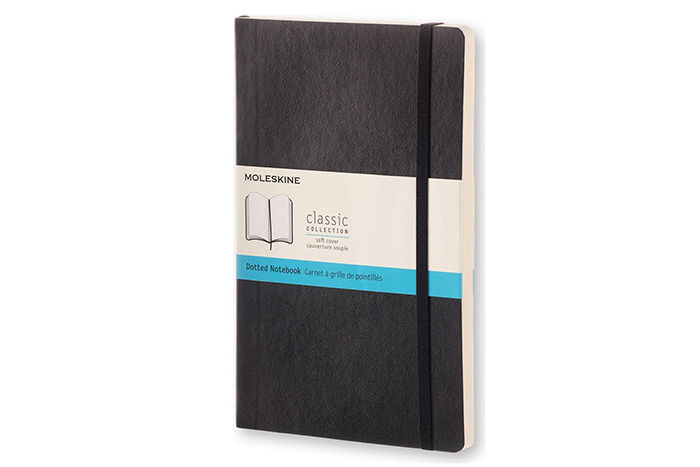
Dotted notebook with soft or hard cover
Dimensions: 5" x 8-1/4"
70g/sqm acid free paper
expansive cover pocket, elastic band and 1 ribbon book mark
192 pages
4. Rhodia
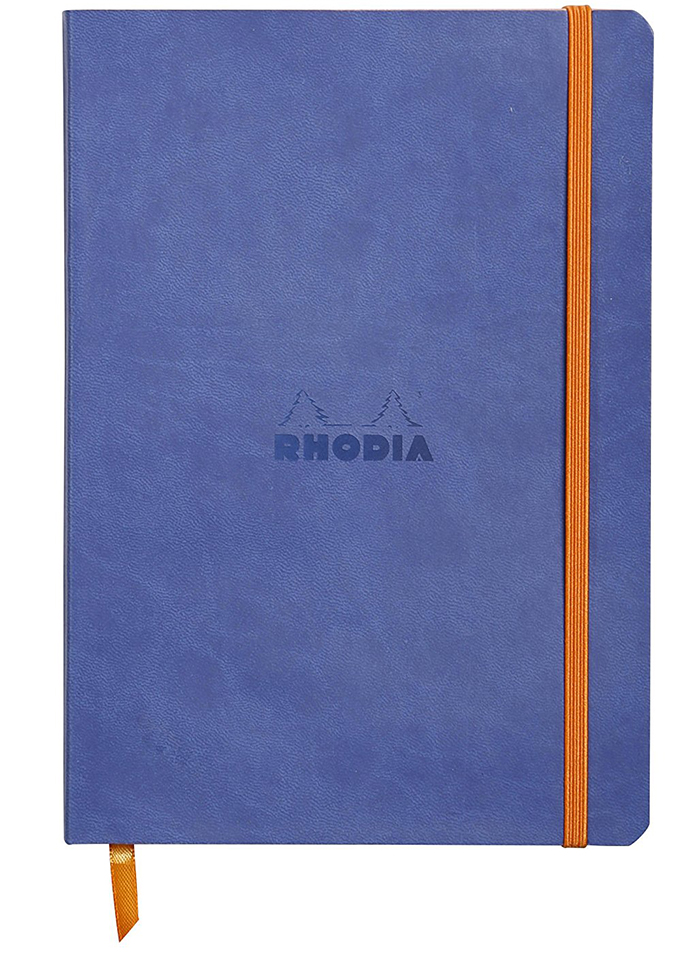
Dotted notebook leatherette soft cover
Dimensions: 6" x 8.25"
90g/sqm smooth finish paper
expansive cover pocket, elastic band and 1 ribbon book mark
80 pages
5. Nuuna
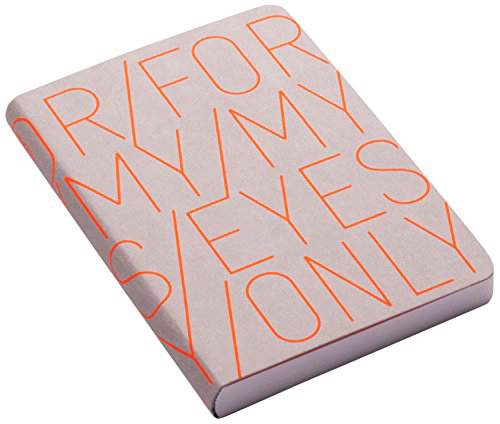
Dotted notebook with smooth bonded leather cover
Dimensions: 10.8 x 15 cm
120g/sqm Munken paper
176 pages
6. Scribbles That Matter
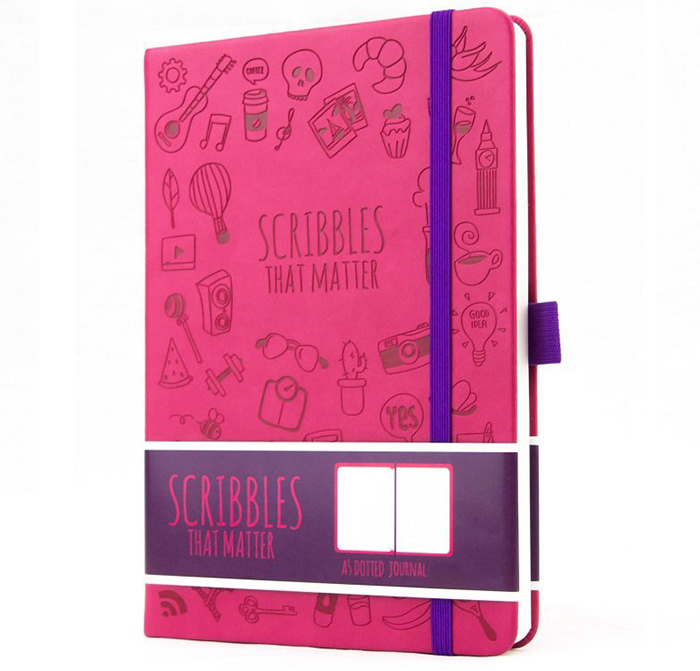
A5 Dotted notebook with synthetic leather cover
100g/sqm ivory paper
pen holder, expansive cover pocket, elastic band and 2 coloured ribbon book marks
index page, key code page, 185 pre-numbered pages and a pen test page
Me personally, I've used the Leuchtturm1917 notebooks, the Moleskine Notebooks (I have a Moleskine bullet journal specifically for my work) and the Fabriano dotted notepad. I’ve also used the Scribbles That Matter and my favourite one is the Dingbats Notebooks.
If you want to see what I think, check out the following blog posts:
What attributes are you looking for when choosing a notebook? Is it the quality of the pages, or the design and the cover are equally important to you? What type of bullet journal do you currently have (lot's of questions there!!!)


6 Different Ways to Future Plan with Your Bullet Journal
In a conventional planner there is usually a yearly calendar set up, where you can plan and schedule things. However, when starting a bullet journal all you have in front of you are empty pages, and that can be very intimidating for some. A lot of people are puzzled on how to future plan with a bullet journal, while others are worried that the system is not going to work, and that this will have as a result them missing important appointments and events.

In a conventional planner there is usually a yearly calendar set up, where you can plan and schedule things. However, when starting a bullet journal all you have in front of you are empty pages, and that can be very intimidating for some. A lot of people are puzzled on how to future plan with a bullet journal, while others are worried that the system is not going to work, and that this will have as a result them missing important appointments and events.
I admit that, even for me, when I was first introduced to bullet journaling, one of the things that concerned me the most was future planning. On a system that you create your days as you go along, I wanted to make sure that I would be able to schedule ahead during the year.
While all the above are valid concerns, I can assure you that bullet journaling is a very efficient and organised system, that when done properly, leaves no place for mistakes or missed appointments! It also allows you to future plan as many months/years ahead as you want!
In this post I'm going to talk about the 6 different ways that you can future plan with your bullet journal.
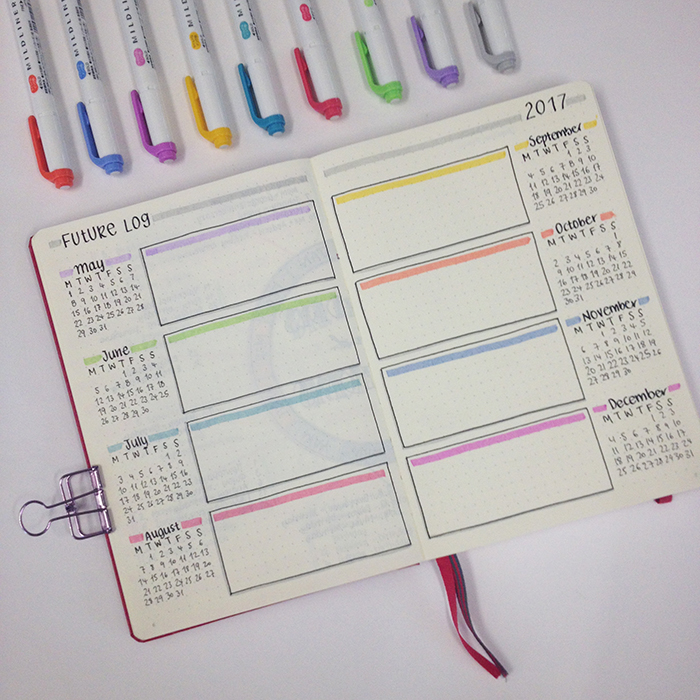
Ryder Carroll's Future Log
This is the original bullet journal method to plan future events during the year. You can set up your Future Log by arranging the pages by the amount of months you need.

For example, you can have 3 months per page, with two equally spaced horizontal lines across the pages (as shown in the picture above). If you think that the space underneath each month is not going to be enough for you, then you can use only one horizontal line across the pages and have 4 months on the spread instead of 6. Or you can even have one month per page if you're really busy!
The Monthly Log
This log allows you to plan for the month ahead. Therefore gives a more limited timeframe for future planning. There are various ways you can set up your monthly log in your bullet journal.

In the picture above you see the original way, where you have the Calendar on the left page and the Task List on the right. However, there are many ways you can vary this set up, and I'm going to share some pictures here for you to see how I've changed my monthly log during the past year, and get inspired.

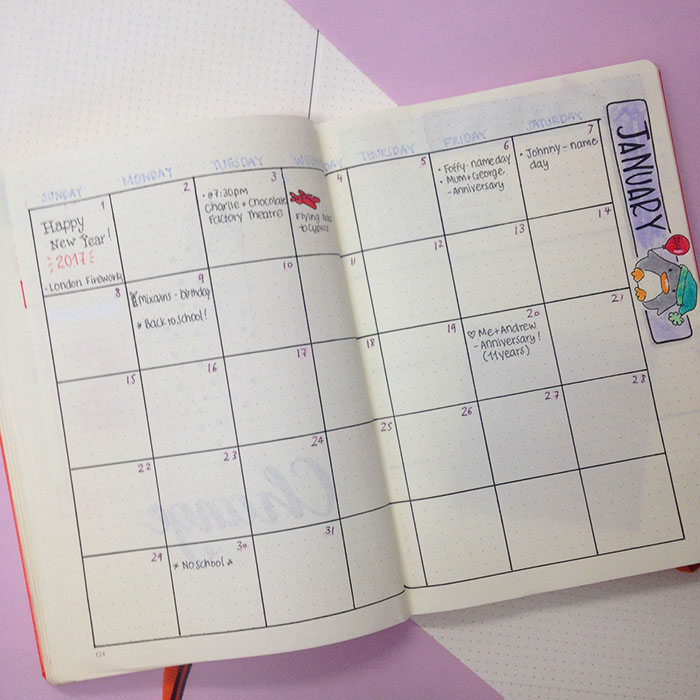


As you can see there are endless ways you can set up your monthly log and adjust it to your needs.
The Alastair Method
This is a method to future plan in your bullet journal for the next 6 months. It was created by Alastair Johnston, who basically came up with a way to plan future events by adding them to a separate container that is easily adaptable and quickly to read.

In order to recreate this method in your bullet journal, you write the 6 months you want to future plan for, the way it's shown in the picture. You can plan for less months than that, if you have a lot of events/appointments and you think that you might run out of space.
Then with a vertical line you create a different section on the right. In there you simply add all the future events with their exact date, and then you put a dot in the column that represents that month. That way it doesn't matter if the events are not added chronologically.
Each time you need to move these plans to your monthly planner page, all you have to do is to quickly scan down the column of the month, find the dots that signify entries for that month, and then migrate the events to their dates in the monthly log.
Future Log
This is a combination of Ryder Carroll's Future Log and Alastair's Method which I found in Veronika's Instagram account. Basically, you write down the monthly tables for the next 6 months on the top of the page.

Underneath the month tables, on each page you then create one long table. The first 3 columns are one for each month and are titled with the first letter of the month. That's where you write the date that refers to that spefic month for each event you want to note down. Then you create a column for the event/appointment with all the information, and another one for the exact time of the event. Lastly, you create a small column in the end, where you can tick off any events/appointments that have already taken place. Of course you can add any other columns that might help you with your future planning.
For more information about this type of Future Log, you can check this blog post.

Calendex
The Calendex method was created by Eddy Hope. Essentially a Calendex is a hybrid of a calendar and an index - that's how it gets it's name :) So you have a calendar of events and an index of page numbers with those events. You can use this method to schedule tasks and events that are planned months in advance.

To set up your Calendex you'll need to use a double page spread. On each page you easily fit 6 months, by creating 6 columns and on the left hand side you write the numbers 1-31 creating 31 rows that are representing the days of the month. You can also break down the months by weeks with separation lines in each column. That makes it easier to plan. Also some columns have lined boxes at the bottom, because not all of the months have 31 days.

So, for example if I happen to have a future event, I will note it down on my daily spread and I will have a coloured box according to the type of event next to it. In this case it's light green because it was a kids' event.
Then I will note down a light green box on the day of the event and on it I'll write the number of the page of my daily spread that I wrote all the information on.
I have a detailed post for Calendex if you want more information about it :)

The Sticky Note Method
This is a more simple way to plan a few things for the near future.
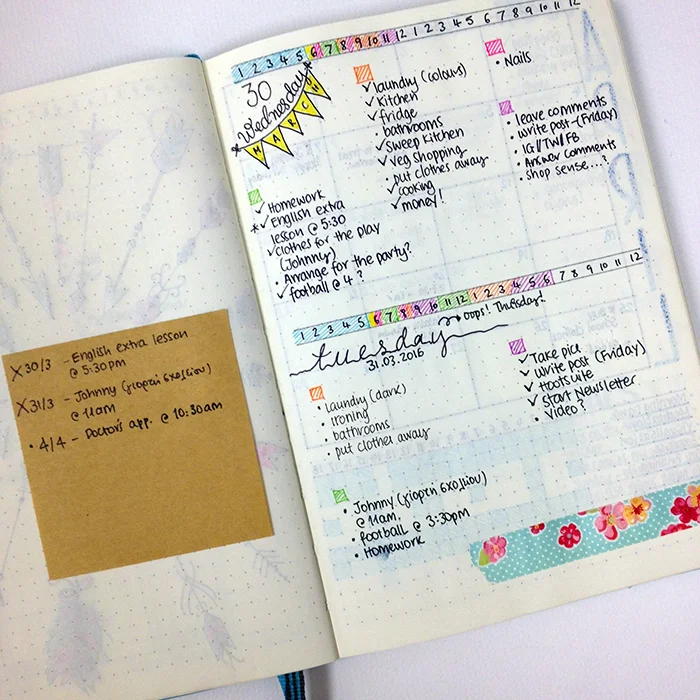
You basically have a sticky note where you write all the future appointments/events that you need to remember, and you move it along as you create your dailies. Once you approach the date that an event is due, then you transfer it in that day's daily spread and you cross it off your list. Simple!
As you can see there are quite a few ways that can be used in a bullet journal in order to ensure that everything is properly planned and nothing gets lost through the pages. You may think that some of the above methods are complicated, but you just have to try them out to see that they're quite simple really - even Calendex!
I've created a printable for the Calendex to share with you, because I think that is the most intimidating of all the above. That way, you can print it and start using it before you apply it in your bullet journal, to see if you like this way of planning and if it suits your needs.
JOIN THE GANG!
Subscribe now to my Newsletter to download the FREE Printable.
Plus get access to the Resources Library!
Which method(s) of the above are you using in your bullet journal? Share with us your pictures!

Bullet Journal: My February Set Up
I can't believe January is coming to an end already, and February is just around the corner! Crazy! Time really flies by. I've (finally!) managed to put my head and my house back in order, after the holiday season, and I'm trying to get back to my normal routine.
This is the focus for February, as you'll see from my set up, to create a daily routine that will help me achieve balance. So, let's see how I've set up my bullet journal for this month:
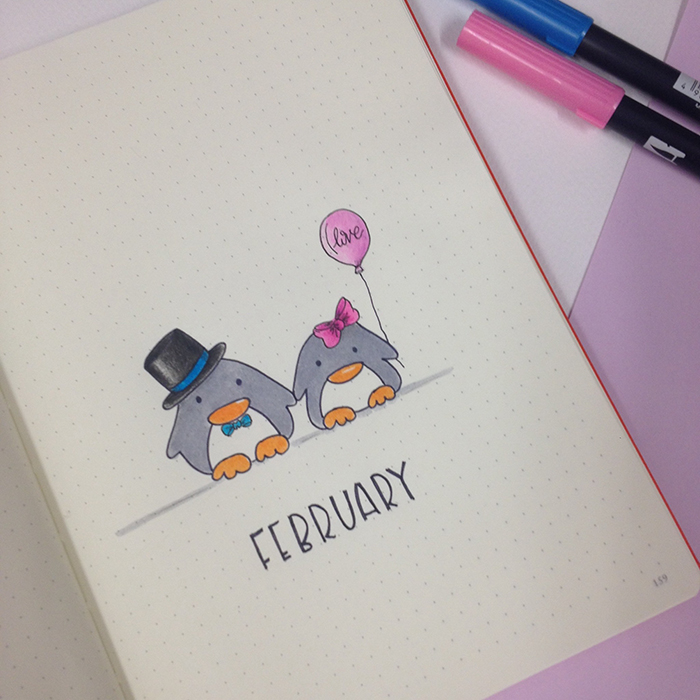
This is the first page to welcome the new month. I love getting inspired by B-Keks' penguins and they constantly make an appearance in my bujo.
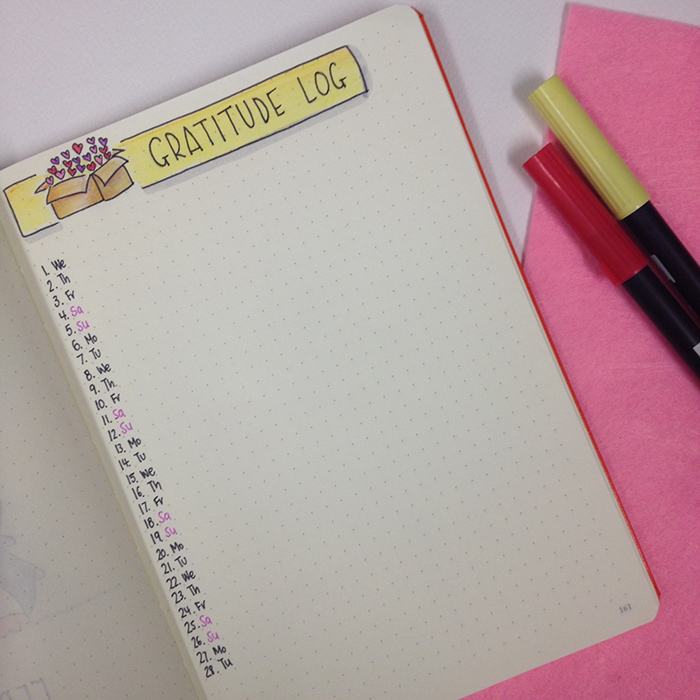
The gratitude page returns for this month. I hadn't used it in the last couple of months and I honestly missed that part of my bullet journaling. So, I decided to bring it back for good this time :)
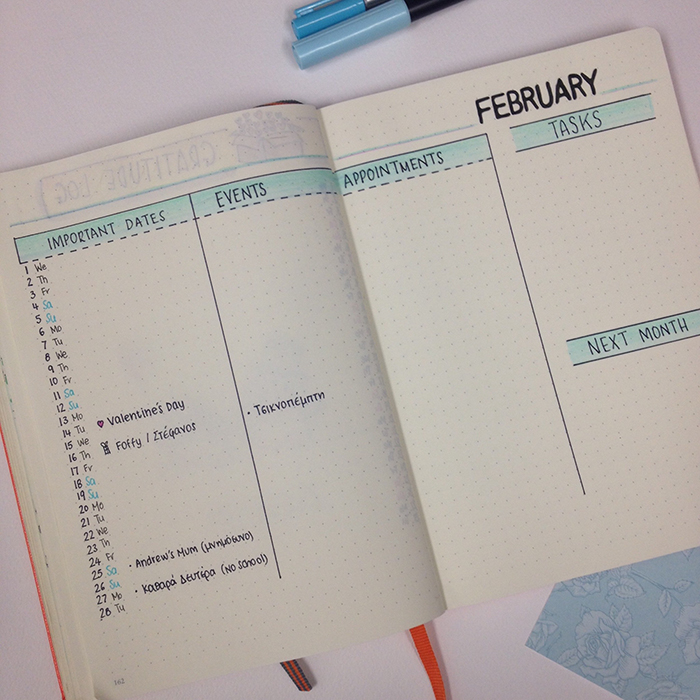
One of the biggest changes in this month's set up, was my monthly spread. As I've said before, I prefer the monthly calendar with the squares spread, but for February I decided to give this one a try. I got inspired by the lovely @maryj13. I really like the way it turned out, and it looks pretty functional. I hope that I will still feel the same way by the end of the month. I'll keep you posted.
While making my plans for the new year, I realised something about myself - I'm setting far too many things to do every day, and I demand to follow routines and create 5-10 new habits... Well, no wonder I never seem to stick to it and I keep on feeling like I'm letting myself down.
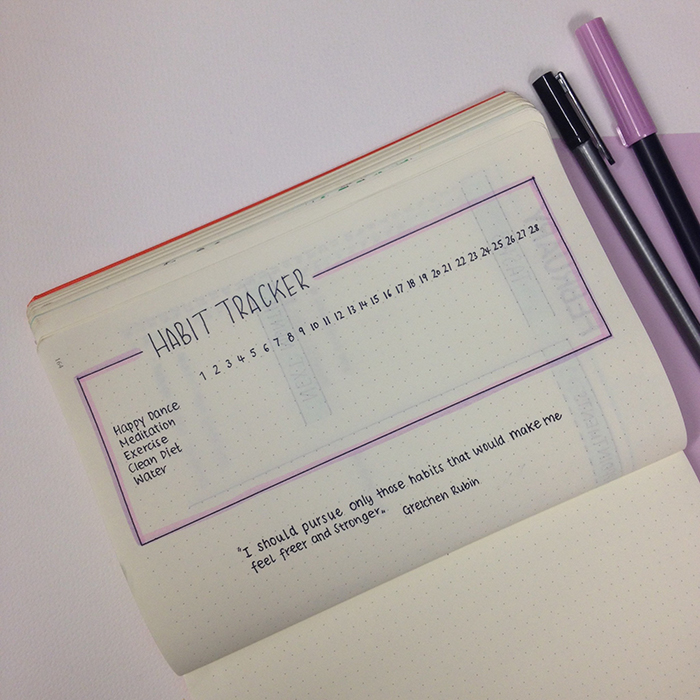
So, this month I decided to try and be consistent and focus only on the most important things for me right now. Once I've set up a routine and a habit for those, then I'll allow myself to try and add more things. Therefore, the habit tracker is back to help me keep track of how I do every day.
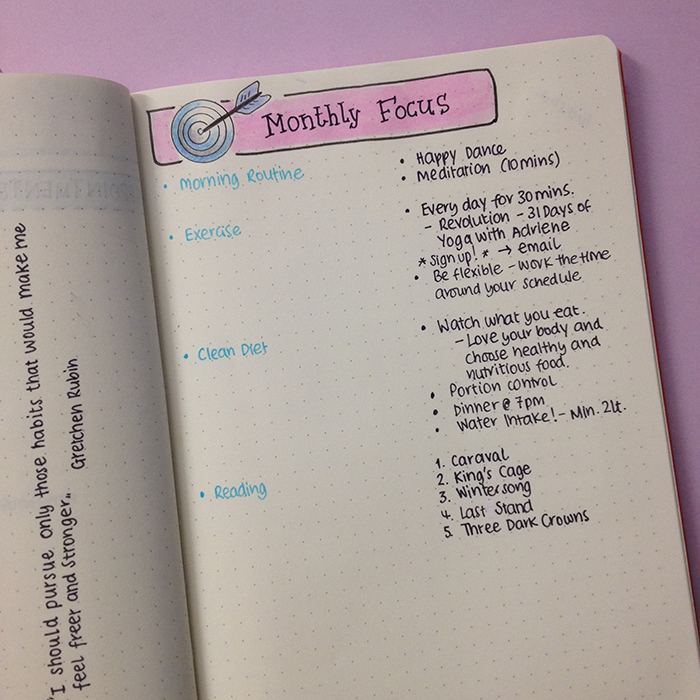
This also shows in my focus page for the month, where I try to set some rules and be more analytical for each category.
Again, my Instagram #doodlewithus challenge page is included for February as well, but right now it's completely blank. If you'd like to follow along, you can get all the prompts and info here.
Have you set up your bullet journal for February? Are you looking forward to it each month? Do you like to try new spreads or do you stick to what works for you?
Instagram Challenge #doodlewithusinfebruary
Once again I'm excited to announce our Instagram Challenge for the month of February! It's the #doodlewithusinfebruary Instagram Challenge created by me and Alexandra (from @alexandra_plans).
It's going to be 28 days of doodles that will hopefully get you to be creative and have fun! The theme of February's prompts is 'Outer Space', and I seriously can't wait to start drawing!!!
As we did before, all the doodles are part of one big comprehensive picture. Imagine each day to be one piece of the puzzle. So, at the end of the month you will have one big doodle picture! :)
If you decide to follow this way, you'll have to create a table with 4x6 + 4 boxes (or you can go ahead and create a normal 5x6 table and just fill in the last two squares with stars, planets or whatever you want ) and you shouldn't add the days on the top. You can also make the boxes and dates in pencil, if you don't want the lines to obscure the end result. It's totally up to you.
Of course, if you prefer to draw the doodles in the traditional way, that's absolutely fine as well. The important thing is to have fun!
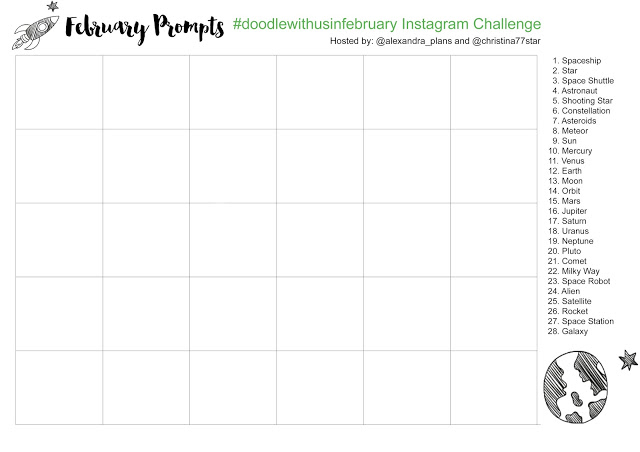
You can also download a free printout with the daily prompts here.
If you want to join us then:
- Follow me (Christina) @christina77star and Alexandra @alexandra_plans over on Instagram.
- Download the prompts below.
- Draw something according to the day's prompt, take a photo of it, and share it with us on Instagram.
- Don't forget to add the hashtag #doodlewithusinfebruary and spread the word.
- Everyone is welcome!

We're excited to see what you'll share!
Thank you for joining in!