7 Things I Learned in my First Year of Bullet Journaling
As I've mentioned already in a previous post, in the beginning of March I had my 1 year anniversary since I started bullet journaling. Oh my! Time really flies by! I can't believe it's been one year already! I still remember the excitement of receiving my very first bullet journal and creating my first pages in it. This has been an incredible year for me full of colour, creativity and new opportunities! I'm grateful for this amazing system and for being a member of the best online community! :)
Today, I'll share with you 7 things about bullet journaling that I learned during the past year.
#1
DON'T BE AFRAID TO TRY NEW THINGS
One of the things about bullet journaling that I love, is that it’s flexible and that you can adjust and change it the way you want. You can try one thing this week and if it doesn't work for you, you can change it and try something else! So, don't be afraid to try something new.
#2
MAKE IT YOUR OWN
Get inspired and copy the spreads / pages that you like. But make sure that you personalise them and that you change them around to meet your needs.
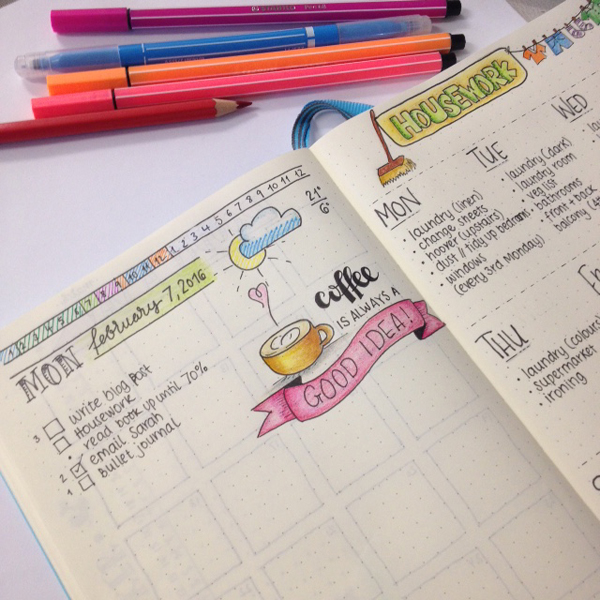
You can personalise your pages in any way you want. You can use cursive writing, stickers, washi tape, doodles or you can just keep it simple and minimal. That is the beauty of this system: you can create the planner you want and change it around whenever you want!
After you’ve used your bullet journal for a while, you’ll be able to see what works and what doesn’t, and from there you'll be able to add or subtract things from your journal accordingly.
#3
INDEX IS YOUR NEW BEST FRIEND
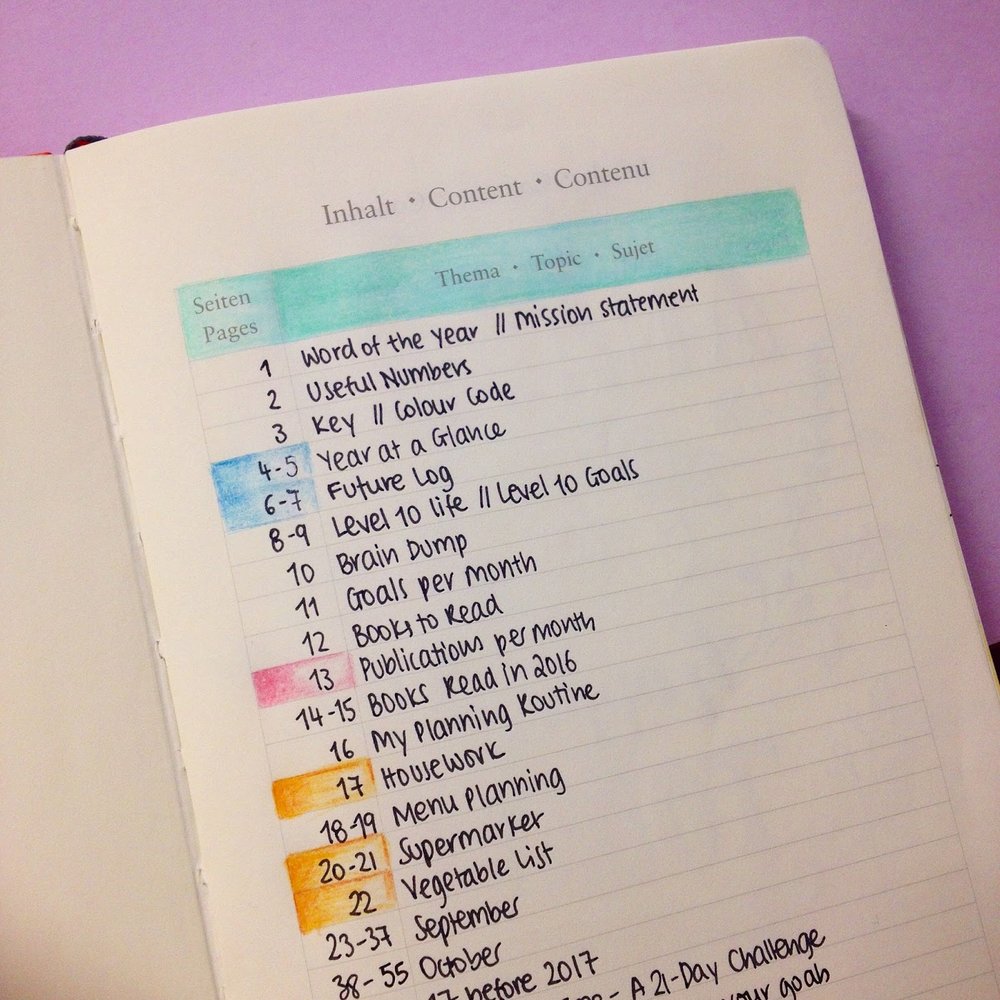
The Index page is the core of your Bullet Journal. It's where you archive all your entries so that you can easily find them when needed. However, not many people talk about the Index page and I know a lot of people neglect to fill in the entries as they create their spreads in their notebook.
Take advantage of the Index in your bullet journal. Fill it in as you go along, and make it even more functional with these Index hacks.
#4
CREATE ONLY THE COLLECTIONS / SPREADS THAT YOU NEED
When you fist start bullet journaling it's natural be overwhelmed with the amount of inspiration and creativity that you see online. And that can make you want to add everything you see on
Instagram or Pinterest in your own bullet journal. Believe me, I know how it feels... I've been there!
However, you don't have to spend all your time creating pages that then you forget all about and eventually don't use again. You want to create collections that will help you and that are relevant to you, your lifestyle and your needs.
I have created this list with 150 different Collections / Spreads you can create in your journal. Go through it, mark the ones that you think are the most interesting / useful to you, and then start creating them in your bullet journal.
JOIN THE GANG!
Subscribe now to my Newsletter to download the FREE Printable.
Plus get access to the Resources Library!
Try to choose simple layouts for the type of spreads you’ve chosen to create, that you can easily recreate or that you can adjust to your needs.
#5
CREATIVE OUTLET
With a willingness to learn and desire to start, you can be creative. You can use your bullet journal to express your creativity, even if you think that you're just not good enough. There is no one there judging you or criticising you and your work. It's just you and your notebook.
Look around you, get inspired and just do it!
#6
ACHIEVE YOUR GOALS
Since I started using my bullet journal to write down my goals and the steps I need to take towards them, I've noticed that I am way more productive and that I actually started seeing results! I'm more focused and I am actually working towards achieving my goals. So, your bullet journal can be more than a simple planner - it can be your way to plan your future, organise your strategies and document your results!
#7
IT'S OK TO HAVE A BREAK
You shouldn't feel bad if you want to stop bullet journaling for some time. It happens to everybody! There have been days that I didn't want to plan anything or to create any pages in my bullet journal. And that's fine. Don't push yourself to do something you don't want to. Take a break if you need to and come back to bullet journaling when the time is right for you :)
So, there you have it. My 7 lessons I've learned during the first year. How long have you been bullet journaling? What is one thing you've learned that you'd like to share?


How to Colour Code your Bullet Journal
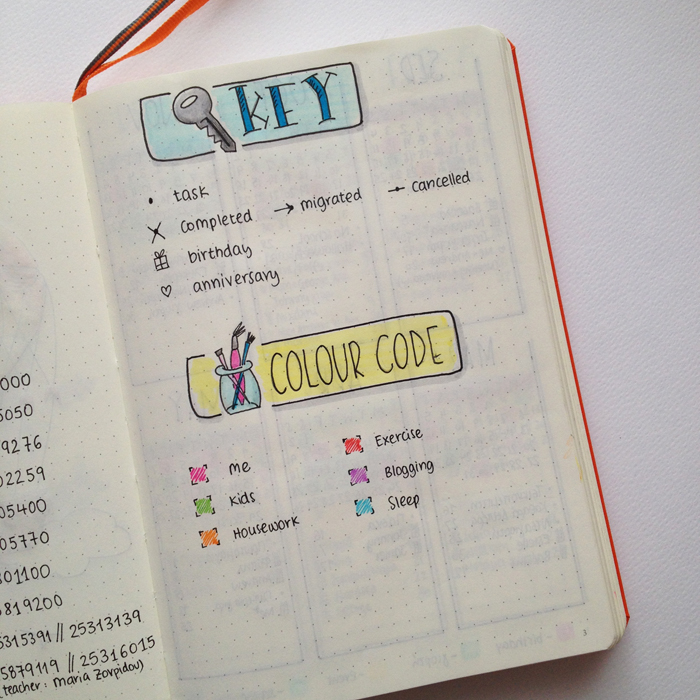
Colour coding is one of the best ways to further organise your bullet journal and have a clear view of the different categories/topics you create in it. It was one of the first things I incorporated in my planner and it has made a huge difference in my planning and my productivity!
Today I'll share with you how and where to use your colour coding system in your bullet journal.
Create your own Colour Coding System:
Decide which categories you'd like to colour code in your planner. To make things easy, take a look back at your previous to do lists, and then you'll notice that some of the categories keep on coming up again and again. So, these are the ones that you need to include in your colour coding system. Try to make them as general as possible, so that you can keep things simple. I'd say that 6-7 categories are more than enough. Any more could make things a bit complicated and confusing at times, and we don't want that!
Once you've chosen your categories, then you can allocate a colour to each one. Choose colours that are not too bold, but that they are still quite bright to stand out from your notes. Also choose colours that are a bit different from each other. For example, we don't want to have two different shades of pink that can get mixed up.
Add your colour coding system in one of the first pages in your planner, so that you can refer to it any time you want to use it. I like to add mine in the first page, under my key.
You can also create a flip out guide that can help you remember what colour is allocated to what category, without having to go back and forth the pages each time you need it.
Where and how to use your Colour Coding system in your planner:
There are lots of places where you can use your colour coding system in your planner. You don't have to use it in all of them. Try things out and decide which ones work for you.
1. Index
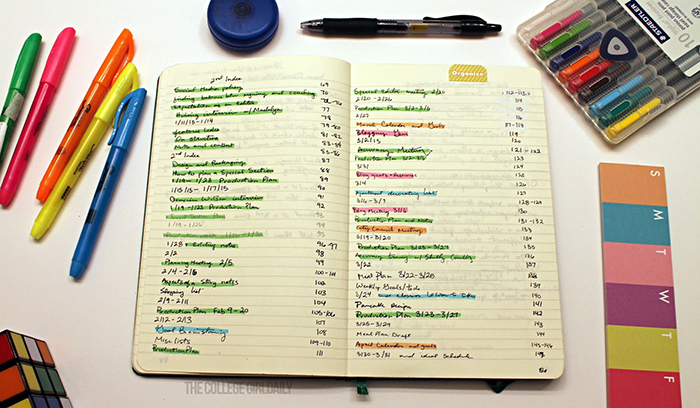
You can use your markers or highlighters to mark specific entries and spreads according to your colour coding system. This makes it easier to find things.
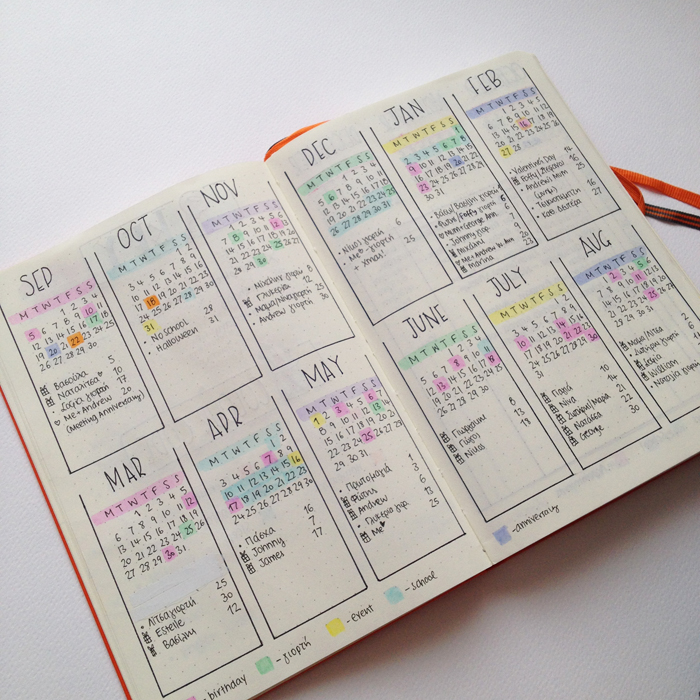
2. Year at a Glance Spread / Future Planning Spread
There is a printable version of this Year at a glance spread in my Etsy store.
Colour coding can be very helpful, especially when you do your future planning. Whether you use the Calendex or any other of the 6 different types of future planning in your bullet journal, you can still use your colour coding system with them. This way you can see straight away what you have to do and organise your days accordingly.
3. Monthly Spread
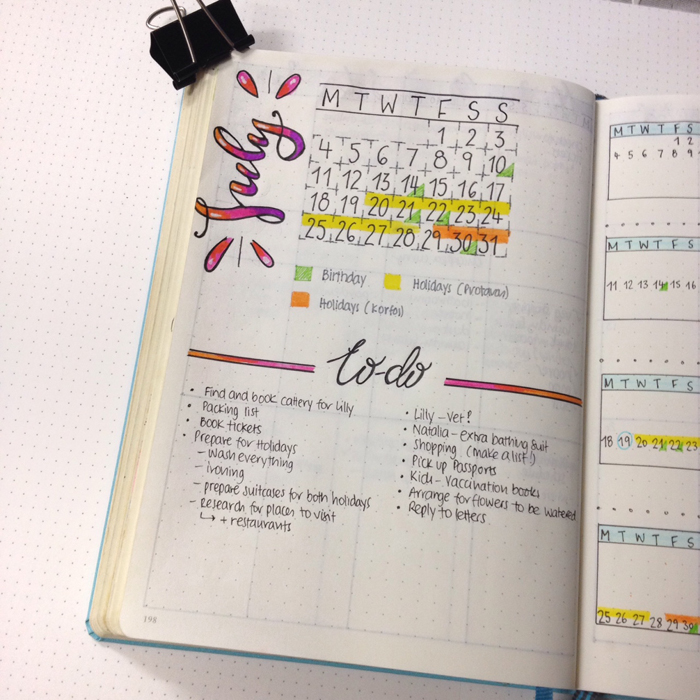
You can mark the days in your monthly log according to what's going on on each day. Alternatively, you can mark the entries you add on each day and colour them accordingly.
4. Weekly Spread
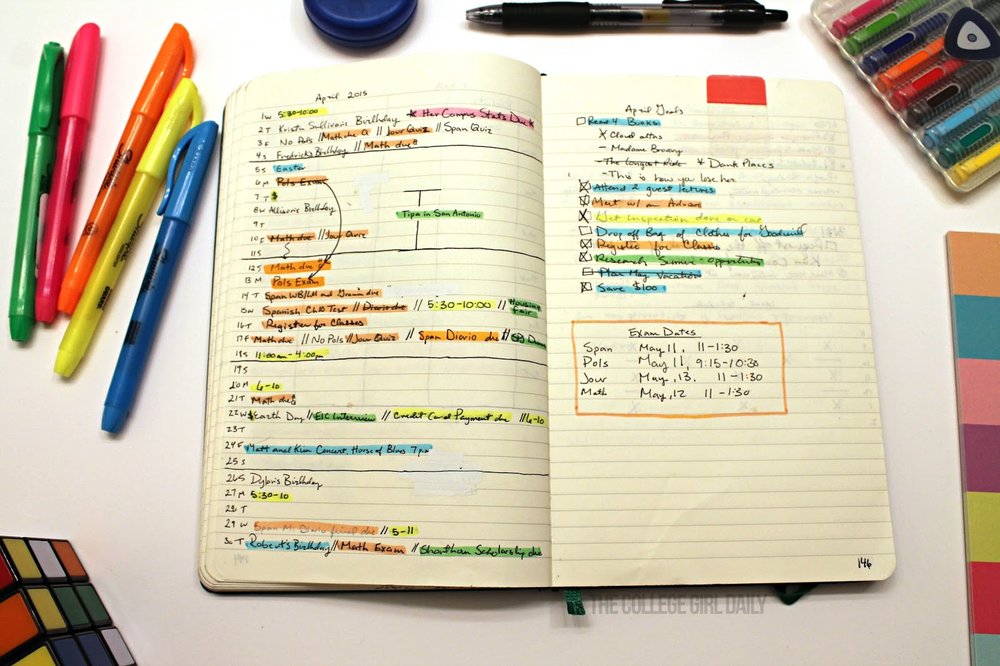
When you add all the things you need to do in your weekly spread you can use different coloured pens to write each task, according to your system, instead of using highlighters.
You can also block sections in your weekly planner to indicate different appointments, events or tasks. This works really well if you are a student and you want to mark your schedule for each subject.
5. Daily Spread
Use colour to categorise the different tasks you have during the day. That way you'll have an idea of what's in store for the day ahead. You can also work in batches, where you set a time frame to finish the tasks in one category at a time. This is actually a very productive way of getting things done!
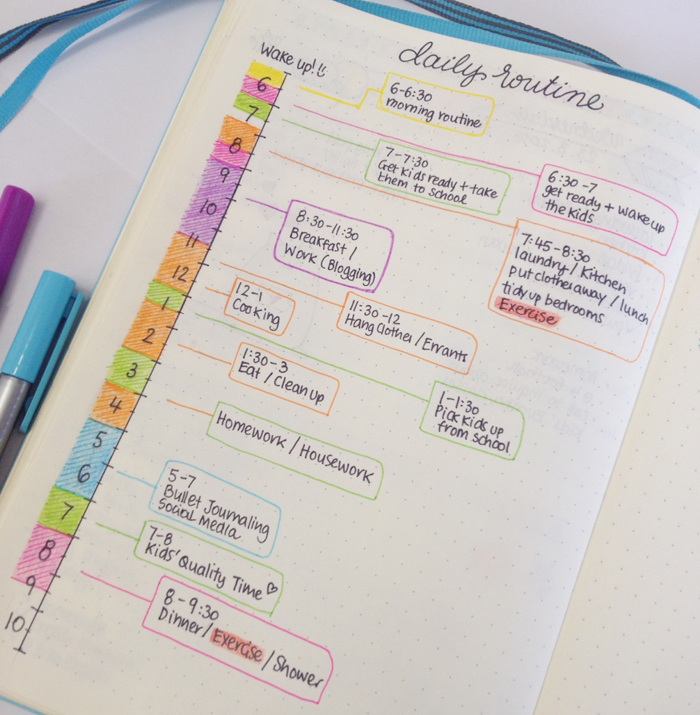
6. Planning Routine
Plan your ideal day and use your colour coding system to highlight it accordingly. This is very helpful when you want to do some block scheduling or batching.
7. Time Tracker
Tracking the way you plan to spend your time during the day can be very helpful to see how much time you are allocating for each task. It helps you to have a very clear view of the day ahead and the tasks at hand.
8. Habit Tracker
You can even use your colour coding system in your habit tracker and see exactly how many times you're doing something or how may hours you spend on a specific task.
Colour Coding Trips & Tricks:
- Use your markers or coloured stickers to mark part of your pages according to the category that they belong. This creates a very easy flip through guide.
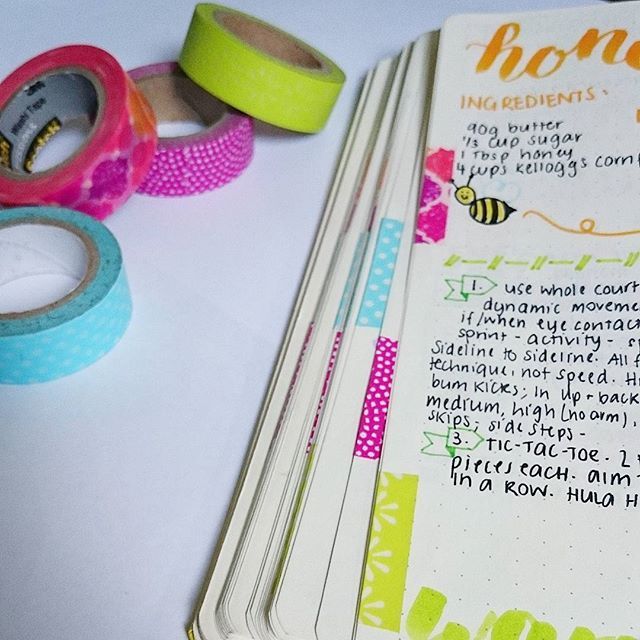
- You can also use washi tape instead of highlighters to mark the pages. You can do part of the page (like the example above), or you can add the washi tape all along the edge of your pages (see below).
Colour Coding Tools:
Markers:
By far, my most used markers for colour coding and for categorising my tasks are my pastel Tombow Dual Brush Markers. I use them every day and I love that they add the right amount of colour without bleed through.
Highlighters:
I love using the Pilot Frixion highlighters, because they are not too vibrant and they are erasable too. I have already placed an order for the Zebra Mildliners that I've seen lots of people using in their planners.
Pens:
You already know that the Staedtler Triplus Fineliners are my favourite pens to use in my planner and in my habit and time tracker. They add vibrant colour with no bleed through and I like the way they write as well.
Lately, I've been hearing a lot about the Paper Mate Ink Joy Gel pens as well, and I'd love to try them out.
Washi Tape:
You can find washi tape in all the colours, sizes and with any design you can think of. Personally, I find that the washi tape is the easiest and cutest way to colour code your planner, while at the same time you personalise it and you add some decoration in it.
Stickers:
Various coloured stickers in all shapes and sizes can help you in your planner. I personally like these pastel round ones for the flip through guide I mentioned above.
So, there you have it. Everything you need to know about how to colour code your bullet journal. Do you use a colour coding system for your planner?


My Etsy shop: Green Lime Designs

Yesterday was my 1 year anniversary since I started my first bullet journal! Yay! It has definitely been the most amazing year full of colour, creativity and new opportunities. I'm very grateful to have found the bullet journaling system and be part of this amazing community!
Today, I'm very excited to introduce you to my new venture.
My ETSY Shop: Green Lime Designs

I've been contemplating about opening my ETSY Shop for some time now, and finally the time is right! I wanted to find a way to share my designs with everyone and help you personalise and add colour to your bullet journal or planner. So, Green Lime Designs was created :)
The name of the shop was chosen a bit in random. I knew I wanted to have a fruit for some reason in the name (don't ask why, it just makes me happy!), lots of colour and to make it fun! So, this is what I came up with :)
I get so many emails and messages every day from people that like my designs and would like to create things like me in their journal, but don't have the time or the skills to do that. So, this is all about me sharing my creations with all of you, and hoping that I can inspire you to be creative too.
In my shop you'll findprintable spreads, layouts and stickers for your bullet journal or planner.
If you'd like me to create something, I'm always open to ideas - just send me a message through my shop or email me at christina77star@gmail.com
Make sure you subscribe to my Newsletter to get notified for new listings and discounts. ;)
So, that's my big announcement! Thank you very much in advance for your support of my Etsy Shop: Green Lime Designs and I hope to see you over there as well! ;)


Bullet Journal: My March Set Up
Happy March everybody!
Spring has definitely made it's appearance in Cyprus already and I'm really excited! March is also an important month for me, because on the 7th it'll be exactly 1 year since I've started bullet journaling! This has been an amazing year for me and I'm very grateful to have found this planning system. :)
The focus for March is to finish 1-2 projects I already have in the pipeline, and meet their deadlines. So, the layout for this month has been quite simple and I've only kept the important pages and layouts that work for me. This is how I've set up my bullet journal for March:
This is the first page of the new month. I love how the little penguin/Leprechaun turned out! It puts a smile on my face :)
I'm keeping the gratitude page. It really keeps me grounded and focused on the important things in my life. I decided to add a bit of colour and I'm really happy with the result! I was inspired by the amazing @heartistic.jess :)
I've created a FREE printable of the gratitude page just for you :)
JOIN THE GANG!
Subscribe now to my Newsletter to download the FREE Printable.
Plus get access to the Resources Library!
I'm changing up the monthly spread again. The one I did last month didn't work that well for me. So, I changed the layout and I'm focusing more on the tasks and the to-dos for the month.
Last month, I decided to include a habit tracker again in my set up, but to focus on the 5 most important things for me, only. And I'm glad to inform you that it did work. I managed to fill it in every single day, whilst I was forgetting to come back to that page all the other times I tried to use a habit tracker in it's own page.
It did keep me motivated (apart from the 'clean diet' category....!), so I'm using it again this month for the same 5 things. Hopefully, I'll manage to stick to my diet this month!
The last page of my set up is my Instagram #doodlewithus challenge page for March, which as you know currently is completely blank. If you'd like to follow along, you can get all the prompts and info here.
As you can see there's lots of colour this month, which always makes me happy! Have you set up your bullet journal for March? Do you do it in the beginning of the month, or do you prefer to pre-plan everything before the previous month is finished?


Instagram Challenge #doodlewithusinmarch

Once again I'm excited to announce our Instagram Challenge for the month of March! It's the #doodlewithusinmarch Instagram Challenge created by me and Alexandra (from @alexandra_plans).
It's going to be 31 days of doodles that will hopefully get you to be creative and have fun! The theme of March's prompts is 'Fairy Tales', and I seriously can't wait to start drawing!!!
As we did before, all the doodles are part of one big comprehensive picture. Imagine each day to be one piece of the puzzle. So, at the end of the month you will have one big doodle picture! :)
If you decide to follow this way, you'll have to create a table with 5x6 +1 boxes and you shouldn't add the days on the top. You can also make the boxes and dates in pencil, if you don't want the lines to obscure the end result. It's totally up to you.
Of course, if you prefer to draw the doodles in the traditional way, that's absolutely fine as well. The important thing is to have fun!
You can also download a free printout with the daily prompts here.

If you want to join us then:
- Follow me (Christina) @christina77star and Alexandra @alexandra_plans over on Instagram.
- Download the prompts below.
- Draw something according to the day's prompt, take a photo of it, and share it with us on Instagram.
- Don't forget to add the hashtag #doodlewithusinmarch and spread the word.
- Everyone is welcome!

We're excited to see what you'll share!
Thank you for joining in!


How to transition from one bullet journal to the next
It is very common for people to use more than one bullet journal per year. Me personally, I used two bullet journals last year. Other people manage to use only one, but I've also heard of others that use 3 per year, or even more! It all depends on how busy you are, and how many spreads you create in your bullet journal.
No matter how many bullet journals you use per year though, there'll come a point where you'll need to move to a new notebook eventually. And that can feel a bit daunting for some, especially if it's the first time you're doing it. But don't worry. There are certain steps you need to take to make this procedure as simple as possible.
Before we begin with the steps, I need to mention that you need to start thinking about the move when you are on your last 20-25 pages of your current bullet journal. Especially if you have to order your new journal online and you have to wait for it to be delivered to you, you need to give yourself some time to prepare for the move.
So, now we can move on with the steps:
1. Choose your next Notebook
The first thing you need to consider is what notebook you're going to use for your new bullet journal. Were you happy with your previous notebook? Are you going to buy the same one for your next bullet journal, or do you want to try something new? If that is the case, then you might need to do some research, read some reviews on various brands and types of journals and once you've decided, then you can go ahead and buy it or order it online.
For example when I moved to my second bullet journal last year, I was really happy with my Leuchtturm1917 so decided to buy another one in a different colour. Right now, I'm again almost finished with my current bullet journal, but I'm considering to change to a Scribbles That Matter notebook, since I've read a lot of good reviews about that brand.
I have a blog post on'How to choose the perfect bullet journal for you', if you want to check it out.
2. Choose the Collections you want to migrate
Go through your current bullet journal, and make a list of all the collections/spreads you want to move to your new one. You don't have to copy over everything you've created. Take your time with this one and think what worked in the past and what didn't. You'll need to move the spreads you use the most plus any still active collections that you want to continue in the new bullet journal. Don't forget to write down the number of the page of the old spreads you want to move.
In my previous bullet journal the Calendex system didn't work for me. Therefore, I didn't migrate that spread in the new bujo.
3. Make any necessary changes
Once you have the list with the collections you want to migrate, go through each one and see if you want to keep them as they are, or if you want to change them around a bit. You might have seen a similar spread online that you preferred, so you might want to change it in your new bullet journal. Take a picture of the spread you've seen for your reference, or make some notes on a piece of paper (or even better your current bujo!) of the changes you want to make. If you don't have something in mind, you can still go online, do some research and get some inspiration.
When I moved to the second bullet journal, one of the spreads I knew I wanted to recreate was my 'Level 10 Life' one. But I wanted to make it a bit different. After looking around and getting some inspiration online, I decided to change completely the design and I'm really happy with the way it turned out. You can see the changes in the pictures below:
4. New Collections you want to add
Now is the time to consider any new collections you want to add. There is so much inspiration online, so you're bound to find even more spreads you might want to include in your new bullet journal.
I have put together a FREE printable with 150 Categories and Collection Ideas for your bullet journal that you might find useful.
JOIN THE GANG!
Subscribe now to my Newsletter to download the FREE Printable.
Plus get access to the Resources Library!
5. Order
One of the advantages of moving to a new journal, is that now you can actually put your spreads in the order you want. You also get to have them in the beginning of the journal, which makes it easier to access them.
Don't forget that some spreads need one page, while others need two pages or more. Also, consider that some spreads require two facing pages.
To preplan your order, you can write in your new journal the title of the collection on the page you plan to add them with a pencil. Another way, that allows you to play around more and see how things look while deciding on the order, is to use sticky notes. This makes it easier to move collections around instead of writing and erasing each time.
When I changed journal the second time around, I chose the following order:
- Word of the Year / Mission Statement
- Useful Numbers
- Key / Colour Code
- Year at a Glance
- Future Log
- Level 10 Life
- Books to Read
- Publications per Month
- Books Read in 2016
- My Planning Routine
- Housework Routine
- Menu Planning
- Supermarket Master List
- Vegetable Shopping Master List
You can see pictures and a video of the first spreads in my new bullet journal in this post.
Once you get your new notebook, even before you finish your current one, you should begin preparing it and start creating the collections in it. That way, you'll do things in your own time and you'll be ready before your current journal is finished.
Creative Journaling Course
Step by step video lessons that will help you set up and organise your life in your journal.
If this whole transition from one bullet journal to the next is too much for you and you'd prefer to avoid doing it every time you move to a new bullet journal, then you should consider using a binder system or a disk-bound system. That way you get to keep your spreads as they are, and you only add new pages once your bullet journal is full.
Have you moved to a new bullet journal already? Did you find it easy?


6 Index Hacks for your Bullet Journal
The Index page is the core of your Bullet Journal. It's where you archive all your entries so that you can easily find them when needed. However, not many people talk about the Index page and I know a lot of people neglect to fill in the entries as they create their spreads in their notebook. Today I'll show you how to make your Index Page even more functional with a few Index hacks.
The Index page is the core of your Bullet Journal. It's where you archive all your entries so that you can easily find them when needed. However, not many people talk about the Index page and I know a lot of people neglect to fill in the entries as they create their spreads in their notebook. Today I'll show you how to make your Index Page even more functional with a few Index hacks.
Split it into two to maximise the space
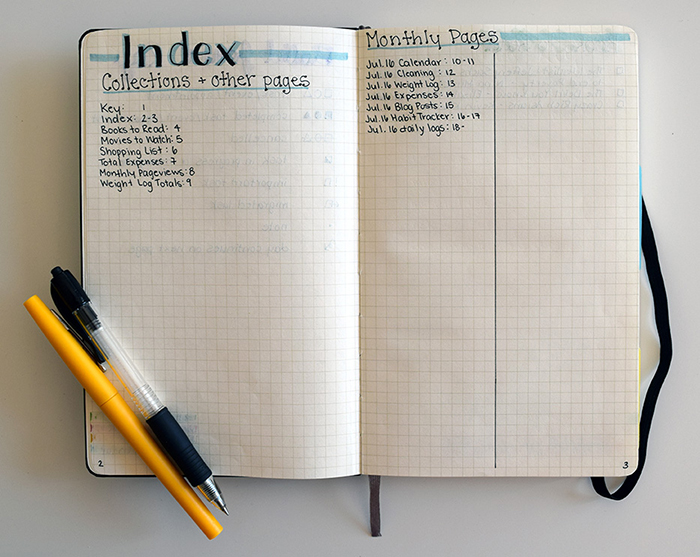
Use a vertical line to split the index page into two sections. That way you can maximise and utilise better the space, especially if you have a very thorough Index page with lots of entries.
Original Bullet Journal Website
Separate Collections from Calendar pages
The way you've split the Index page into two section as shown above, you might want to use each section for different entries. Like Kalyn does with hers, where she separates it into Calendar pages and Collection pages.
Or you can choose to have a separate Index page for each category, like Katie does with her Index Page. As you can see, she has one page dedicated to all the collections she creates and the other page to write down all the monthly entries.
Make certain entries bolder
You can make the first entry of each month bolder, to indicate the change of the month and that way to visually separate the entries of each month. Kara does this by simply making her letters thicker:
Or you can use highlighters to mark each new month like Reagan:
Mark the most used pages for easier access
In your bullet journal, there are certain pages that you tend to refer to very often. So, you can mark those pages in order to be able to find them quicker. Like Rhianna does in her bullet journal:
Colour code each entry
You can use markers or highlighters to mark specific entries according to your colour coding system like Hannah-Beth has done:
Or you can add a coloured box in the beginning of each entry to categorise it according again to your colour coding system like Dawn:
You can even write each entry in different colour according to the category it belongs, like Paula does:
Use symbols to indicate different spreads
You can use different symbols (signifiers) before each spread to mark each category and differentiate them from each other. You can use as many different signifiers as you want, or you can keep it simple and use only one symbol to separate again the calendar from the collection pages as you can see below:
As you can see there are various ways that can help you make better use of the Index page. Do you use any of the above? Are you thorough with your Index page or do you usually neglect to fill it in?


FREE Valentine's Day Brush Lettering Worksheet

For today's post I collaborated once again with the lovely Olivia from RandomOlive. Since Valentine's Day is coming up soon (is it really??? Time flies by!!!), I thought it would be fun to create something for our loved ones, using brush lettering.

I chose the phrase: 'I love you to the moon and back', which I find very appropriate :) The idea is to practice (and then practice some more!) in order to be able to recreate this phrase and turn it into a lovely diy Valentine's card. Or you can even frame it and make it even more special.

I like to use my Tombow Dual Brush pens in order to practice my hand lettering. Or you can use paint brushes and paint, like Olivia does. The trick is to hold the marker in a 45 degree angle. I also hold it quite far up - that helps with the thick downward strokes.
If one of your goals is to better your brush lettering and hand lettering, then maybe you should check the Comprehensive Brush Letter Practic Guide out. It promises to turn you into a pro in 45 days! Olivia even gives you a schedule to stay on track. Perfect!
Click here to download your FREE Valentine's Day Brush Lettering Worksheet


