
Daily Plan Bar for your Bullet Journal
For me, time management is one of the most important things in my daily planning. I tend to get distracted left, right and centre with the result of not finishing my tasks and projects. Keeping these distractions to a minimum and finding things that can help me to focus on the tasks at hand are imperative for me. In today’s postI’m going to talk about something that I've been adding to my daily spreads lately and which helps me to manage my time even better.
The new thing that i’ve been implementing in my daily planning is called ‘daily plan bar’. It was created by Mike Rohde who was in turn inspired by Bill Westerman.
What is a daily plan bar?
It mainly is a vertical bar where you note the times during the day and then you go and either colour or sketch parts of it that you allocate for different events or tasks. This way you are blocking out time during the day to do a certain things.
It looks and sounds like a timeline but it is a vertical version of it and it’s also more detailed.
How to create it
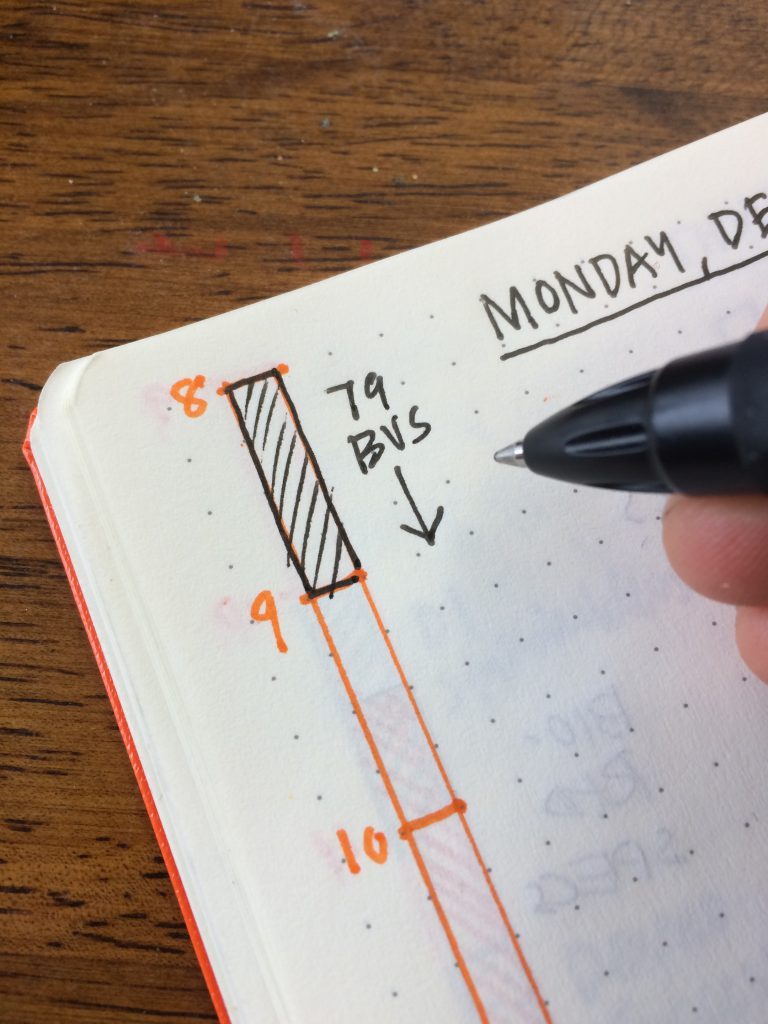
On the page where you create your daily spread create your daily header as usual and on the left hand side create a vertical bar by drawing two vertical lines or by filling in the space with I highlighter like I did.

It’s up to you from what time you’ll start your daily plan bar. For example, Mike Rohde starts his from 8 o’clock (picture below), whereas I prefer to start my day way earlier and so my bar starts from 6am.
It’s also up to you how much space you’ll leave in-between the hours.


As you can see in the pictures above, on one day I chose to represent each hour with a square on the page, whereas on the other picture you can see that each hour has three squares. Also, Mike Rohde has 4 squares for each hour. The space you leave between each hour depends on if you have lots of things to do and note within that hour. Having more space means that you can mark mark time blocks of 15 or 30 mins, and that you can be more detailed with the time you allocate for each task. And even though you can still mark the 30min time block with the 1 square space between the hours, (by colouring half a square as you can see in the picture above), it doesn’t give you enough space to write in-between.

Stickers used from my Etsy store
Once you’ve set up your daily plan bar, then you can start time blocking and mapping your day ahead. You can choose to use colour coding to time block and separate the different tasks and events, or you can use shapes and doodles to do that.

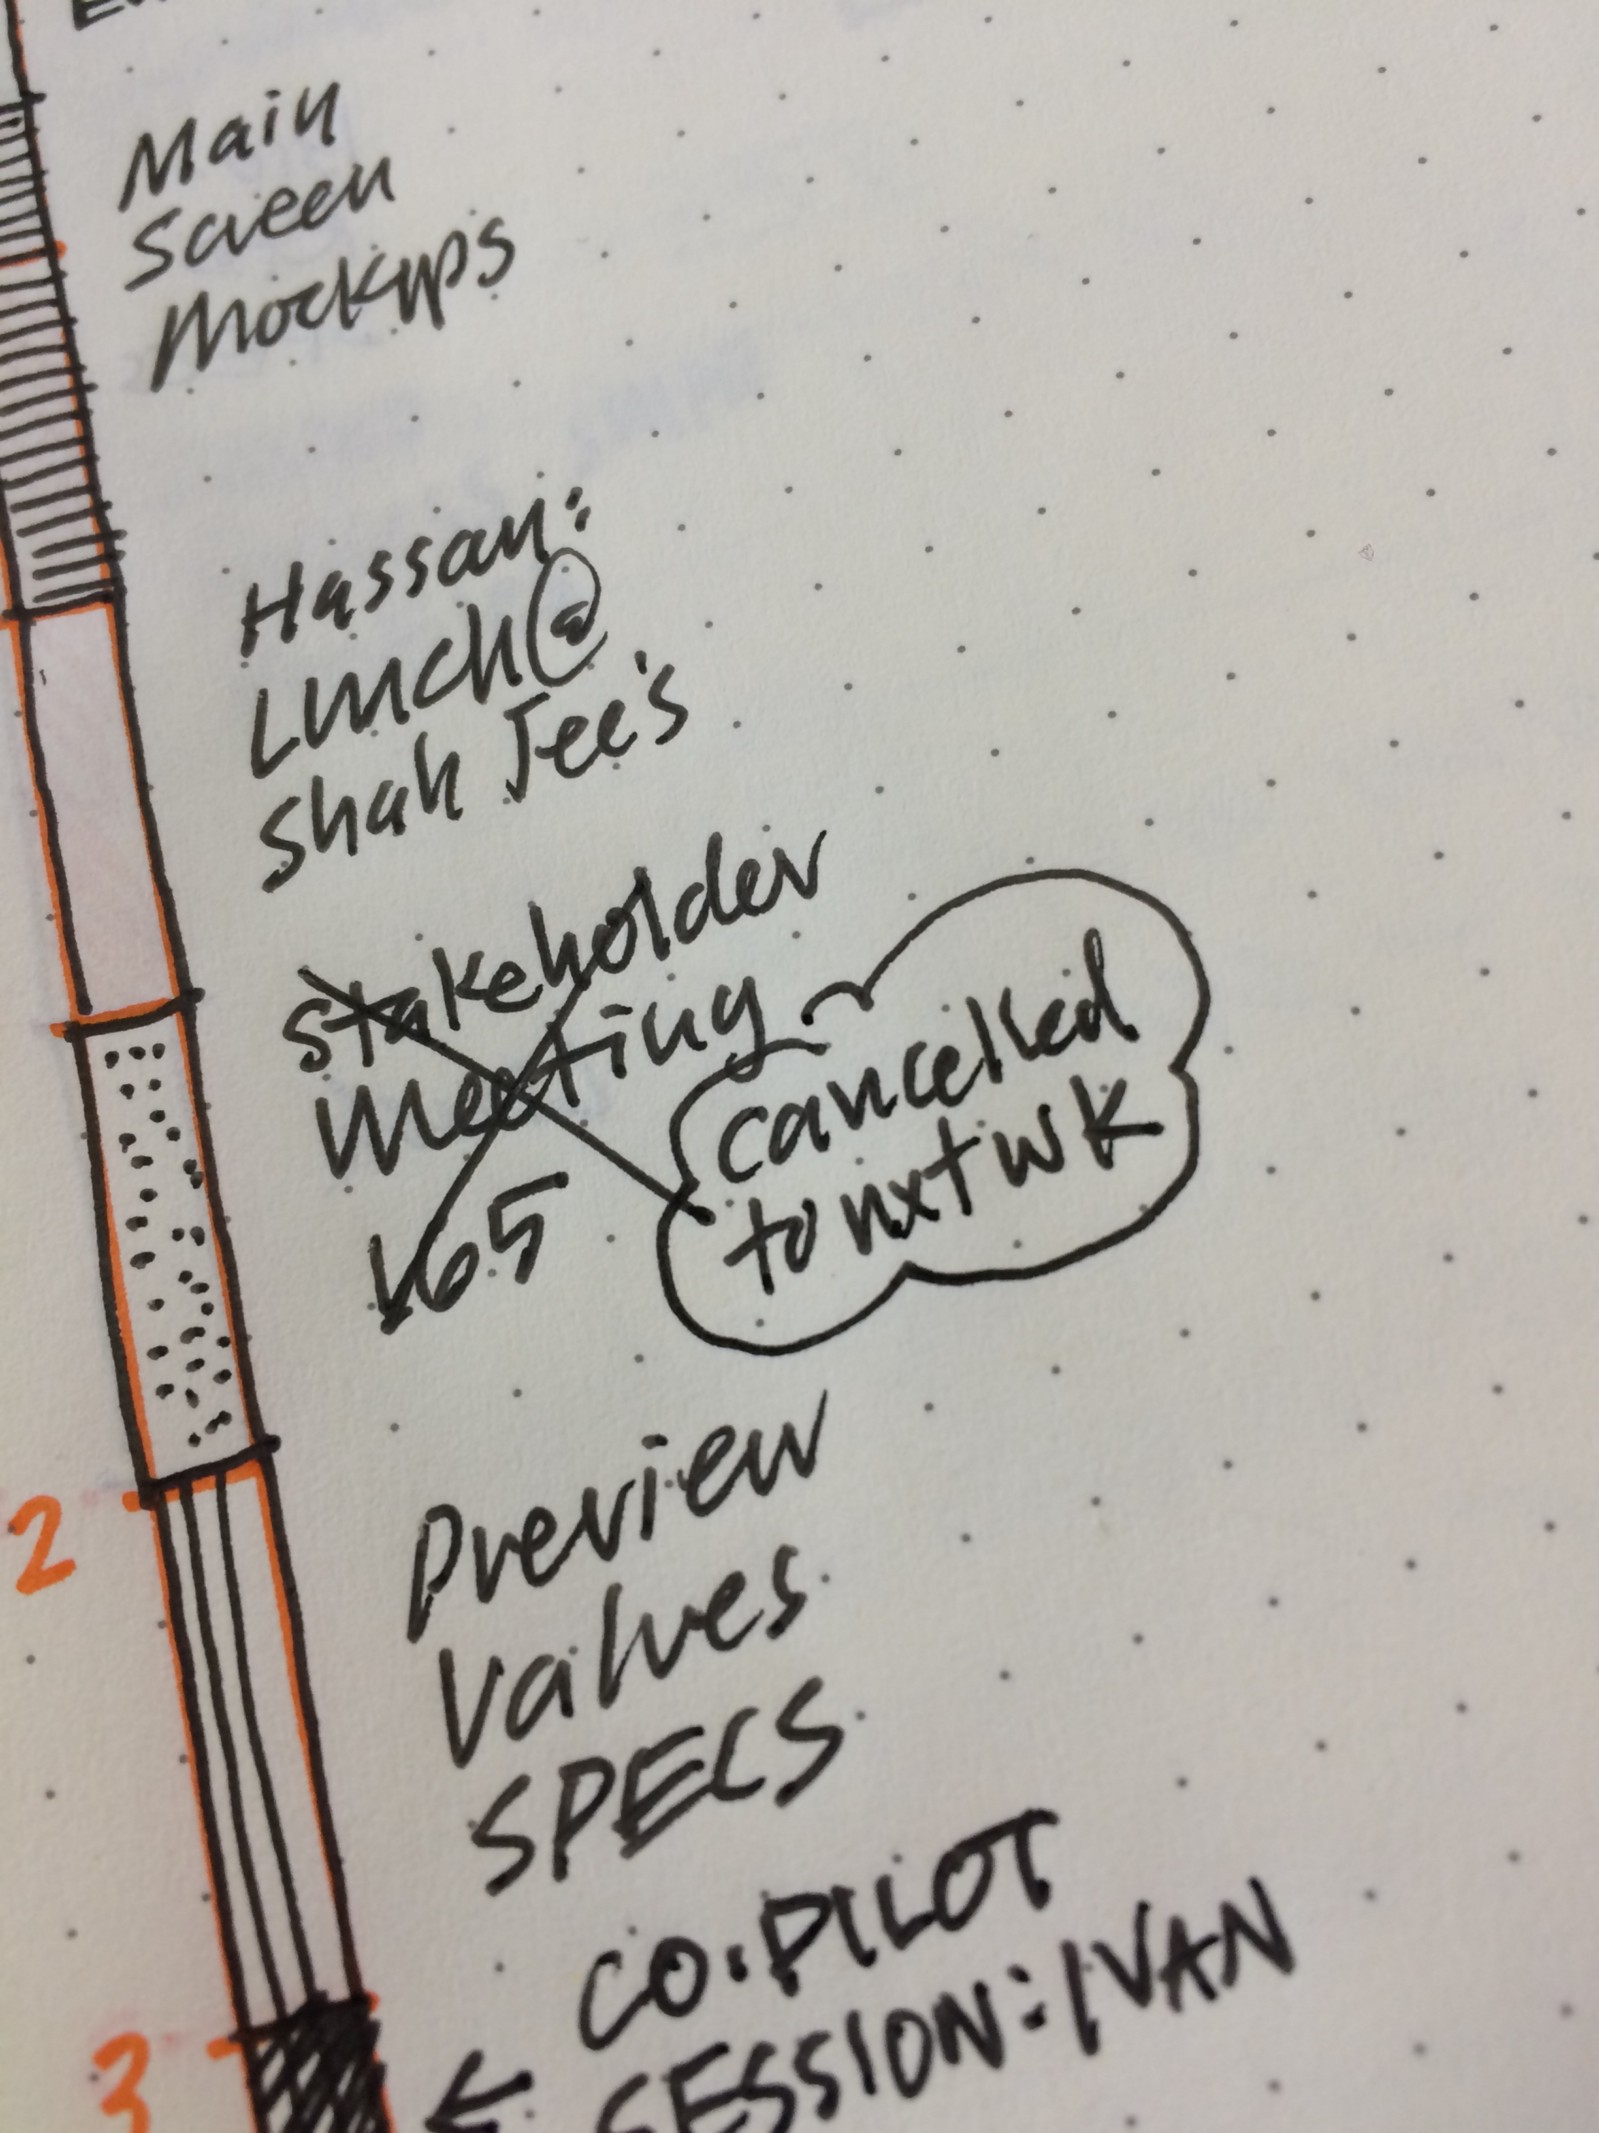
You can make changes and re-shuffle things as your day unfolds. If something is cancelled, you can simply cross it off and add a note next to it for more information or with the new time and date of the event.

The rest of the page, is left for you to add your to-do list or you can doodle and journal.
How it can help you in your time management
The daily plan bar can really help you focus on your day and the way you use your time. It’s really easy when you sit down in the evening to plan the following day to create that bar and see how your day unfolds and how busy it is. It is also very helpful so that you don’t over plan and fill your schedule with things and events that you simply don’t have time to do.
How you can use it for weekly planning
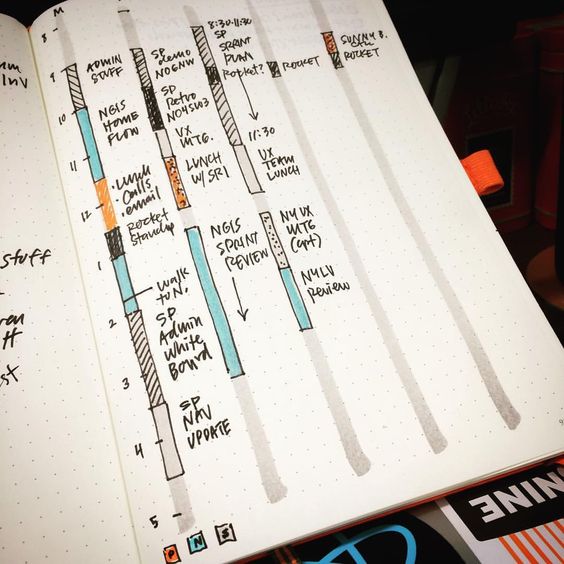

You can use the daily plan bar for your weekly planning by adding a bar for each day of the week on one page. That way you can see at a glance how the rest of your week looks like and how busy it is. That can help you to schedule even more things (if you have time during that day) or to re-arrange things for a later time.
What do you think of the daily plan bar? Have you used it before?
Christina x