
My Blog Bullet Journal set up
I've talked about this in the past, and I truly believe that it's better to have one bullet journal for everything. It's easier to keep everything in one place and therefore it's less likely to get confused and frustrated going back and forth various journals. So, you might be surprised that I have created a bullet journal specifically for my blog.
The reason I wanted a separate notebook for that, was because I wanted a place to keep certain information and spreads that don't really change and so that I don't have to recreate every time I change a notebook. So, my to-do lists and my monthly planning for both my personal and professional life are done in my main bullet journal, while this new one will keep track of affiliations, website information, blog post ideas etc.
So, I'd like to show you how I've set up my blog bullet journal.
I decided to use my Jane's Agenda notebook that I've reviewed here.

I believe that a disc bound notebook is perfect for what I want plus it gives me the flexibility to change the order of the pages, create categories and generally change pages if I don't like them any more.
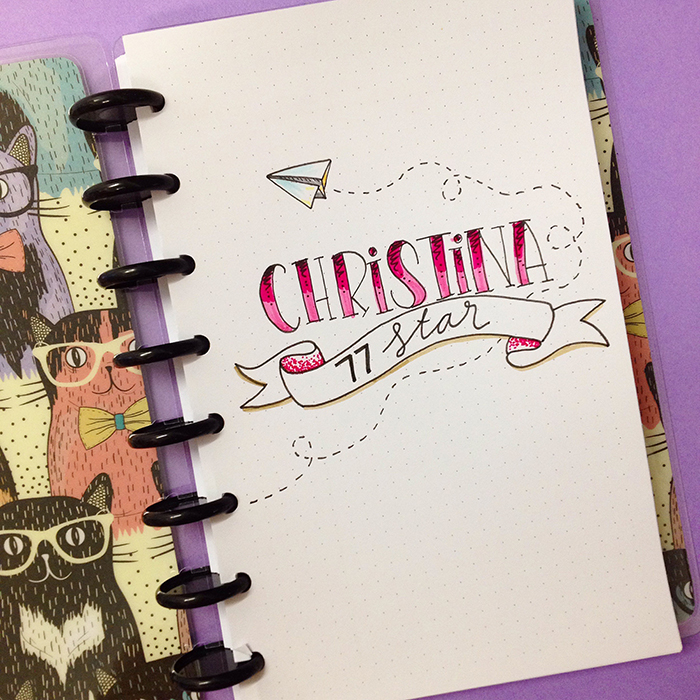
I added my logo on the first page - christina77star. And I love how it turned out. I have to say that the quality of this paper is a m a z i n g!

I had to create an index page, so I opted for something very simple. I only created one page since it's a disc bound notebook and I can add any more pages I want as time goes on.
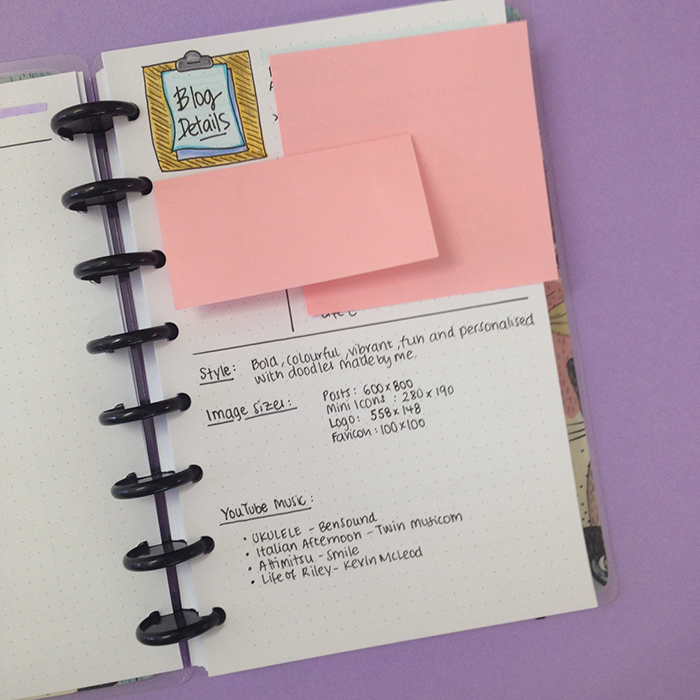
Then I have a page with all the blog information. Some description paragraphs, SEO, Fonts, Social Media information, Image size, the codes of the colours I'm using for my brand etc. Some of the information I wasn't very comfortable sharing with you, so I had to cover them up.
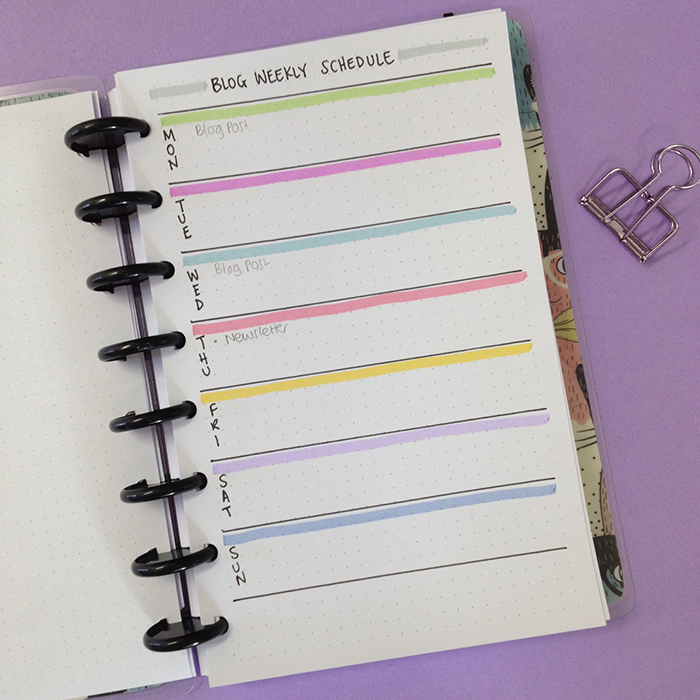
Next comes my Weekly Schedule. This is a page where I want to plan general actions i.e. how often I upload a post, or when I send my Newsletter etc. It is a schedule so that there is a program of my actions which helps me stay on top of things.

The next page is my Brain Dump page - because every journal needs one! This is a catch it all page for everything I need to remember that doesn't have a specific page for it. :)
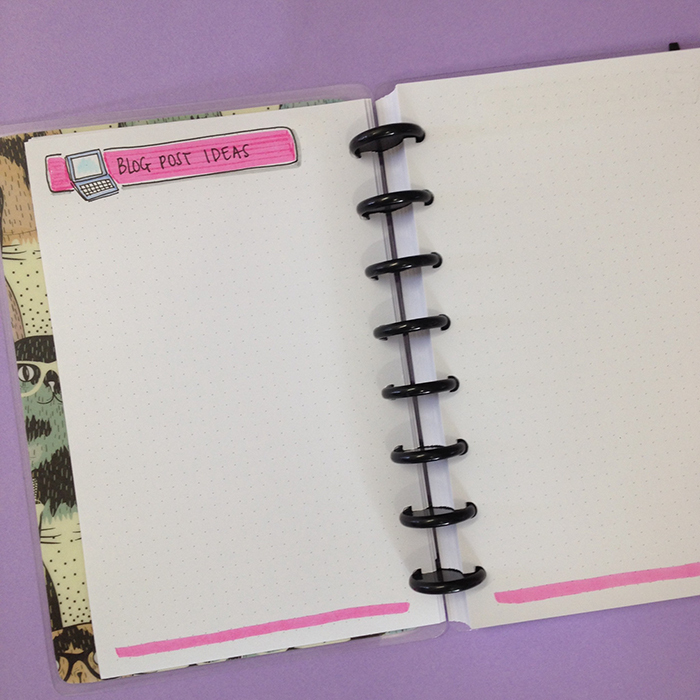
Then we move on to the Blog Post Ideas spread. I have so many ideas for blog posts that I need to keep a list of them and tick them off as I go along. What I like, is that I can always add pages when these ones are filled up.
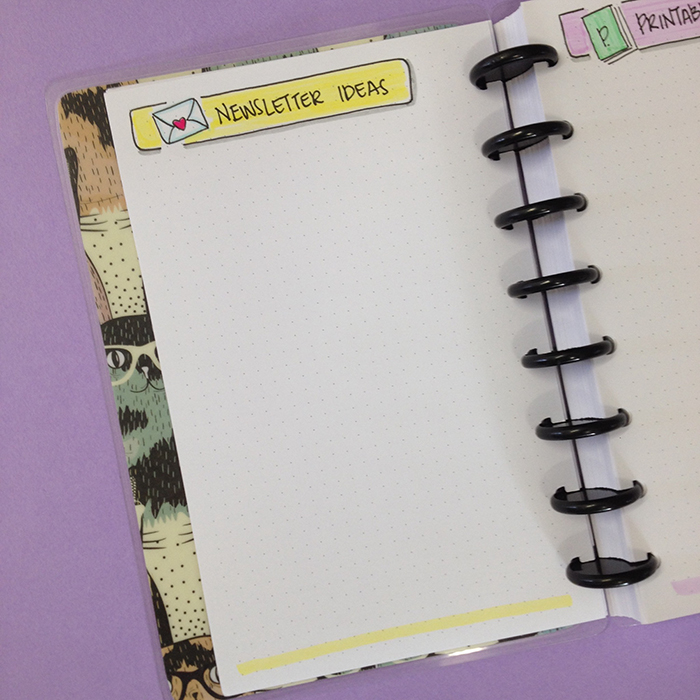
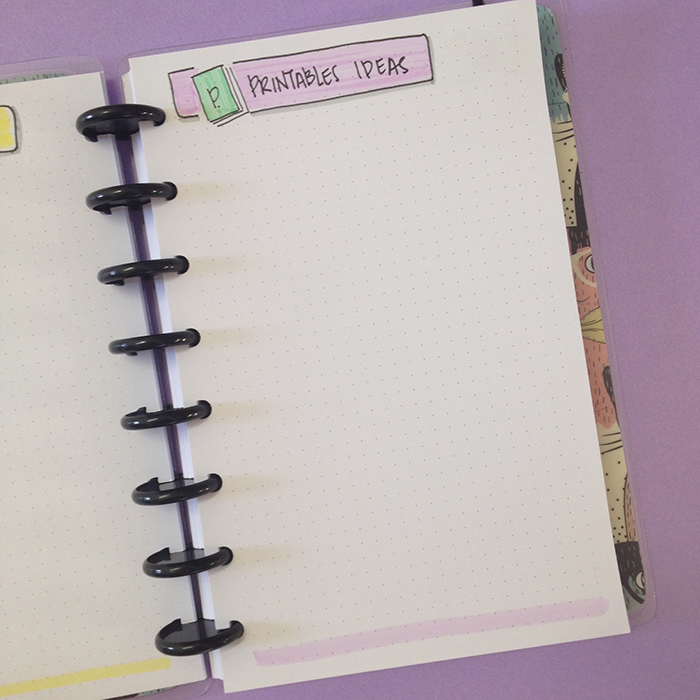
Then comes a page for my Newsletter ideas and one for the printables I want to create and share with you.
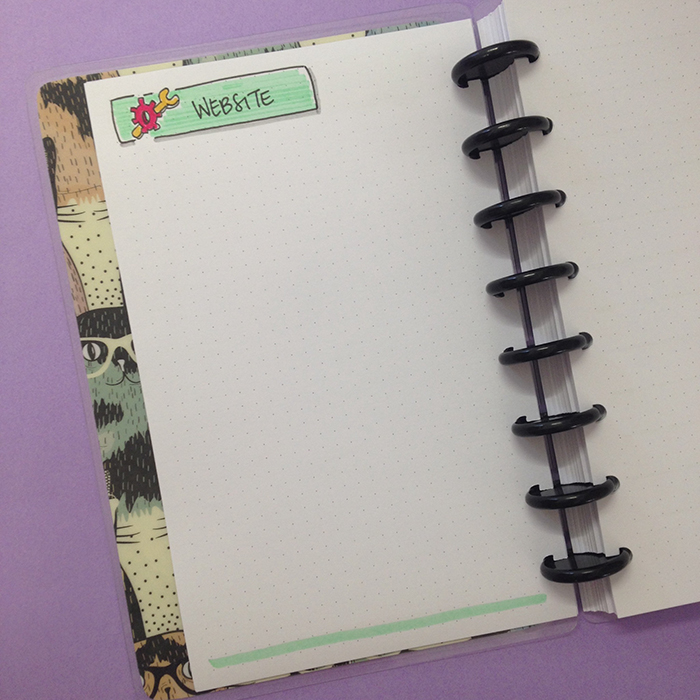
The next spread is about my Website's Maintenance. It's the things I need to do on it aesthetically, or if I want to add a new page, and generally any changes I want to make on it will go on this page. So, when I have the time I can come here and see what needs to be done.
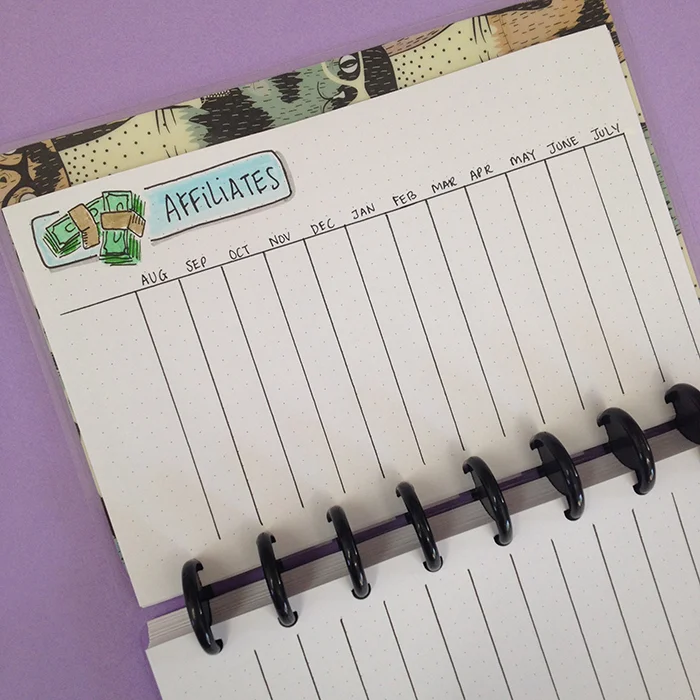
Next comes my affiliates page. I like to keep track of how much money I make from each company/website I'm affiliated with. So, I created a table with all the months and a long list on the left hand side to write the names of the affiliates.

The next page is a very important one. It has all my blog's statistics. Every month I like to keep track of page views, followers and generally everything that shows me how my blog and my social media accounts are doing.
In the other pages I keep my Finance Spreads as well as my Monthly reviews.
I love how everything turned out and as I mentioned before, I really like the flexibility of the disc bound notebook.
How about you? Do you keep a separate bullet journal for your business or school? Do you have a blog bullet journal? What other pages have you added? Share with me in the comments below ;)

