Vertical Dutch Door Ideas for your Bullet Journal
I’ve already talked about the dutch door system for your bullet journal in this blog post I wrote back in August last year. It’s one of my favourite ways to create weekly spreads, because it allows you to see multiple days/sections at a glance.
For those that don’t know of the term, the ‘dutch door’ system is a way of creating a weekly spread in your bullet journal, where part of the page remains stationary and the other part is normal, and you can turn the pages as usual. This system can be applied horizontally or vertically. In today’s post, I’ll focus on the vertical option.
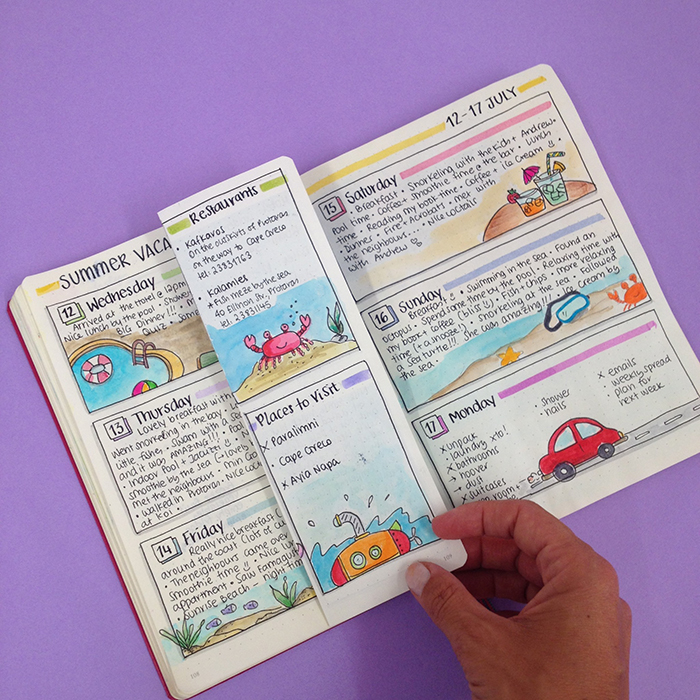
I decided to use the dutch door system in my latest vacation trip. I wanted to document my days during our holidays, but I also wanted to have certain information and sections at hand. It worked perfectly for what I wanted to do, and I’m really happy with the result!
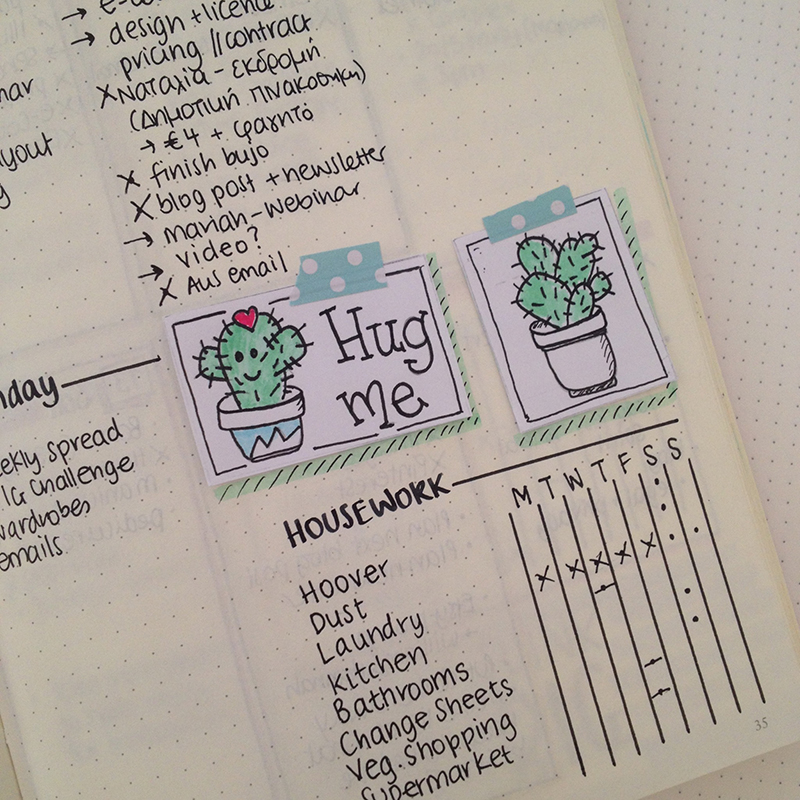
With this layout, I managed to have all the information I needed for my holidays as well as the plans I've made for those days, at the same place I was doing my journaling for each of those six days. I could flip the middle page to the section I wanted to look at, without having to go back and forth various pages.
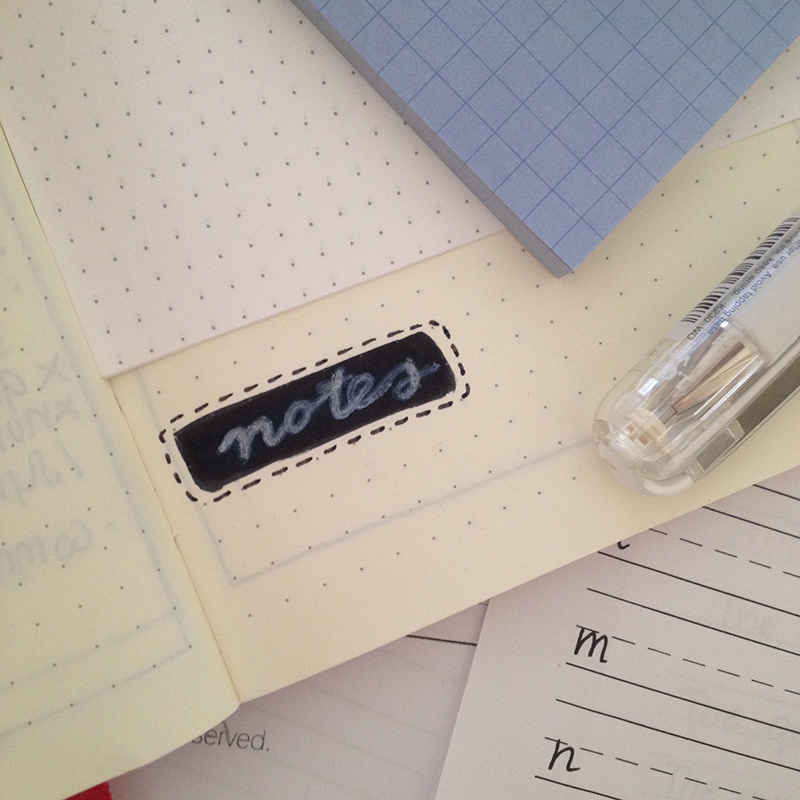
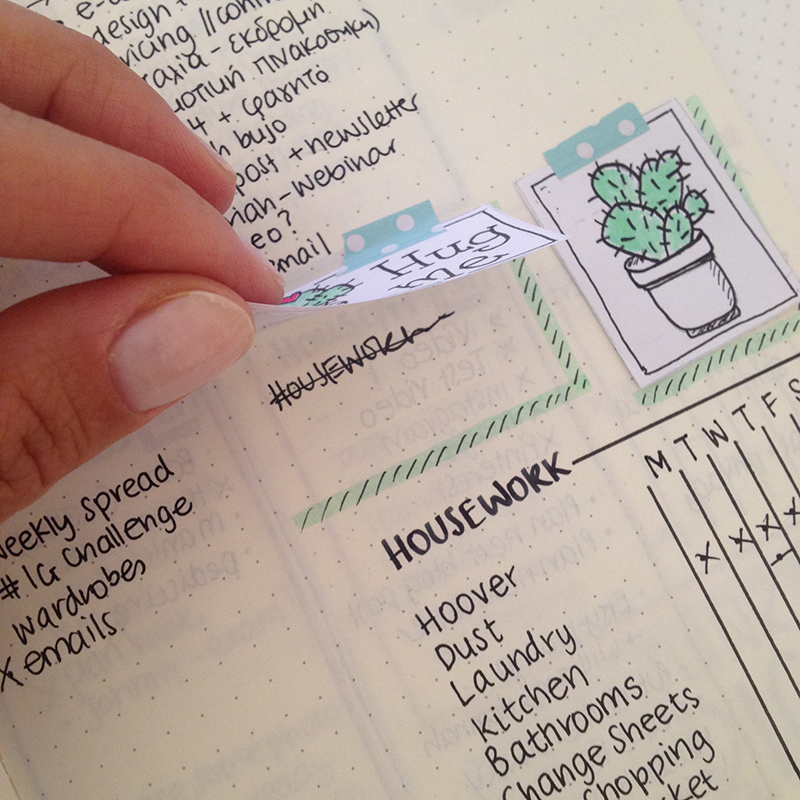
The reason I like the vertical version of the dutch door system is also because you don't have to cut any pages of your precious journal. And I know that this prevents a lot of people from even trying to use that system. But with the vertical one, you only have to fold the middle page in the middle and add anything you want in the sections that are created. Also, after you finish using that spread, you can lay the middle page flat open, so that it doesn't disturb your writing in the other pages. Perfect!
In order for you to get more inspired, I'll share with you some examples of the vertical dutch door system by some amazing bullet journalists.
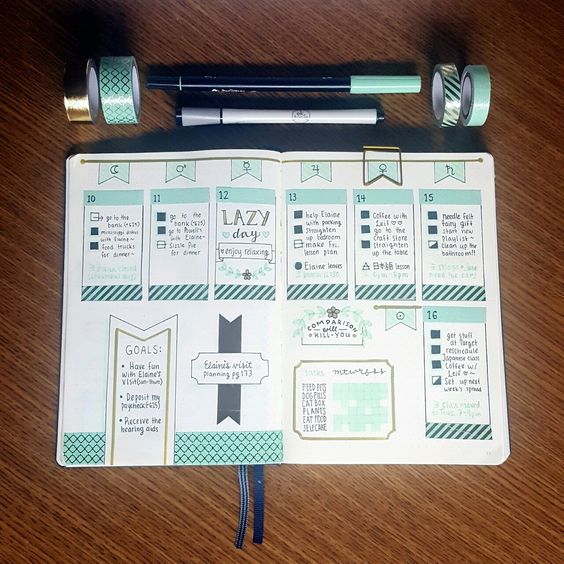
You can use the dutch door for your weeklies:
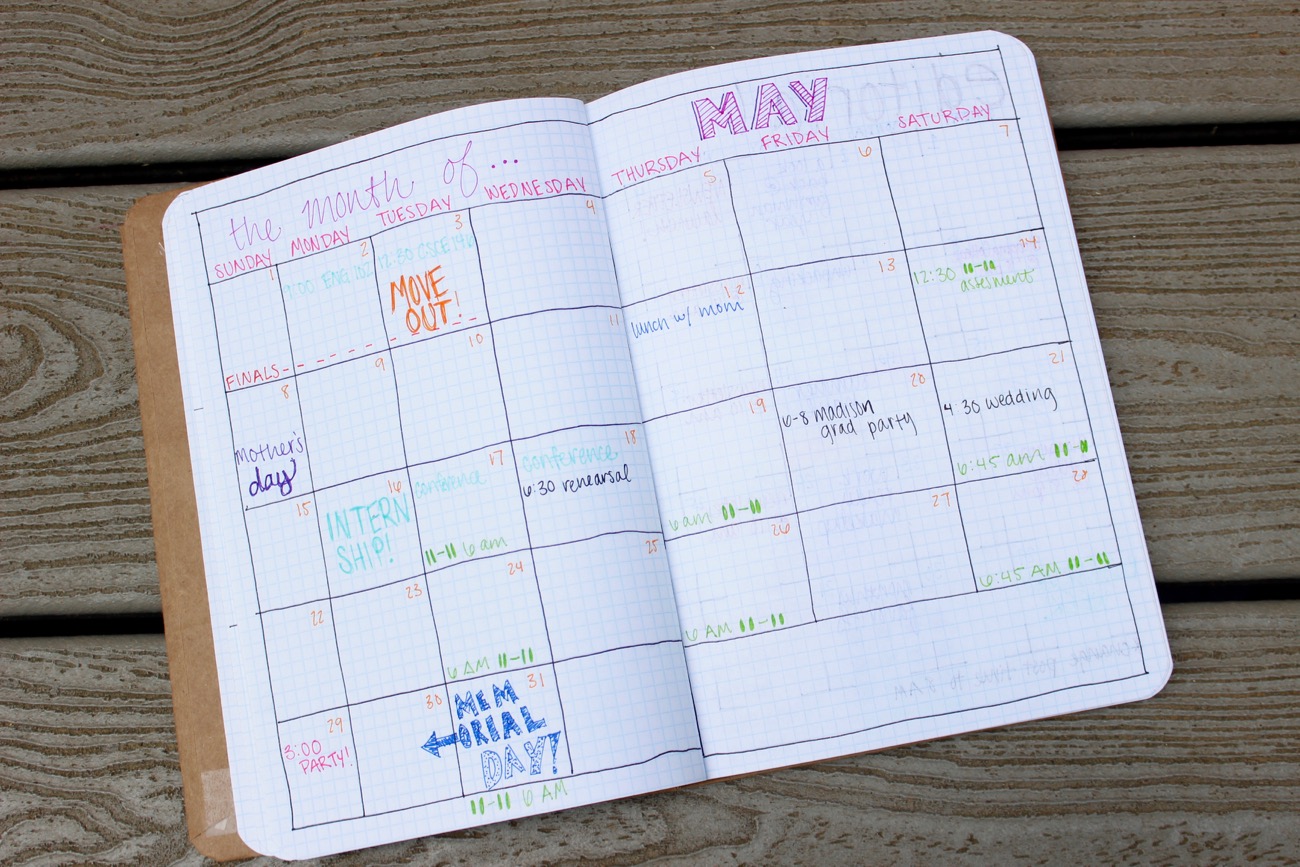
You can also use the vertical dutch door system to plan your monthly spreads:
saltykatie.com
I really love how functional this system is and I'll be using it more often from now on. Have you tried the vertical dutch door system? If you have make sure you share with us in the comments below ;)
How to deal with Mistakes in your Bullet Journal #2
Since I started bullet journaling almost 2 years ago, I’ve made LOADS of mistakes! Don’t think that from all the amazing pictures you see on social media, that everyone else has the perfect bullet journal. No. Not even close!
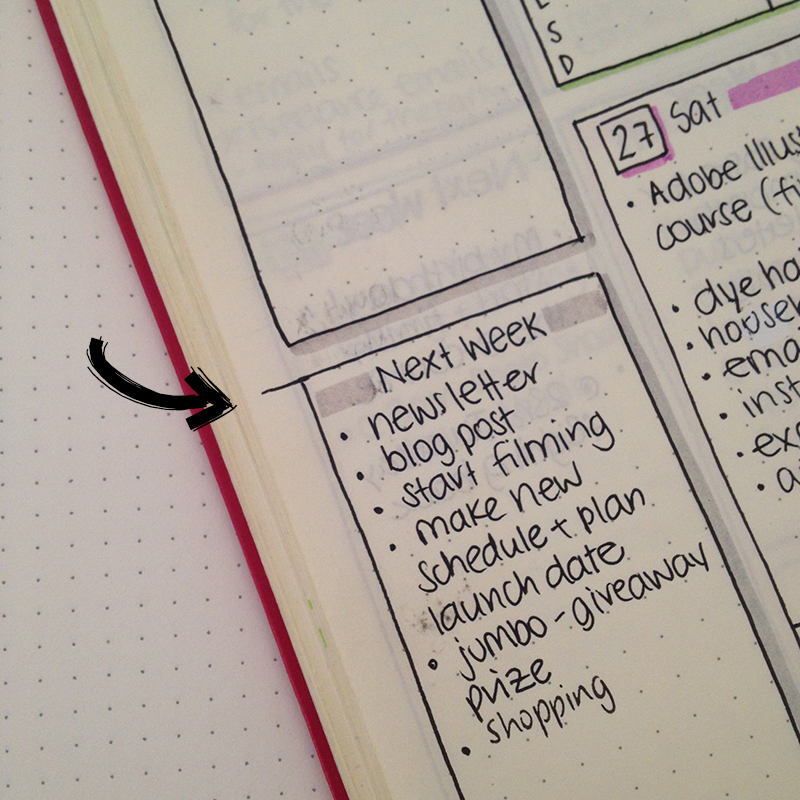
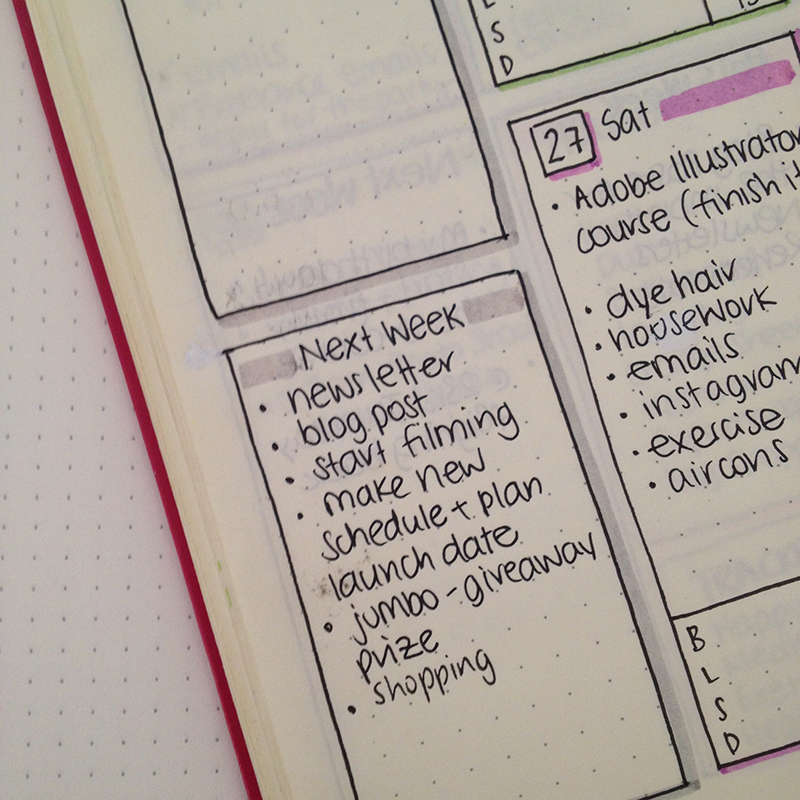
I have to say that in the beginning it was very hard for me to deal with my mistakes. Especially when you start something new, and you have a brand new journal that you want to make perfect, even the tiniest mistake and make you feel that you need to rip out the page completely. Which is always an option, but I prefer to find other ways to fix and cover up my mistakes.
I have another blog post on how to cover up your mistakes if you care to check it out here. And this is the #2 post I’ll dedicate on this subject. So, let’s dive in!
Since I started bullet journaling almost 2 years ago, I’ve made LOOOOOADS of mistakes! Don’t think that from all the amazing pictures you see on social media, that everyone else has the perfect bullet journal apart from you. No. Not even close!
I have to say that in the beginning it was very hard for me to deal with my mistakes. Especially when you start something new, and you have a brand new journal that you want to make perfect, even the tiniest mistake can make you feel that you need to rip out the page completely. Which is always an option, but I prefer to find other ways to fix and cover up my mistakes.
I have another blog post on how to cover up your mistakes if you care to check it out here. And this is the #2 post I’ll dedicate on this subject. So, let’s dive in!
For little mistakes, like small lines around the letters, or lines that you didn’t measure correctly and you drew a bit out of size, you can use a white gel pen. This will offer you a more precise correction around those small areas that need fixing.
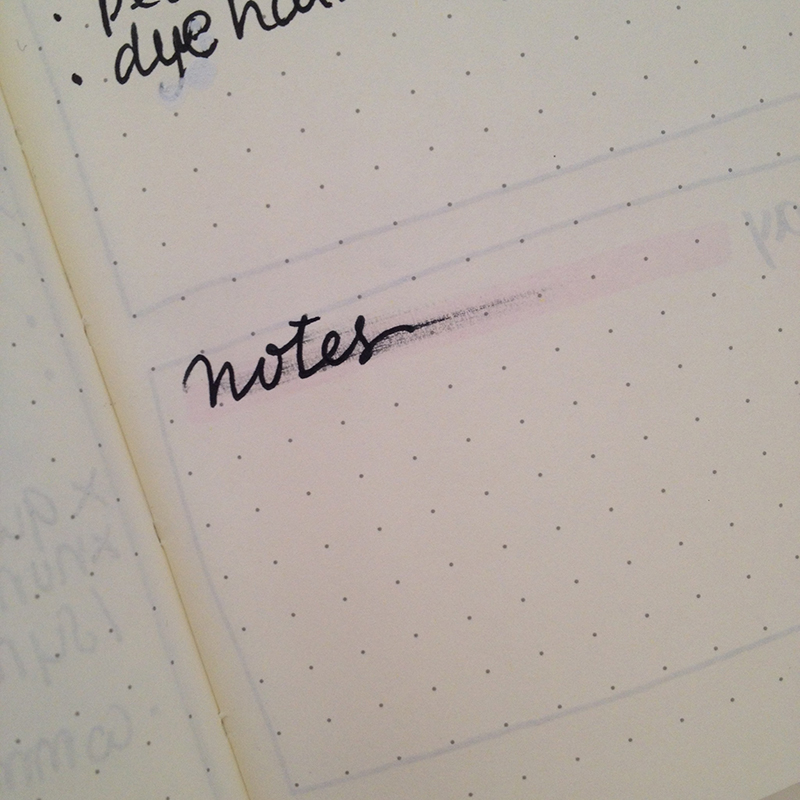
Black it out. Cover the mistake with a black pen and write over it with a white gel pen. You can also use black washi tape instead if you want.
Create some mini drawings on a separate piece of paper, cut it out and stick it on top of your boo boo. That’s a fun way to cover up your mistakes.
For big mistakes, use some scrap paper to cover the whole page with it. You simply measure the size of the page, cut the paper and use some glue tape to stick it on the page.
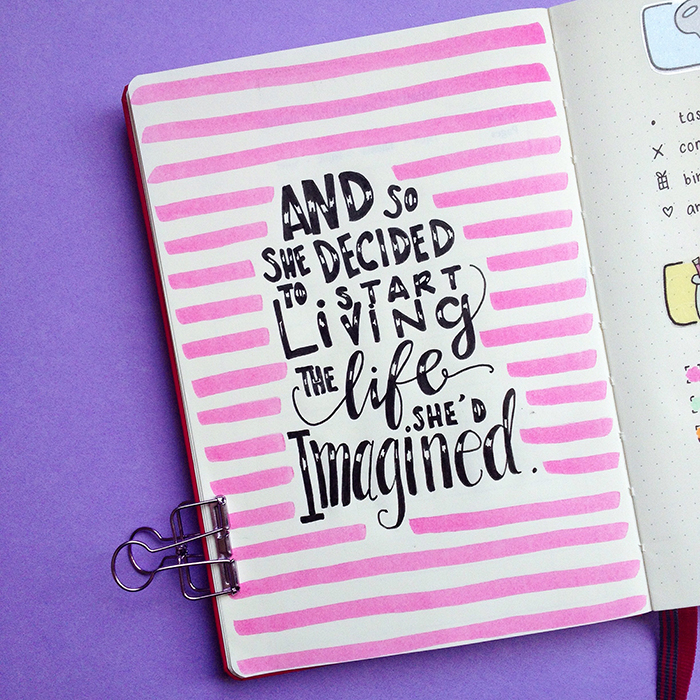
You can also find cute quotes on line like the one I created in the picture above, print them on sticker paper, cut to size and stick directly on your page.
You can now download this quote for FREE and add it in your bullet journal. You simply print it on a sticker paper and stick it on the page that you've made a mistake on. You can also print it on normal paper and add it in you journal with some glue tape.
JOIN THE GANG!
Subscribe now to my Newsletter to download the FREE Printable.
Plus get access to the Resources Library!
You can also use the page to create a collage with various images and scrapbooking supplies that will totally cover up your mistakes.
If nothing of the above works, simply glue the pages together and start fresh :)
How do you deal with your mistakes in your bullet journal? Please share in the comments below.
Tips for Better Handwriting
Nowadays, we don’t need to write things by hand as we did in the past. Everything now is digital, so instead we are using our computer or phone to write lists, texts or send emails. However, there are still times that we do need to write.
Nowadays, we don’t need to write things by hand as we did in the past. Everything now is digital, so instead we are using our computer or phone to write lists, texts or send emails. However, there are still times that we do need to write.
Our writing changes through the years and as we grow we develop our own style. A lot of people though, are not comfortable with the way their handwriting looks. Especially the younger generations, since they don’t write a lot, they don't get enough practice in order to perfect their style and have a good handwriting.
But what is ‘good handwriting’?
Good handwriting generally is when your letters are balanced and clearly formed on the page with an even spacing between the letters and the words.
If you are unhappy with the way your handwriting looks and you want to find ways to improve it, the following steps and techniques will surely help you to better your style.
Get ready
- Make sure when you write that you sit comfortably and use a surface with enough light and space to write on.
- Choose the right paper. When you choose notepads or journals, place your hand on the surface of the paper and see how it feels. The smoother the paper, the better the pens will write on it, and therefore your letters will look better.
- Choose lined, squared, dotted or plain styled paper. Personally, I find that I write better on dotted or squared paper. I don’t really like the lined one and I stay away from the plain paper because I can’t write straight, no matter how hard I try!
- Choose a pen or pencil that you like to write with. I have hundreds of pens (literally) but I always find myself picking 3-4 specific ones, because I like the way they write, and I find that when I use them, my letters look better. When you are choosing a pen, try to think of the type of the ink, the size and the shape of the pen as well as the point of the pen. Also make sure your pens dry fast, so that you prevent smudging.
- Choose a pen that’s comfortable to hold, and where the ink flows smoothly without your having to push too hard on the paper.
Practice
- Practice makes better. The more you practise the better your handwriting will get. Try to practise 10-15 minutes every day.
- Practise whenever you can and take every opportunity to write things down, whilst focusing on your handwriting. Write down your to-do lists, notes or start a journal.
- Start practising the letters you have the most trouble with.
- Look at some computerised fonts or other people's handwriting for ideas.
- Practise writing the same sentence over and over. One good idea is to choose a pangram, which is a sentence that has all the letters of the English language.
- Try to be consistent in terms of angle, length, and height of your letters. You can use special practice sheets that have horizontal lines to help you with that.
- Use different coloured pens and have fun with it!
Handwriting Practice Guide
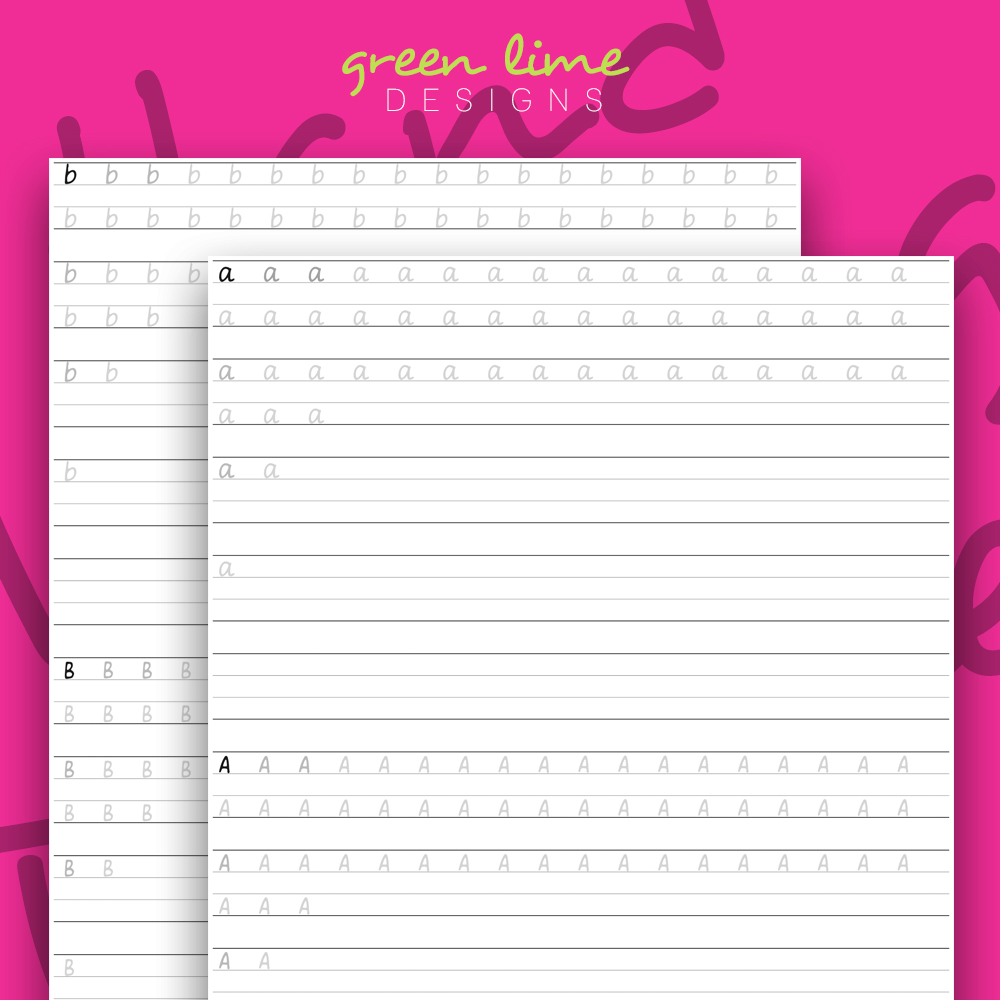
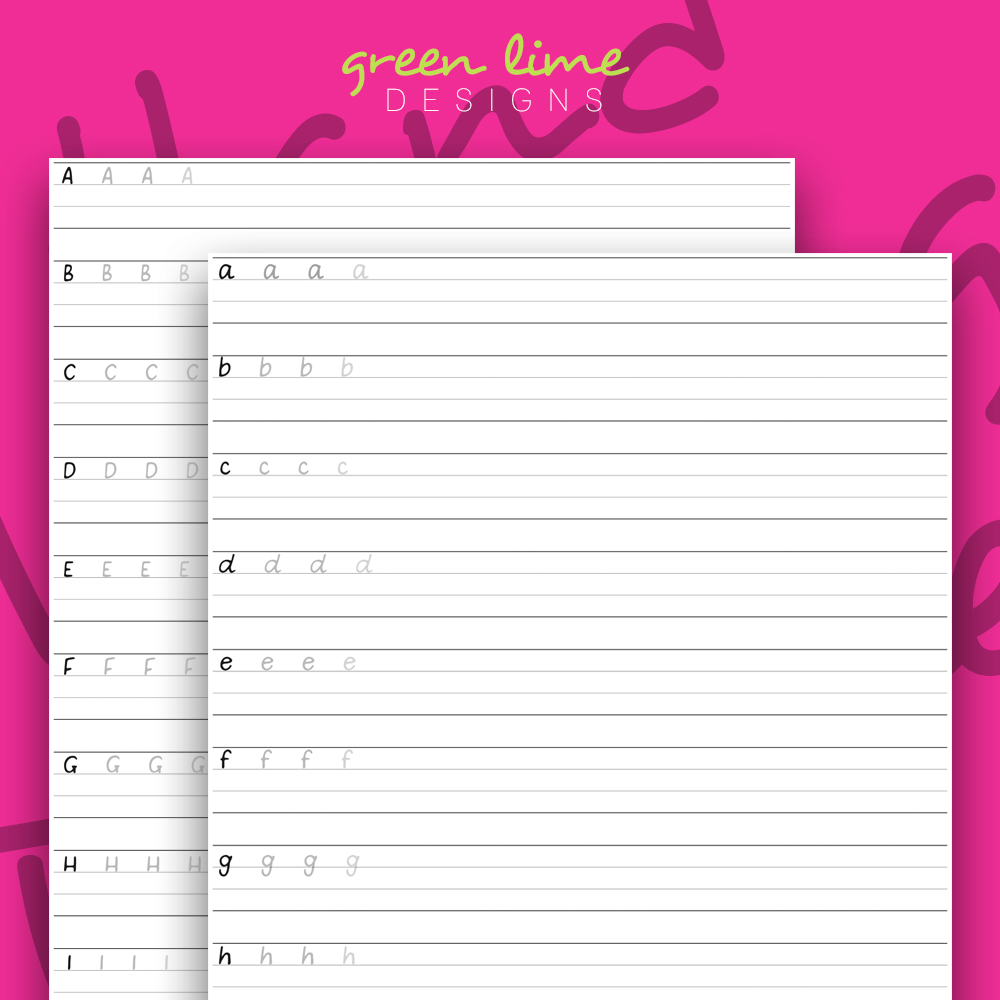
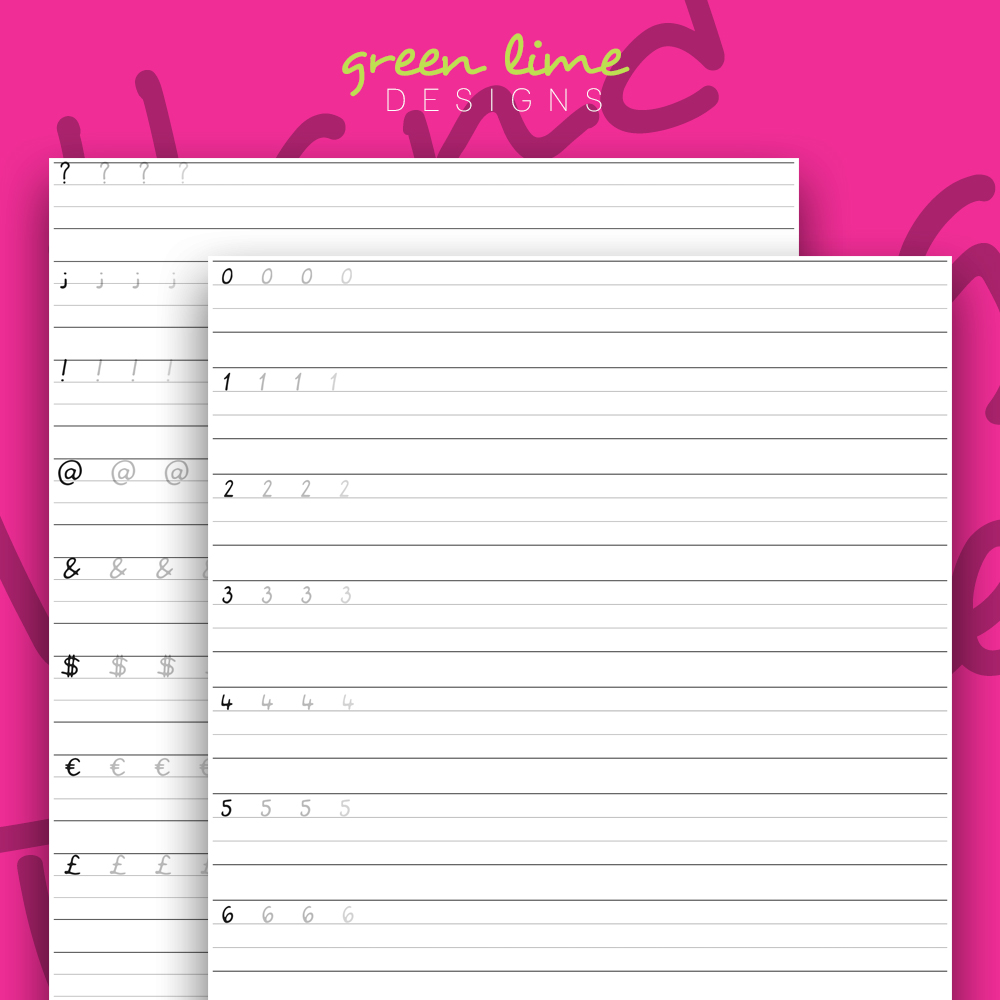
I’ve created a handwriting practice guide with loads of practice sheets to help you improve your handwriting.
Handwriting Practice Guide
Practice sheets to help you improve your handwriting
Use the practice sheets and set a daily practice routine in order to see your handwriting improve and become better and better. The more you practise the better your handwriting will get. A beautiful handwriting style is always noticed - in your bullet journal, cards, notes letters and so on.
This downloadable digital guide is divided into PDF files, so that you can easily identify which pages you’d like to print. And you can print as many copies as you want, without worrying about messing up your practice sheets.
The Handwriting Practice Guide includes the following:
- Detailed instructions to help you use the practice sheets.
- 26 Practice Sheets - one for each letter in both upper and lowercase form.
- 3 Express Practice Sheets of the small letters.
- 3 Express Practice Sheets of the capital letters.
- Numbers and Symbols practice sheets.
- Pangram practice sheet.
- 5 different styles of empty practice sheets to practise your own words.
- Prompts and ideas to keep practising every day.
GET THE GUIDE NOW AND START FEELING MORE CONFIDENT ABOUT YOUR HANDWRITING.
Do you like your handwriting? Is there anything you would like to change about it? Feel free to share in the comments below ;)
Instagram Challenge: #doodlewithusinjuly2017
Once again I'm excited to announce our Instagram Challenge for the month of July! It's the #doodlewithusinjuly2017 Instagram Challenge created by me and Alexandra (from @alexandra_plans).
It's going to be 31 days of doodles that will hopefully get you to be creative and have fun! The theme of July's prompts is 'Swimming Pool'. This theme is perfect for this time of the year and I seriously can't wait to start drawing!
As we did before, all the doodles are part of one big comprehensive picture. Imagine each day to be one piece of the puzzle. So, at the end of the month you will have one big doodle picture! :)
If you decide to follow this way, you'll have to create a table with 5x6 + 1 boxes and you shouldn't add the days on the top. You can also make the boxes and dates in pencil, if you don't want the lines to obscure the end result. It's totally up to you.
Of course, if you prefer to draw the doodles in the traditional way, that's absolutely fine as well. The important thing is to have fun!
You can also download a free printout with the daily prompts here.
If you want to join us then:
- Follow me (Christina) @christina77star and Alexandra @alexandra_plans over on Instagram.
- Download the prompts below.
- Draw something according to the day's prompt, take a photo of it, and share it with us on Instagram.
- Don't forget to add the hashtag #doodlewithusinjuly2017 and spread the word.
- Everyone is welcome!
We're excited to see what you'll share!
Thank you for joining in!
Bullet Journal: My July Setup
One more month is almost finished. I'm so excited that July is just around the corner, because we're going on vacation!!! Yay!!!! I really REALLY need some time off! I had some good and some bad news during the last month, with lots of ups and downs and I have to say that I'm in dire need of a break, to recharge my batteries and find balance both psychologically and physically.
As you'll see, I haven't changed much during this month. I try to keep things simple and easy. So, let's jump right in!
As always, the little penguin makes his appearance in the first page of July. You can clearly see that he feels the same way like me and needs some vacations too!
I completely changed my month at a glance. Instead of a two-page calendar I opted for a one page one, where I separate my personal and work tasks/events with two columns. That way I can easily see what's happening and what I need to do, without mixing up things and confusing myself.
The right-hand page is separated in the categories: tasks, goals and next month, with boxes.
I've also included a mini calendar for August, because I want to prepare for some already scheduled events and pre-plan other things in advance. I think that this monthly spread turned out pretty good, and it looks quite simple and functional.
Last month, I decided to include a 'brain dump' page in every monthly set up. It really helped me focus and actually finish most of the tasks that I wrote on that page during June. So, since it worked so well, I brought it bac for this month too. ;)
I chose a simple layout for my gratitude page this month. Again I tried to keep it simple and functional.
And lastly, I created my first weekly for July so that I'm prepared. I LOVE how the colours turned out and I can't wait to fill it in :)
So there you have it. That's how I set up July in my bullet journal. I can't wait to see how everyone else has set up their month in their bujo. Leave a comment below and tell me which spreads have you included in your July setup?
Daily Plan Bar for your Bullet Journal
For me, time management is one of the most important things in my daily planning. I tend to get distracted left, right and centre with the result of not finishing my tasks and projects. Keeping these distractions to a minimum and finding things that can help me to focus on the tasks at hand are imperative for me. In today’s postI’m going to talk about something that I've been adding to my daily spreads lately and which helps me to manage my time even better.
For me, time management is one of the most important things in my daily planning. I tend to get distracted left, right and centre with the result of not finishing my tasks and projects. Keeping these distractions to a minimum and finding things that can help me to focus on the tasks at hand are imperative for me. In today’s postI’m going to talk about something that I've been adding to my daily spreads lately and which helps me to manage my time even better.
The new thing that i’ve been implementing in my daily planning is called ‘daily plan bar’. It was created by Mike Rohde who was in turn inspired by Bill Westerman.
What is a daily plan bar?
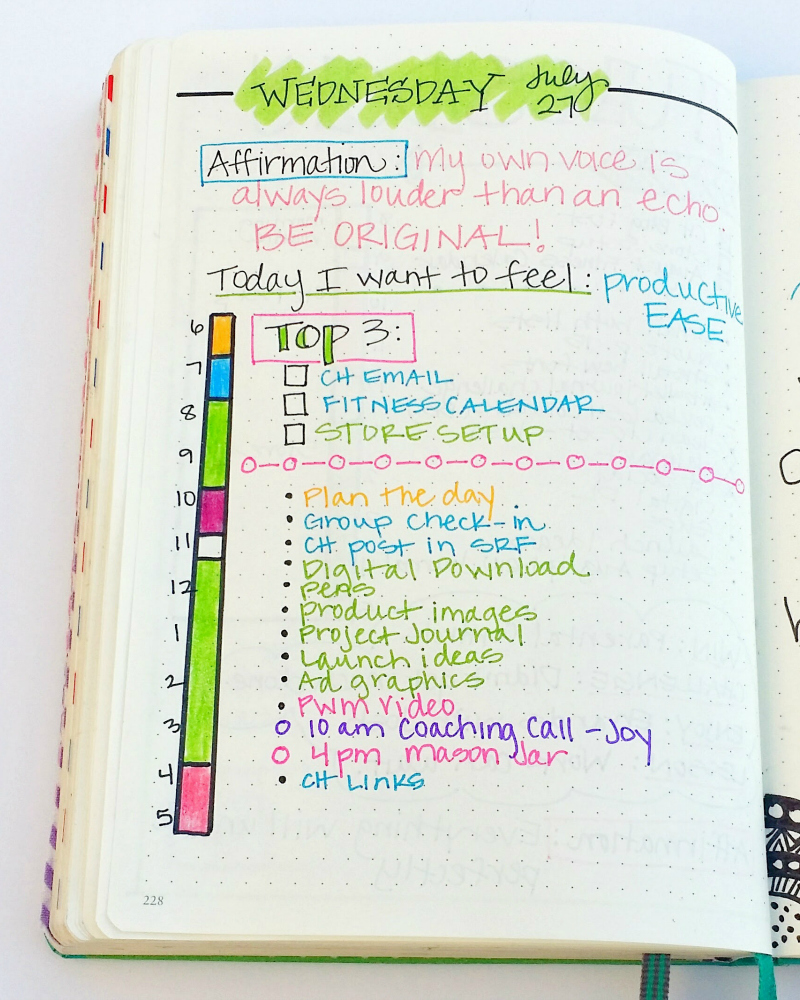
It mainly is a vertical bar where you note the times during the day and then you go and either colour or sketch parts of it that you allocate for different events or tasks. This way you are blocking out time during the day to do a certain things.
It looks and sounds like a timeline but it is a vertical version of it and it’s also more detailed.
How to create it
On the page where you create your daily spread create your daily header as usual and on the left hand side create a vertical bar by drawing two vertical lines or by filling in the space with I highlighter like I did.
It’s up to you from what time you’ll start your daily plan bar. For example, Mike Rohde starts his from 8 o’clock (picture below), whereas I prefer to start my day way earlier and so my bar starts from 6am.
It’s also up to you how much space you’ll leave in-between the hours.
As you can see in the pictures above, on one day I chose to represent each hour with a square on the page, whereas on the other picture you can see that each hour has three squares. Also, Mike Rohde has 4 squares for each hour. The space you leave between each hour depends on if you have lots of things to do and note within that hour. Having more space means that you can mark mark time blocks of 15 or 30 mins, and that you can be more detailed with the time you allocate for each task. And even though you can still mark the 30min time block with the 1 square space between the hours, (by colouring half a square as you can see in the picture above), it doesn’t give you enough space to write in-between.
Stickers used from my Etsy store
Once you’ve set up your daily plan bar, then you can start time blocking and mapping your day ahead. You can choose to use colour coding to time block and separate the different tasks and events, or you can use shapes and doodles to do that.
You can make changes and re-shuffle things as your day unfolds. If something is cancelled, you can simply cross it off and add a note next to it for more information or with the new time and date of the event.
The rest of the page, is left for you to add your to-do list or you can doodle and journal.
How it can help you in your time management
The daily plan bar can really help you focus on your day and the way you use your time. It’s really easy when you sit down in the evening to plan the following day to create that bar and see how your day unfolds and how busy it is. It is also very helpful so that you don’t over plan and fill your schedule with things and events that you simply don’t have time to do.
How you can use it for weekly planning
You can use the daily plan bar for your weekly planning by adding a bar for each day of the week on one page. That way you can see at a glance how the rest of your week looks like and how busy it is. That can help you to schedule even more things (if you have time during that day) or to re-arrange things for a later time.
What do you think of the daily plan bar? Have you used it before?
Christina x
Weekly vs Daily Spreads in your Bullet Journal
A lot of people have emailed me lately, asking me whether they should have both weekly and daily spreads in their bujo, and how can they make them work without re-writing tasks and events? So today, I’ve decided to talk about this topic more analytically and explain how I use those type of spreads in my bullet journal.
A lot of people have emailed me lately, asking me whether they should have both weekly and daily spreads in their bujo, and how can they make them work without re-writing tasks and events? So today, I’ve decided to talk about this topic more analytically and explain how I use those type of spreads in my bullet journal.
I’ll start by saying that the magic of bullet journaling is that you can adjust it the way you want. You basically start with an empty notebook, a blank canvas, that you can then turn into your ideal planner/journal. That means that you can add any spreads that are important and functional to you and your life. At the same time you don’t have to use any spread if it doesn’t work for you. So, you can have only dailies, or only weeklies, or you can use both. It’s totally up to you.
What is a weekly spread?
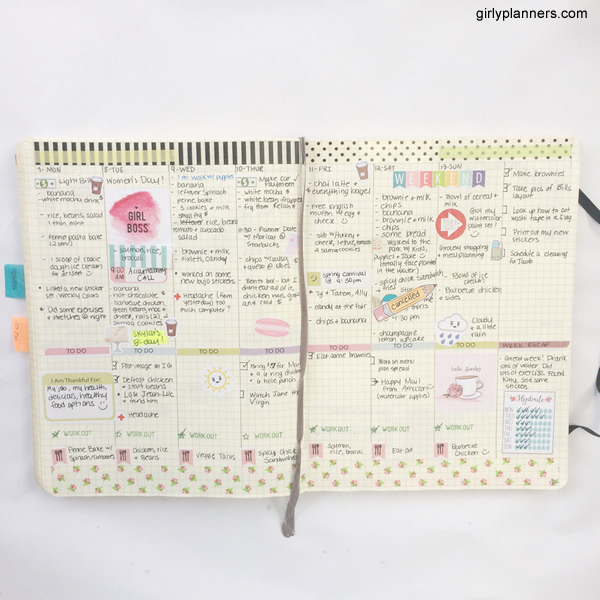
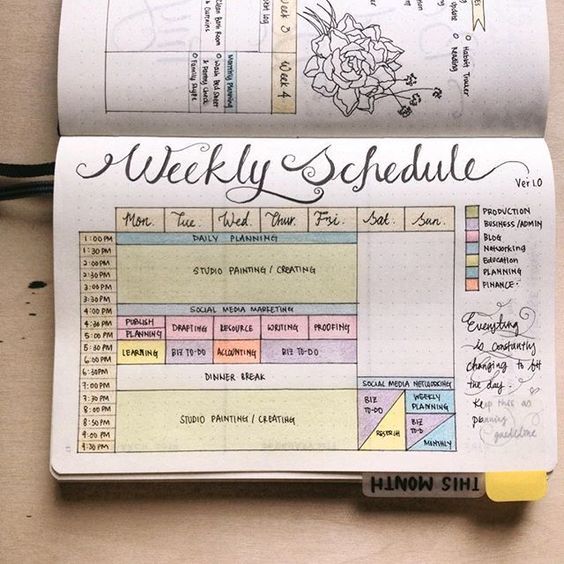
A weekly spread is basically an overview of your upcoming week that allows you to plan, schedule and visualise what you have going on for the week ahead. It usually consists of sections for the days of the week, but you can also add your weekly trackers, meal planning, weather forecast etc. You can adjust it and add all the things that are important to you.
Pros
- You set it up once a week and then you don’t have to spend any time creating layouts until next week.
- You can easily see what’s planned for the week at one glance.
- You have an overview of the upcoming week in just one page making it easy to distribute tasks.
- A planning stage for all the things you need to do that week.
- A way to break down your goals into smaller steps and distribute them in the week.
- You can easily see your progress and what you have done during the past 7 days.
- You can also see which tasks have been migrated.
Cons
- You have limited space to write for each day.
- Smaller to-do lists.
- Not much space to be creative.
- You can see only one week at a time.
What is a daily spread?
A daily spread (or daily log) is a place where you plan and record your tasks, events and notes as they occur throughout the course of the day. You usually have to create it the night before or first thing in the morning. You have plenty of space to add anything you want, from doodles to your daily journal.
Pros
- More space for more detailed to-do lists
- Lot’s of space to be more creative.
- Can have more of a journal style.
- You can focus on what is planned for each day without distractions.
Cons
- It’s usually done the night before, so you can’t pre-plan it earlier than that.
- You have to create the page every day.
- Usually you have to re-write some things over and over.
How do I use both spreads every week?
Personally I like to use both types of spreads every week. I find that this system helps me be more productive and focused on what needs to be done each day.
The weekly spread, even though is not part of the original bullet journal system that Ryder Caroll created, for me is one of the most useful ones. It is the only spread that I will add to my journal every single week. It's a way for me to ‘brain dump’ all the tasks and events I don’t want to forget to do in my weekly view, and start planning and shaping my week ahead. I can easily see which days are the busy ones, on which days I can add more tasks and so on.
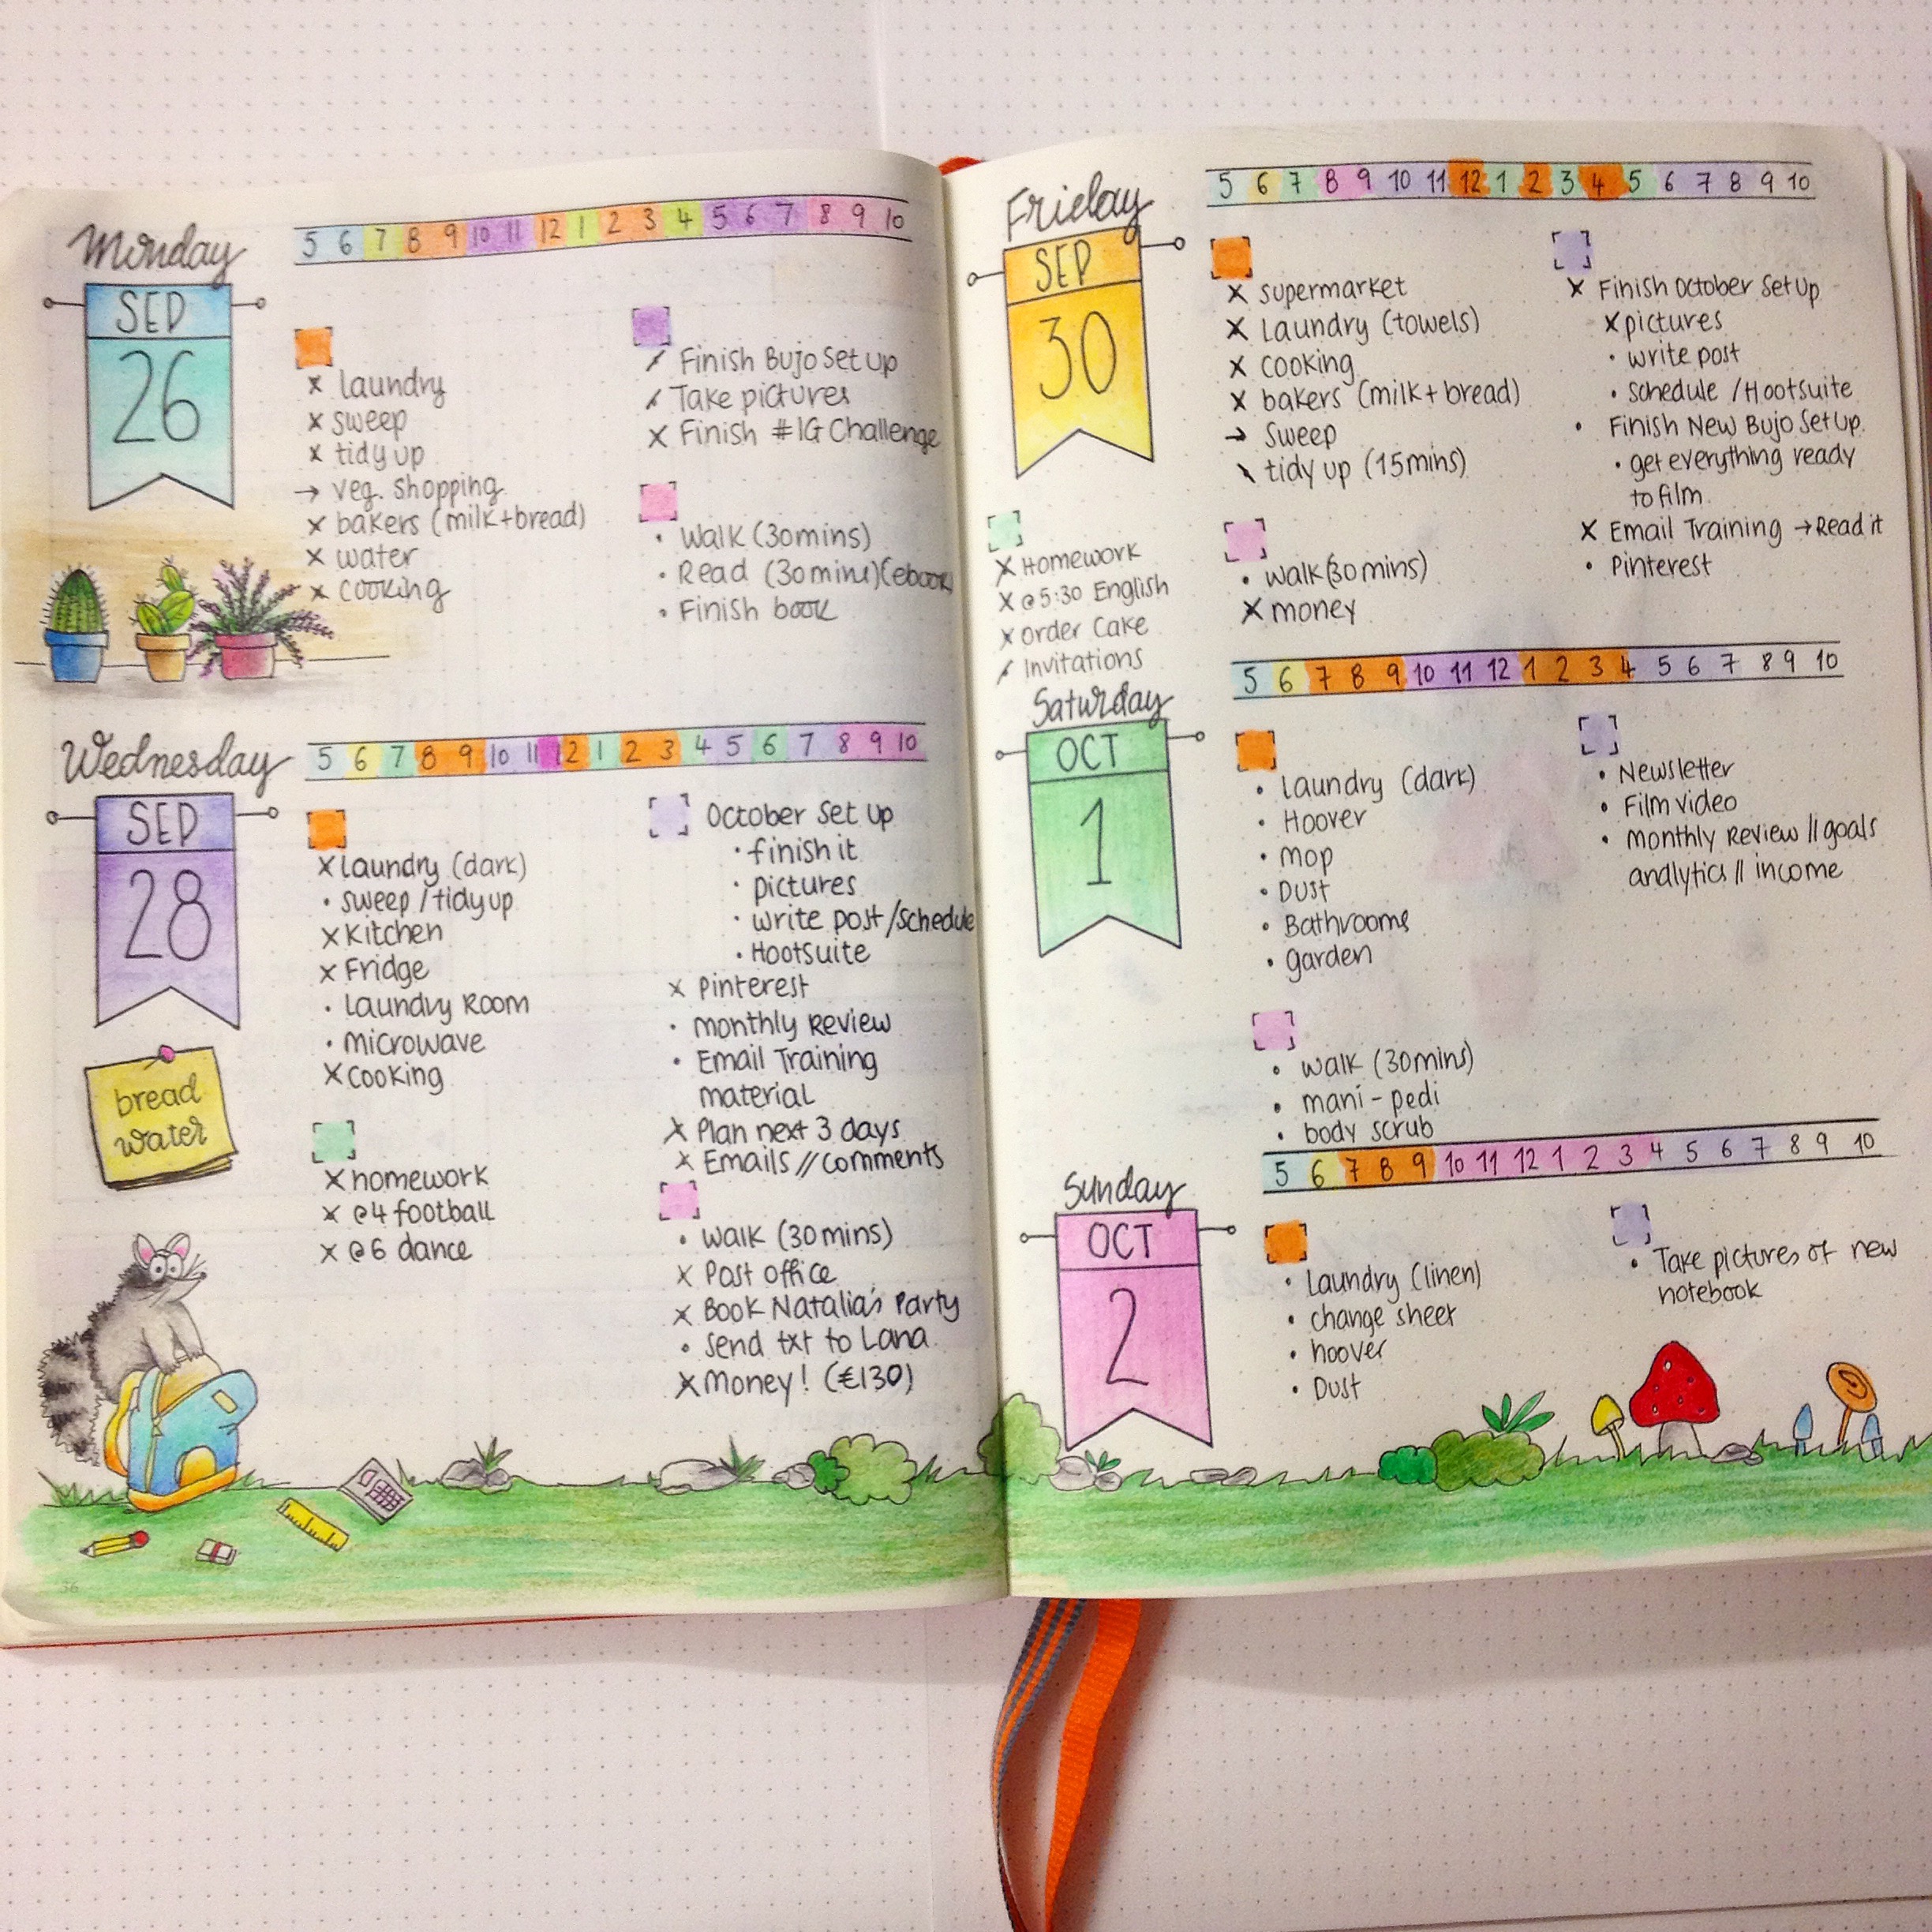
On the other hand, I use the daily spreads for a more detailed view of the individual days. Here I like to separate the tasks/events in categories by colour coding them. I can break each task into smaller ones and tick them off as I go along. I also like to doodle and take notes.
For me and the way I plan my weeks, I prefer to use both types of spreads, especially if I have a very busy week ahead. But there are some (very) rare weeks that I’m not that busy, and on those weeks I prefer to use only my weekly spreads.
My Bullet Journal planning routine:
My planning routine using both types of spreads starts usually on a Sunday afternoon where I sit down with a cup of coffee (or tea, depending on the mood), and after I've created the weekly layout on the two pages, I start planning my week ahead.
- I check on my Future log, Monthly Log and the Birthdays and Holidays spread to see if there is anything planned for the week.Then I note them down on the appropriate days.
- I usually have a column named ‘This Week’ which works as a ‘brain dump’ of all the things I need to do that particular week. So, after I fill this in, I start allocating each item of this list on specific days.
- I look at all the projects I’ve set for myself and all the things I need to do for each one this week. I then check on which of the next 7 days I have spare time and I distribute these tasks accordingly.
For my daily spreads, I usually do them the night before. I like to get everything “off my head" before I go to bed, and have an idea of how my day is going to be tomorrow.
- I look at my weekly spread and see what I’ve set myself to do that day.
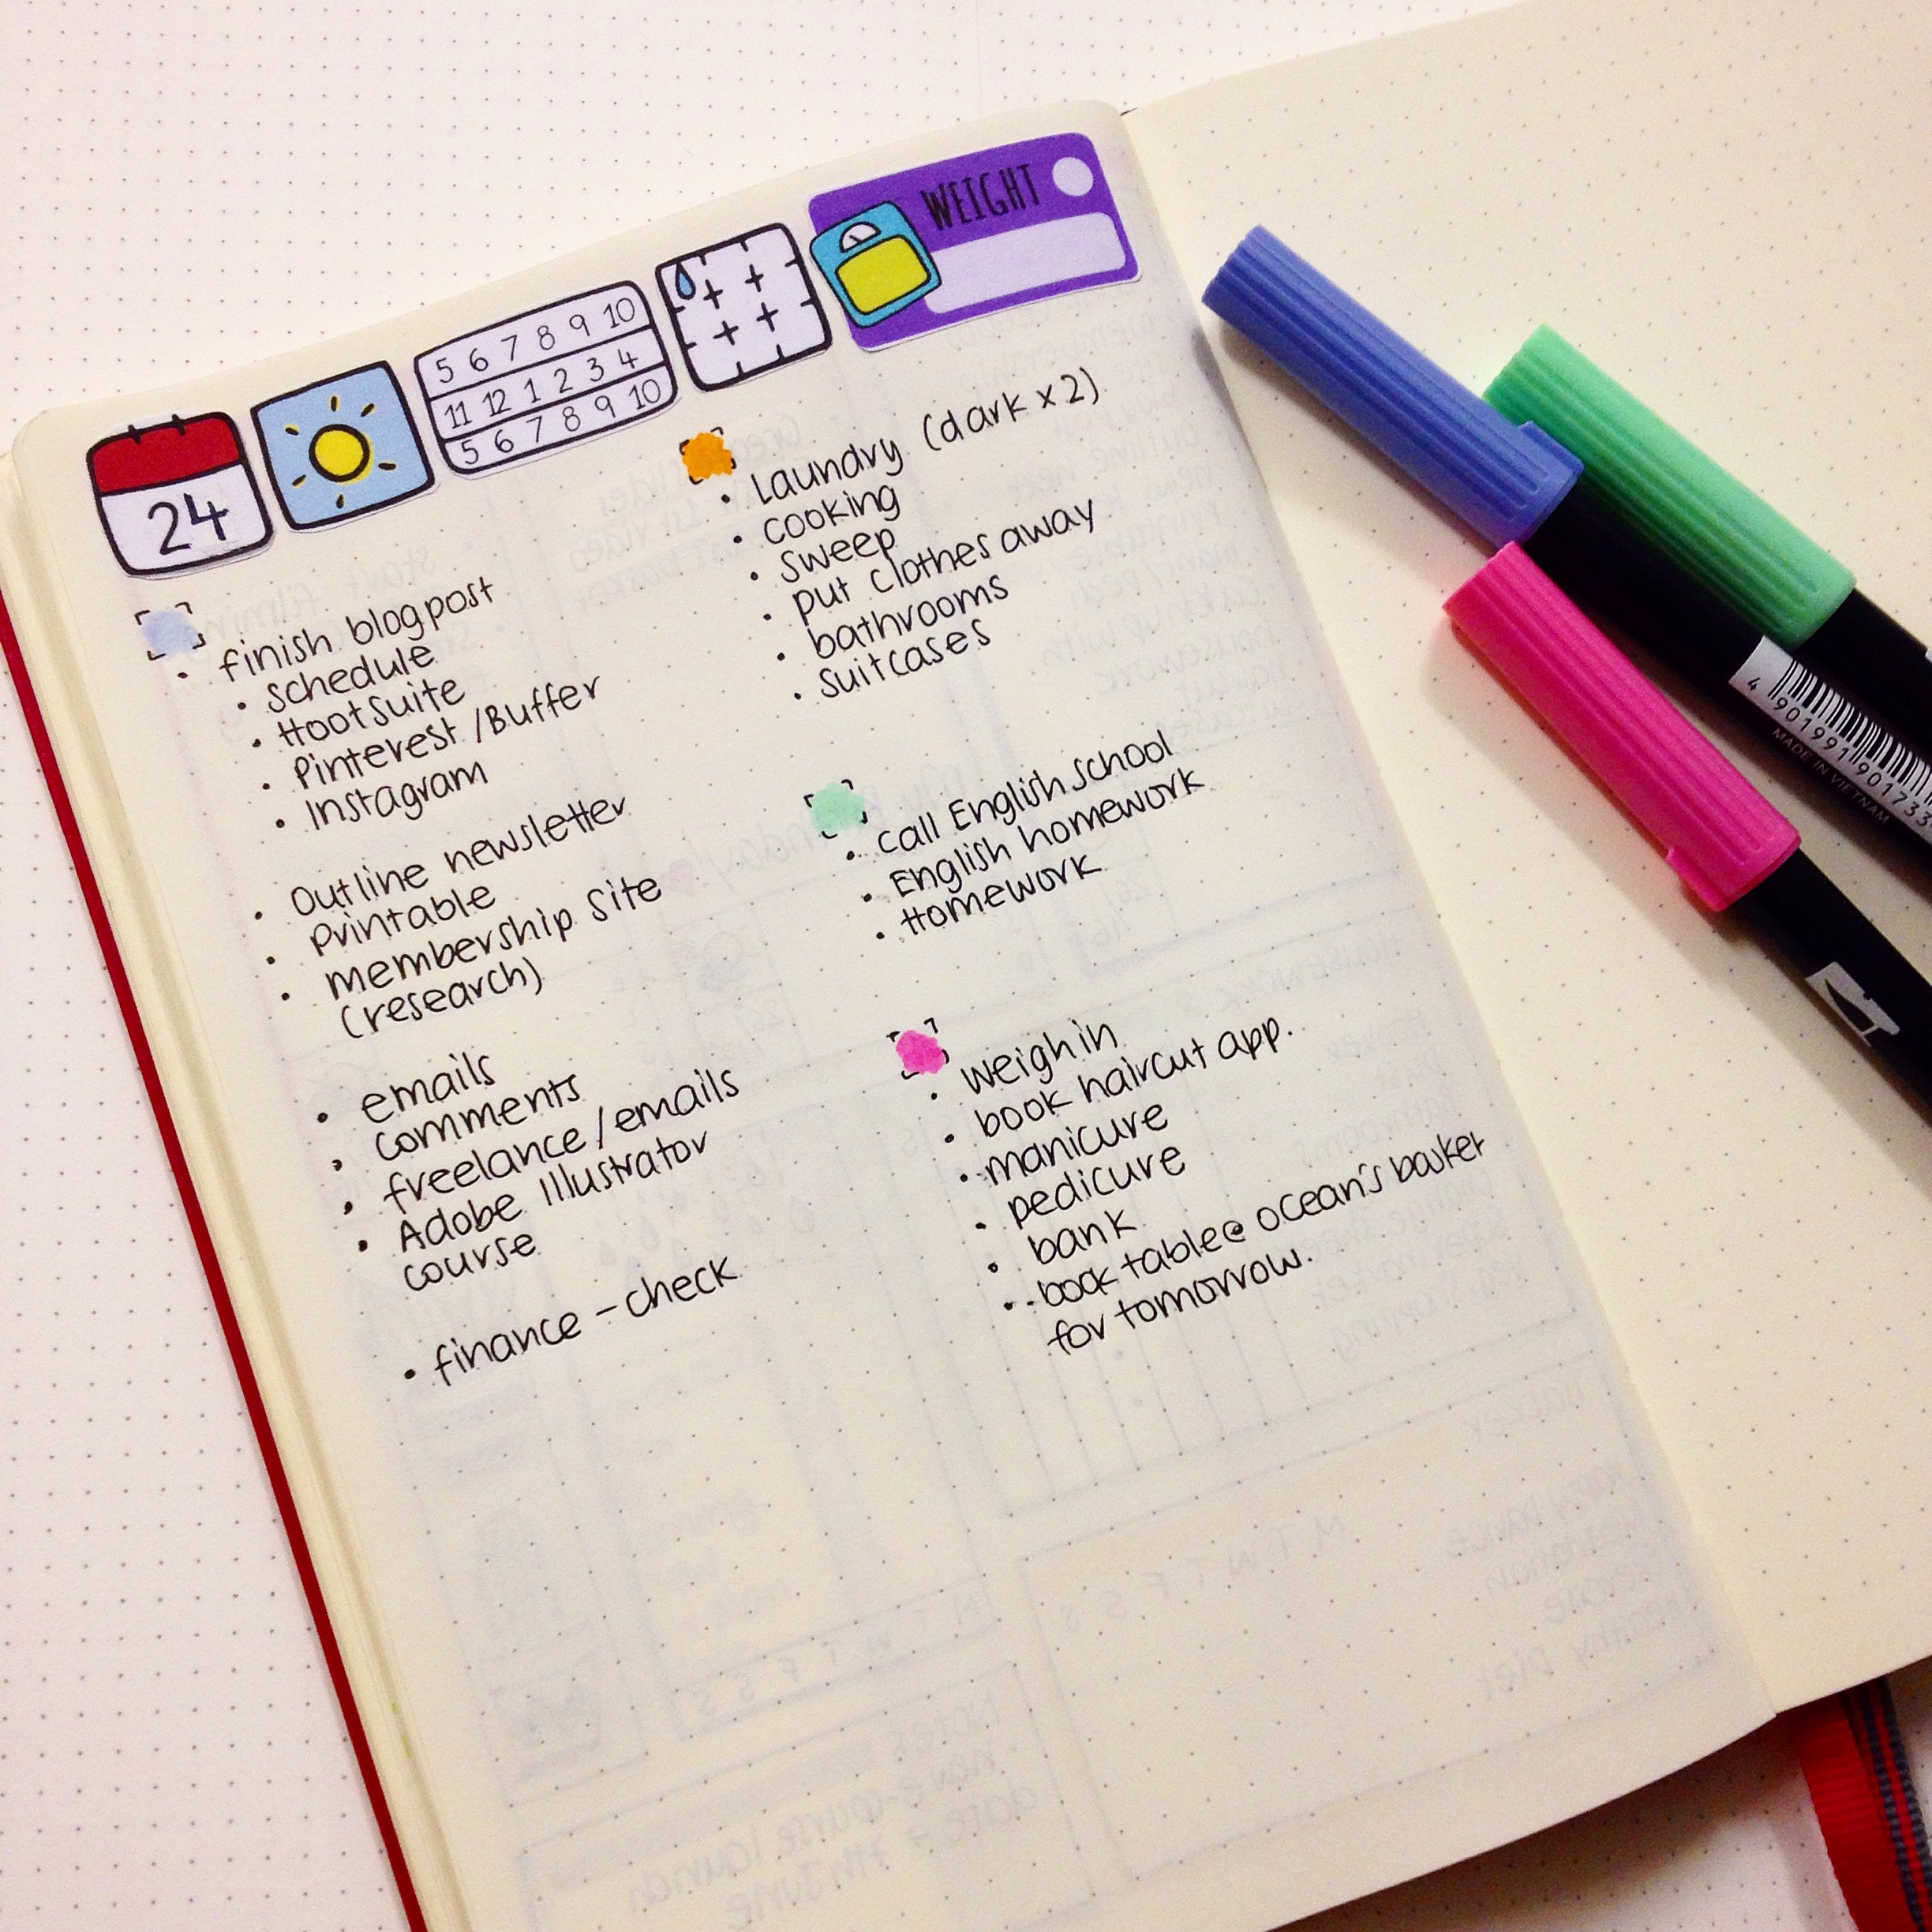
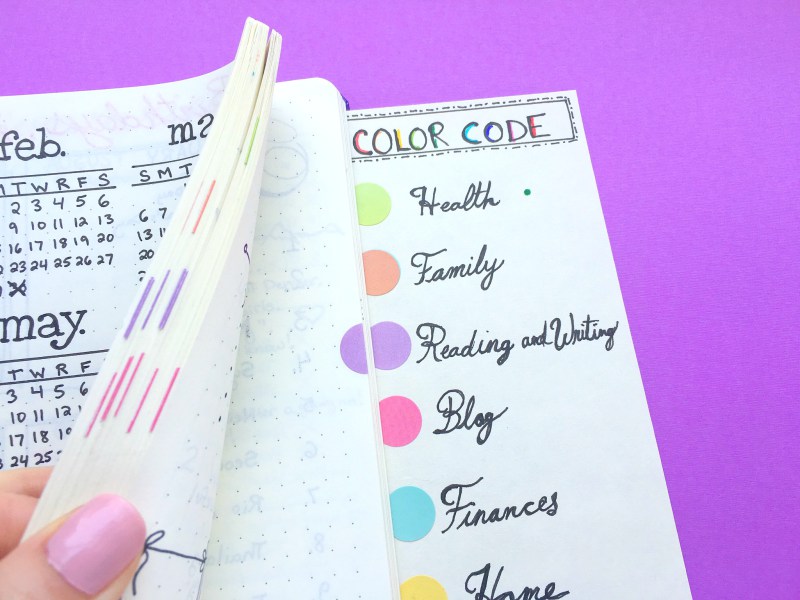
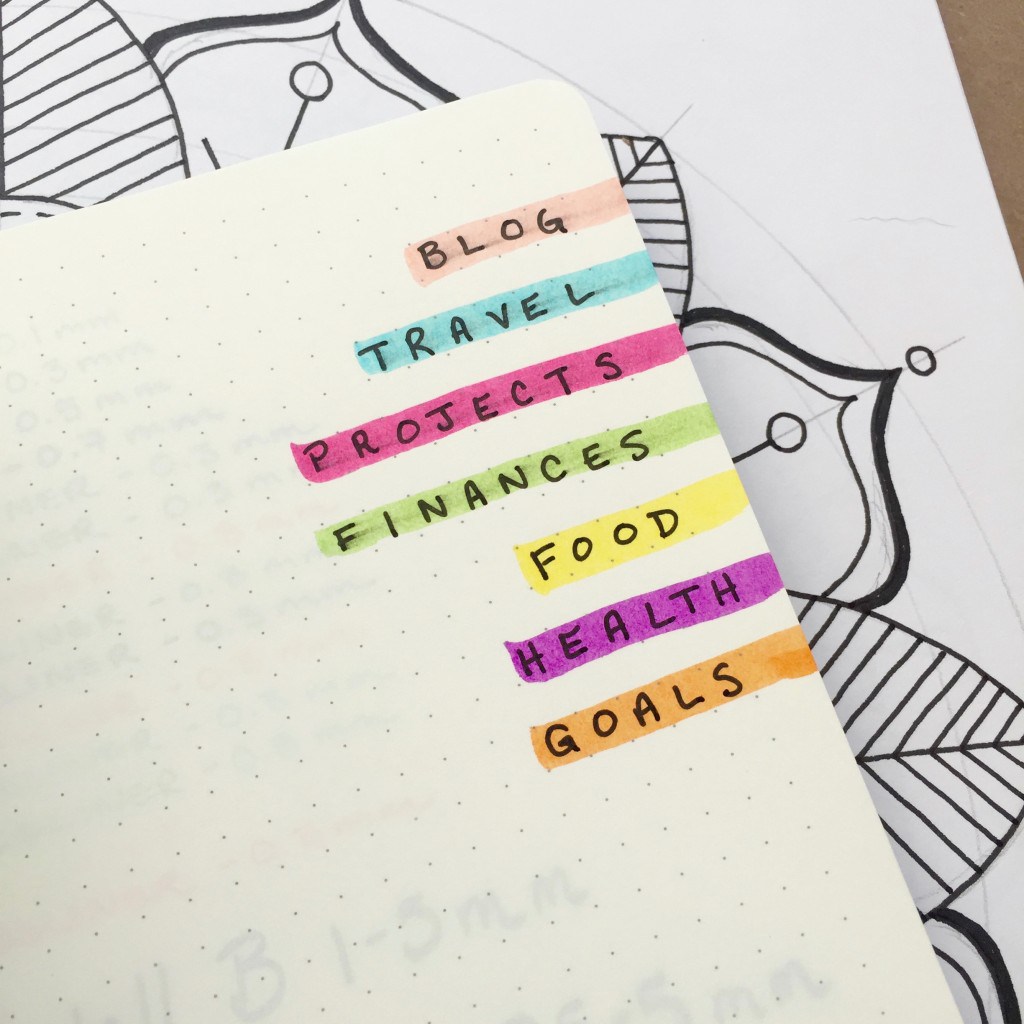
- I separate the tasks in categories with my colour code method. This helps me to visually see which of the tasks are going to happen on certain times during the day.
- I then look at the day before and see if I have left any tasks that I haven't finished. If I do, then I migrate them to tomorrow's daily spread. The migrated tasks are marked then with an arrow and the cancelled tasks with an “-“ .
I understand that by using the above method means that sometimes I have to write down tasks several times, and that might seems redundant to some people, but it does work for me and it doesn’t bother me.
Since I’ve started using my bullet journal I’ve noticed how much more productive I’ve become and how much this system has helped me to stay on top of things day in and day out.
How do you plan your days and weeks in your bullet journal? Do you use only weekly or daily spreads, or do you prefer to use them both? Let me know in the comments below.
Christina x
How to add Colour in your Bullet Journal
Colour has always made me happy. I remember from a very young age that I loved to colour all the time. This carried on in my school years and University. I had to add colour on everything - my books, my bags, my notes, my room - you name it! Especially when I was studying, I had to colour code my notes and add lots of bright colours on all my notebooks. Even to this day, for some weird reason I can function better when my notes / to-do list is full of bright happy colours :)
Colour has always made me happy. I remember from a very young age that I loved to colour all the time. This carried on in my school years and University. I had to add colour on everything - my books, my bags, my notes, my room - you name it! Especially when I was studying, I had to colour code my notes and add lots of bright colours on all my notebooks. Even to this day, for some weird reason I can function better when my notes / to-do list is full of bright happy colours :)
For me, colour is a way to express myself and to be creative. I also truly believe that colour can affect your mood.
“Modern research has shown that when our eyes connect with a colour, our brains release different chemicals that impact us on a physical and emotional level.”
I’ve also carried this trend in my bullet journal. If you’ve been following me for a while you must know that I love my colourful spreads and I don’t think I have any page in my bujo where there’s no colour!
“Creativity is intelligence having fun”
However, I’ve heard a lot of times, in the social media especially, that a lot of people are scared to add colour, because they don’t consider themselves artistic or good enough. But you don’t have to be an artist to add colour in your journal. Especially nowadays, there are loads of easy and quick ways to make your bullet journal colourful. And today I'll show you how.
Which mediums / tools to use?
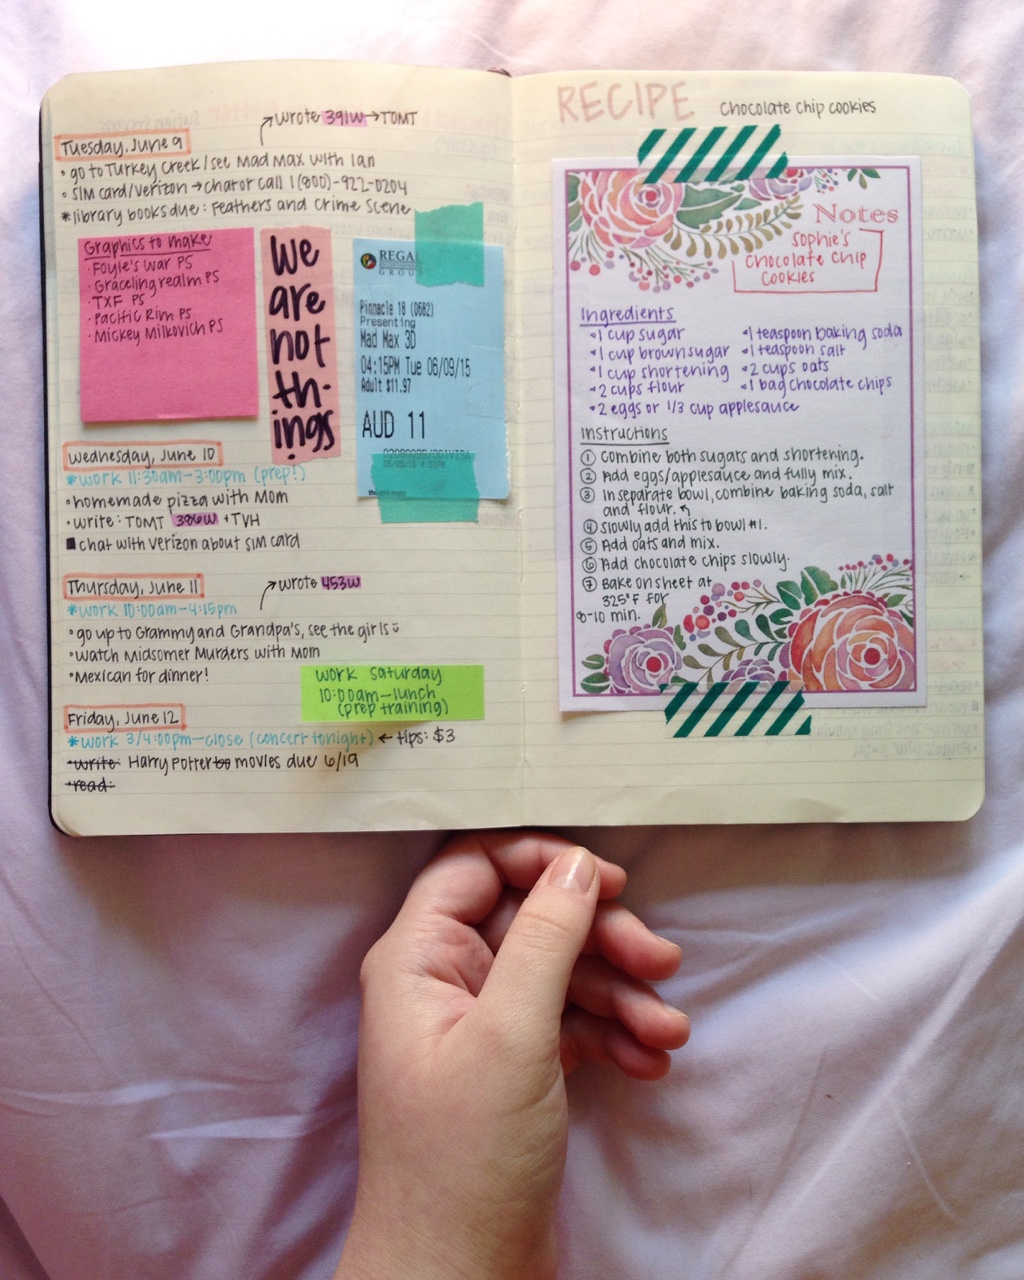
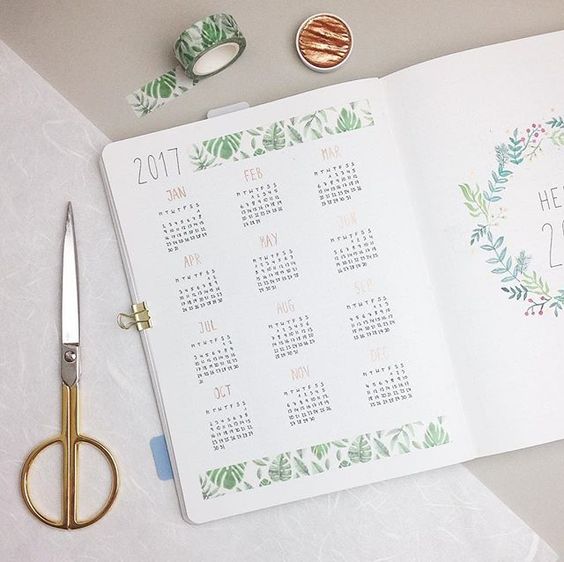
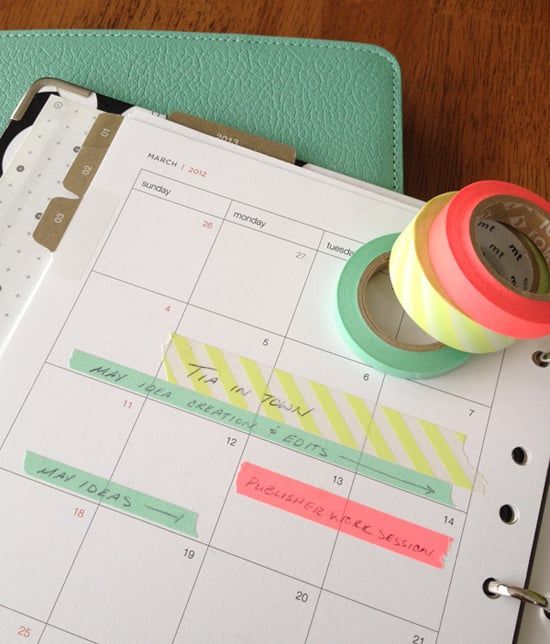
Washi Tape
Acrylic Paint
Stickers
Highlighters
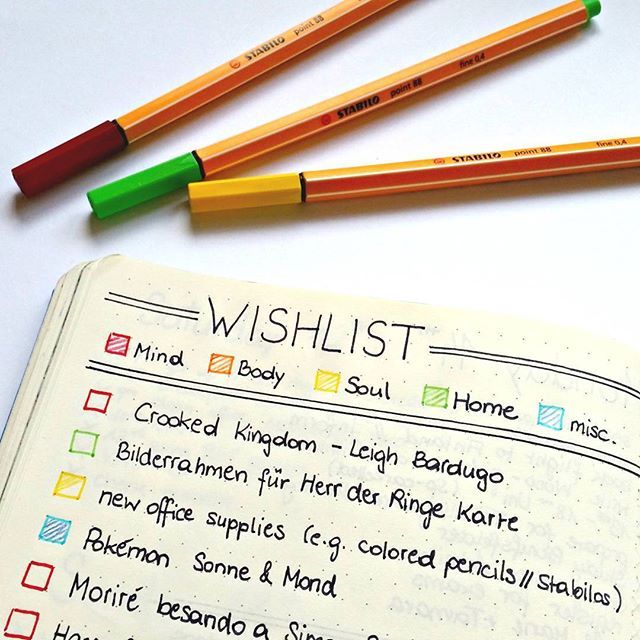
Markers
Coloured Pencils
Colourful pens
Where to add colour?
Simply everywhere! In your: dailies, weeklies, monthlies, future log, habit tracker, time line, index, quote pages, any type of spreads!
Various ways to do it
You can just go ahead and use your colours in the normal way or you can try one of the following:
Lines
Shapes
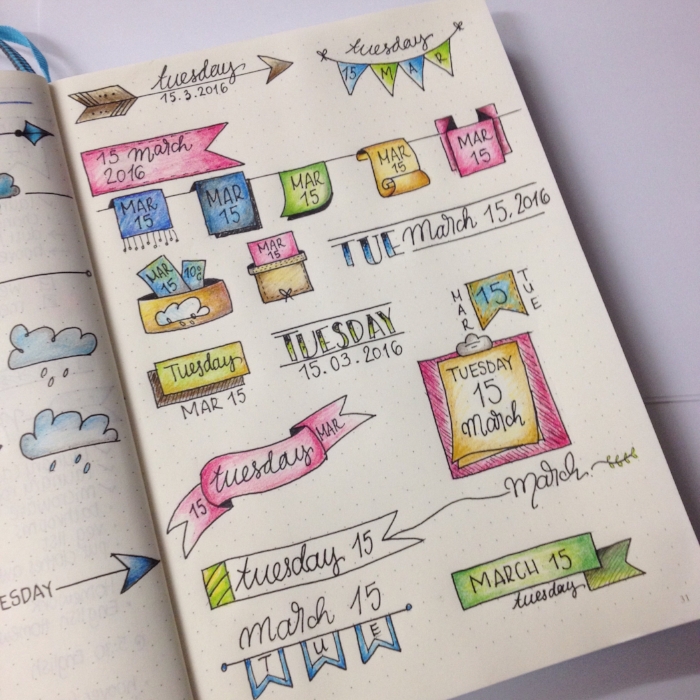
Boarders
happilyeveafter_
Banners
Page Markers
The possibilities are endless!!! So, there's no excuses, pick up any of the above tools and start adding colour! Let's be creative!
Make sure to share with me any of your creations. I love to get inspired!
Have a very colourful day ;)


