Scribbles That Matter Notebook Review
If you've been following me for a while, you'd know that I've been using Leuchtturm1917 notebooks for my bullet journaling from the very start. Back when I started, almost 2 years ago, there were not so many options of dotted notebooks available in the market. And the Leuchtturm1917 was by far the most popular one.
Through the years though, I've also used some other dotted notebooks: a Moleskine, a William & Hannah one, and a Jane's Agenda notebook. However, I've always chosen a Leuchtturm1917 for my main bullet journal. Until now.
I've been wanting to try the Scribbles That Matter notebook for a while now. I kept on hearing lots of good reviews about it, and the front cover design of this notebook made me notice it straight away. When the new pastel colours were released, I knew I had to buy one. And since my 3rd bullet journal is almost finished, I decided to buy a Scribbles That Matter one for my 4th bullet journal.
I purchased mine through the German Amazon. I paid €17.99 (plus €8 for shipping).
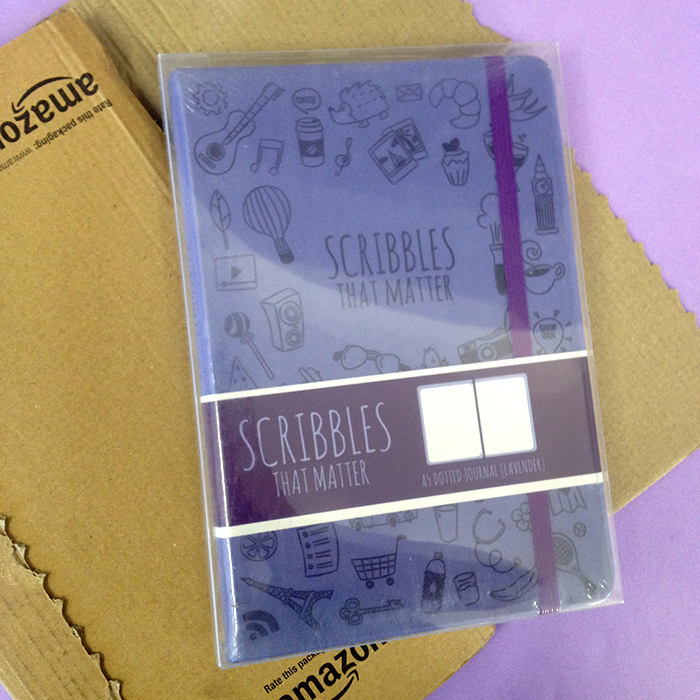
It arrived perfectly packaged in a plastic box and wrapped up in a plastic wrap.
I've chosen the 'Iconic Version' of the notebook in A5 size, with dotted pages in the Lavender colour, and I have to say that I'm in love! The pictures just don't make it justice of how pretty the colour and the design of this notebook is..
The quality is amazing, the finish and the details of the design are exceptional. And as you can tell I'm very pleased with my purchase. There is an elastic band in purple colour to keep the notebook closed.
The cover of the notebook is very soft and smooth. It has lots of doodle designs that are engraved with a darker colour to make them stand out more. It's made out of vegan leather with FSC Certified paper.
The very first page has a section to write your name and the date that you started your bullet journal, which I really like.
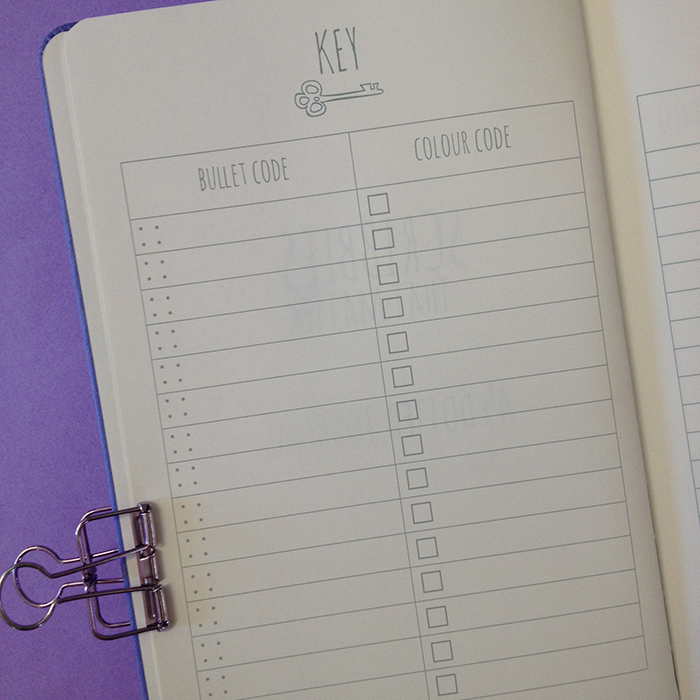
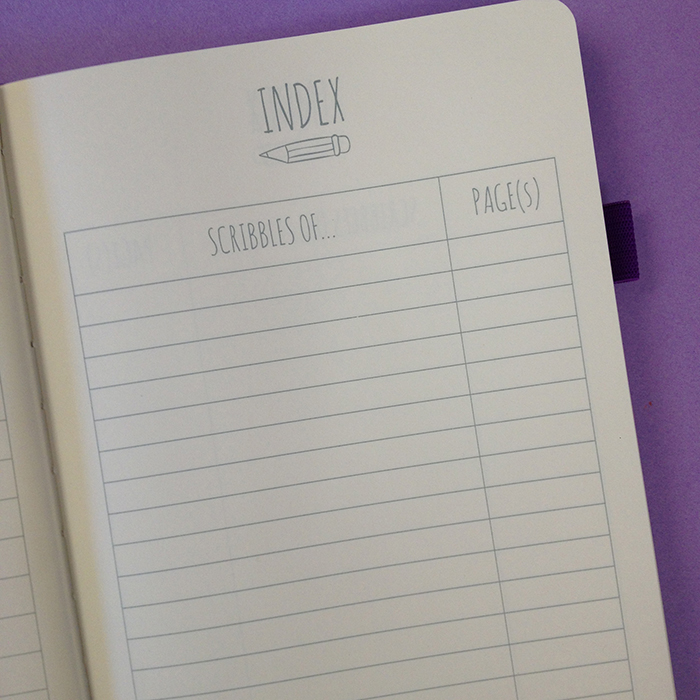
The Scribbles That Matter have Key and Index pages implemented already in the notebook, which is really handy and makes things much easier and it looks more neat this way. More specifically it has 1 Key Page and 3 Index Pages which are enough for you to archive your entries.
The colour of the pages is ivory and it's very similar to the Leuchtturm1917 one, but slightly lighter. The feel of the paper is amazing. It's so smooth, that the pens just glide on it. Each page is 100 gsm, which is very good quality for a bullet journal. The dots on the page are 5mm apart (like the Leuchtturm1917), and they are in light grey colour.
The pages are numbered, and as I mentioned before this notebook has 201 pages, which is a bit less than the Leuchtturm1917 that has 249 pages.
At the back of the notebook you'll also find 2 Pen Test Pages, where you can try your pens to see if they ghost or bleed through the pages. So far all my pens work perfectly with this notebook and I've noticed minimum ghosting when I doodle and draw. It's certainly less that what I experienced with my Leuchtturm1917 notebook.
The last page has the doodles that you find on the cover page as well, which I think is adorable. Since I love doodling, for me this is so cool :)
At the back you also find the back pocket that again has those designs throughout, and at the sides it has a purple material. These details add to the quality of this notebook.
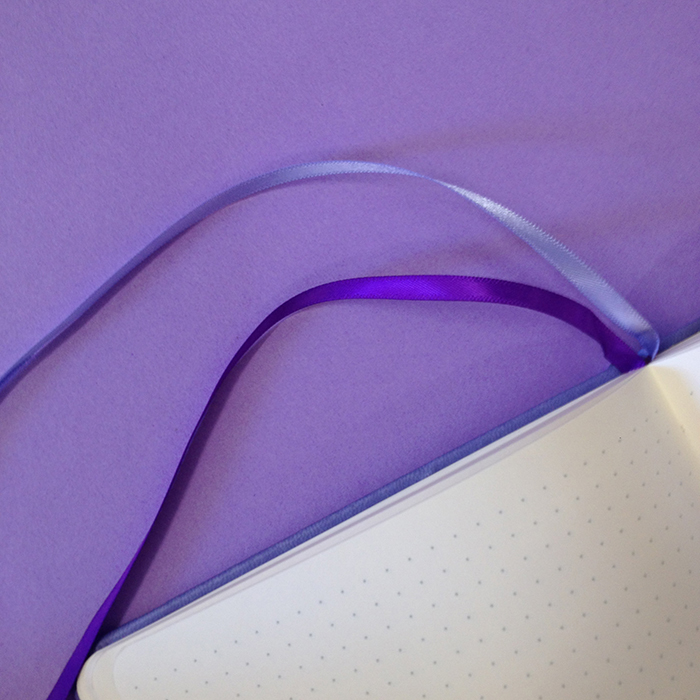
There are 2 bookmarks in two shades of purple.
And a pen holder at the side.
I'm very pleased and impressed with this notebook and I'm sure I'm going to re-purchase again in the future for sure. They have lots of colours to choose from and different styles as well if you're interested. If you don't like the doodles on the cover, they offer another style which they call the 'Pro Version' and it has a simple coloured cover page like the Leuchtturm1917.
What notebook are you using for your bullet journal? Have you used a Scribbles That Matter one before? What do you think of them?
If you'd like to see how I've set up my 4th bullet journal in my brand new Scribbles That Matter notebook, you can join me in my first e-Course. You can watch me as I'm setting up my new bullet journal page by page and set up yours along with me.
Bullet Journal With Me e-Course
Start the New Year with a blast and organise your life in your Bullet Journal.
How to Effectively plan your Week
When it comes to organising and planning your week, a lot of times it feels like the weeks fly by so quickly that you can’t help but ask yourself “Where did the time go?”.
I know. I’ve been there. Many times!
I used to constantly complain that ‘I don’t have enough time!’ and wish for more hours in the day.
Bullet journaling has helped me set up a process of effectively planning my week.
When it comes to organising and planning your week, a lot of times it feels like the weeks fly by so quickly that you can’t help but ask yourself “Where did the time go?”.
I know. I’ve been there. Many times!
I used to constantly complain that ‘I don’t have enough time!’ and wish for more hours in the day.
Bullet journaling has helped me set up a process of effectively planning my week. It’s a 6-Step process that I’ve followed religiously for the past year or so. This process helps me stay focused and finish most of the tasks and goals I set myself each week.
Before you start organising and planning your week, you should plan out how your Ideal Day looks like. This will show you how you spend your time during the day, and how many hours you have for each category of tasks. This is very important so that you don’t over plan your days.
So, for example, I know that I usually have 3 hours in the morning to work. This is the time that the kids are at school and I can focus more on my tasks. So, it’s my most productive time of the day and that helps me to plan it accordingly.
My 6-Step Weekly Planning Process:
1 | Create a schedule every Sunday for the upcoming week
Make a habit of planning your week on a Sunday. This helps you to know what needs to be done and be ready for the week ahead, instead of Monday coming and you be staring at your empty to-do list.
You should also make it something you look forward to. Put on your favourite relaxing music. Pour a cup of your favourite tea or coffee. Make this ‘your’ time.
2 | Set up your Weekly Spread
If you’re using a bullet journal, now it’s the time to get creative and set up your weekly log. You can use a layout you’ve used before and it works for you, or you can get inspired by searching online.
What I tend to do during the week is checking on Instagram how everyone else has set up their weeklies, and if I see something I like I take a picture. Then, when Sunday comes I don’t start searching all through the web for inspiration. I just check out the pictures I’ve taken during the week, and get inspired by them.
3 | Write the recurring tasks that take place on specific days
Start filling in your weekly spread by adding all the recurring tasks. For example, I know that every Thursday morning I do all my shopping and errants. Therefore, I know not to plan anything at that time. But I still make sure to note it down in my planner.
4 | Write all the events, appointments and meetings
Go through your future log and see if there’s any events or appointments scheduled for each day. Note them down on your weekly with all the details (time, place etc.)
5 | Make a list of all the things that need to get done within the week
On a different page start making a list with everything that you have to do in the week. This should include everything such as assignments, events, chores, projects and deadlines.
- I tend to add things in categories. Usually I have 4 categories: Work, Kids, Home and Me. I also colour code them in the same way I did in my Ideal Day plan.
- When it comes to projects and assignments, I like to break them down even further on my list into smaller steps. I also like to add the time that I think it will take me to finish each one.
- Also don’t forget to include in this list all the things that you didn’t finish last week.
6 | See how much time is left on each day
Go back in your weekly and see how much time is left on each day. Check your list you’ve created and then start adding tasks to each day. Checking your ideal day plan and the time you’ve allocated for each task really helps to plan each day effectively.
A few tips:
Everything takes longer than you think.
I’ve done this so many times in the past! I'd plan tasks that I thought it would take 1 hour to finish, only to find out that in reality it took me close to 2 hours! That’s why now I tend to add more time than I think to each task.
Do not fill in every second of every day.
Unexpected things will always come up, so make sure you give yourself windows of “buffer time”, to take care of last-minute things.
Know you won’t get it all done.
Even with great planning, I tend to be over ambitious and plan more things that I can handle. Be okay with not ticking off everything on your list, and transferring things to the next week if need.
Schedule the most important things early in the week.
Monday is by far my most productive day! I guess that I’m more focused and I seem to get more things done in the first two days of the week than the rest!
It’s also good to plan your most important tasks in the beginning of the week, so that no matter what comes up, these will most probably get done or you’ll at least have time to change things around.
How do you use planning to make the best use of your time? Let me know in the comments below.
Why I prefer Analog Planning
I have a thing for notebooks, planners and to-do lists. I like to collect them, write in them and keep them on my shelves. It makes me happy to keep all those memories in each notebook and be able to go through it any time I want.
Also, using pen and paper automatically sets my brain in a focused mode! I don't know why, but it does!
When I write things down, I put my head in order and it makes me more productive.
Don't get me wrong - I also like to use digital apps to manage my tasks and getting things done. However, I've always had a planner, and putting pen to paper keeps me focused and sane! :)
I've tried many planners over the years, but since 2016 I've discovered bullet journaling and my planning life has changed forever!
Why do I like analog planning:
No online distraction
I find that whenever I try to plan and organise things on my computer, I get distracted by a million other irrelevant things and it takes me quite some time to finish what I started! Does this happen to you too?
It helps you to be more creative
I love doodling and writing down quotes or phrases, that put me in the right frame of mind and motivate me for the rest of the day. I also love drawing from time to time, and having a notebook really helps me express myself whenever I fill like it.
Memories to keep
As I mentioned earlier, each notebook I keep means something to me. Each one has it's own purpose and is full of precious memories, that I can go through them any time I want.
Easier to manage tasks
I find it easier to manage tasks when I plan them on a piece of paper. I can see everything at a glance and I remember every little detail.
I function better with it!
My brain works better when I write things down. I don't know how to explain it - I seem to remember things better and I get into a more focused mode. :)
Even though we live in a digital age, putting pen to paper for me is the best way for daily planning and task management.
What are your thoughts? Share them with me in the comments below.
RELATED BLOG POSTS
The Advantages of using a Bullet Journal
Let me just start by saying: bullet journaling is amazing.
It has completely transformed the way I plan and organise my day to day life. It’s an amazing tool that has helped me to corral all my to-do lists, notes and ideas into one place, and it has offered me peace of mind.
Bullet journaling is an amazing planning system that I I've been using for almost two years now, and I keep on talking about it to anyone that cares to listen! In 2016 I ordered my first Leuchtturm1917 and I haven’t looked back since!
So, why do I love this planning system so much? What makes it so special?
1 | You can customise it according to your needs
The first thing that makes bullet journaling unique is that it's a customisable system that can be adjusted to your needs and wants, and can be re-adjusted or changed whenever you want. Different people have different needs, so having a single planner layout to satisfy everyone is impossible. Now you can personalise your bullet journal and add only the spreads and pages that are important to you.
2 | Very easy system to use
Bullet journaling in it's core is a very basic and simple system, that is also very functional. People get intimidated and scared with all those fancy layouts they see online, but things couldn't be further from the truth!
Join my FREE 5-day Email course and and I'll take you step by step through the basic original bullet journal system. I'll help you create very simple spreads, and I'll show you how this system works. All you need to start in one place.
3 | Everything can be organised in one notebook
I used to have 2-3 planners and notebooks for my daily planning, my journal and my notes. Plus let's not forget the numerous post-it notes that were literally everywhere!
But that's not the case any more! With my trusty bullet journal I was able to gather all my to-do lists, random slips of papers, notes, ideas, and recommendations into one place!
4 | The Index helps you find everything
The Index page is the core of your Bullet Journal. It's where you archive all your entries so that you can easily find them when needed.
However, not many people talk about the Index page and I know a lot of people neglect to fill in the entries as they create their spreads in their notebook.
You should take advantage of the Index in your bullet journal. You can fill it in as you go along, and you can make it even more functional with these Index hacks.
5 | Flexible - can change from page to page
When you start bullet journaling, you usually find yourself being bombarded with various styles and ways of doing things. You get inspired by your favourite Instagram accounts, or from posts you find on facebook groups. And that's totally fine!
In the end, you'll figure out what works for you and what doesn't. It's a simple case of trial and error.
And that's another thing that I love about bullet journaling - it can change.
If you try a spread one week and it doesn't work for you the way you thought it would, you can change it straight away. Simple!
6 | It can be your creative outlet
Bullet journaling allows you to express your creativity in your journal and you can decorate it and personalise it the way you want.
You can draw, doodle, add quotes, practice your handwriting or do anything else you want! You can use it as your daily creative outlet.
For example, in addition to keeping track of your day, you can spend a few minutes here and there to add a little drawing or practice your handwriting by writing a quote on your page. It's also great to doodle a little as you plan the things for the day in your bullet journal.
7 | It can be anything you want
Your bullet journal can be your notebook, your planner, your journal, your creative outlet or your to-do list. Or, if you want, it can be all those things and much more!
8 | You can be part of an amazing online community
There is an amazing bullet journal community out there, ready to welcome you and help you along the way!
Have you started bullet journaling yet? If yes, what do you love most about this planning system? Let me know in the comments below.
RELEVANT BLOG POSTS
Bullet Journal: My November Set Up
Can you believe it that we're only 56 days before Christmas? 2017 is literally flying by and I'm trying to focus and finish as many of my projects as I can before the end of the year. This month I've decided to do somethings differently and to add some new spreads in my monthly set up.
This is why I love bullet journaling so much - you can make any changes you want and try new things all the time :)
So, let's take a look at how I've set up my bullet journal for November:
Can you believe it that we're only 56 days before Christmas? What????? 2017 is literally flying by and I'm trying to focus and finish as many of my projects as I can before the end of the year. This month I've decided to do some things differently and to add a few new spreads in my monthly set up.
This is why I love bullet journaling so much - you can make any changes you want and try new things all the time :)
So, let's take a look at how I've set up my bullet journal for November:
For the front page, again I chose one of the designs I've created in my Etsy Store. This time the little penguin is pretty cold and he's wearing his hat an scarf. It took me no time to print it on a sticker paper and add it on the page. These printables are for 2018 but, in order for me to use it for this month, all I had to do was to change the days at the top so that they start from a Sunday. Simple! :)
I had so much fun creating these designs and you can find the whole Printable Calendar Kit for 2018 in my Etsy Store.
The next page is my Monthly Goals. I kept the same layout that I've been using for the past few months, but I created an autumn theme with the leaves and the respective colours.
Next comes my Month at a Glance spread. This month I've decided to use both layouts on the same page. I wanted a spread where I can see both my work and my personal monthly calendar at a glance, and I think this is going to work just fine. The calendar on the left will be for my work, so that I can see all the projects I have at once, and on the right is going to be my personal calendar with all the important dates I need to remember.
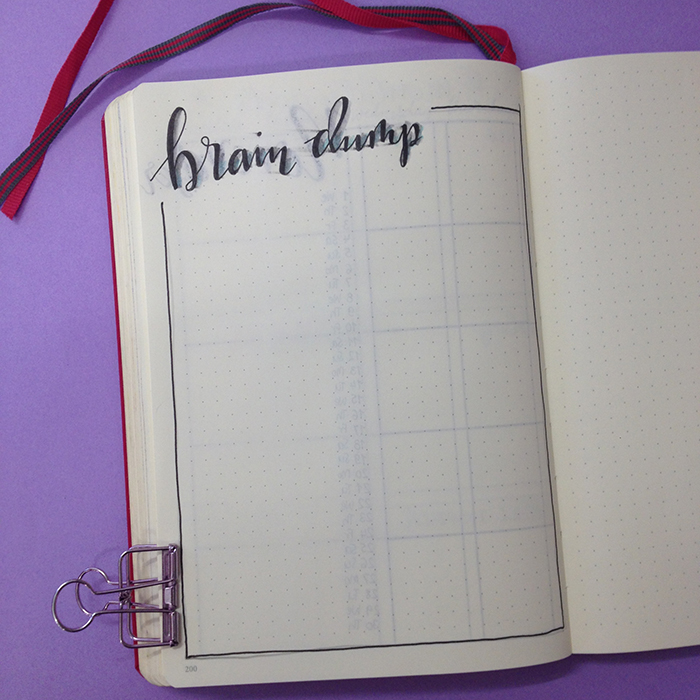
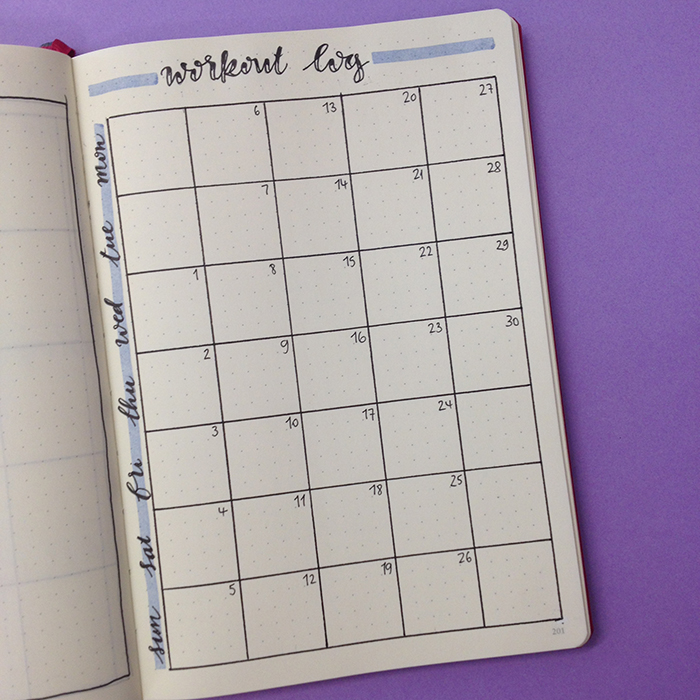
Next up is my Brain Dump Spread and my Workout Log, that are regulars in every monthly set up. :)
My Gratitude Spread has changed quite a bit! Even thought I loved using the gratitude jar in the last two months, I wanted to create something different. I've been reading the 'Thank and Grow Rich' book by Pam Grout, and I wanted to create a page with enough space, so that I can write 3 things that I'm grateful for every single day. This is one of the games that the book asks you to take part in and see how things will change in your life, in only 30 days.
I decided to turn the page sideways in order to use all the space available. For the layout I got inspired by Micah. I love how the spread turned out and I can't wait to start writing on it ;)
The next two spreads are brand new and it's the first time I'm using them in my bullet journal.
The first one is a Sleep Log. I've been seeing them constantly online and I love that at the end of the month you can see your sleeping patterns. I hope I'll remember to fill it in every day!
* I know that the numbers are not perfectly lined, but it took me quite some time and I had to be REALLY patient to fill it in, so it doesn't bother me at all!
The last spread is a Mood Tracker with a mandala. I wanted to try this one for quite some time now and I've finally did it! It took some time to create the mandala part, but I really like how it turned out and I can't wait to start colouring it. I've decided to follow the way that @adybulletjournal did it. I've separated the circle in 30 sections - one for each day of the month. And instead of creating the mandala as I go along, I'm going to be just colouring in that section with the appropriate colour.
Again, I know that it didn't turn out perfect, but I'm really pleased with the design and I'm going to be creating more mandalas in the future for sure!
So, there you have it. My November set up in my bullet journal.
I love getting inspired and trying new things, so let me know in the comments below of any other spreads I should try in my bullet journal.
Instagram Challenge: #doodlewithusinnovember2017
Once again I'm excited to announce our Instagram Challenge for the month of November! It's the #doodlewithusinnovember2017 Instagram Challenge created by me and Alexandra (from @alexandra_plans).
It's going to be 30 days of doodles that will hopefully get you to be creative and have fun! The theme of November's prompts is 'Thanksgiving'. This theme is perfect for this time of the year and I seriously can't wait to start drawing!
As we did before, all the doodles are part of one big comprehensive picture. Imagine each day to be one piece of the puzzle. So, at the end of the month you will have one big doodle picture! :)
If you decide to follow this way, you'll have to create a table with 5x6 boxes and you shouldn't add the days on the top. You can also make the boxes and dates in pencil, if you don't want the lines to obscure the end result. It's totally up to you.
Of course, if you prefer to draw the doodles in the traditional way, that's absolutely fine as well. The important thing is to have fun!
You can also download a free printout with the daily prompts here.
If you want to join us then:
- Follow me (Christina) @christina77star and Alexandra @alexandra_plans over on Instagram.
- Download the prompts below.
- Draw something according to the day's prompt, take a photo of it, and share it with us on Instagram.
- Don't forget to add the hashtag #doodlewithusinnovember2017 and spread the word.
- Everyone is welcome!
We're excited to see what you'll share!
Thank you for joining in!
My Blog Bullet Journal set up
I've talked about this in the past, and I truly believe that it's better to have one bullet journal for everything. It's easier to keep everything in one place and therefore it's less likely to get confused and frustrated going back and forth various journals. So, you might be surprised that I have created a bullet journal specifically for my blog.
I've talked about this in the past, and I truly believe that it's better to have one bullet journal for everything. It's easier to keep everything in one place and therefore it's less likely to get confused and frustrated going back and forth various journals. So, you might be surprised that I have created a bullet journal specifically for my blog.
The reason I wanted a separate notebook for that, was because I wanted a place to keep certain information and spreads that don't really change and so that I don't have to recreate every time I change a notebook. So, my to-do lists and my monthly planning for both my personal and professional life are done in my main bullet journal, while this new one will keep track of affiliations, website information, blog post ideas etc.
So, I'd like to show you how I've set up my blog bullet journal.
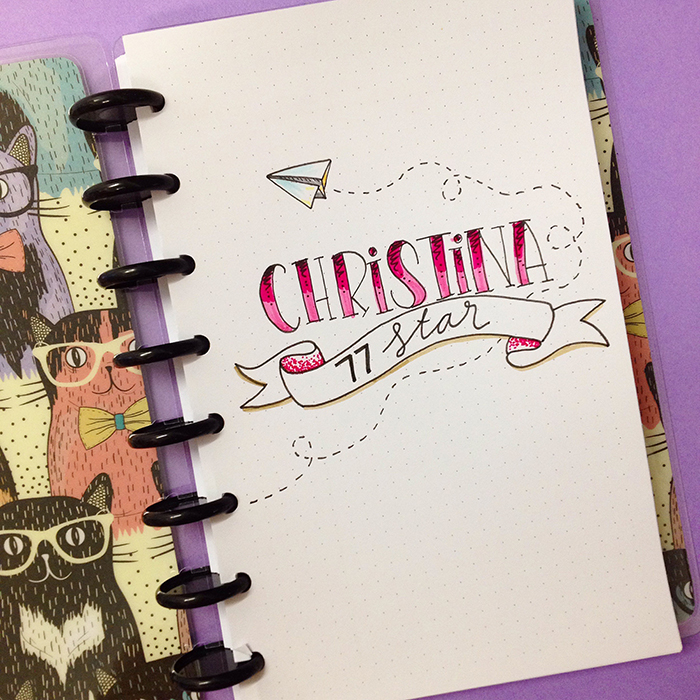
I decided to use my Jane's Agenda notebook that I've reviewed here.
I believe that a disc bound notebook is perfect for what I want plus it gives me the flexibility to change the order of the pages, create categories and generally change pages if I don't like them any more.
I added my logo on the first page - christina77star. And I love how it turned out. I have to say that the quality of this paper is a m a z i n g!
I had to create an index page, so I opted for something very simple. I only created one page since it's a disc bound notebook and I can add any more pages I want as time goes on.
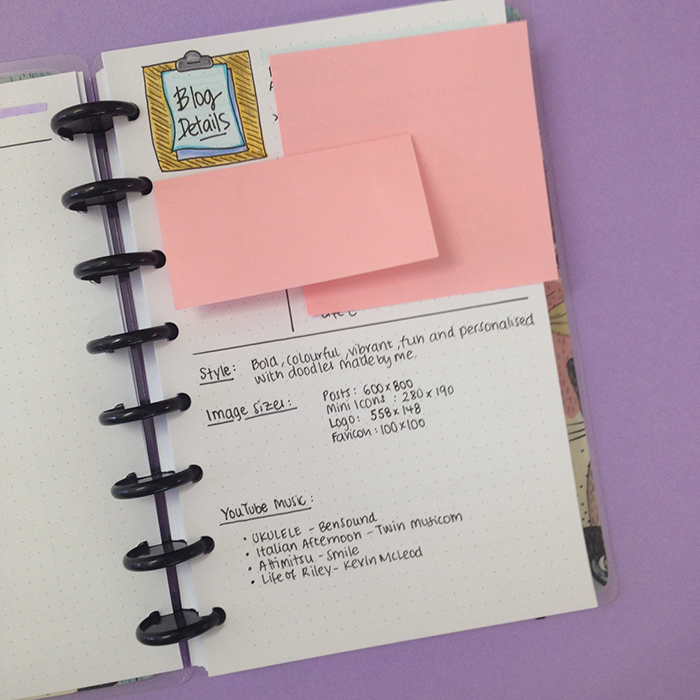
Then I have a page with all the blog information. Some description paragraphs, SEO, Fonts, Social Media information, Image size, the codes of the colours I'm using for my brand etc. Some of the information I wasn't very comfortable sharing with you, so I had to cover them up.
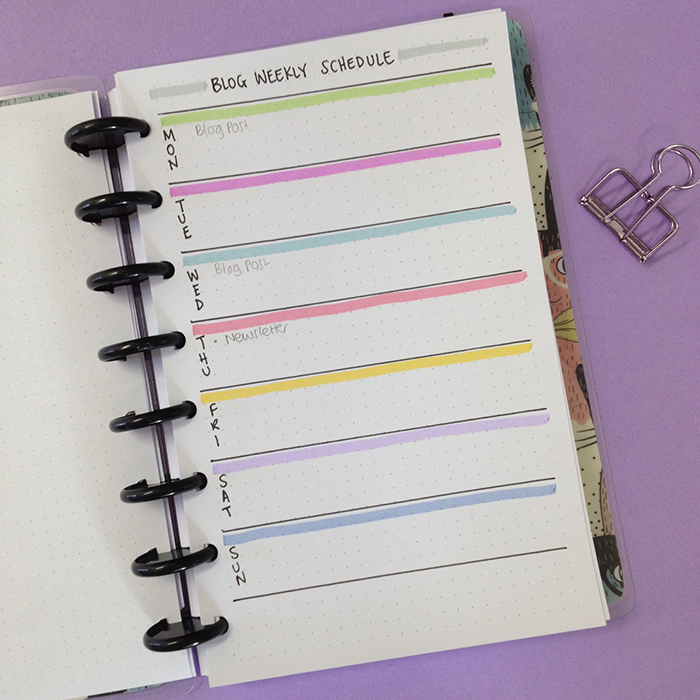
Next comes my Weekly Schedule. This is a page where I want to plan general actions i.e. how often I upload a post, or when I send my Newsletter etc. It is a schedule so that there is a program of my actions which helps me stay on top of things.
The next page is my Brain Dump page - because every journal needs one! This is a catch it all page for everything I need to remember that doesn't have a specific page for it. :)
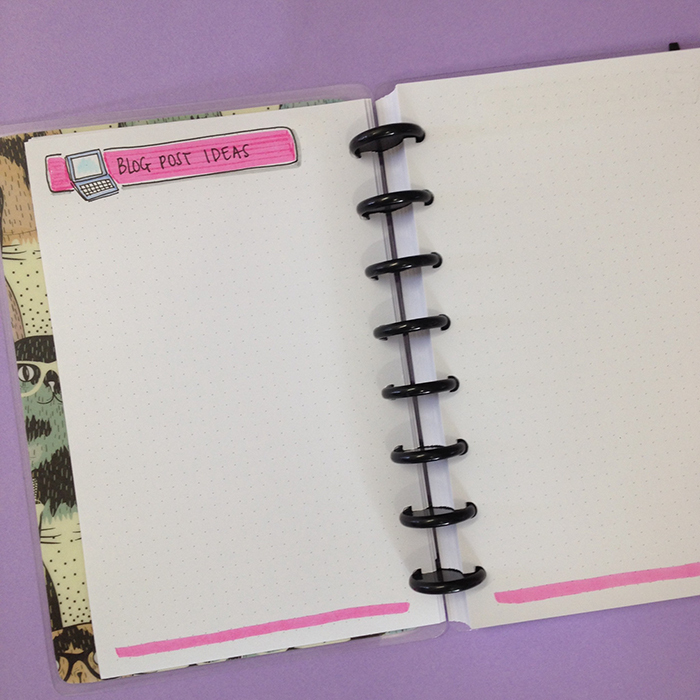
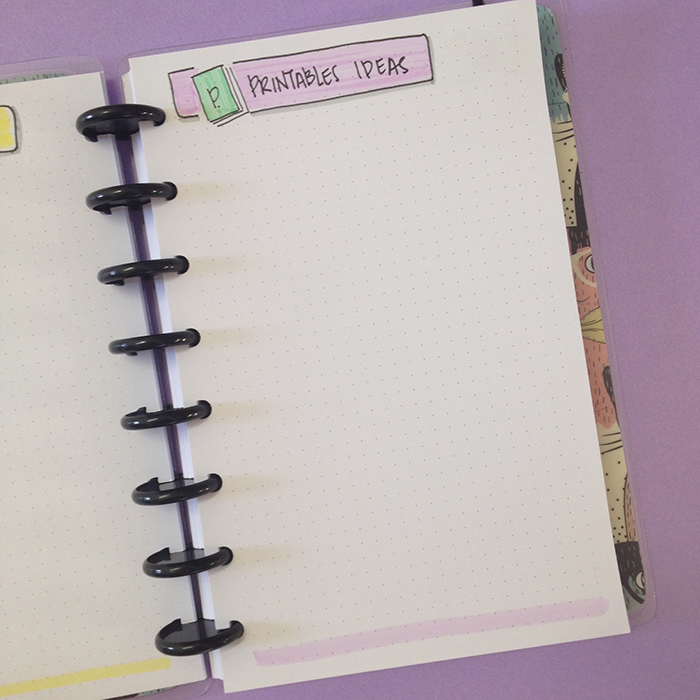
Then we move on to the Blog Post Ideas spread. I have so many ideas for blog posts that I need to keep a list of them and tick them off as I go along. What I like, is that I can always add pages when these ones are filled up.
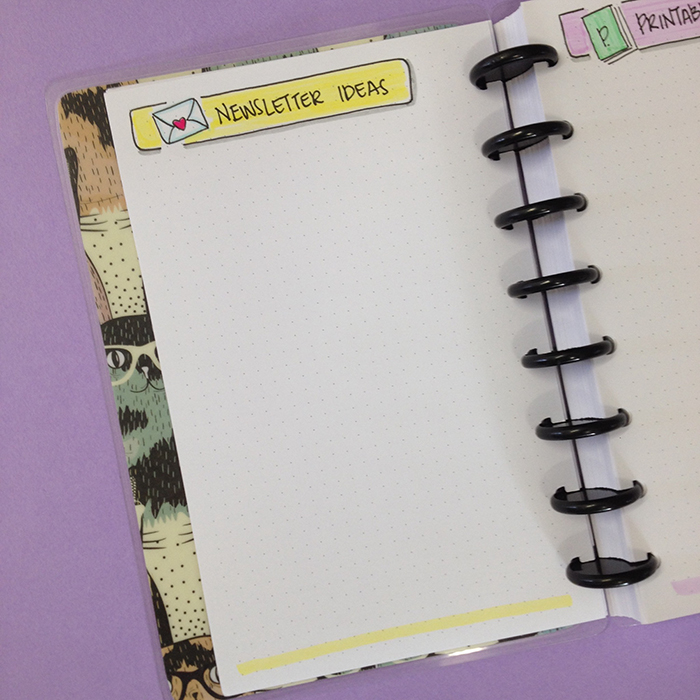
Then comes a page for my Newsletter ideas and one for the printables I want to create and share with you.
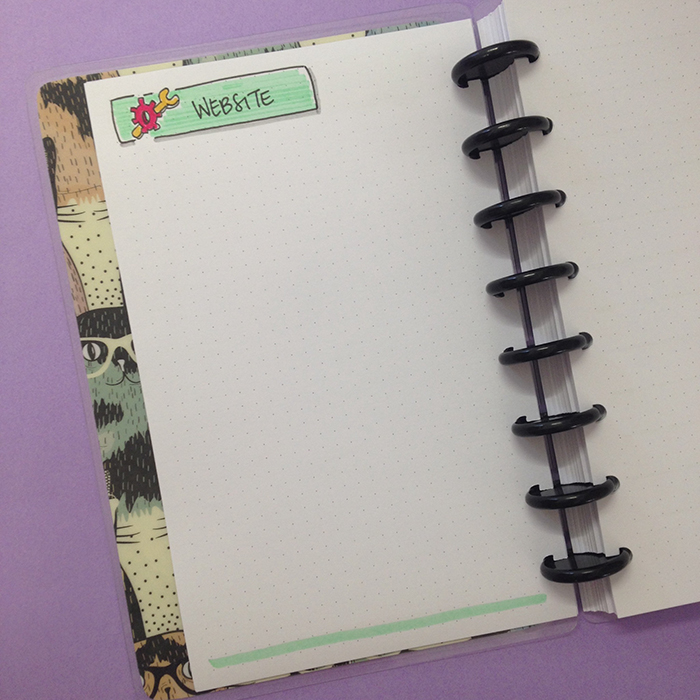
The next spread is about my Website's Maintenance. It's the things I need to do on it aesthetically, or if I want to add a new page, and generally any changes I want to make on it will go on this page. So, when I have the time I can come here and see what needs to be done.
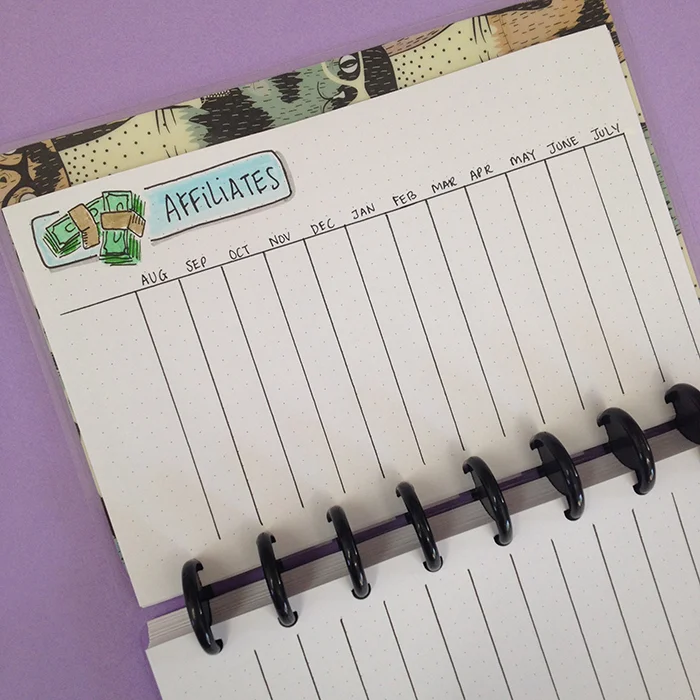
Next comes my affiliates page. I like to keep track of how much money I make from each company/website I'm affiliated with. So, I created a table with all the months and a long list on the left hand side to write the names of the affiliates.
The next page is a very important one. It has all my blog's statistics. Every month I like to keep track of page views, followers and generally everything that shows me how my blog and my social media accounts are doing.
In the other pages I keep my Finance Spreads as well as my Monthly reviews.
I love how everything turned out and as I mentioned before, I really like the flexibility of the disc bound notebook.
How about you? Do you keep a separate bullet journal for your business or school? Do you have a blog bullet journal? What other pages have you added? Share with me in the comments below ;)
Visit Jane's Agenda Website and use the code CHRISTINA10 to get 10% off. This is valid for one use per customer.
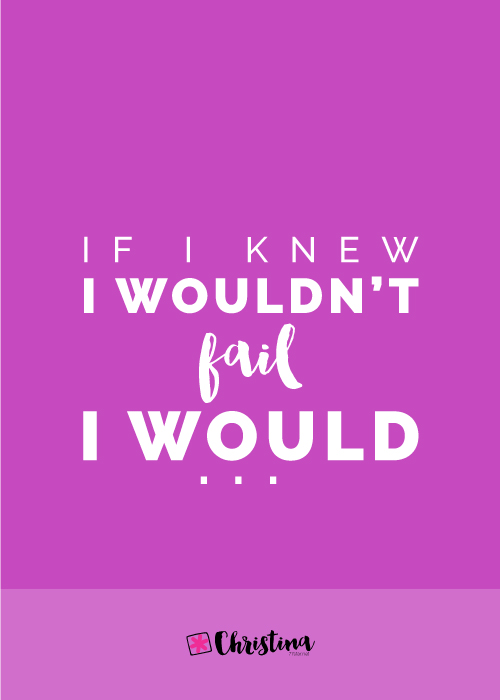
If I knew I wouldn't fail I would...
Today's post is inspired by a post that Lisa from Market Your Creativity did a few years back.
Our fears can hold us back from doing the things we want. A lot of times we feel that we are not good enough or creative enough and therefore we are scared to unleash our potential. We constantly beat ourselves up, thinking that somehow we should be more, do more, be better, because we don’t measure up in our own mind.
I'm definitely one of those people that are constantly questioning themselves and their worth. I don't think I'm good enough (most of the times!), and even though I have many creative ideas, I'm scared of failure.
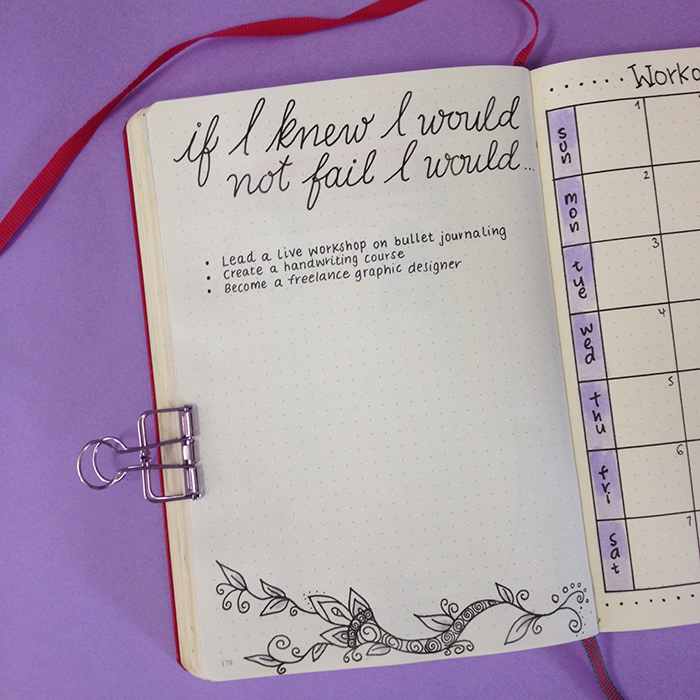
When I saw Lisa's post, I was instantly inspired to create a list in my bullet journal, where I'll write down all the things that I'd love to do but I hold myself back from. I didn't want to create a big list of things straight away. I wanted to give more thought to it, and treat it as a spread that I can go back to from time to time to either get inspired from, or to add more things to it. So, for the time being I've only added 3 things that I know I'd really love to do but I don't feel good enough.
So, if someone came to me and told me that I could do anything I wanted and it would definitely be a success, then I would...
- Lead a live workshop on bullet journaling
- Create a handwriting course
- Become a freelance graphic designer
How about you? What would you do if you knew that failure is not an option? Please share in the comments below :)


