How to keep your Collections separate from your Daily Spreads in your Bullet Journal
There's quite a few people that don’t like to mix their dailies and weeklies with all the other collections that they create in their bullet journal, and that's one of the issues they have with this planning system.
And even though bullet journaling is a planning system that shows you how to create your own planner one day at a time and to add spreads and collections as you go along, I have to admit that even for me, there are times that I would prefer to organise my pages in sections and categories instead.
So, here are some ways that can help you to overcome this issue:
1. START BACKWARDS
You can simply start and place your collections and various spreads you want to keep separate from your daily and monthly planning, at the back of your notebook and work from the back forwards.
This can be done either by having the notebook as normal and create as you go along, or you can flip it upside down and start creating that way. It all depends on what you prefer.
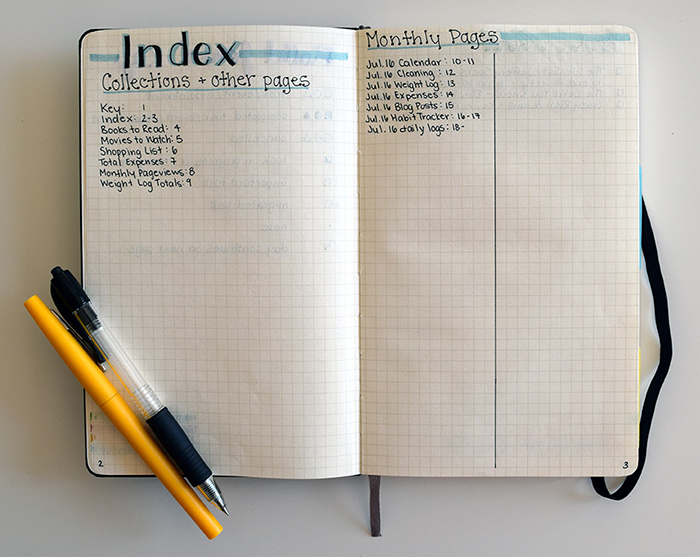
You can still use the index to archive your entries, so that you know where everything is. You can also choose to have a separate Index page for your spreads and collections, like Katie does with her Index Page. As you can see, she has one page dedicated to all the collections she creates and the other page to write down all the monthly entries.
CONS:
Some people might find this way a bit awkward, since they're not used to writing from the back to the front.
2. SEPARATE YOUR NOTEBOOK
You can choose to separate your notebook from the very beginning, and start adding all your collections at the last 1/3 of your bullet journal. This is based on how many pages on average you use for your daily planning and how many you use for your spreads and collections.
You can use your page markers or a separate tab to know where the collections part starts.
CONS:
You might end up having used up either one of the sections (i.e. your daily/weekly spreads or your collections part), while you have more pages left on the other section of the notebook.
3. USE A DIFFERENT TYPE OF NOTEBOOK
You can use a disc bound notebook or a ring binder notebook.
That way you can create sections and move around your pages as many times as you want. You can also keep the same collections and spreads and just change the daily / weekly / monthly pages as you go along. That way, you don't have to recreate your spreads every time you change a notebook.
There's lots of this type of notebooks online. I personally have used and love the William & Hannah notebook and the Jane's Agenda one, and I totally recommend them both.
CONS:
I’m talking more about the pros and cons of this type of notebook in this blog post.
4. USE TWO DIFFERENT NOTEBOOKS
I know some people might find this weird, but you can use 2 different bullet journals - one for your daily planning and one for your Collections and spreads.
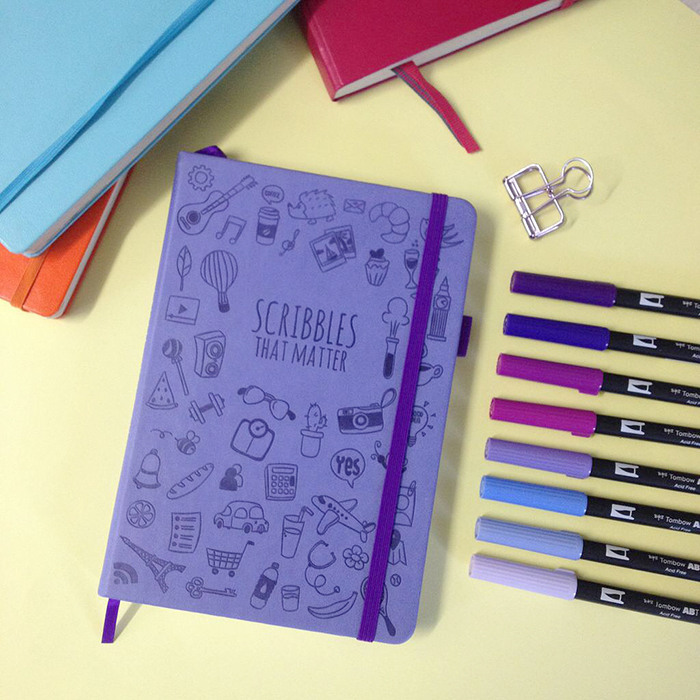
And even though this might not be practical for some, it does provide a solution to this problem, especially if you want to keep using bullet journal notebooks like the Leuchtturm1917 or the Scribbles That Matter ones.
CONS:
Having to carry around 2 notebooks instead of one.
Does mixing your day to day planning with your collections bother you? What do you do about that? Do you find any of the above solutions helpful?
Mint Printcess Notebook Review
Hello, friends and Happy New Year!
This is the first blog post for 2018! I am so excited for the new year and all the amazing opportunities and experiences it's going to bring. I hope you had a good time during the holidays, and that you took the time to be close to your family and loved ones. That's exactly what I did and I'm so grateful of all the lovely moments and memories we created during that time.
Today's review is about a bullet journal notebook by Mint Printcess on Etsy. I always like to test and review bullet journal notebooks, so when I was contacted to do a review for Mint Printcess I said yes straight away.
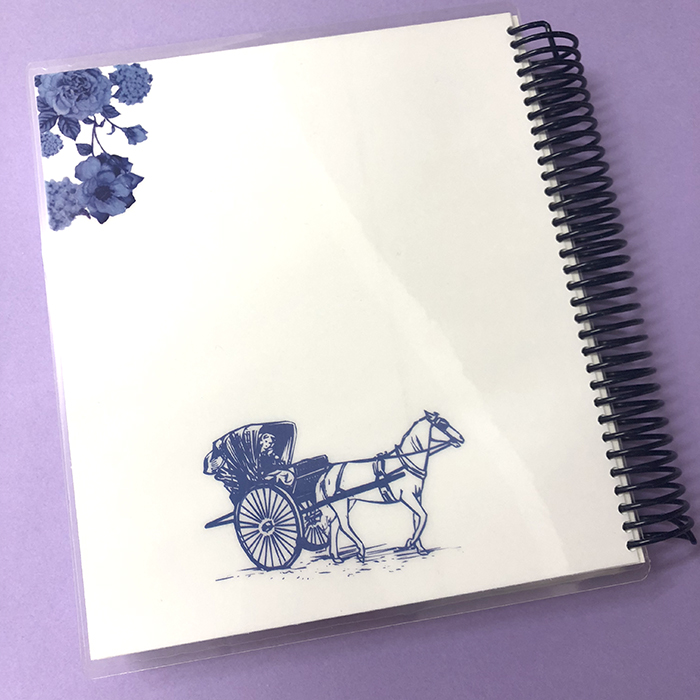
What I noticed the minute I checked her Etsy shop, was the variety of covers she's offering. I had to choose from 114 different designs! That took me a while for sure! But I love the one I've chosen and the best part was that I could personalise the cover too. So, I added my name, but of course you can add anything you want - your word of the year, your business' name etc. The design I chose is called Selena and has these beautiful dark blue-purple flowers.
The cover is made of heavy card stock laminated with 10 mil laminating pouch, making the front and back, not only sturdy but also waterproof.
The spiral coil is plastic and you can select between 3 colours: Mint, Navy Blue and White. I chose the Navy Blue one and I really like how it matches the notebook.
When you open the notebook you have a page with the Mint Printcess Logo, which I think is adorable and a plastic ruler that is retractable and can be used as a page marker as well.
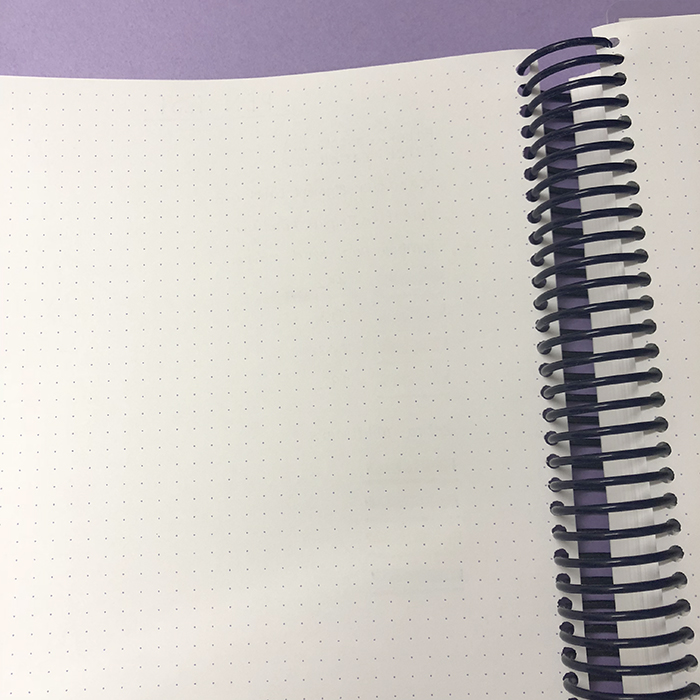
Each notebook has 280 pages of 70 lb high quality paper (140 sheets). It's size is 8.5" x 7.5" and on each page you get 43 dotted lines vertical and 37 dotted lines horizontal. The pages are not numbered, and they feel really nice and smooth.
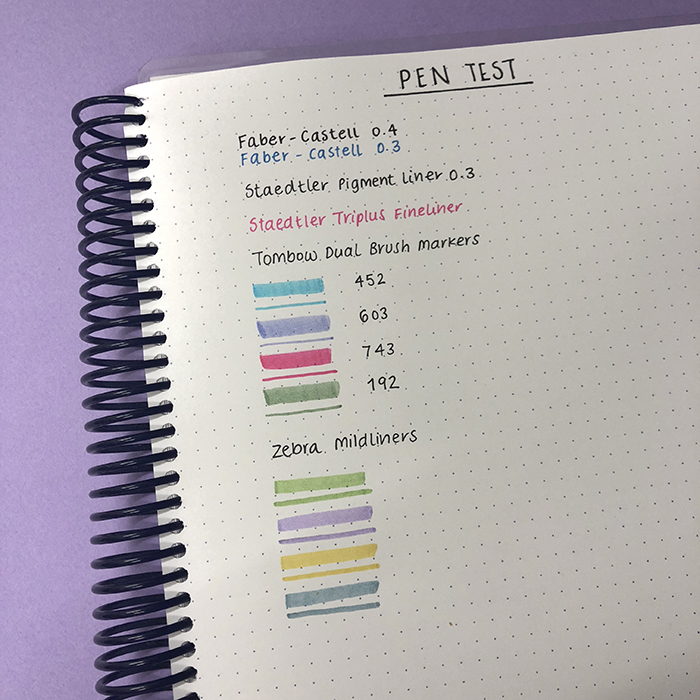
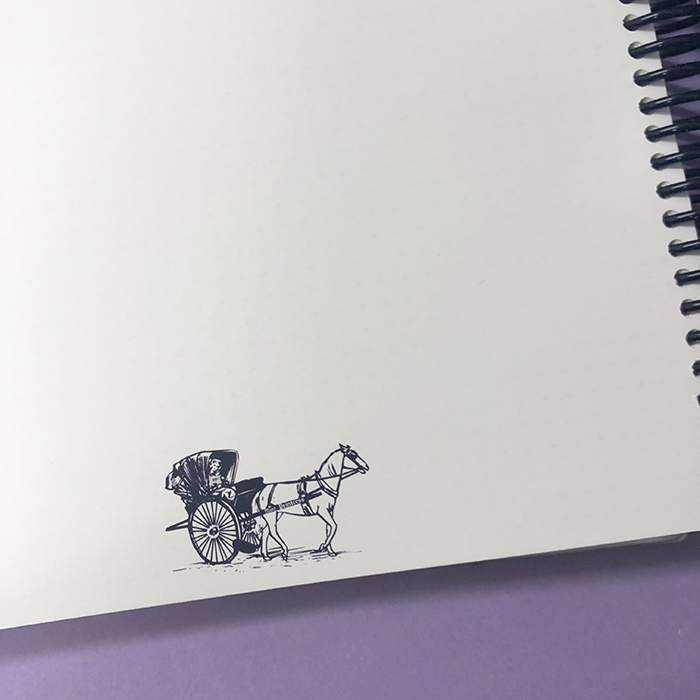
When I did the pen test at the back of the notebook, I was amazed with the result. I tested all the pens and markers that I use on a daily basis and you can hardly see any ghosting at the back of the page. So, I really really like the quality of this paper!
Even though I'm used to the A5 size of my previous bullet journal notebooks, I really like how much bigger this notebook is from my other ones. But it's not as big as an A4, which is really difficult for me to take around in my bag, so that's great.
The other thing I love, is that you can choose different coloured pages and you can totally customise your notebook. There are 8 different colours to choose from. There is purple, pink, kraft and blue which come in 70 gsm, and white, ivory, light blue and green which come in 80 gsm.
I think it's nice to use different coloured pages to section your notebook, or to colour code different categories or collections in your bullet journal.
I love the attention to detail and how well made this notebook is. I think it's an amazing notebook to have at school, or to use it to start creating your bullet journal in it. If you like spiral coil notebooks, then I would definitely recommend it.
Make sure to visit the Mint Printcess Etsy shop to check out all the lovely designs she offers. Do you use a spiral coil notebook as your bullet journal? Let me know in the comments below.
Plan With Me | January 2018 Bullet Journal Setup
I can't believe that 2017 is almost over! That's crazy! It has been such an amazing year for me, so I'm sad to see it go. But I'm ready for 2018 and all the good stuff it's going to bring :)
And since it's the end of the month, I have to set up my bullet journal for January. I'm really excited because I'm finally going to start using my lovely Scribbles That Matter notebook! Yay!
I can't believe that 2017 is almost over! That's crazy! It has been such an amazing year for me, so I'm sad to see it go. But I'm ready for 2018 and all the good stuff it's going to bring :)
And since it's the end of the month, I have to set up my bullet journal for January. I'm really excited because I'm finally going to start using my lovely Scribbles That Matter notebook! Yay! I have a review on this notebook, if you want more information about it.
Make sure you scroll down to the bottom of the post, because there's also a video, where I'm showing you exactly how I've created each spread.
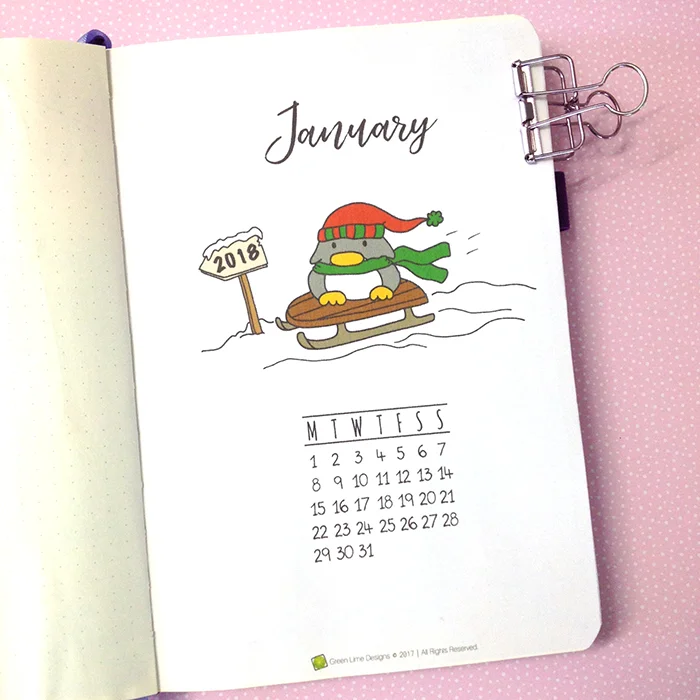
So, back to my January planning, I start the month with the usual front page and I’ve added the January page from my 2018 calendar.
You can print and use it as normal calendar, but what I like to do is to print it on a sticker paper, cut it to size and add it straight on the page. I like to use a ruler to make sure the sticker goes on straight and that there's no bubbles..
You can find the 2018 Penguin Calendar in my Etsy shop.
Moving on to the next spread which is my month at a glance. As I mentioned before, I prefer the grid layout so that's what I did again.
I think it’s the first time that I decided to have a theme throughout the whole set up for the month. Usually I tend to add lots of colour and doodles, but nothing cohesive throughout the whole set up. So, this time I wanted to re-create the theme of winter houses and snow.
Apart from being winter, obviously, we are also moving to a new house on the last week of January, so I wanted to create something that will remind me of the move as well.
Again I’ve used the Tombow Dual Brush Markers as watercolours with my Pendel water brush. I decided to use bright colours, being inspired by a picture I saw online and I also used 2-3 shades of the same colour to create dimension. For the snow, I used some white acrylic paint and a very small dry brush.
I also have a section on the right of the calendar for all the things/events I want to remember to do this month.
Moving on to the next page and the goals and general to-dos for the month.
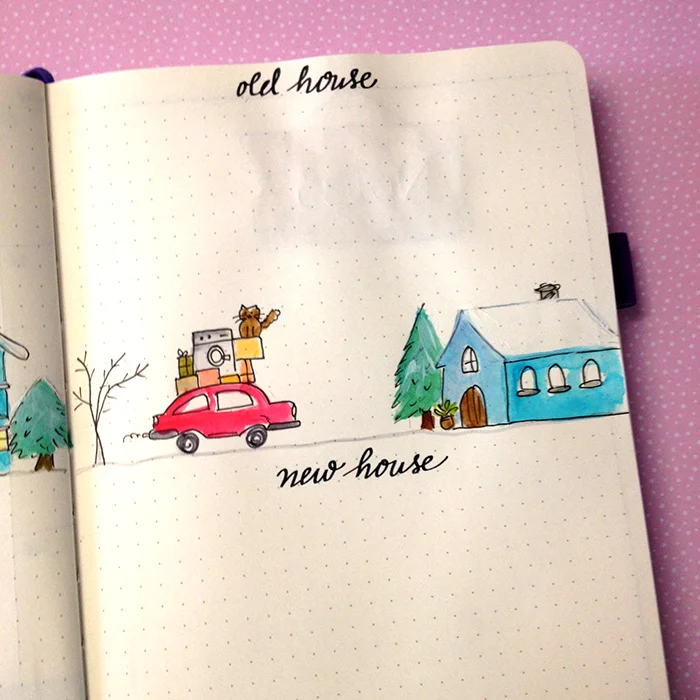
I usually do a list with all the goals for 4 categories - personal, family, home, and work. I kept that layout on the left hand page, but on the other page I wanted to have a section for the things I need to remember to do for the old house and other things I need to remember for the new house.
I decided to have the same theme with the winter houses on this spread too. However, in order to be relevant with the move as well, I added a car with lots of boxes on top of it. It even has a washing machine and our cat too! I don’t know if I’ve mentioned this before, but we have a cat. Her name is Lilly and she's included in the drawing as well.
I’m using the same technique like before and similar colours for the houses. But I didn’t add the sky colour so that I have more space to write on.
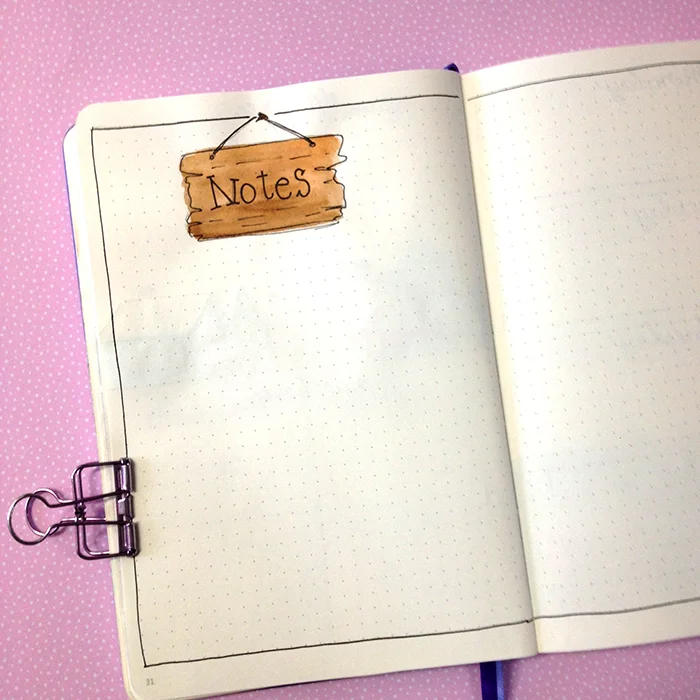
Because of the move I realised I needed more space to add things that I want to remember for the move, and therefore I created a spread for notes where I can add anything I want. I kept it minimal and instead of the houses I just added a wooden sign on top.
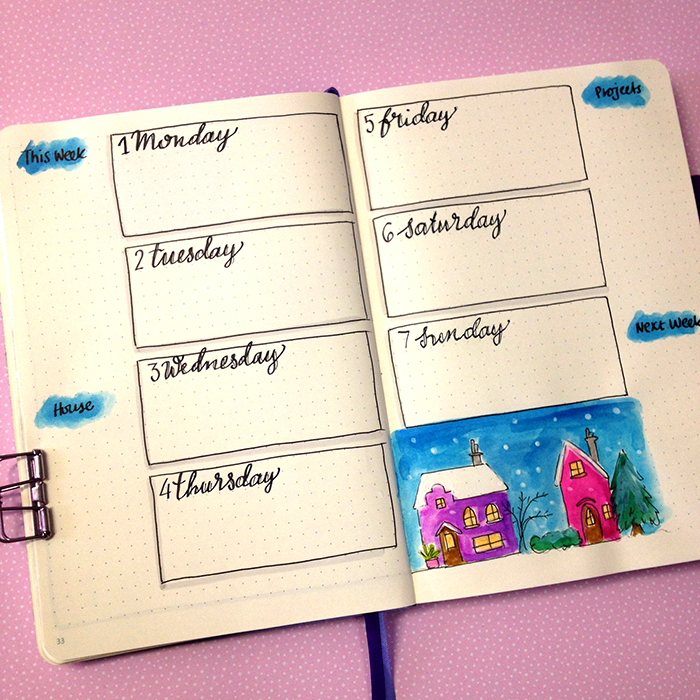
The last spread is my very first weekly for 2018. Again the theme of the winter houses continues and I used a very basic layout that I tend to use a lot. It has all the space and sections I need and it can be very versatile.
As you can see this month I didn’t add any gratitude log or any trackers because I know I’m going to be extra busy, so I won’t have time to do any of these things while I’m moving out.
You can watch the video as well to see exactly how I've created each spread:
So, this is my set up for January - short and sweet. Have you set up your bullet journal for January yet? Are you ready for the next year? Let me know in the comments below.
The warmest wishes to everyone for a wonderful New Year 2018!
Hope to see you again next year!
Christina x
RELated POSTS
6 Christmas Spreads for your Bullet Journal (+ video)
I love when December comes because apart from my normal monthly spreads I get to play around and create my Christmas spreads as well in my bullet journal. Today I'm going to show you the 6 spreads I've created for Xmas.
Make sure to scroll down and watch the video as well, where I show you step-by-step how I created each one.
I love when December comes because apart from my normal monthly spreads I get to play around and create my Christmas spreads as well in my bullet journal. Today I'm going to show you the 6 spreads I've created for Xmas this year.
Make sure to scroll down and watch the video as well, where I show you step-by-step how I created each one.
The first spread is a Christmas To-Do List. I did a similar one last year and I really enjoyed crossing off all the things as I was doing them with my kids. It's more like a family tradition now. And since one of the most important things for my kids every Christmas is the hot chocolate with cream and marshmallows, I had to create a drawing about that!
The next spread is a very important one, and that is the Christmas Cards List. I always make a list of the cards we need to send to the people we love. Especially since we moved to Cyprus, is very important to me to send cards to our families in Greece and in the UK. I didn't want to create a two pages for this, so even though you can see 5 envelopes, each line represents one card. I chose the little penguin for this spread's drawing and I love how cute he looks!
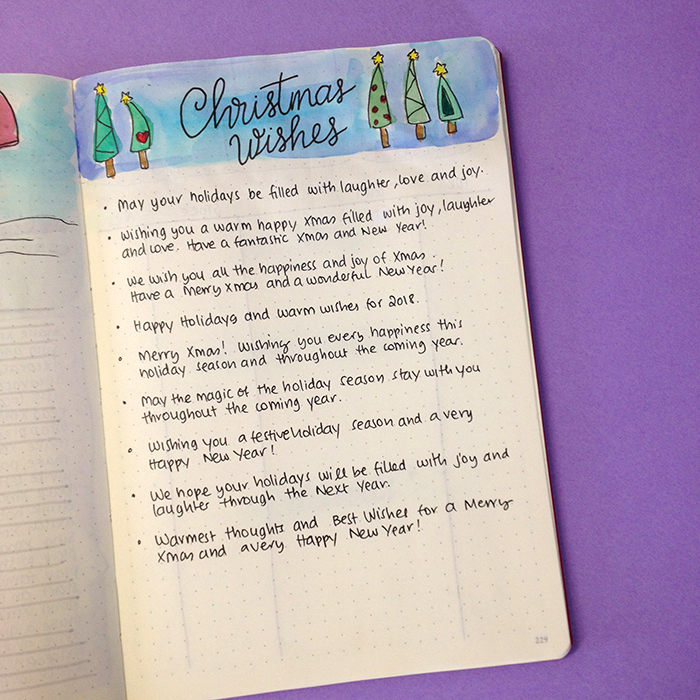
The next spread is connected with the Christmas Cards one. It's actually a list with Christmas Wishes that you can write in the cards. Sometimes I like to have some inspiration, so that I don't write the same thing in all the cards! I have some other similar lists written in other notebooks as well, so it's nice to have them around when it's time to write 20 or so Xmas Cards!
Moving to the next spread and possibly the most important one of all - The Presents! Since I'm doing most of my Xmas shopping for presents online, it's nice to have a list to write down my ideas and where I found them. It makes it easier to decide and also to see how much you spend and what presents.
Next comes the Christmas Menu spread. Since I'm hosting the Xmas lunch at our house this year, I wanted to create a spread in order to remember the menu and I love how it turned out. It looks like a restaurant menu! I'm already thinking of all the yummy food I want to create for that day.
The last spread is a Christmas Countdown Page I created. I changed it up from what I had last year and instead of doodles I only added numbers in various fonts. Of course I've left it in pencil and I'm going to colour each day as I go along. I can't wait to see the finish page in the end!
Christmas is a celebration of love and joy, and it's always nice to create lovely memories with your family and your loved ones that you'll always remember. For me, that's one of the main reason for these spreads as well.
I have created the FREE printables for you of the Xmas To Do List, the Presents and the Xmas Menu. You can find them in the Resources Library, when you subscribe to my Newsletter.
JOIN THE GANG!
Subscribe now to my Newsletter to download the FREE Printables.
Plus get access to the Resources Library!
You can now watch the video to see exactly how I created each spread:
Have you added any Christmas spreads in your bullet journal? Let me know in the comments below.
Bullet Journal: My December Set Up in my Bullet Journal (+ video)
In today's post I’m going to show you how I've set up my bullet journal for December. December is a very busy month and I have to create lots of spreads. Today I’ll show you the basic monthly spreads and there’ll be another blog post with all the xmas spreads separately.
Make sure you scroll down to the bottom of the post, because there's also a video, where I'm showing you exactly how I've created each spread.
Since I had space, I thought to create a page to say goodbye to November and I continued the theme with the leaves that I started that month. For all the spreads, I’m using my Tombow markers as watercolours with my Pentel water brush.
When I'm using watercolours, I prefer to add the colour on the page first, before I go back and retrace the image with my black pen. But make sure to leave everything to dry well first, so that you can avoid smudges.
The next page is the first page of December. For the last 3 months I'm using a month from my Penguin Calendar as the first page of that month. You can print and use it as normal calendar, but what I like to do is to print it on a sticker paper, cut it to size and add it straight on the page. I like to use a ruler to make sure the sticker goes on straight and there are no bubbles..
You can find the 2018 Penguin Calendar in my Etsy shop.
The next page is my Month at a Glance. I decided to use the traditional monthly calendar grid for this month and I added a cute little snowman at the top of it. I've found that this layout works better for me.
I also have to sections at the side of the calendar that are for things I want to remember to do this month and next month.
Moving on to the next spread which is my November review and my December focus. I tend to do this at the end of almost every month, but since it’s the last months of the year, and they are the 2 busiest months as well, I want to reflect on what I’ve accomplished in November and also to focus on specific tasks for December.
The December focus page I separated it into 5 sections: one section with all the things I want to do this month, and then 1 section for each week, where I basically take all the things I want to do and I allocate them in one of the weeks of the month. That makes it easier to do tasks and I know exactly what I have to do each week.
For last month’s review I create sections for my big wins, what didn’t work and how I’ll improve.
Moving on to my Mood Tracker for December. I decided to make it a bit more fun, so I created a polar bear that seems to be having some issues with the xmas lights. I created 1 light for each day of the month that I’m going to be colouring depending on my mood.
I’ve created a FREE printable for you of this page. You can find it in the Resources Library, once you subscribe to my Newsletter.
JOIN THE GANG!
Subscribe now to my Newsletter to download the FREE Printable.
Plus get access to the Resources Library!
The next spread is my Sleep Log. I really enjoyed doing last month and I’m going to continue it this month as well. To tell you the truth, I’m surprised that I kept up with this tracker. Every time I’ve tried in the past to use a tracker, I always forgot to go back and fill it in. But with this one I did it. I’m doing a similar design with before with the little stars, but I chose pinks and purples this time for the colours.
I’ve also decided to start tracking my sleep from 9pm instead of 6pm, because clearly I’m not going to be getting any late afternoon naps any time soon. I also left some space next to the times to record exactly when I wake up and when I go to sleep. I’m not sure if I’ll keep up with that one, but I’ll give it a try.
And the in the last page I wanted to add a list with all the things I have to do before the holidays.
I wanted to make it a bit more interesting and so I made it look like a binder. I don’t know if that happens to you too, but when I draw and create things on my pages, then I want to go back to them and finish all the tasks. It’s a bit weird, but it works.
You can watch the video as well to see exactly how I've created each spread:
So, this is how my December looks in my bullet journal. Which spreads did you add in your December set up? Have you used a mood tracker or a sleep log before?
Bullet Journal Ideas: Weekly Spread (+video)
Today I’m going to show you how I’ve set up my weekly spread in my bullet journal.
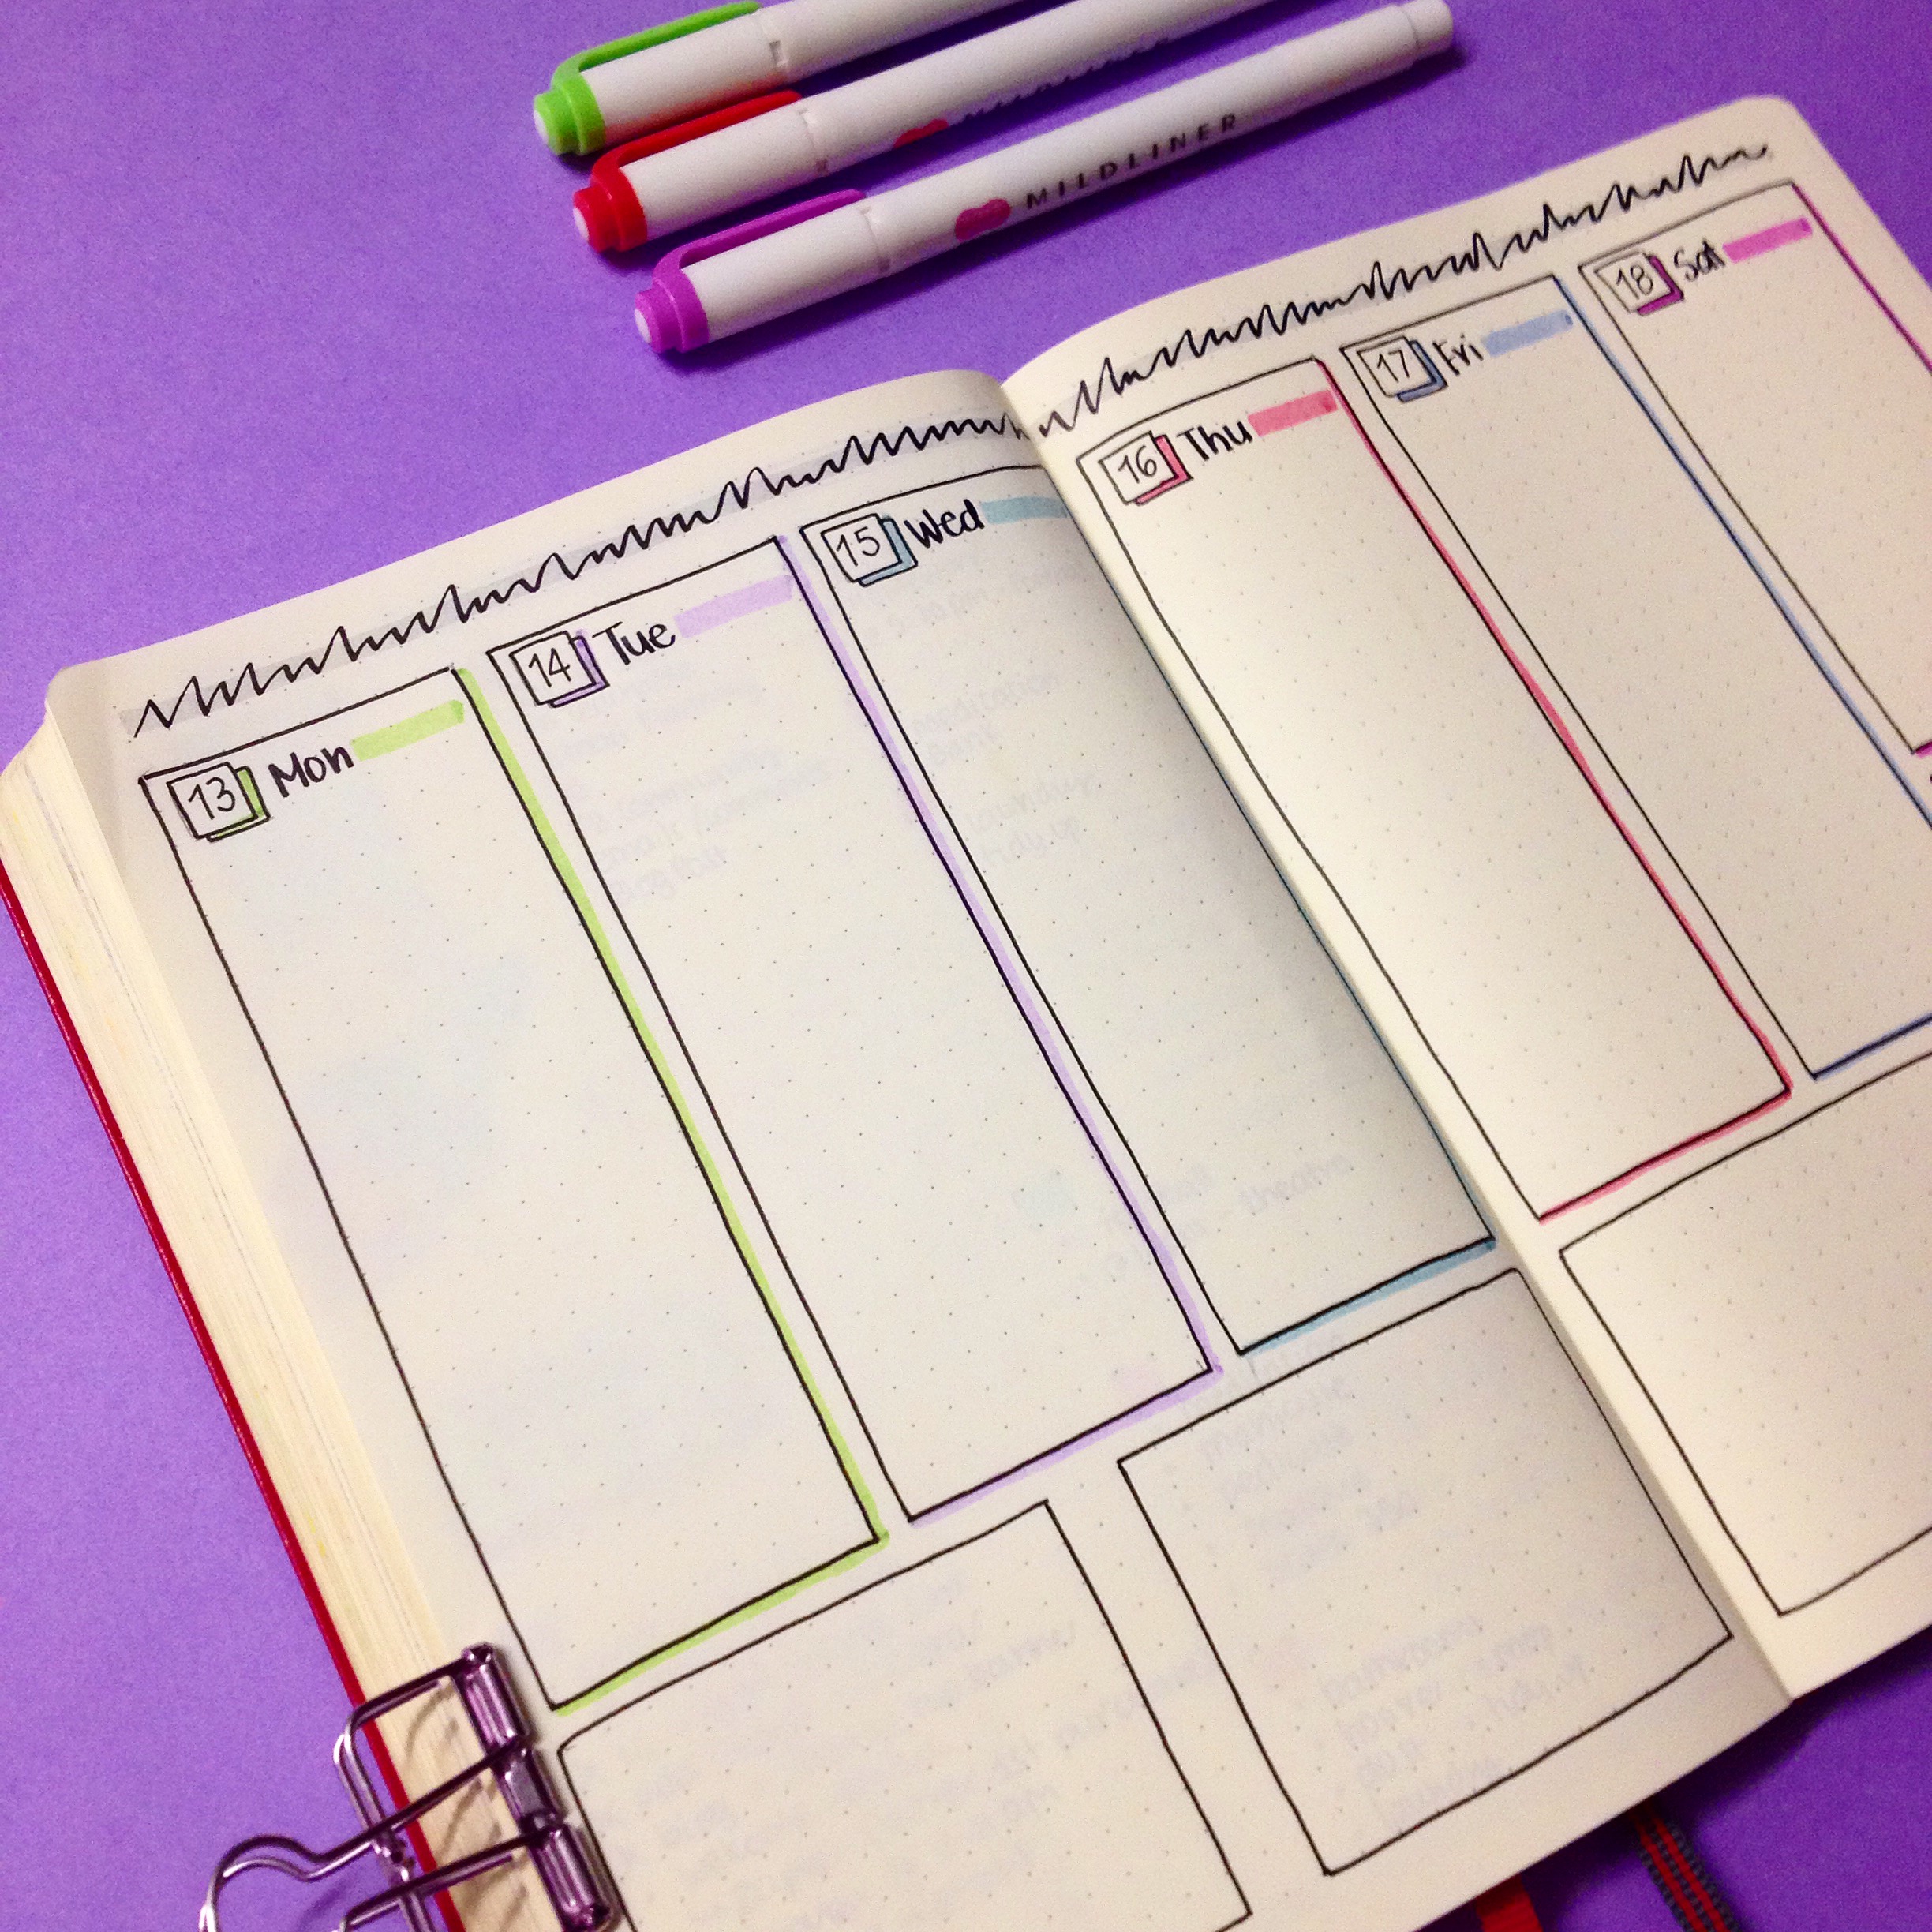
I usually have a certain layout for my weeklies that I prefer. Like the one I had for the previous week. However, this week I wanted something different, so, I’ve decided to create a layout that looks like a notice board.
Today I’m going to show you how I’ve set up my weekly spread in my bullet journal.
I usually have a certain layout for my weeklies that I prefer. Like the one I had for the previous week.
However, this week I wanted something different, so, I’ve decided to create a layout that looks like a notice board.
I always like to plan and sketch my pages in pencil first. I am terrible with making mistakes and I usually count my boxes wrong which leads to tears usually and I have to redo the whole thing again. So, in order to keep my sanity, I always use pencil first.
I’ve decided to use my Tombow markers as watercolours for this spread. To do that I use a little plate and my trusty Pendel Water brush. You can always use a plastic surface if you prefer, to add the colour and then pick it up with the brush.
You can watch the video to see how exactly I created this spread. In the description you can also find all the supplies I used.
If you liked the video, let me know in the comments below. What other types of video would you like me to make?
30 Christmas Spread Ideas for your Bullet Journal
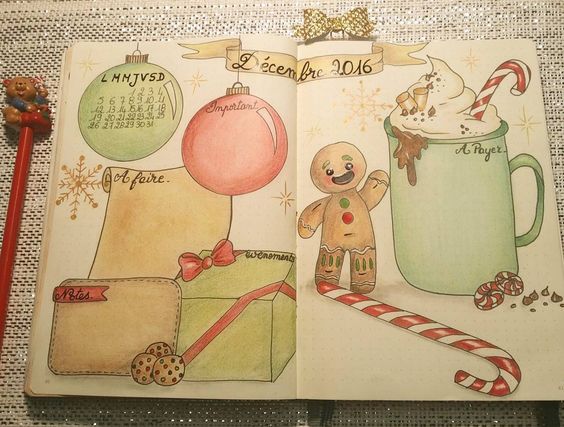
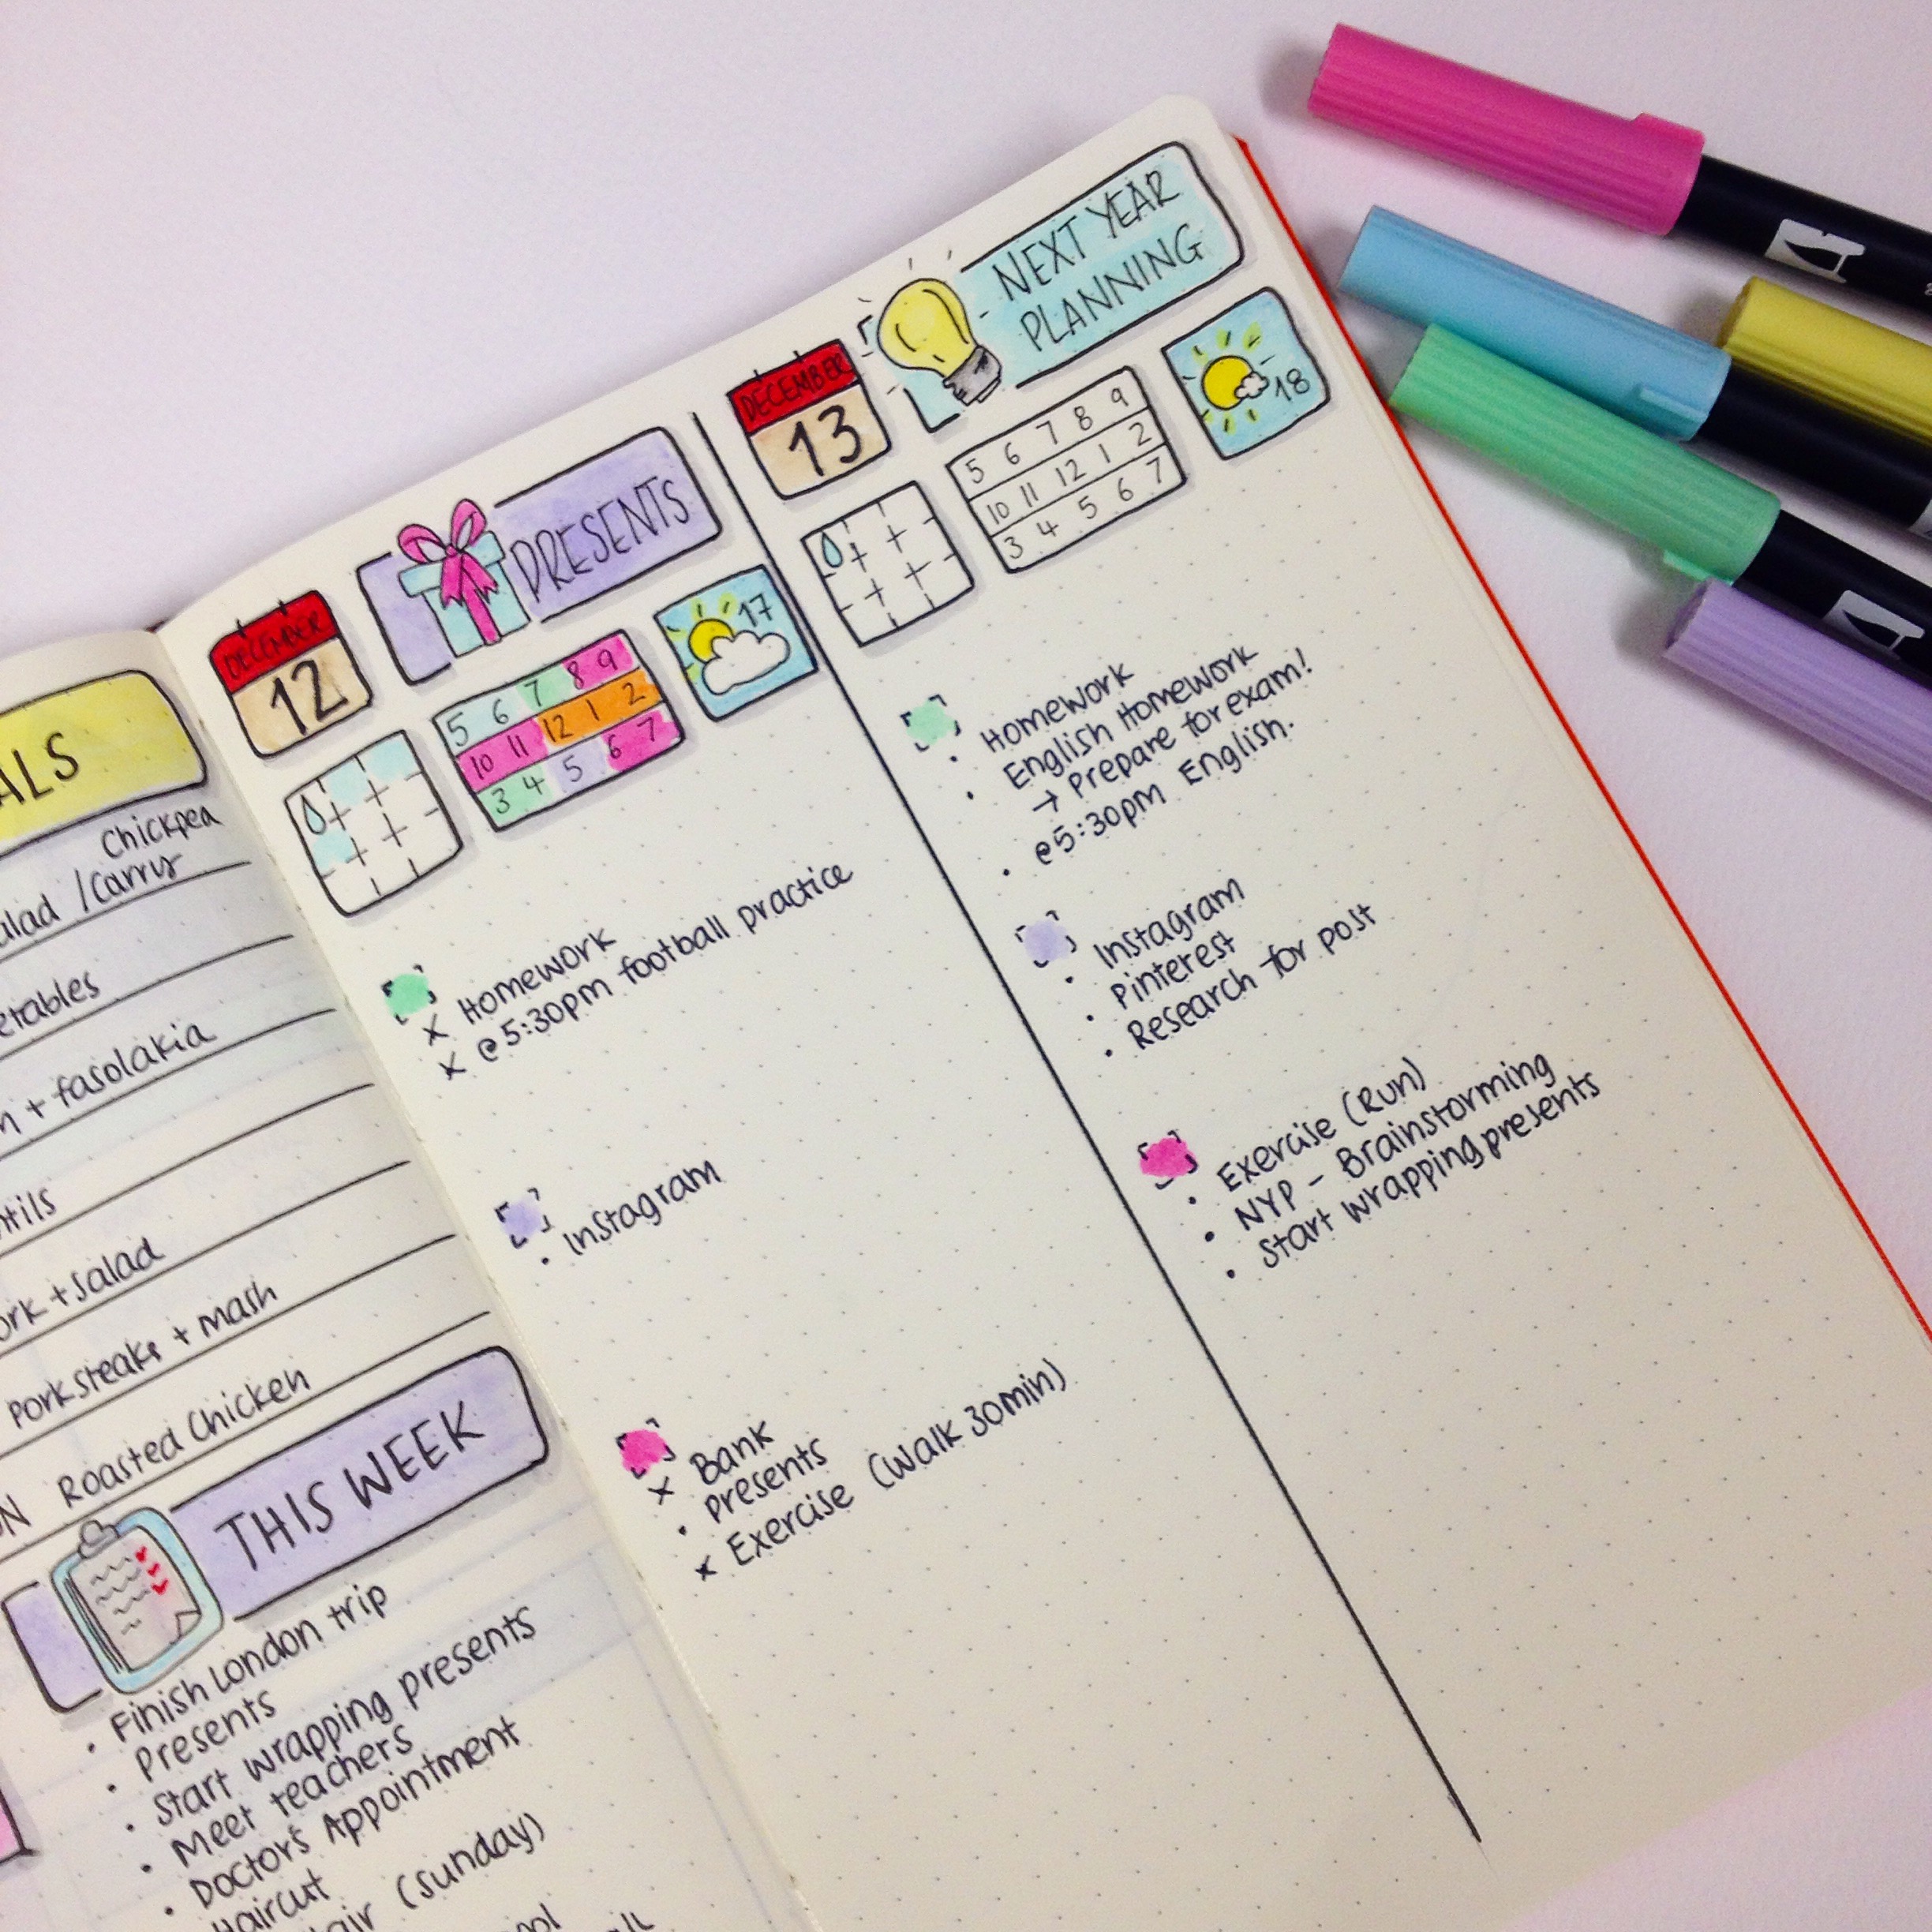
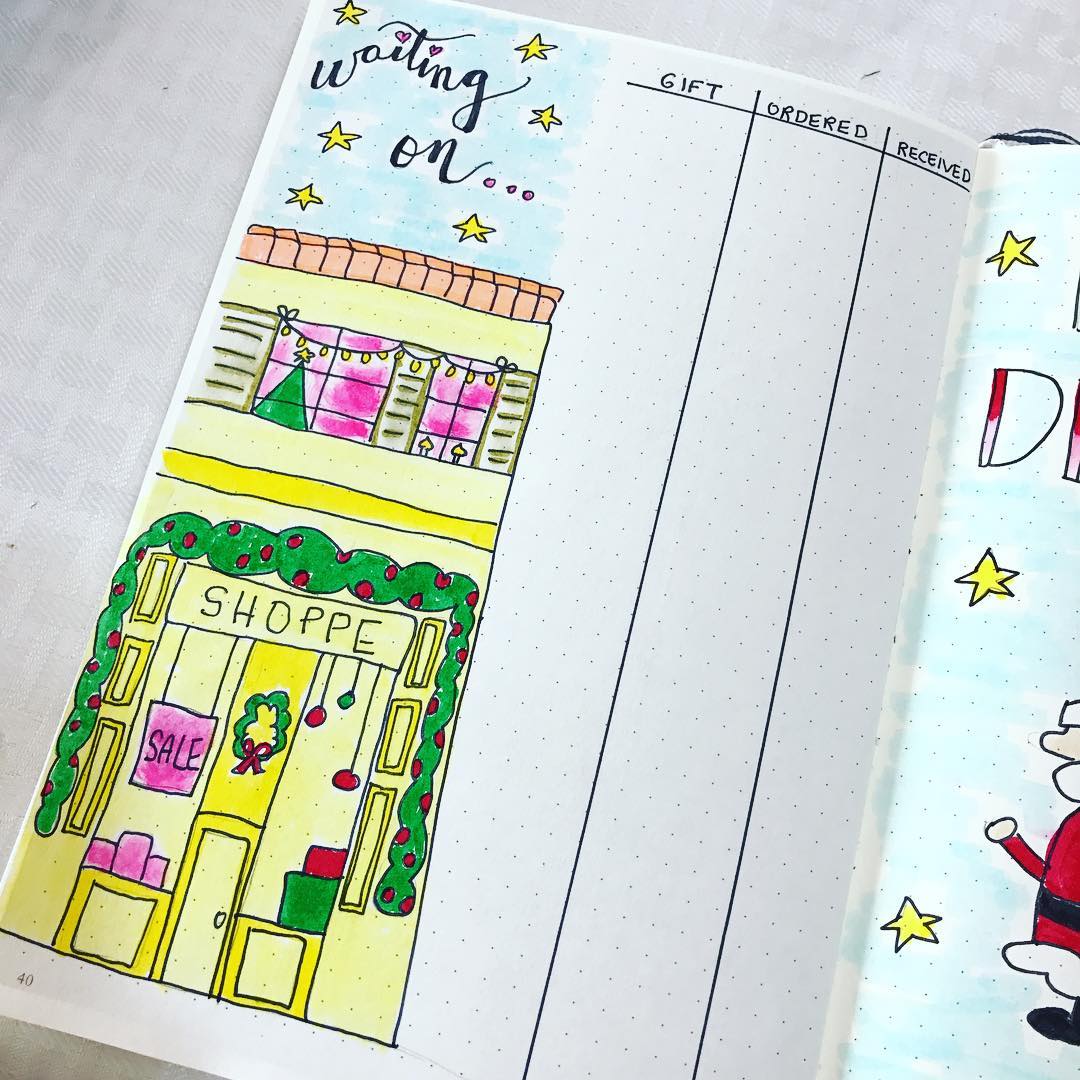
With Christmas just around the corner there are a million and one things that you need to organise and prepare. One of them being your bullet journal set up for December and all the Xmas spreads you might want to include in it.
I've been looking around the Internet for more inspiration and I thought I'll share with you some really nice spreads I've found by some very talented fellow bullet journalists. I've put them in categories, so that it's easier for you to find what you're looking for.
So, grab a cup of coffee (or tea) and let's get inspired.
December Front Page
Monthly Set Up
@my.life.in.a.bullet
Weekly Spreads
Daily
Christmas Spreads
So, I hope all these spreads have put you into the Christmas spirit and have inspired you to create your own in your bullet journal.
Do you create Christmas spreads? Which ones do you usually add in your December layout?
How I decorate the First Page of my Bullet Journals + Video
In the following video I’m going to show you the different ways I like to decorate the very first page of my bullet journal. I usually like to add a quote or a drawing that means something to me on the first page of the notebook. I think that it’s nice to see something inspiring every time you open your bullet journal.
In the following video I’m going to show you the different ways I like to decorate the very first page of my bullet journal. I usually like to add a quote or a drawing that means something to me on the first page of the notebook. I think that it’s nice to see something inspiring every time you open your bullet journal.
As you'll see in the video, I’ve been doing this with all my previous bullet journals creating drawing and quote pages.
For my 4th bullet journal I’ve decided to go with a quote that I found online and I really like it. It’s a quote by William Ernest Henley and it says:
“I’m the master of my fate, I’m the captain of my soul’
This video is part of my online course: Bullet Journal With Me.
I’m starting a new bullet journal for 2018 and in this course I take you along and show you step-by-step all the process of how I’m setting it up. With this course you have access to 17 Videos and 31 Printables, as well as lots of useful Resources.
For more information click here.
If you follow the link, you can also get a printable of the design I’m creating in this video, plus some of my other quotes and drawings I’ve created in my previous bullet journals.
I hope you’ve enjoy the video.


