Pad And Quill Notebook Review
If you've been following me for a while, you'll know that I love testing and reviewing notebooks. Especially notebooks that are meant for bullet journaling. All through the years that I've been bullet journaling, I've tried lots of brands of dotted grid notebooks, and I get so excited when I find new notebooks that I haven't seen before. So, when the people from Pad & Quill contacted me to review and give my honest opinion about their notebooks, I immediately said yes.
If you've been following me for a while, you'll know that I love testing and reviewing notebooks. Especially notebooks that are meant for bullet journaling. All through the years that I've been bullet journaling, I've tried lots of brands of dotted grid notebooks, and I get so excited when I find new notebooks that I haven't seen before. So, when the people from Pad & Quill contacted me to review and give my honest opinion about their notebooks, I immediately said yes.
I received the package within the next few days and I liked how nicely and securely everything was packaged. I always pay attention to details, and I loved the wax seal with the company's logo.
I was also surprised that they've sent me not one but two notebooks and a leather case!
Leather Case
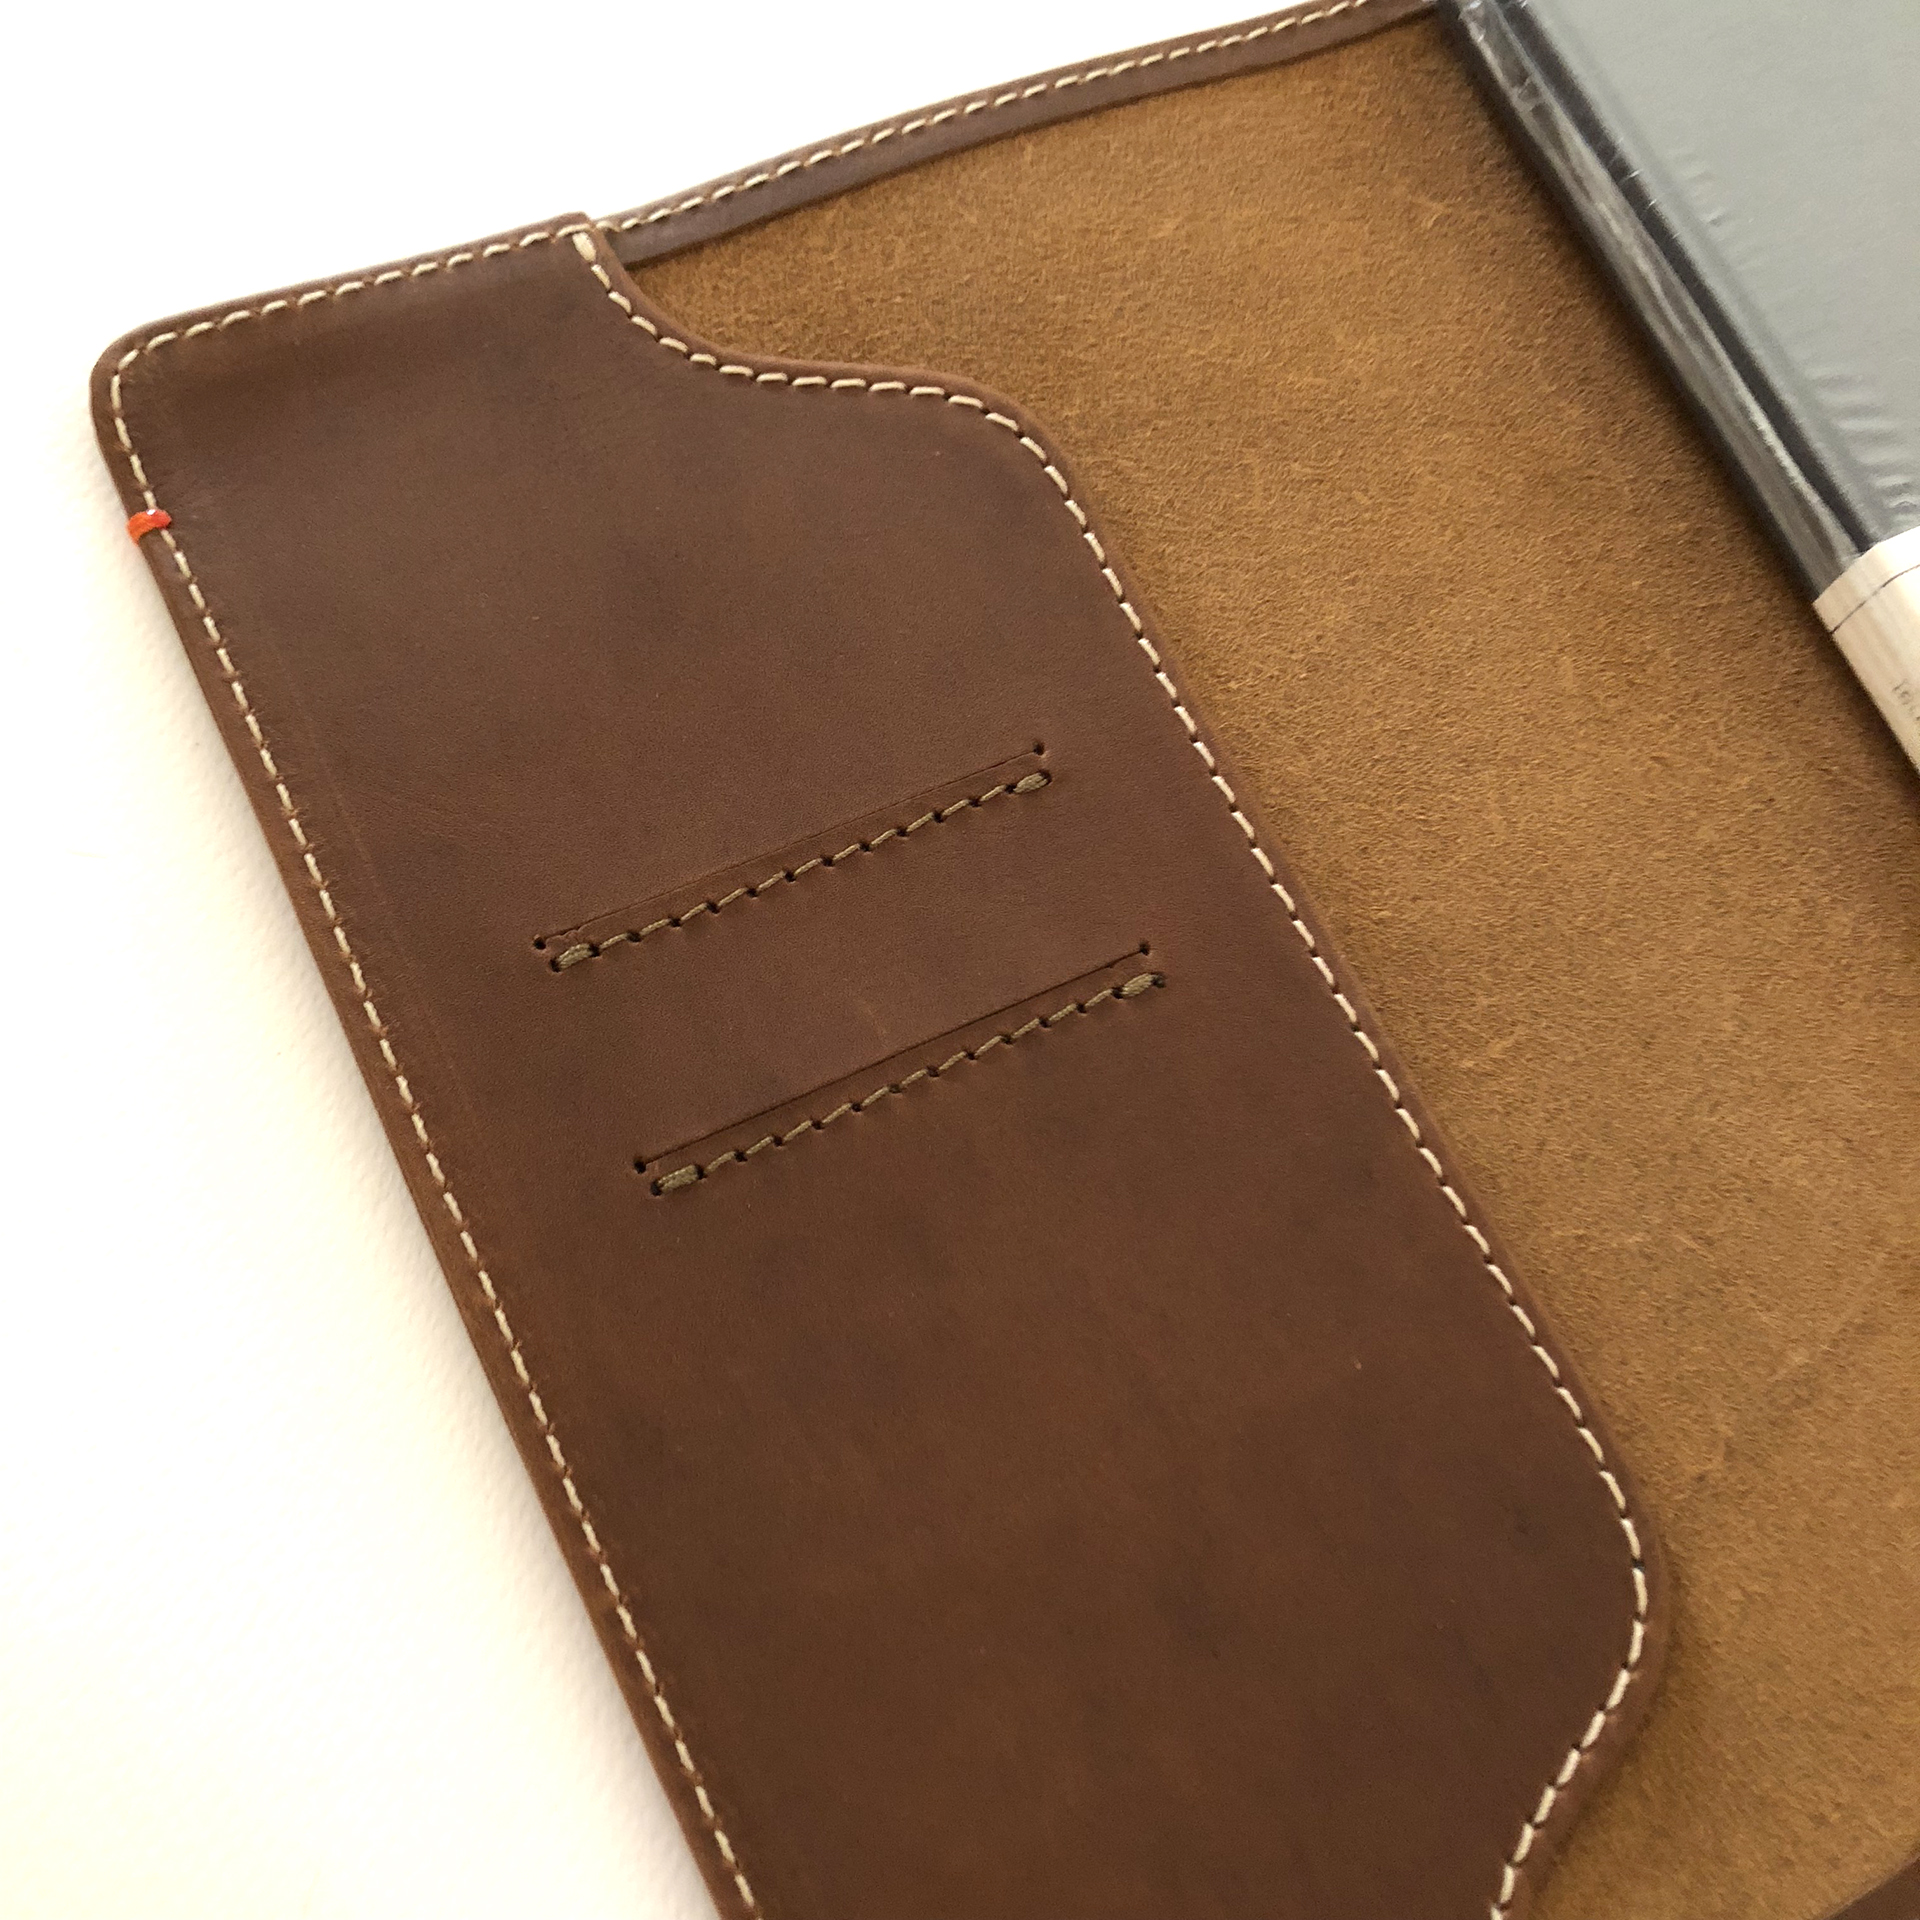
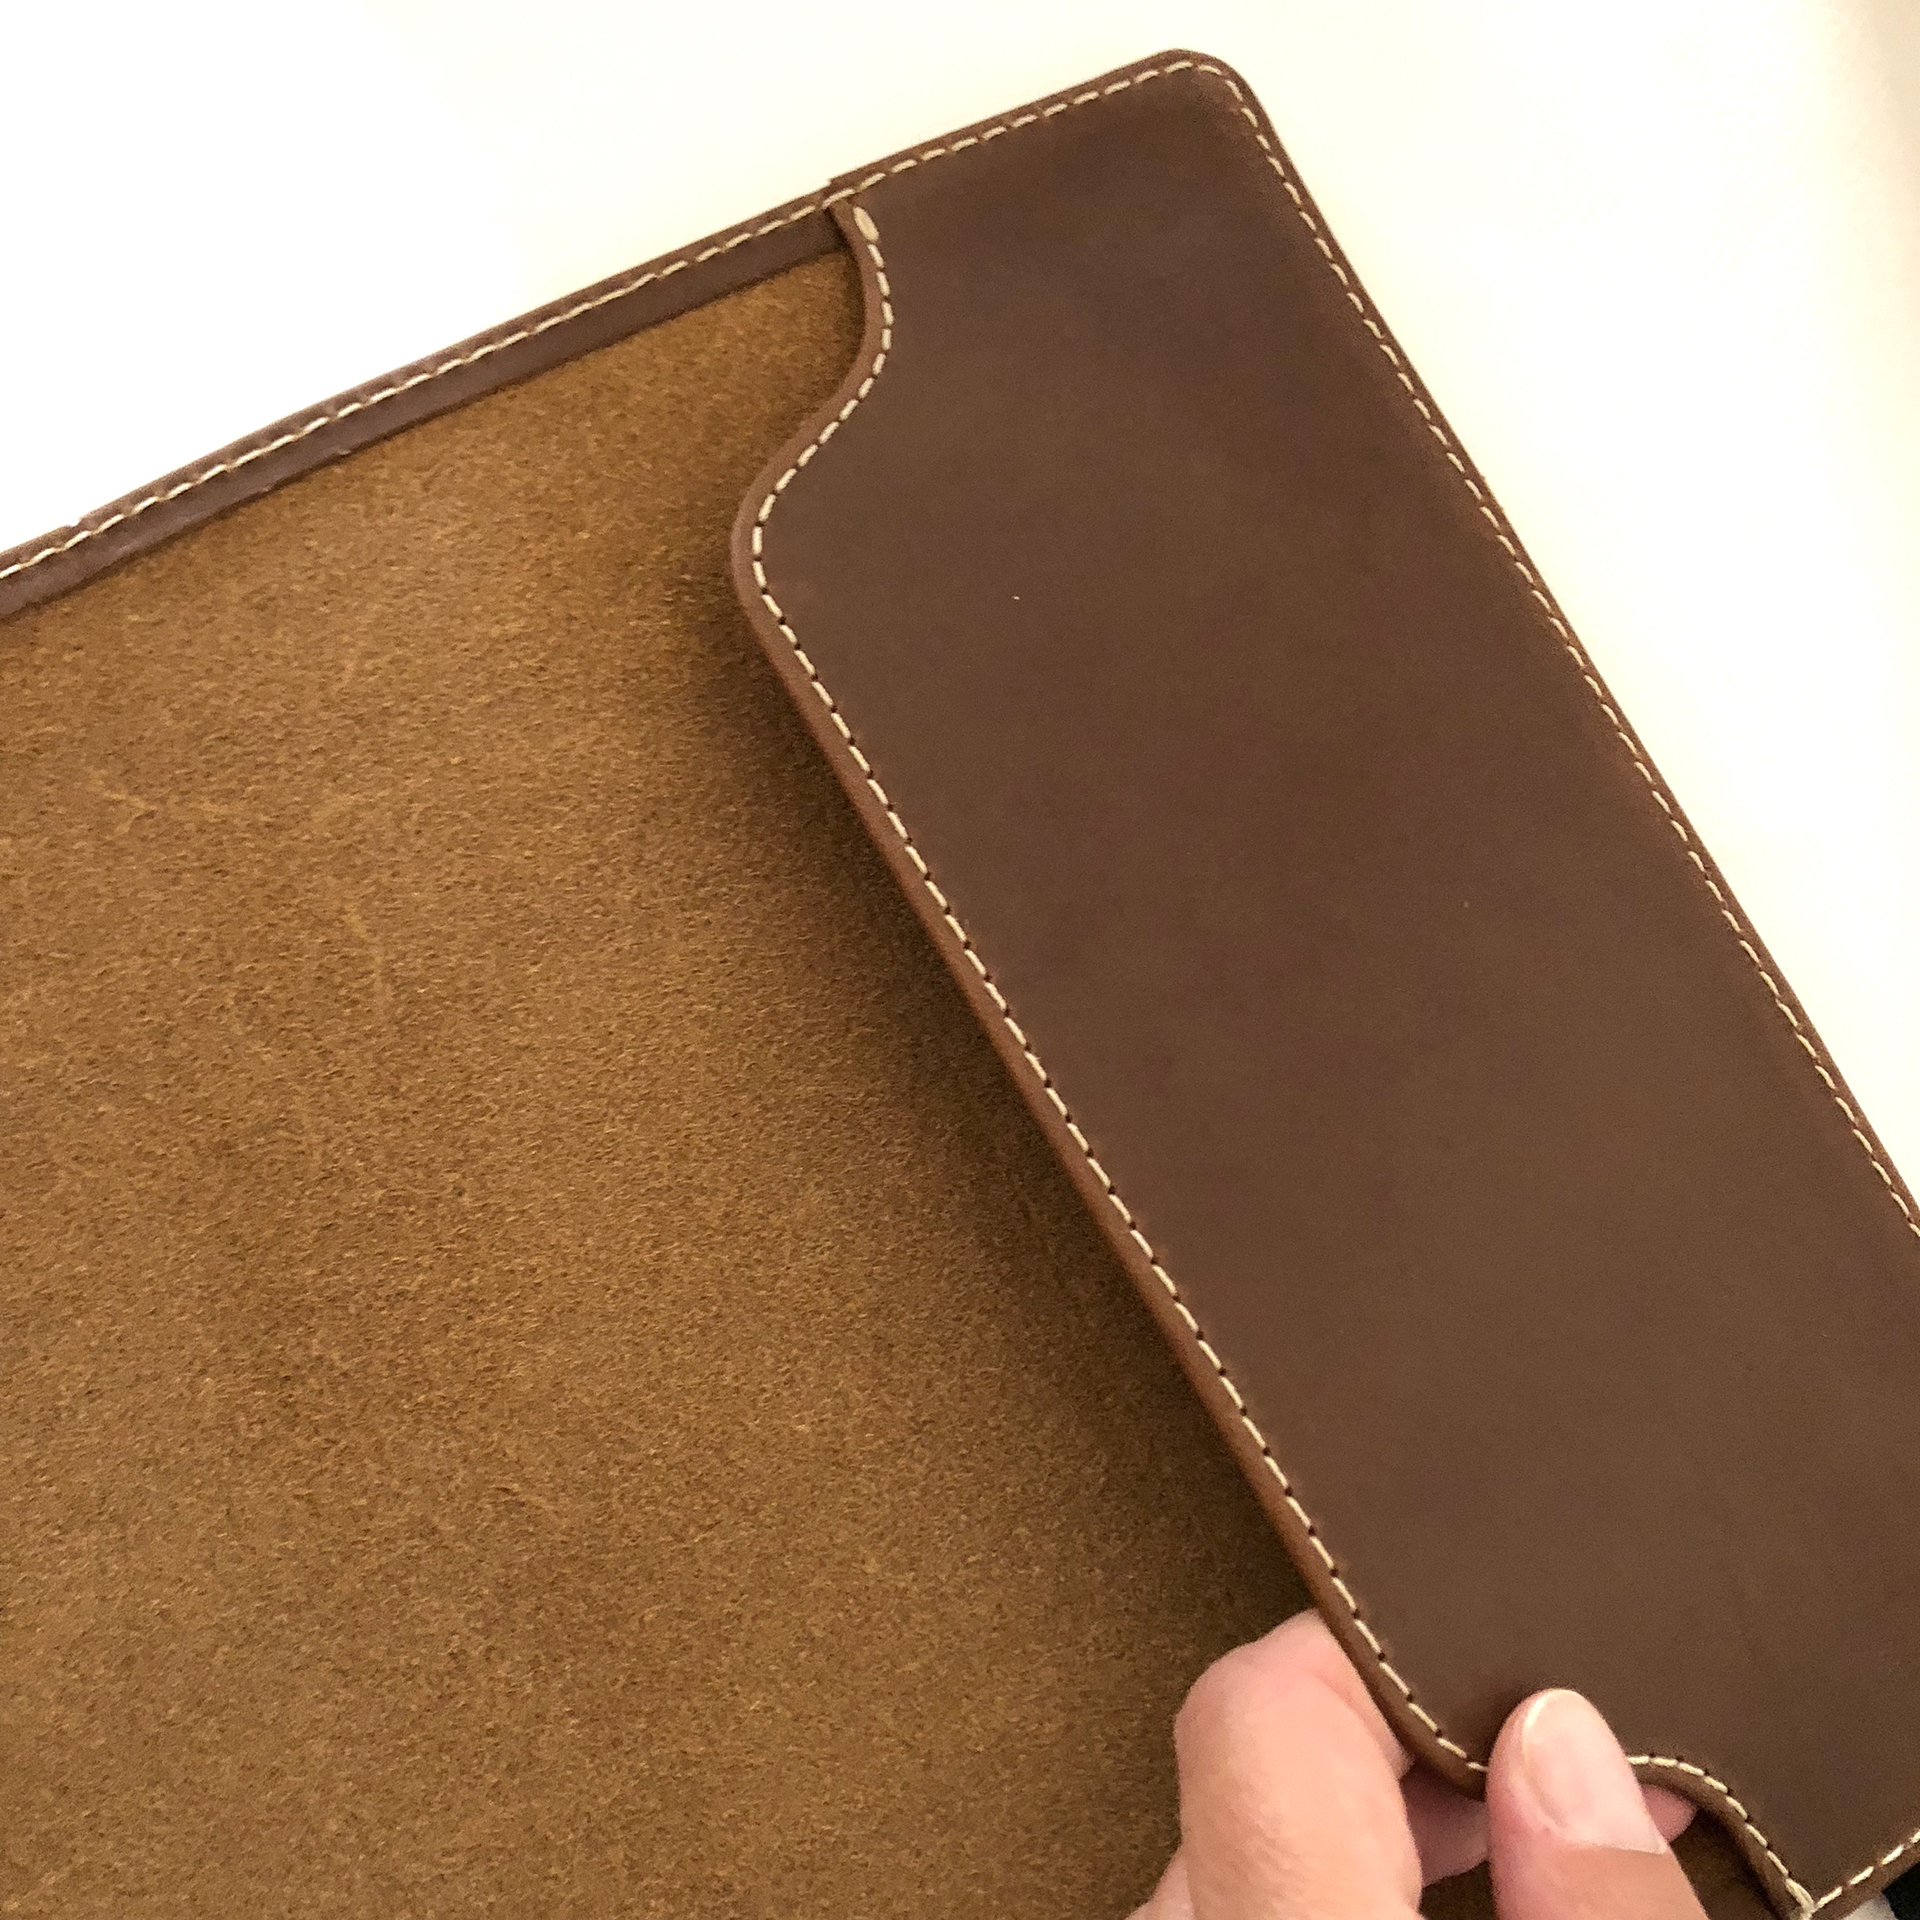
I'll start with the leather case that is amazing! It feels so soft and it is of very good quality.
It is their Deluxe Full-Grain Leather Journal Cover in medium size, which comes in two different colours. I have the 'Whiskey' colour which is a lovely light brown one.
It has a very sturdy and thick elastic band in black colour, and a lovely engraved detail of the company's logo at the back. It has parachute grade thread all around and elegant French-hemmed edges.
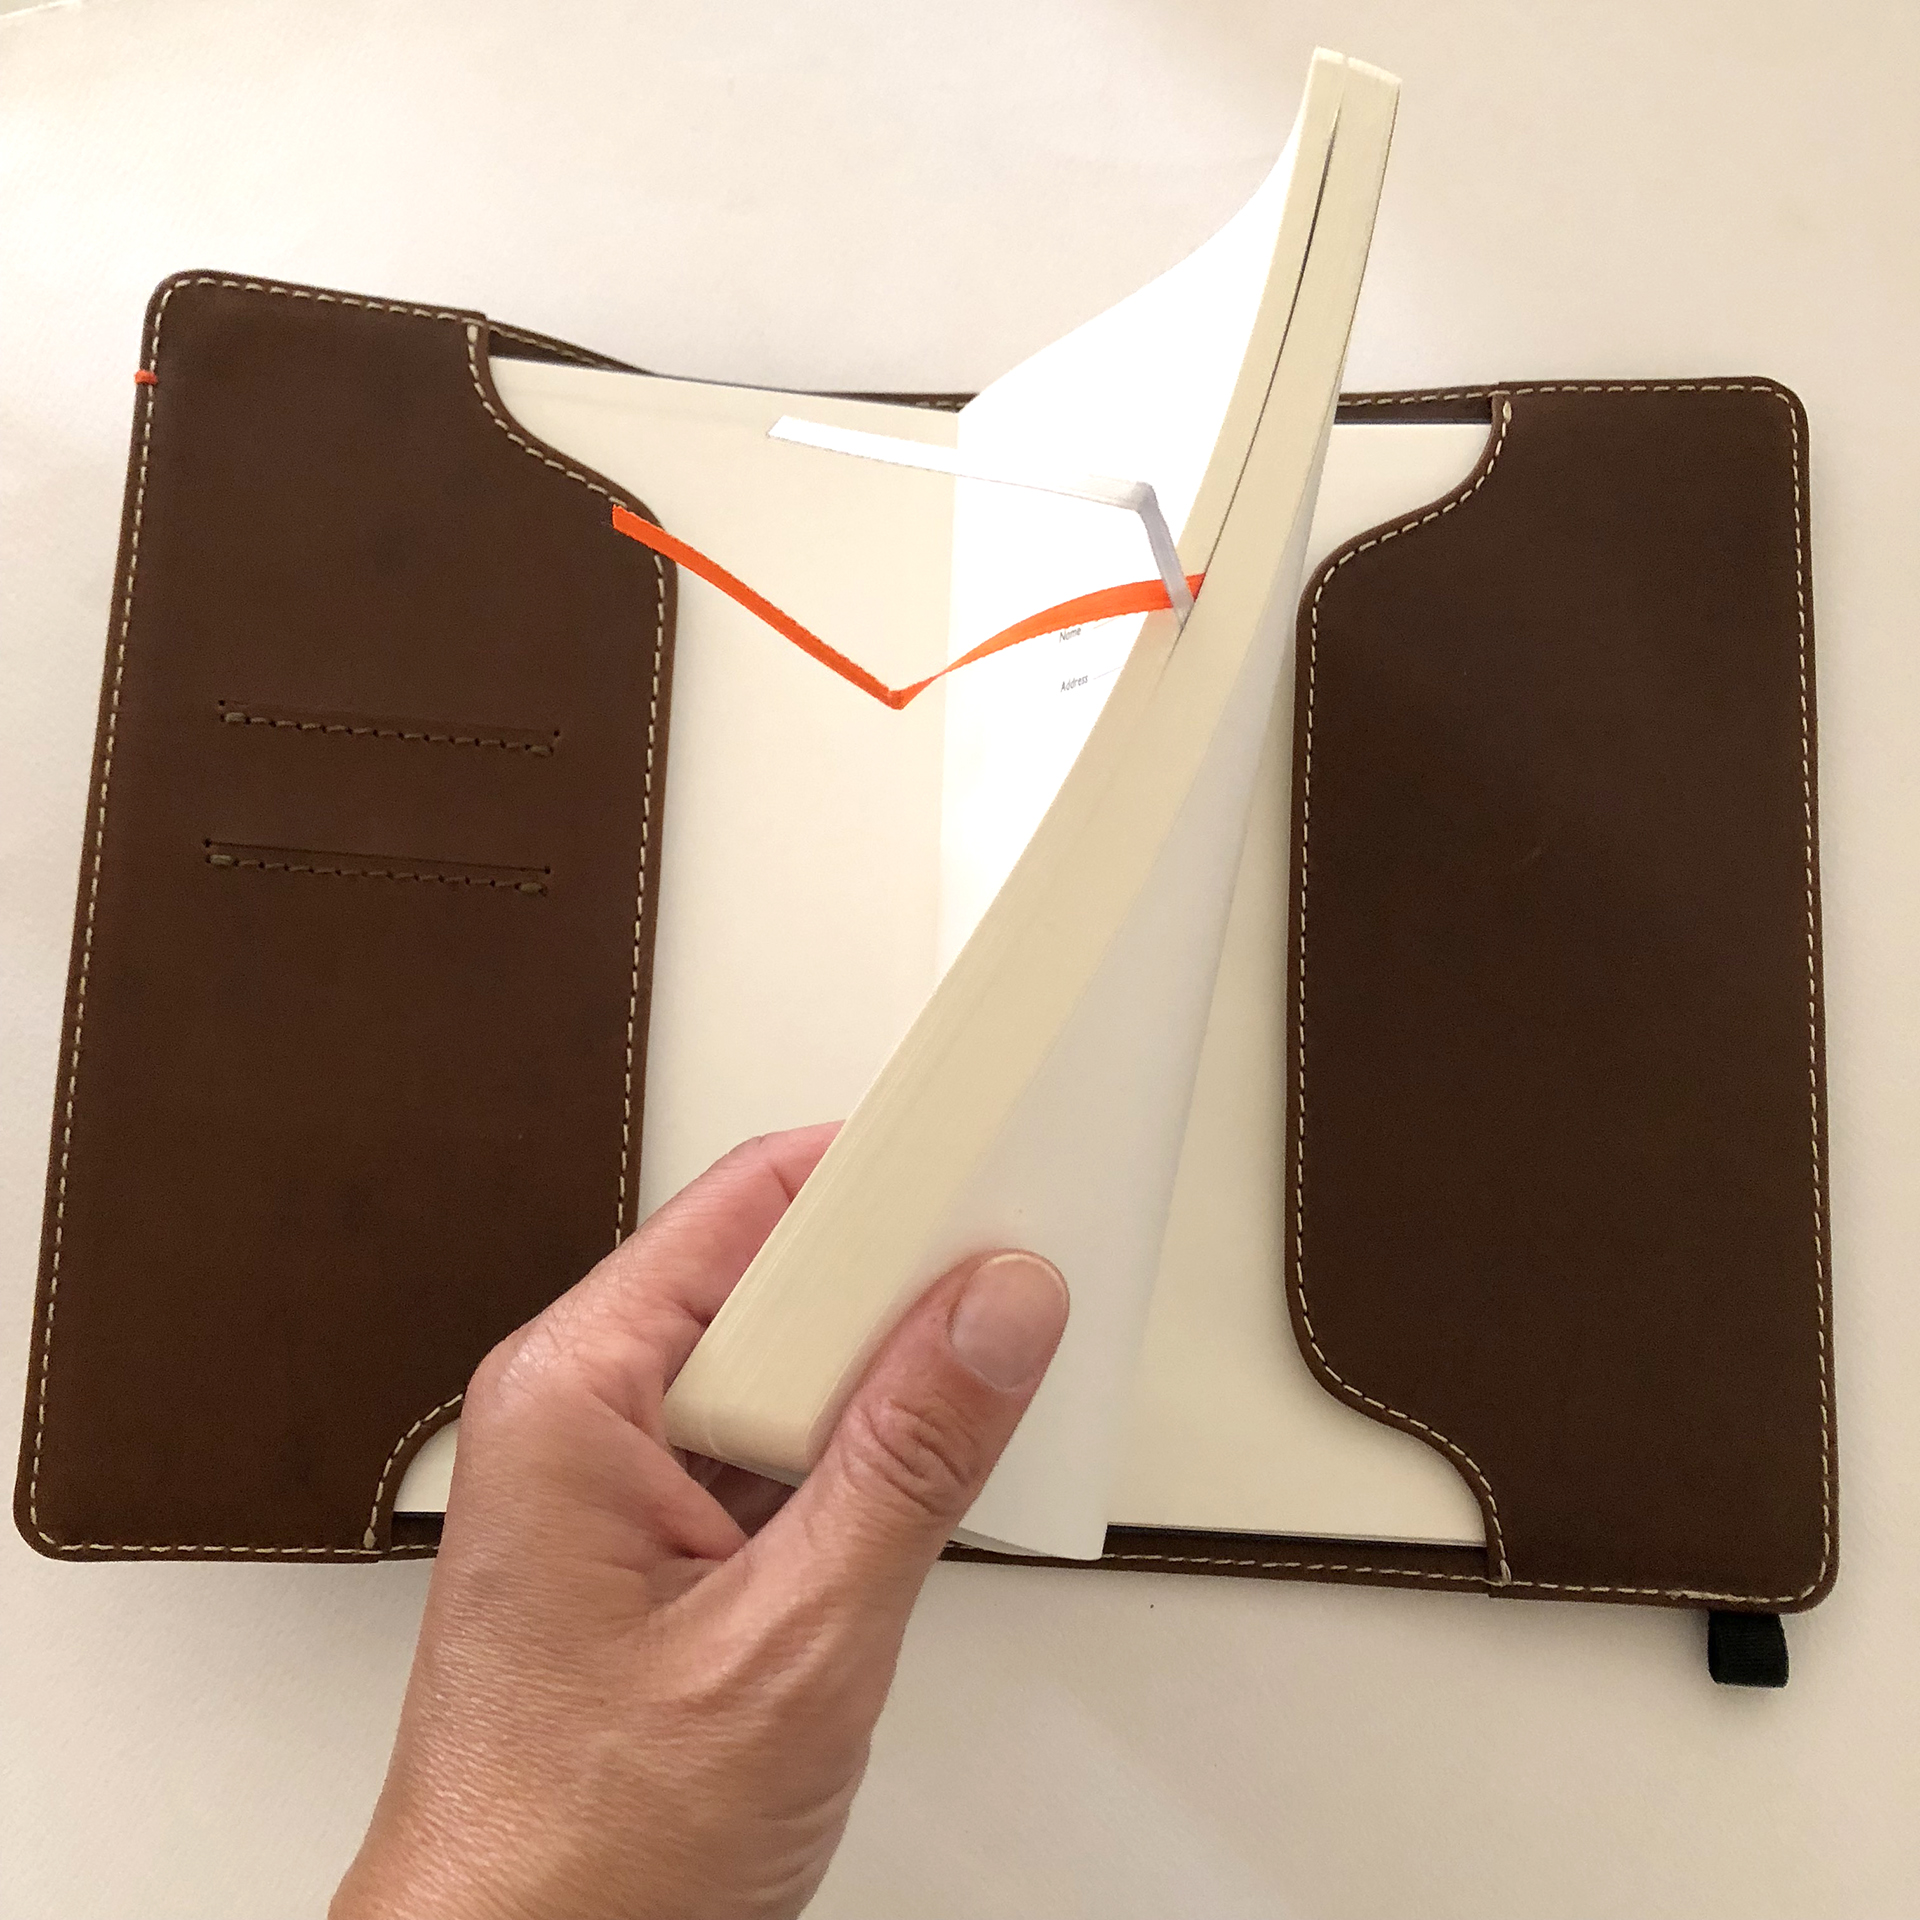
It has 2 business card slots on the inside and each case is discreetly signed on the inside by the artisan who crafted it. The dimensions of the leather case are 8.9in x 6.5in and it fits nicely A5 sized notebooks
I really like the quality of the leather case and it makes your bullet journal look more professional, no matter what notebook you're using.
Journal Notebook Medium
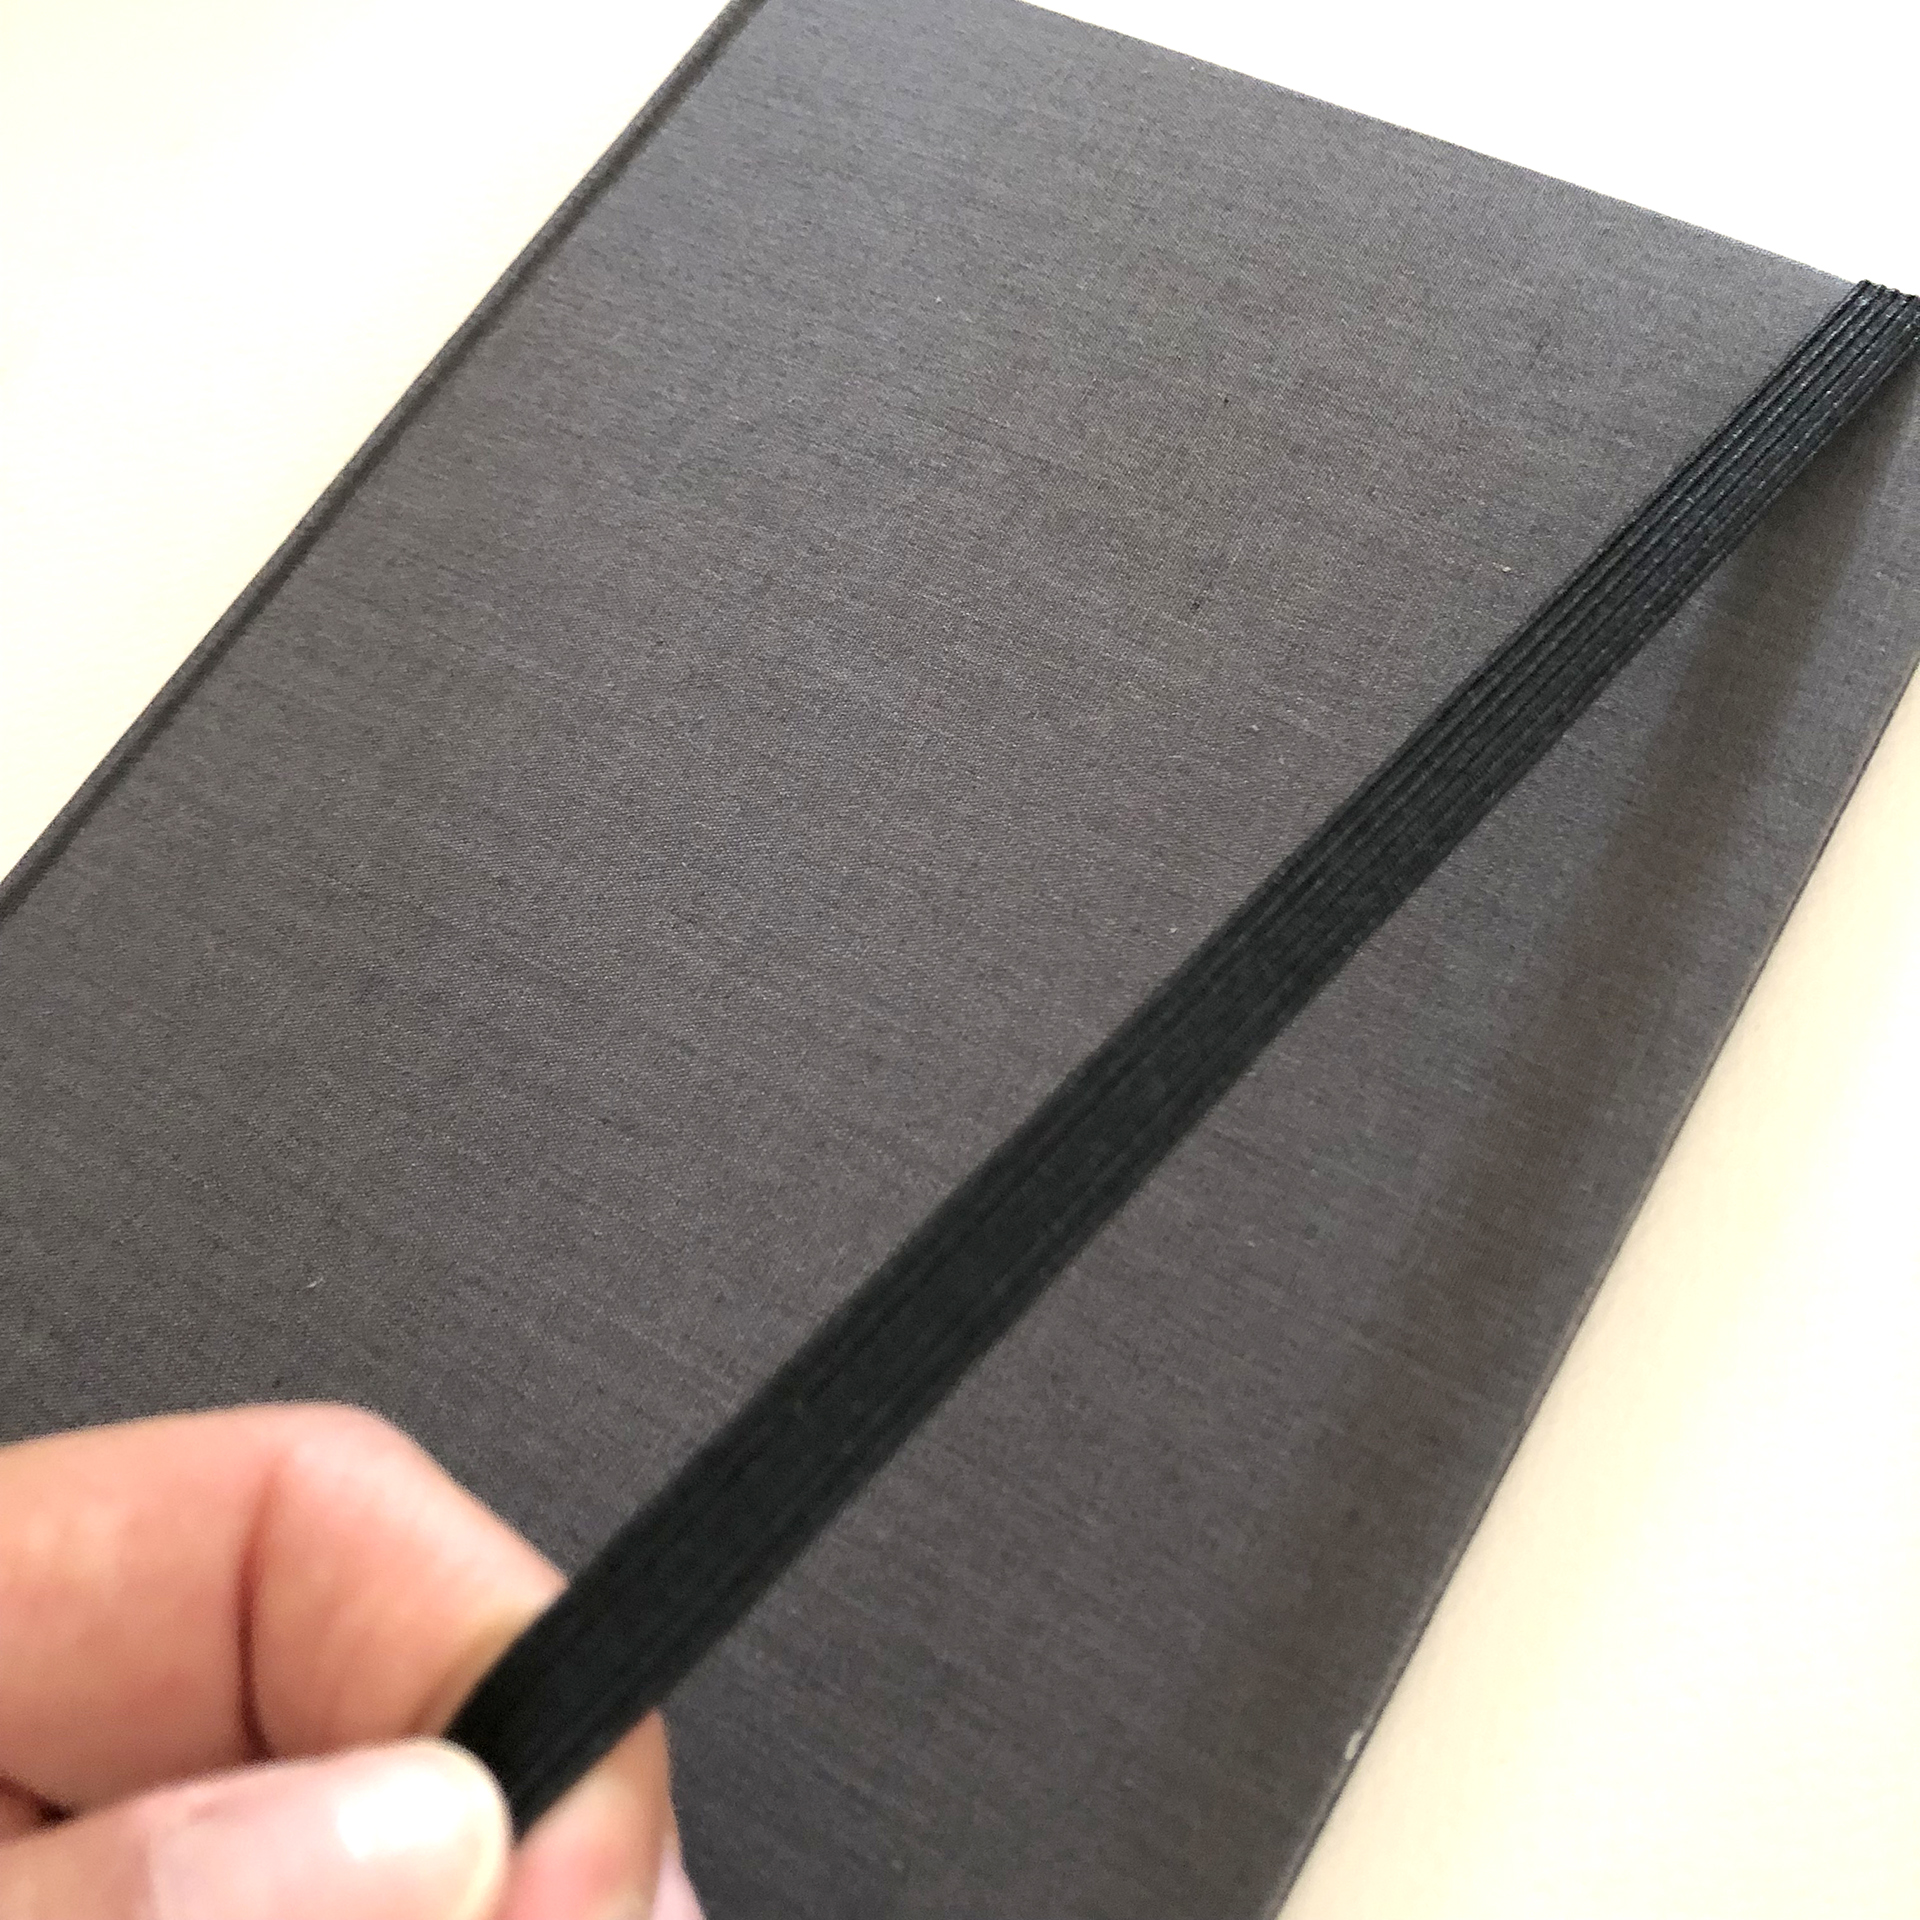
The first notebook I received was this lovely grey one. It is a linen cloth bound hardback in the colour London Grey. That is the only colour their notebooks come in, and it aims for a more classic and professional style, that is unisex as well.
It is slightly smaller than an A5 sized notebook with dimensions 8.3in x 5.6in. and has a Smyth-sewn lay flat bookbinding.
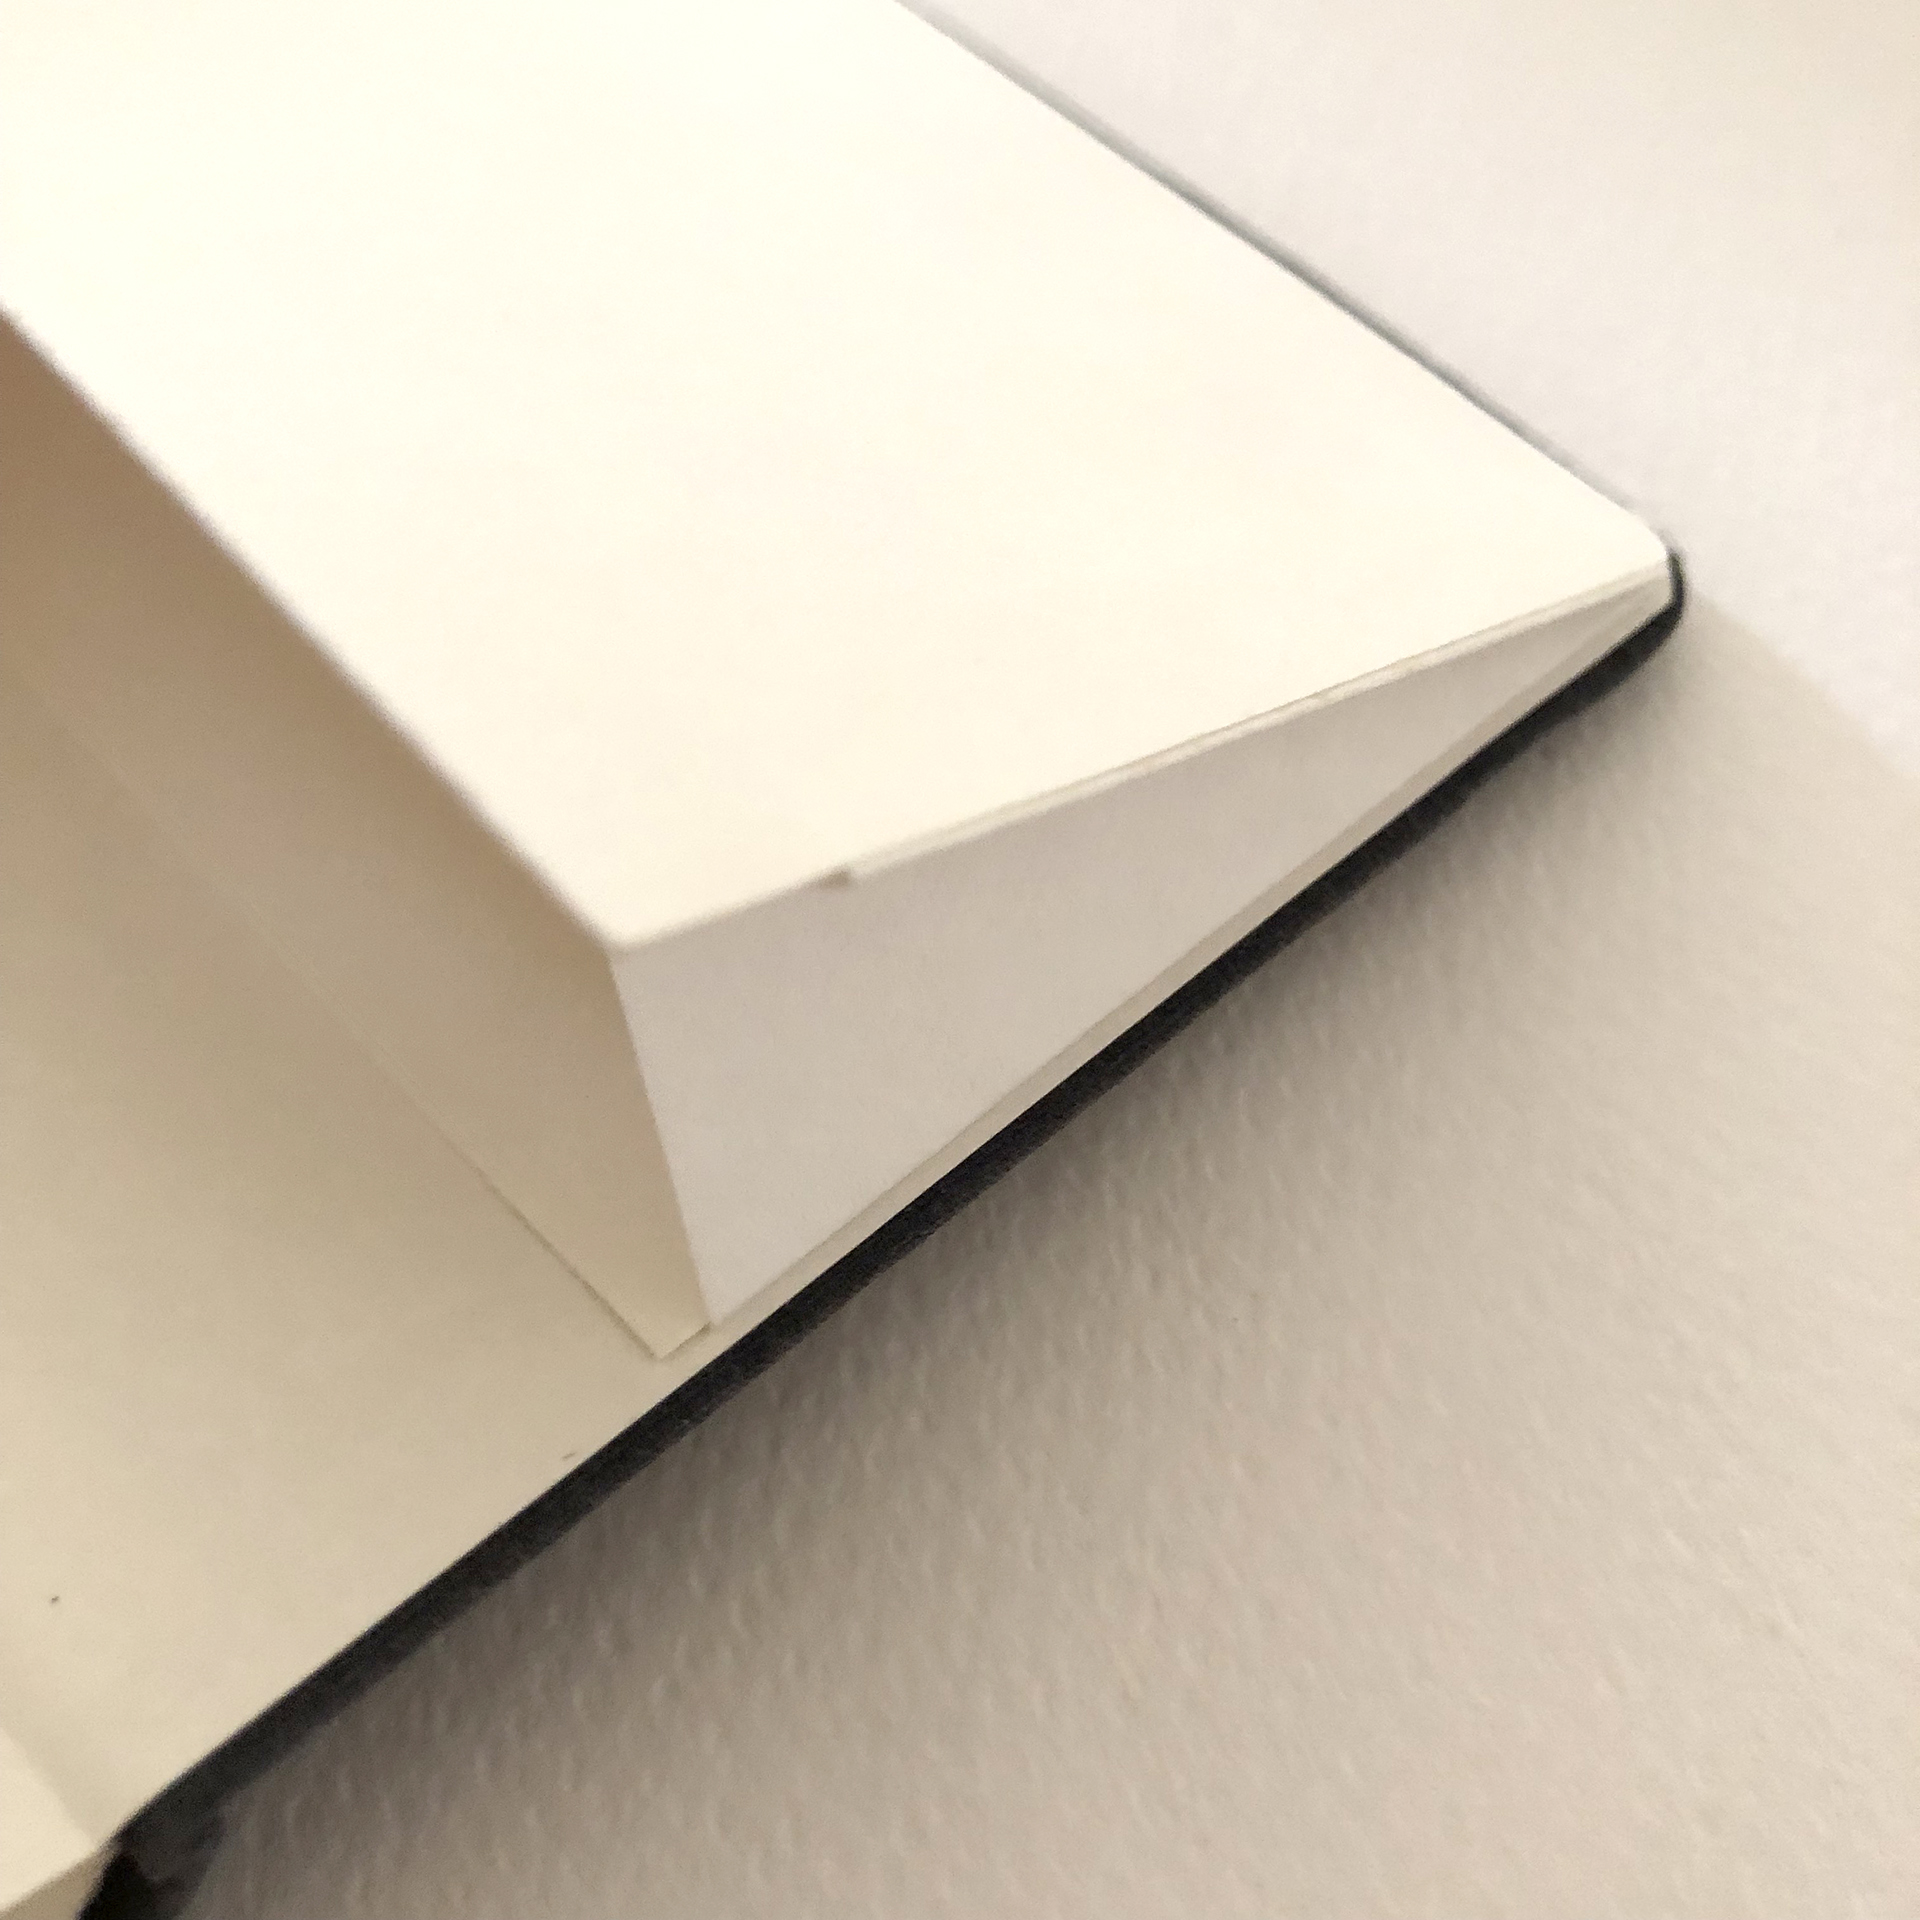
It has an elastic band closure and an expandable back pocket, which is always handy!
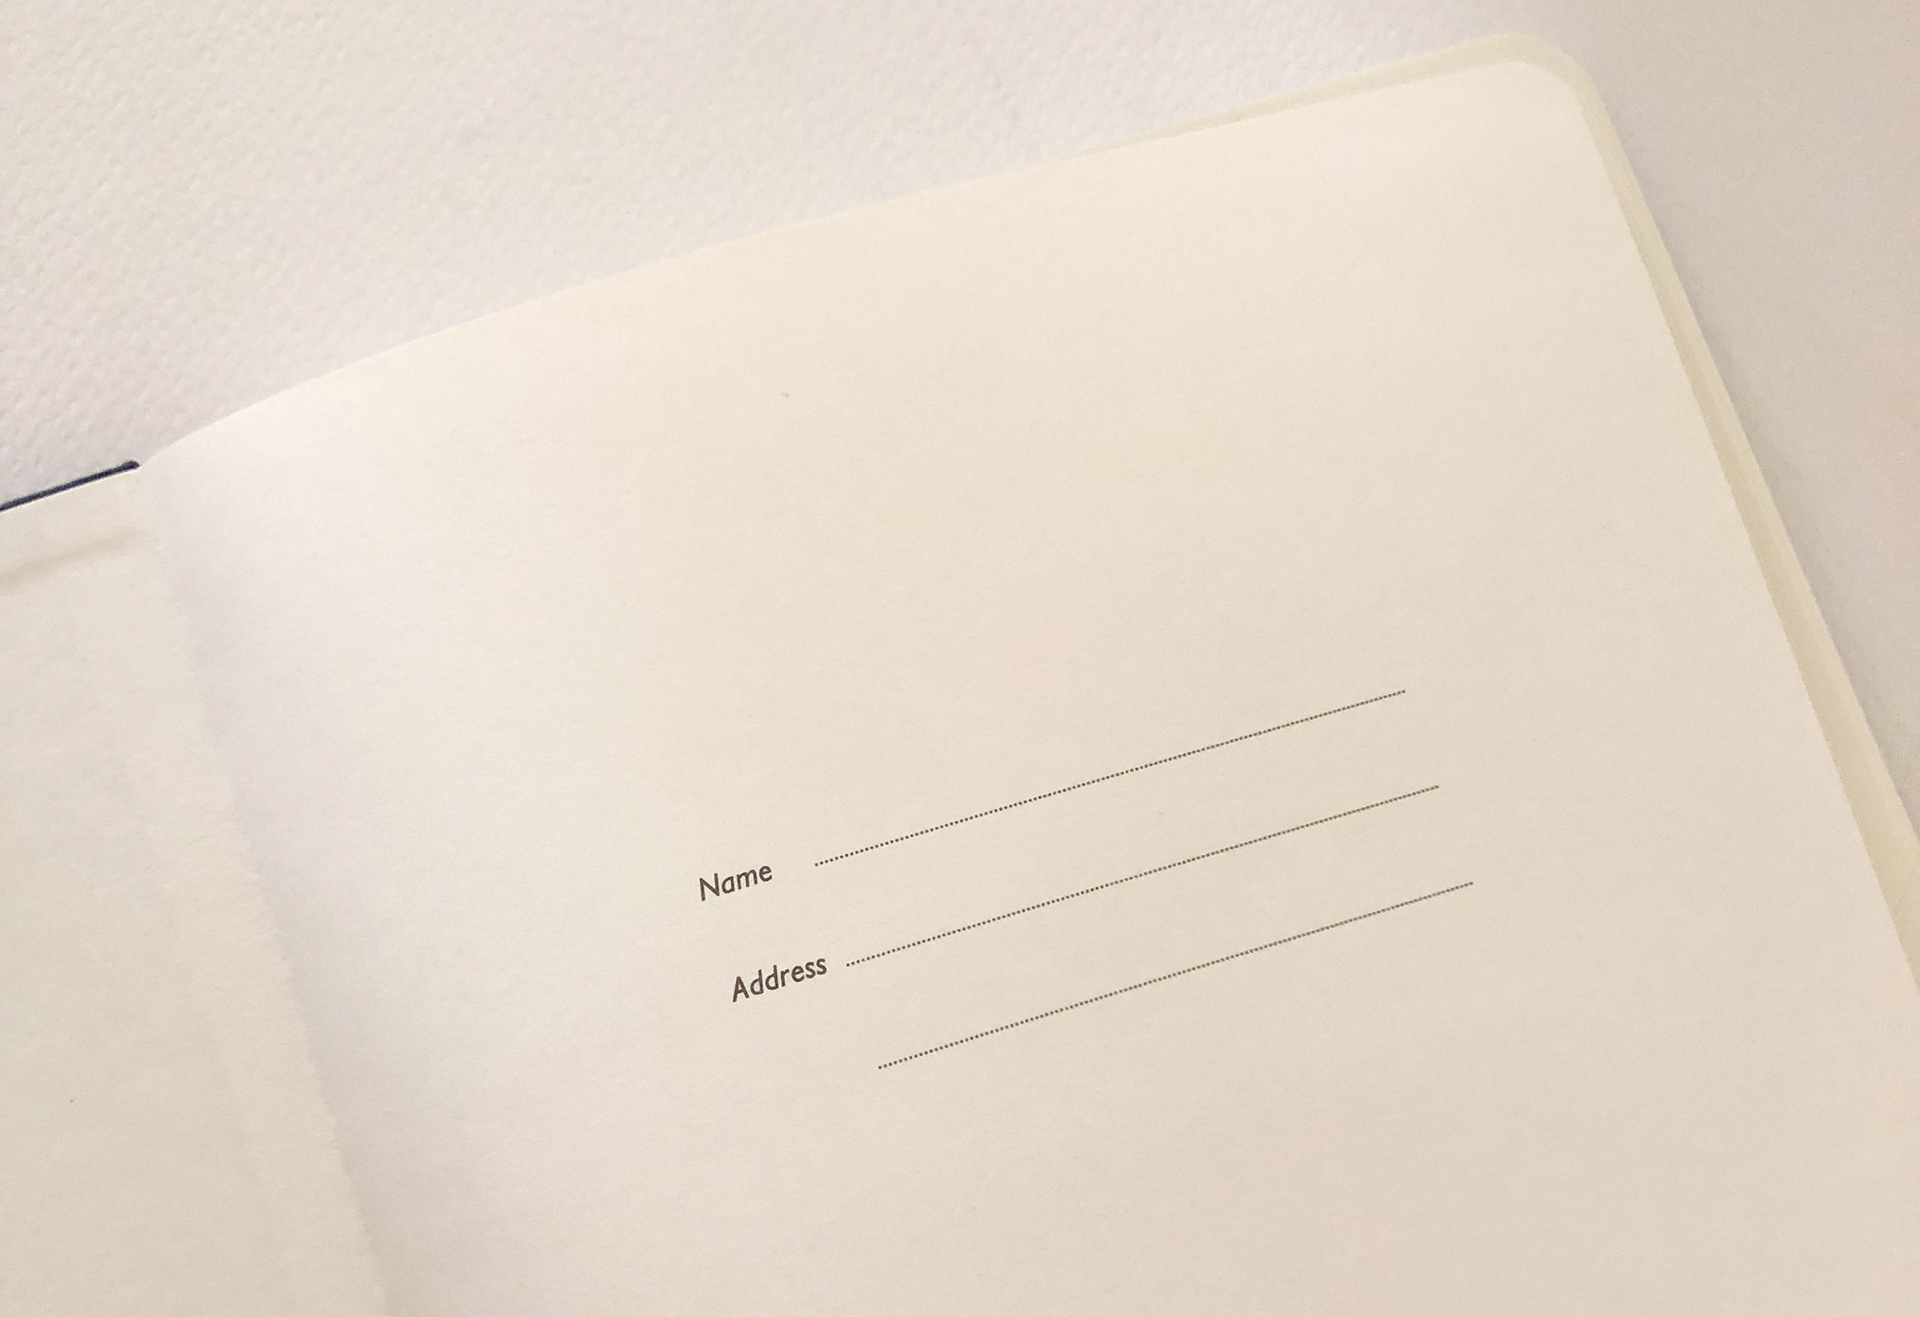
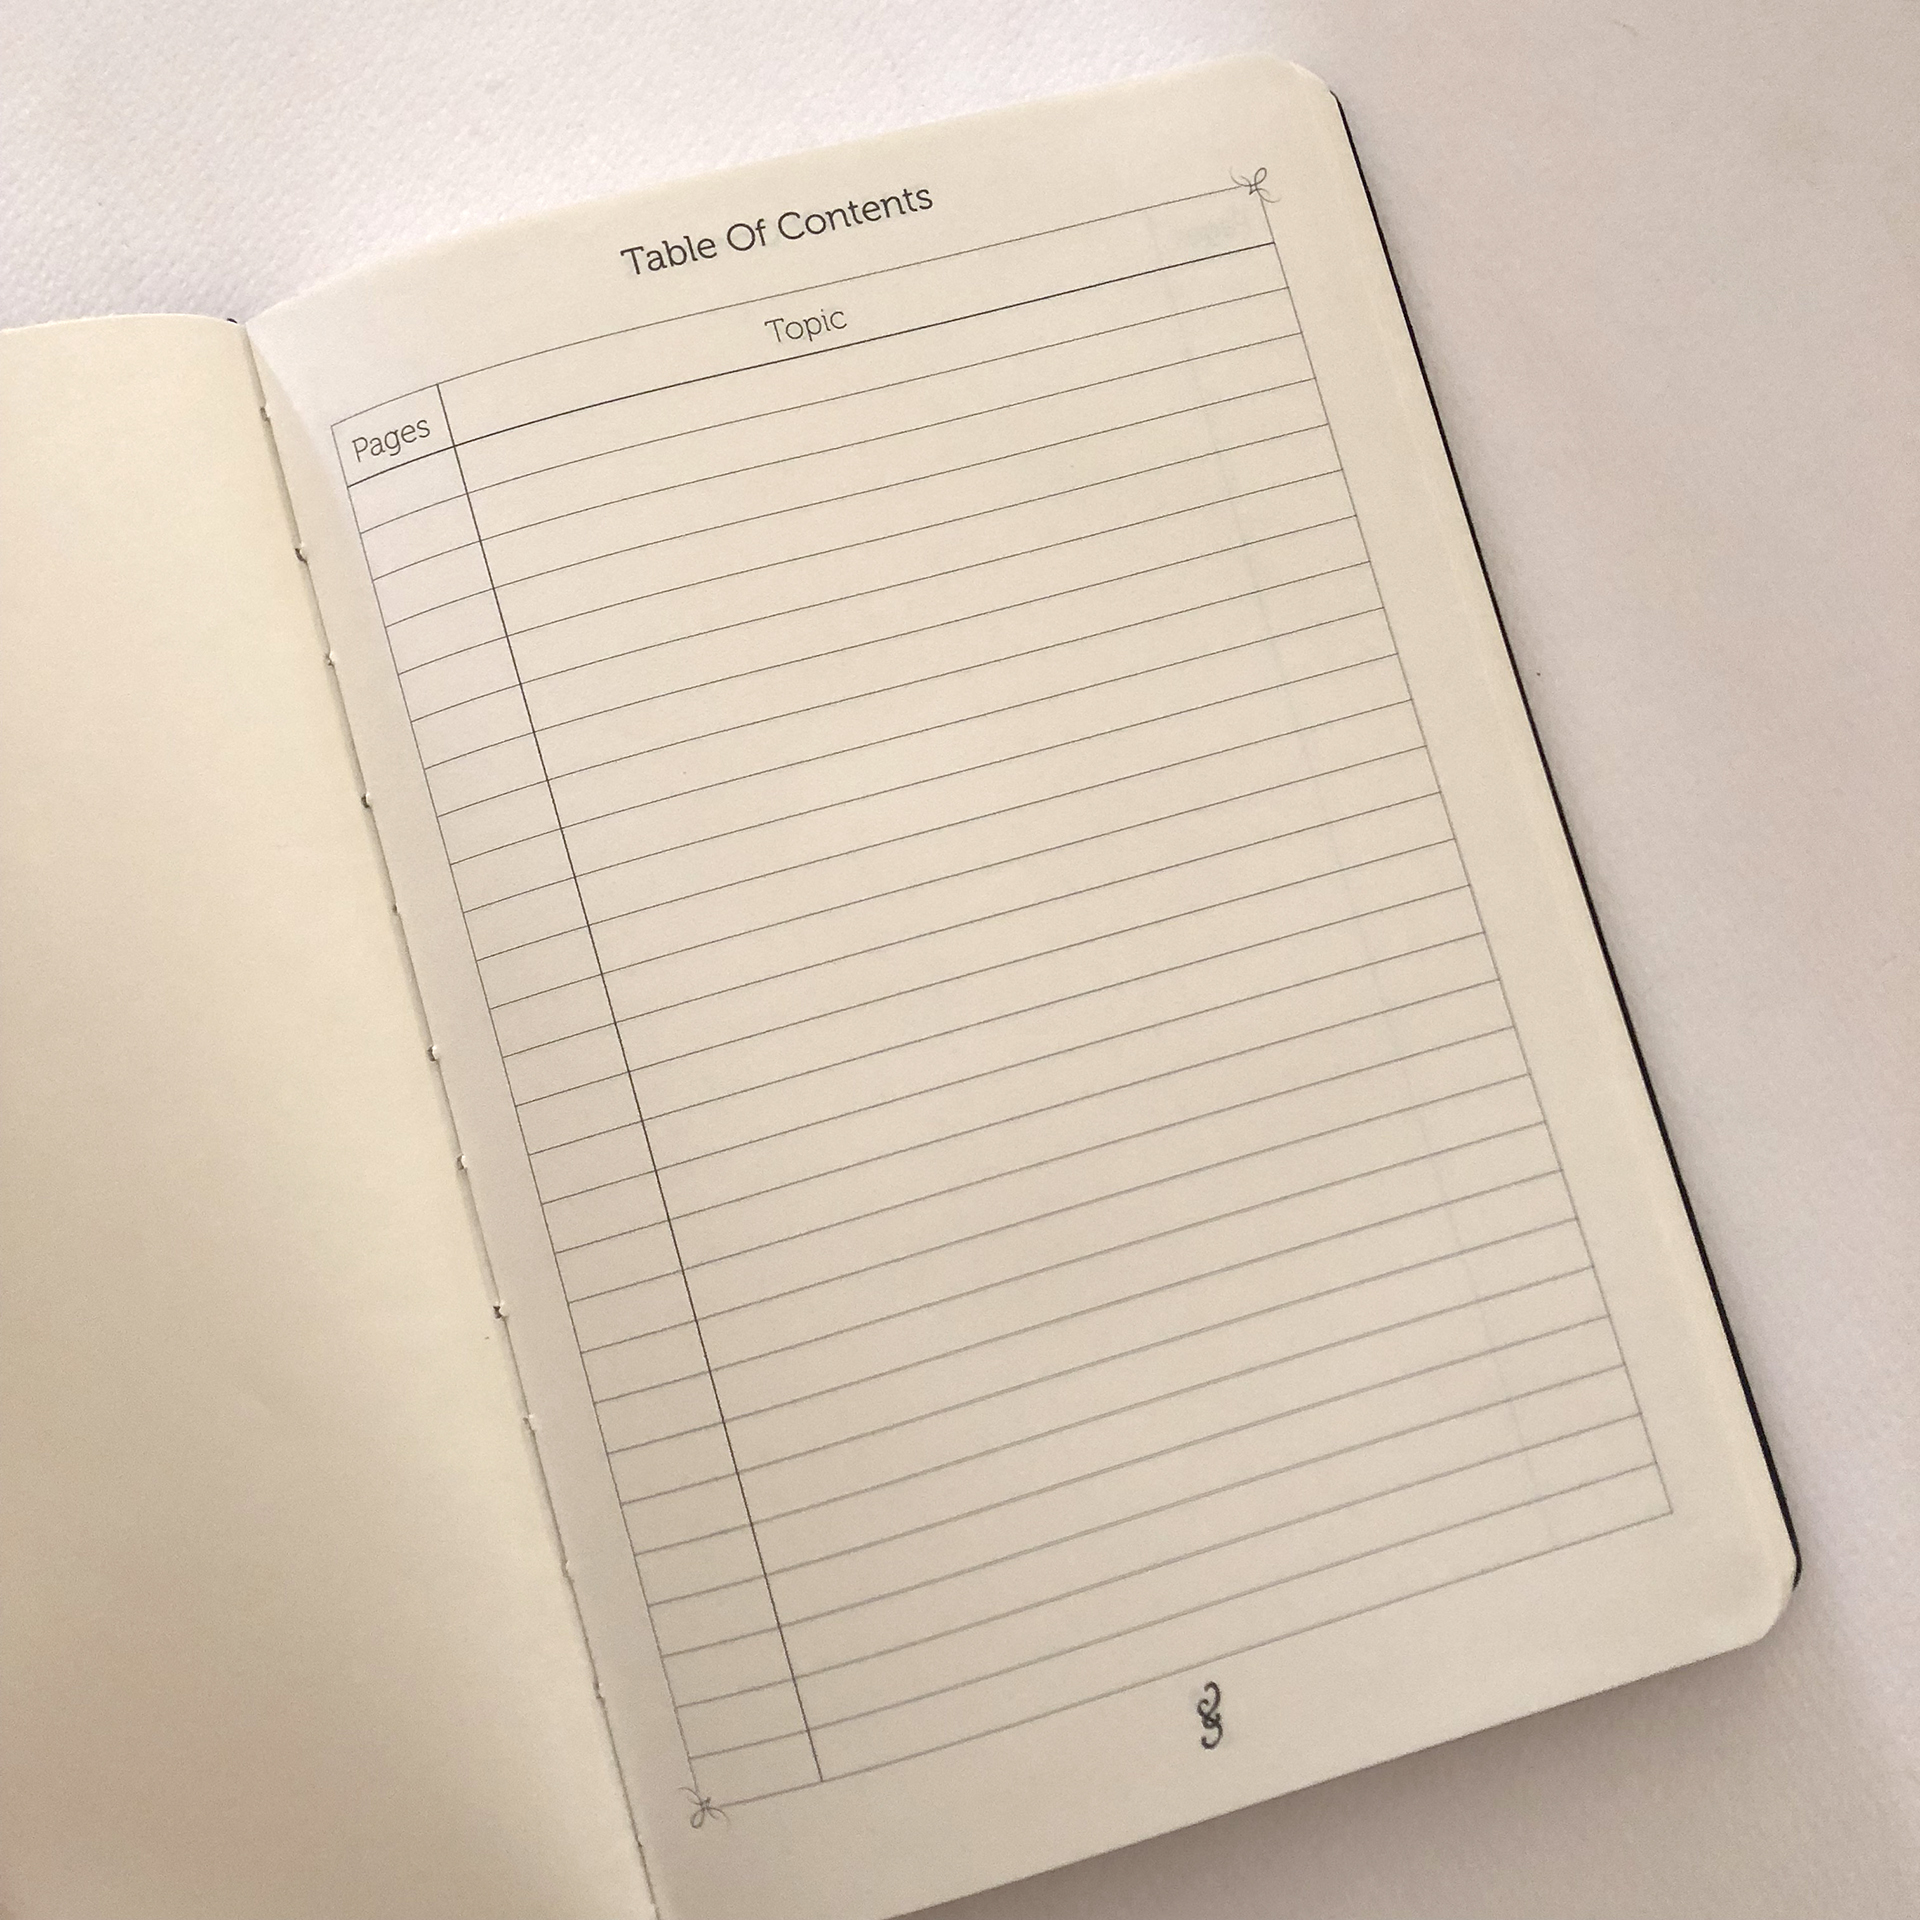
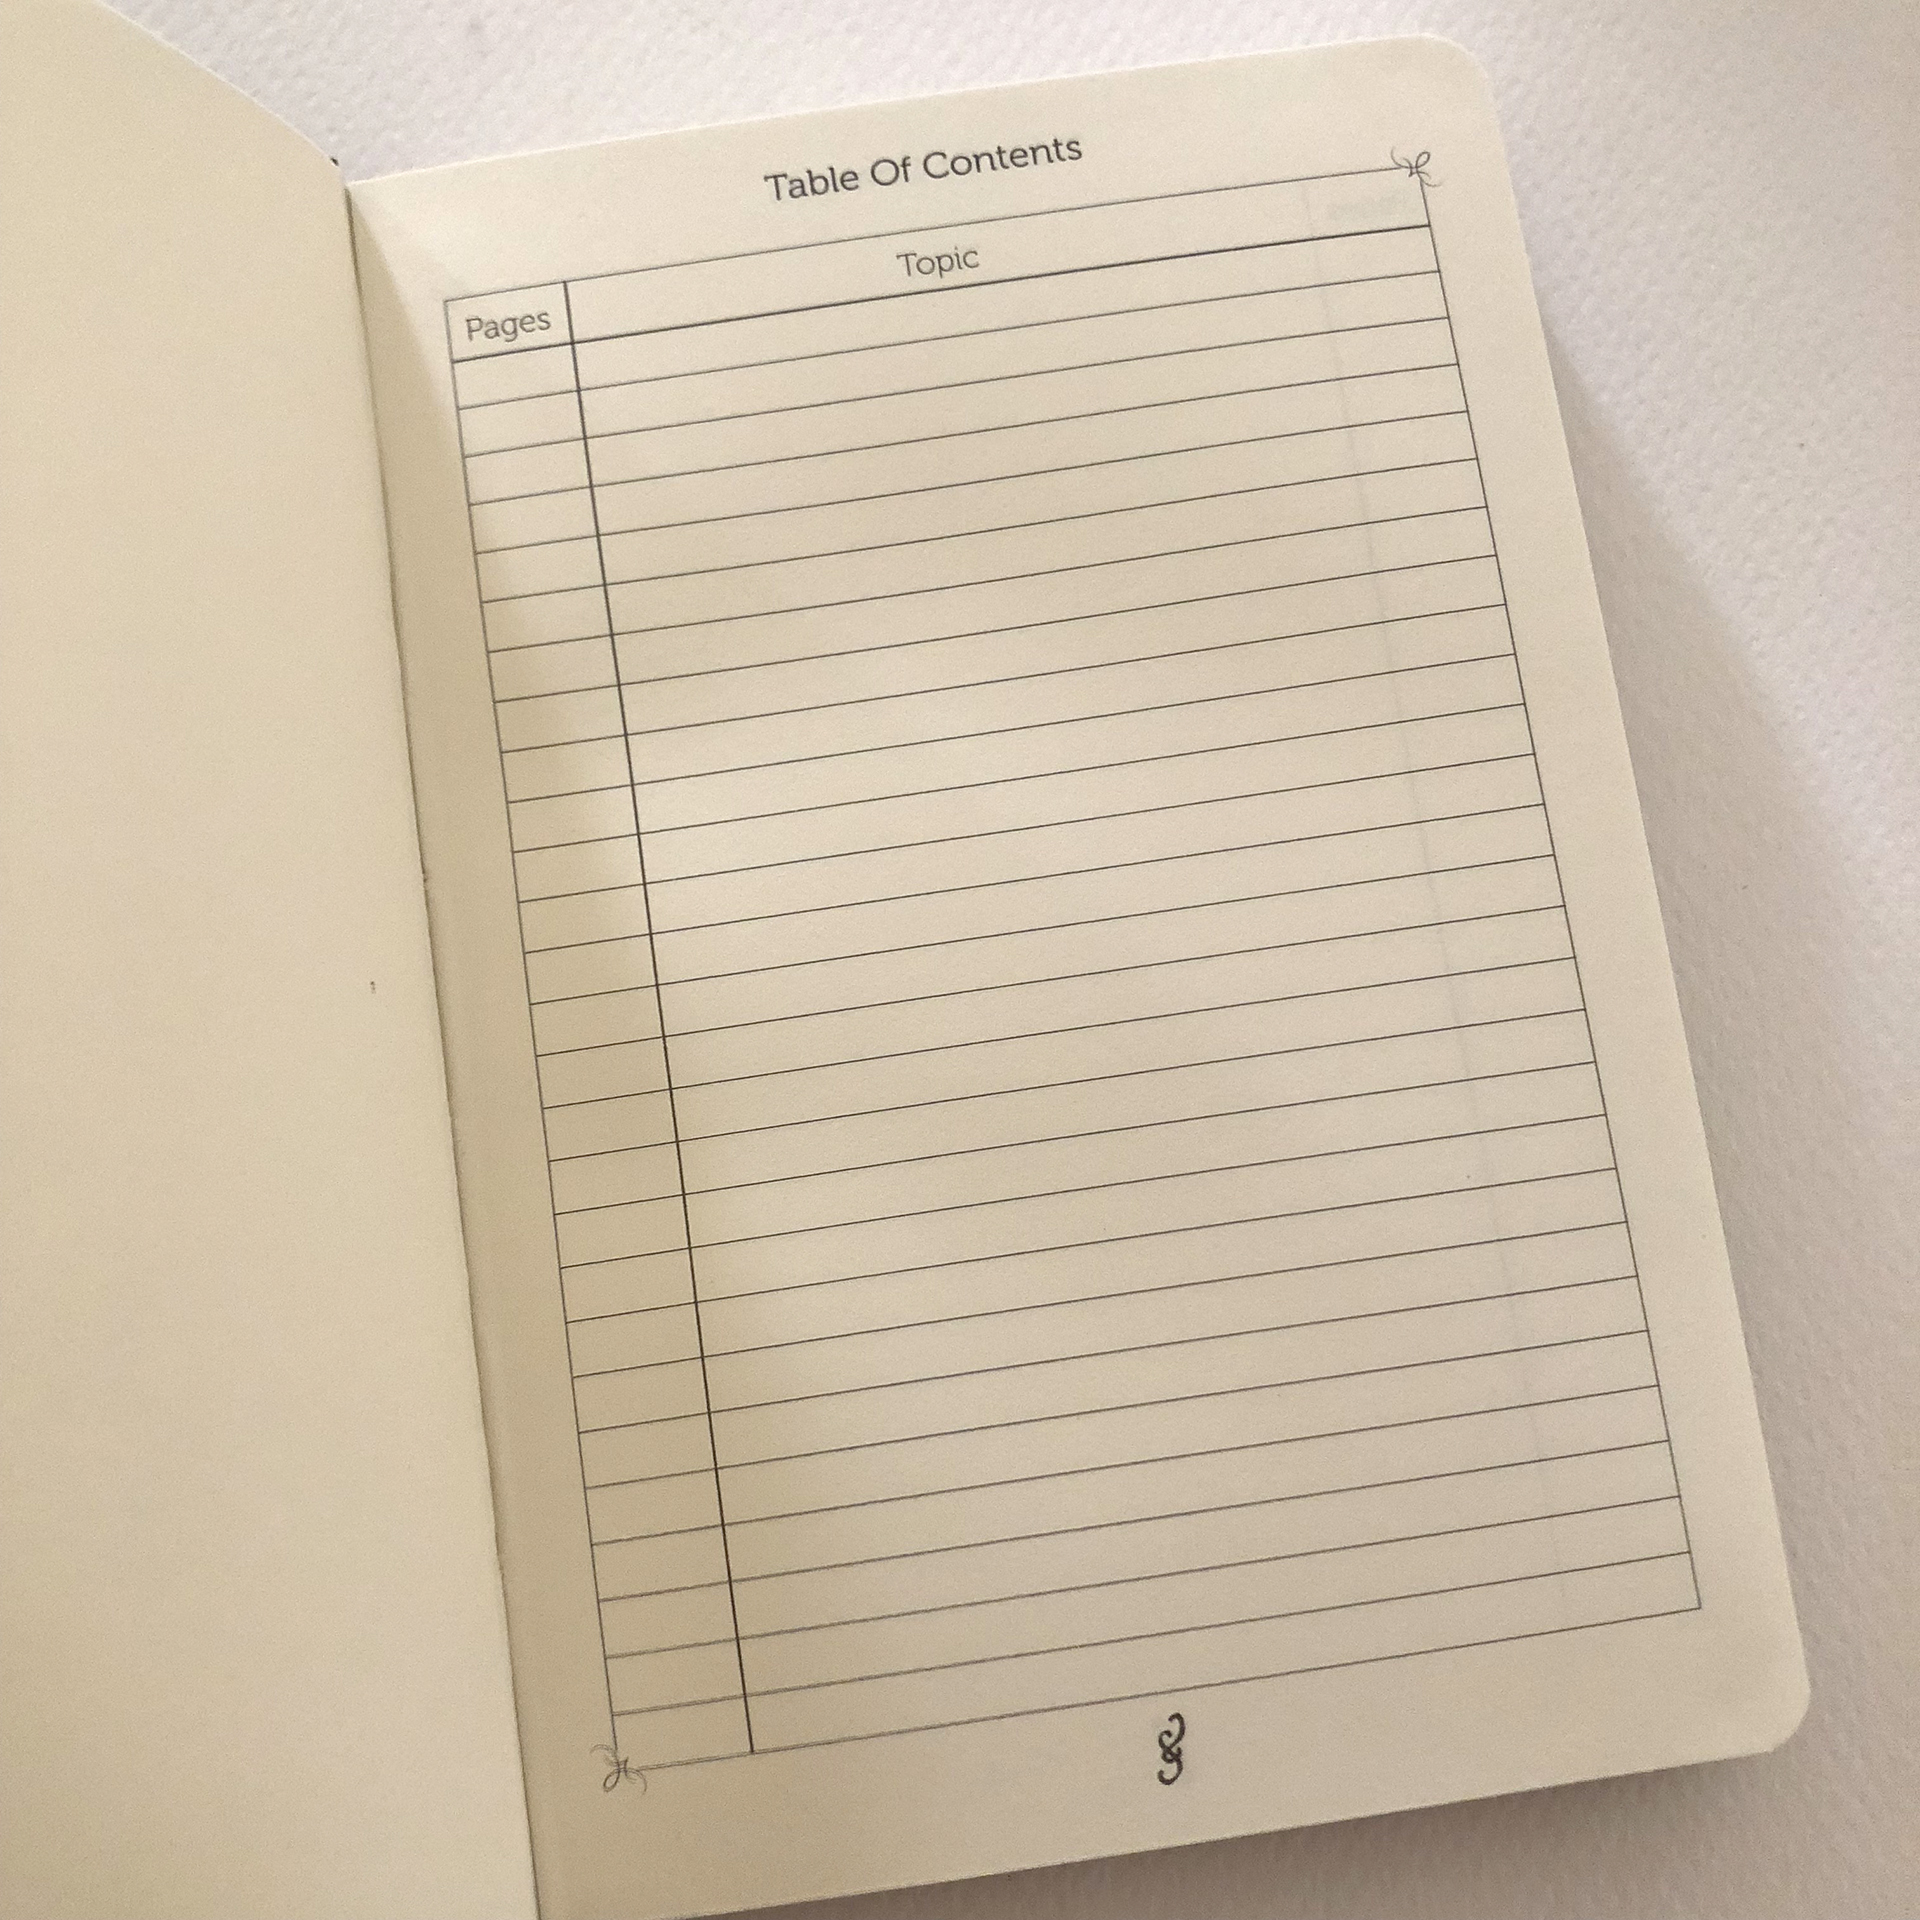
On the very first page you find a nameplate where you can add your details, followed by a 2-page table of contents.
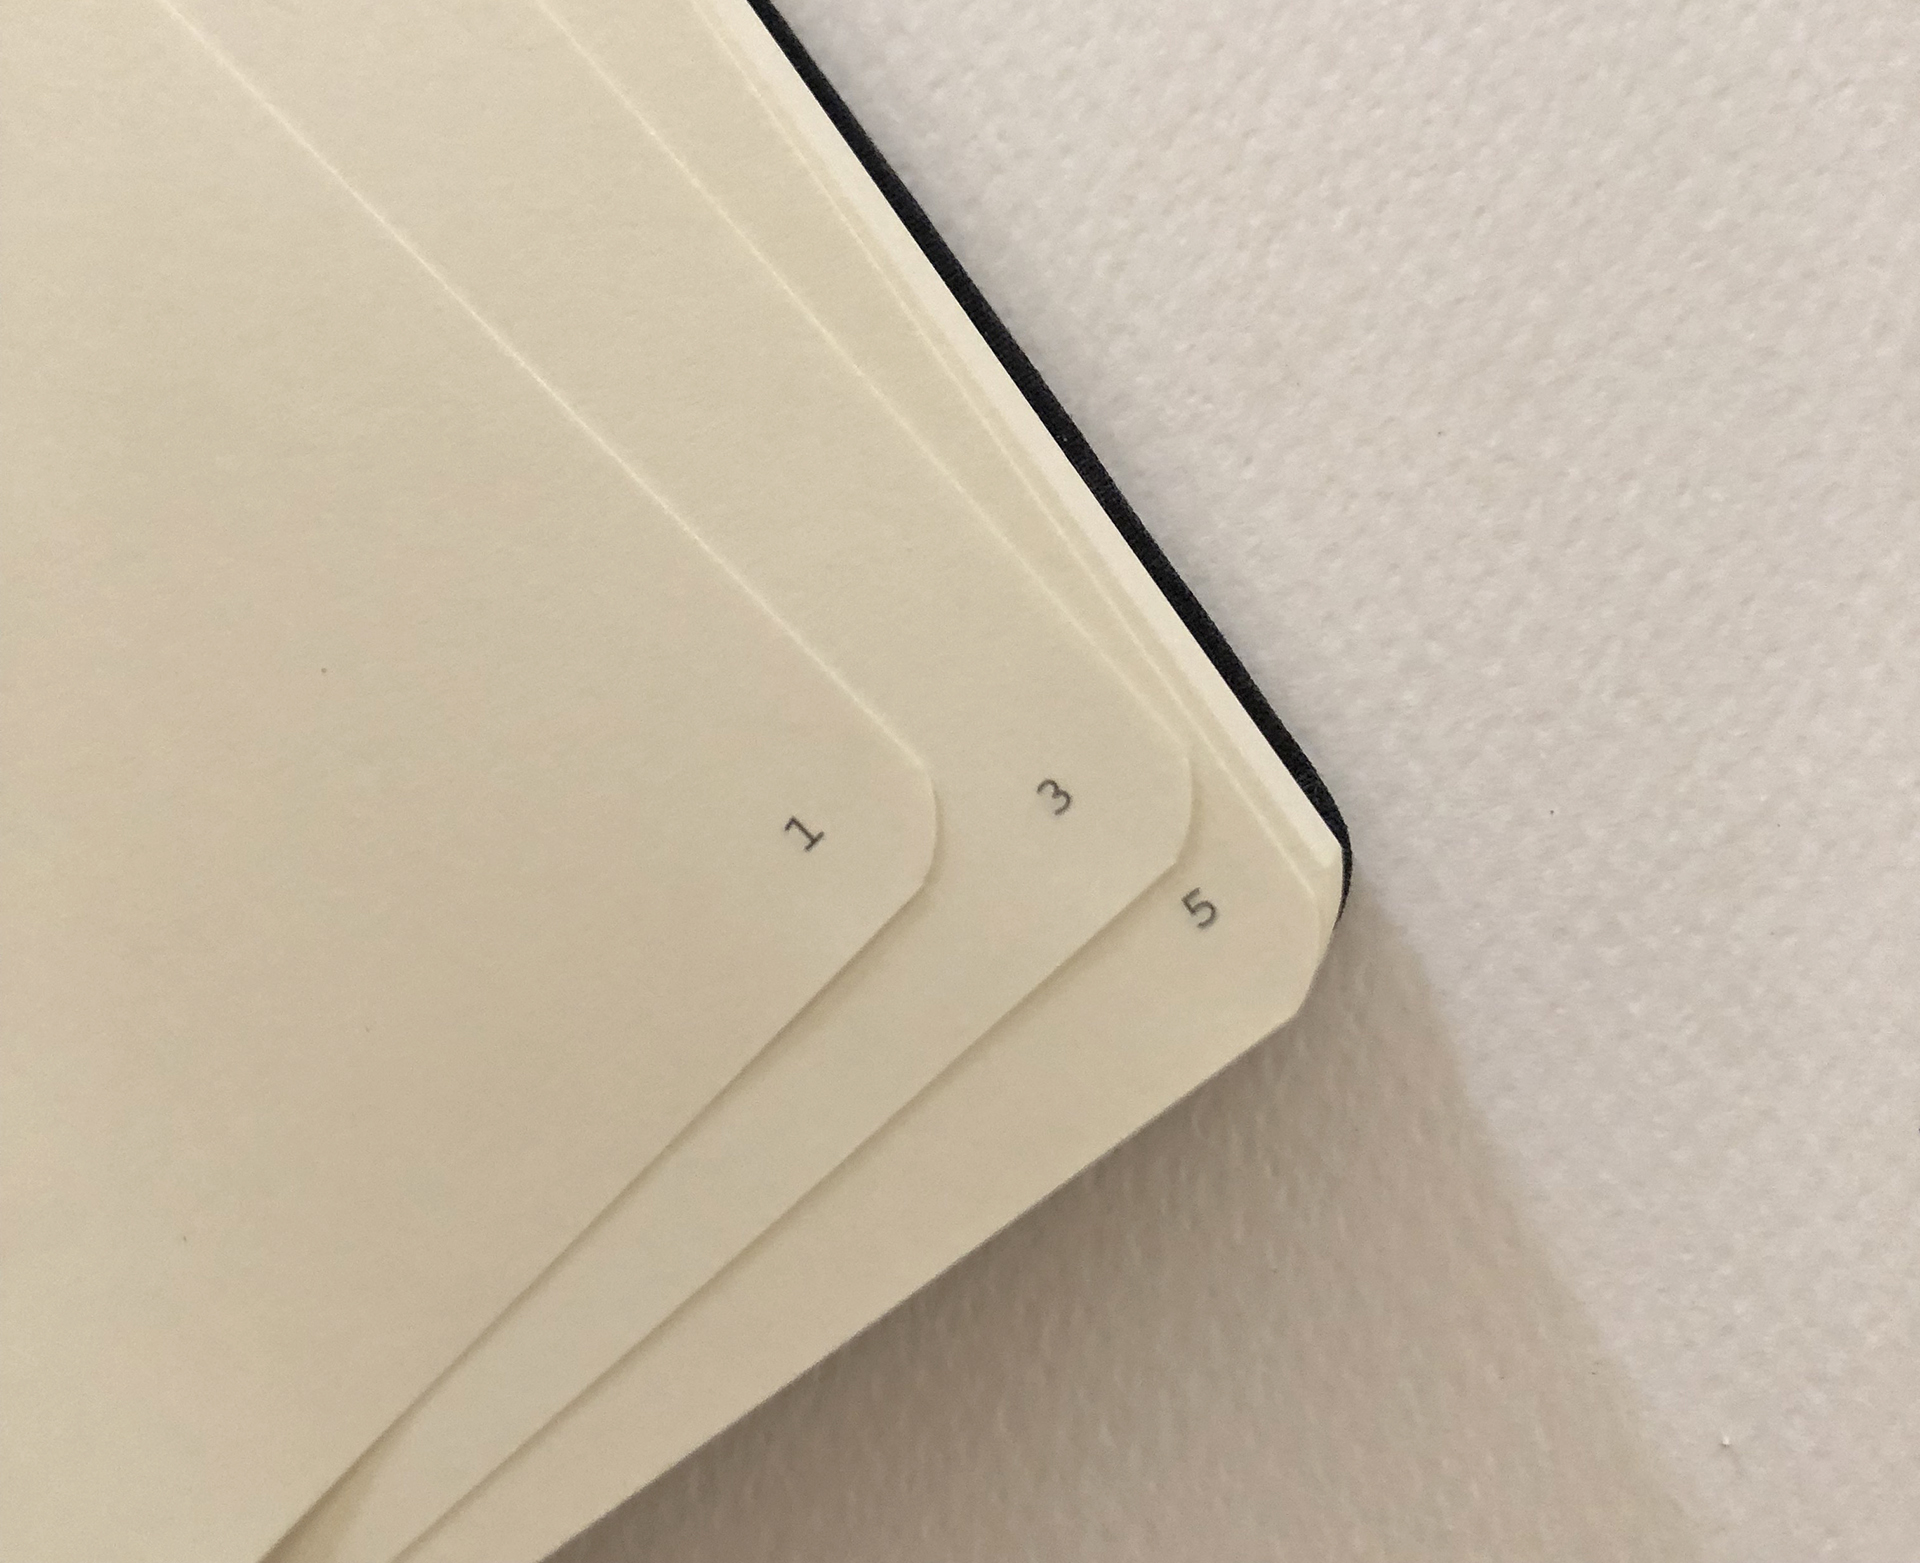
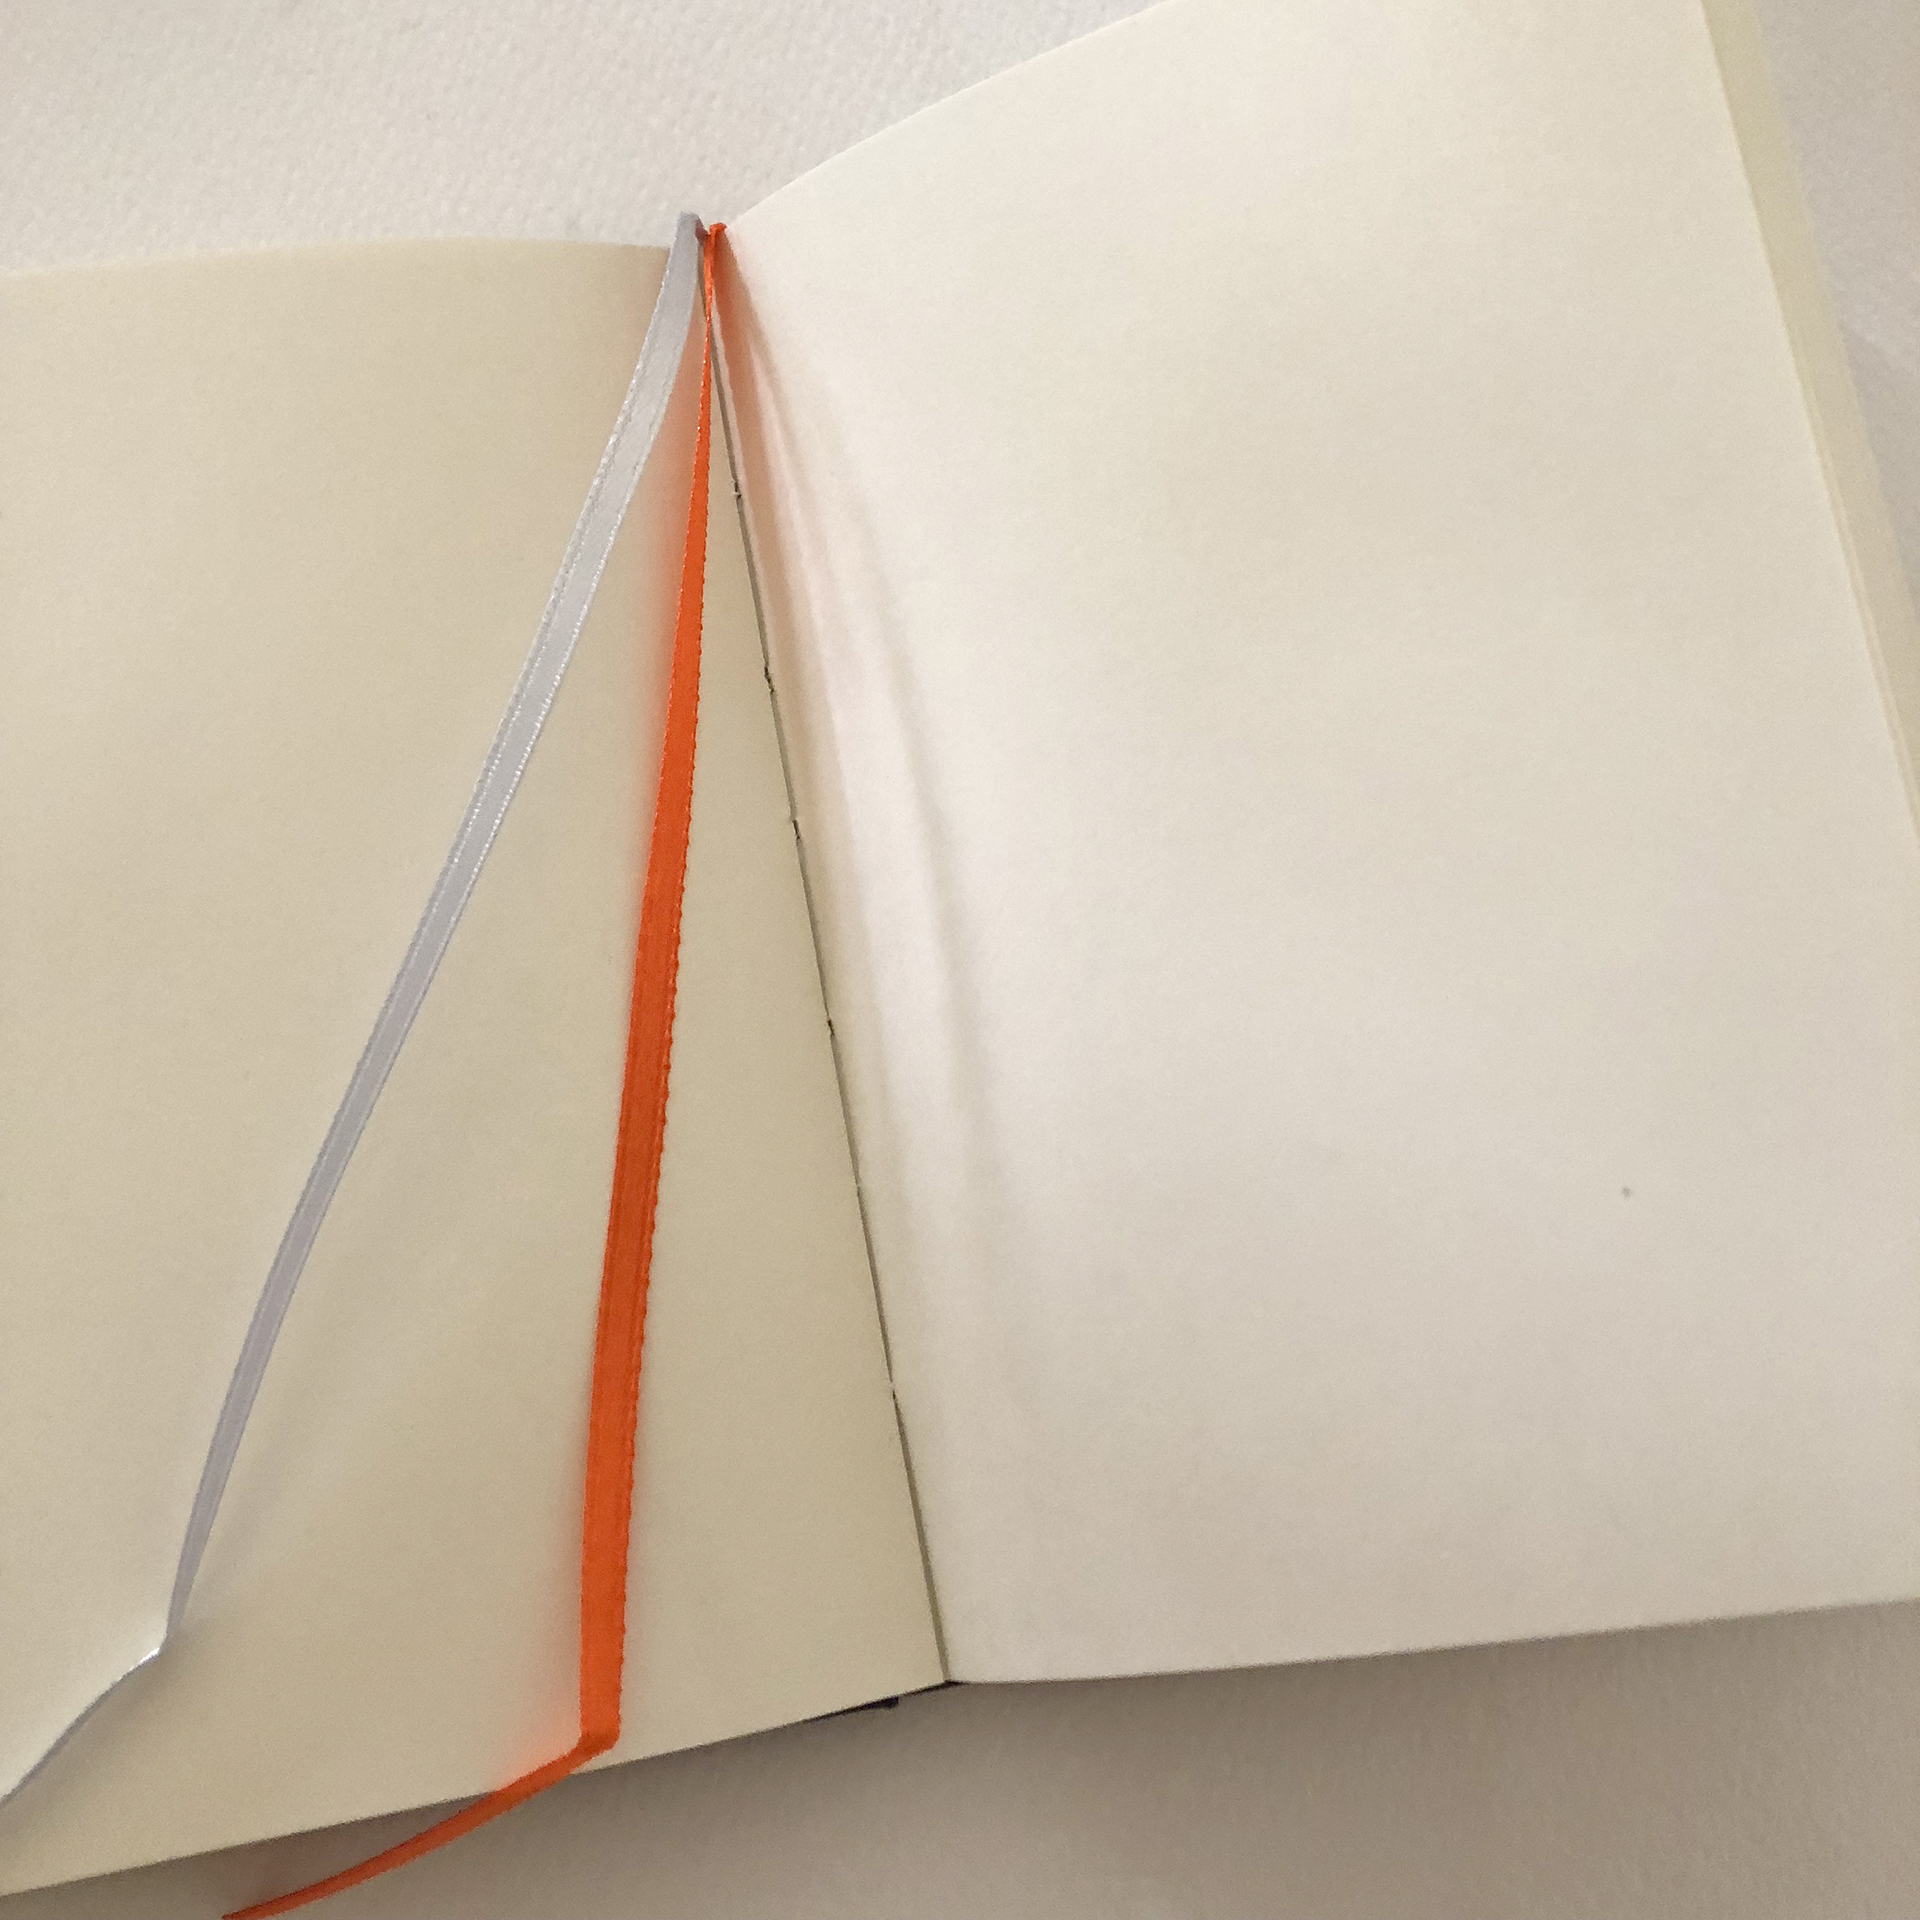
The pages are numbered and the dots are very light grey that come 5mm apart. It also comes with 2 ribbon bookmarks in light grey and orange. The notebook has 192 pages of 100gsm acid-free recycled paper.
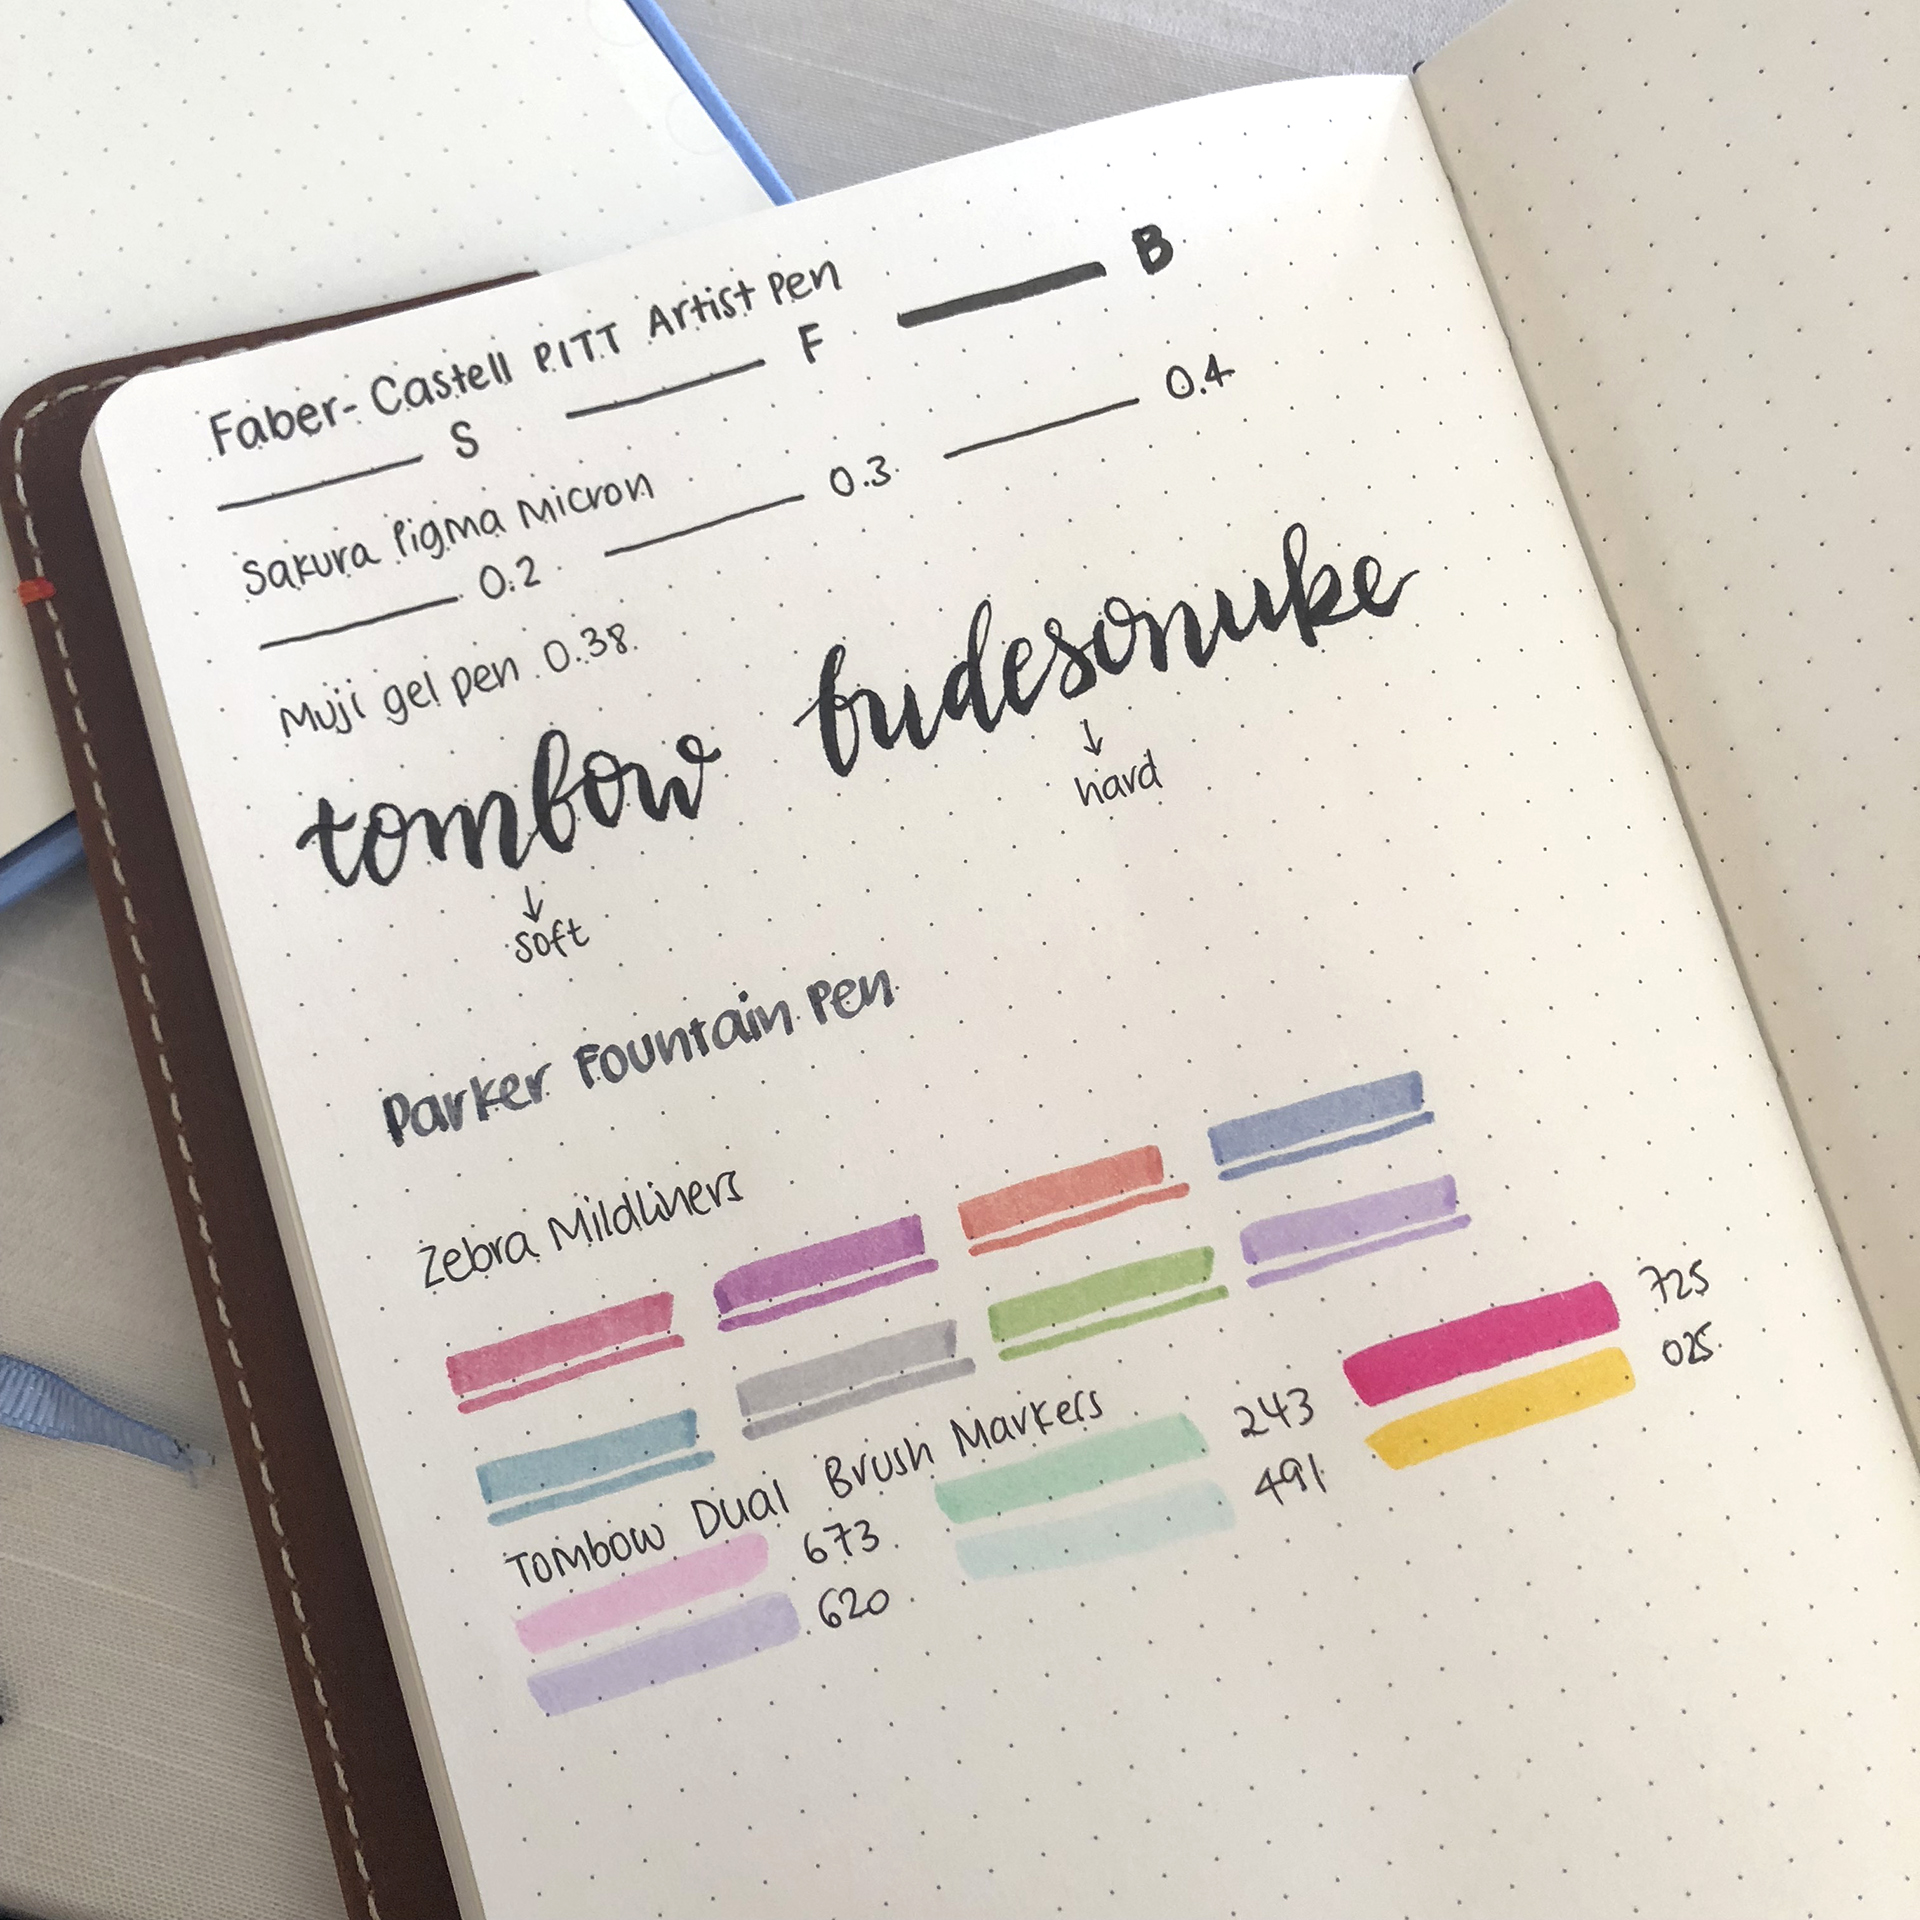
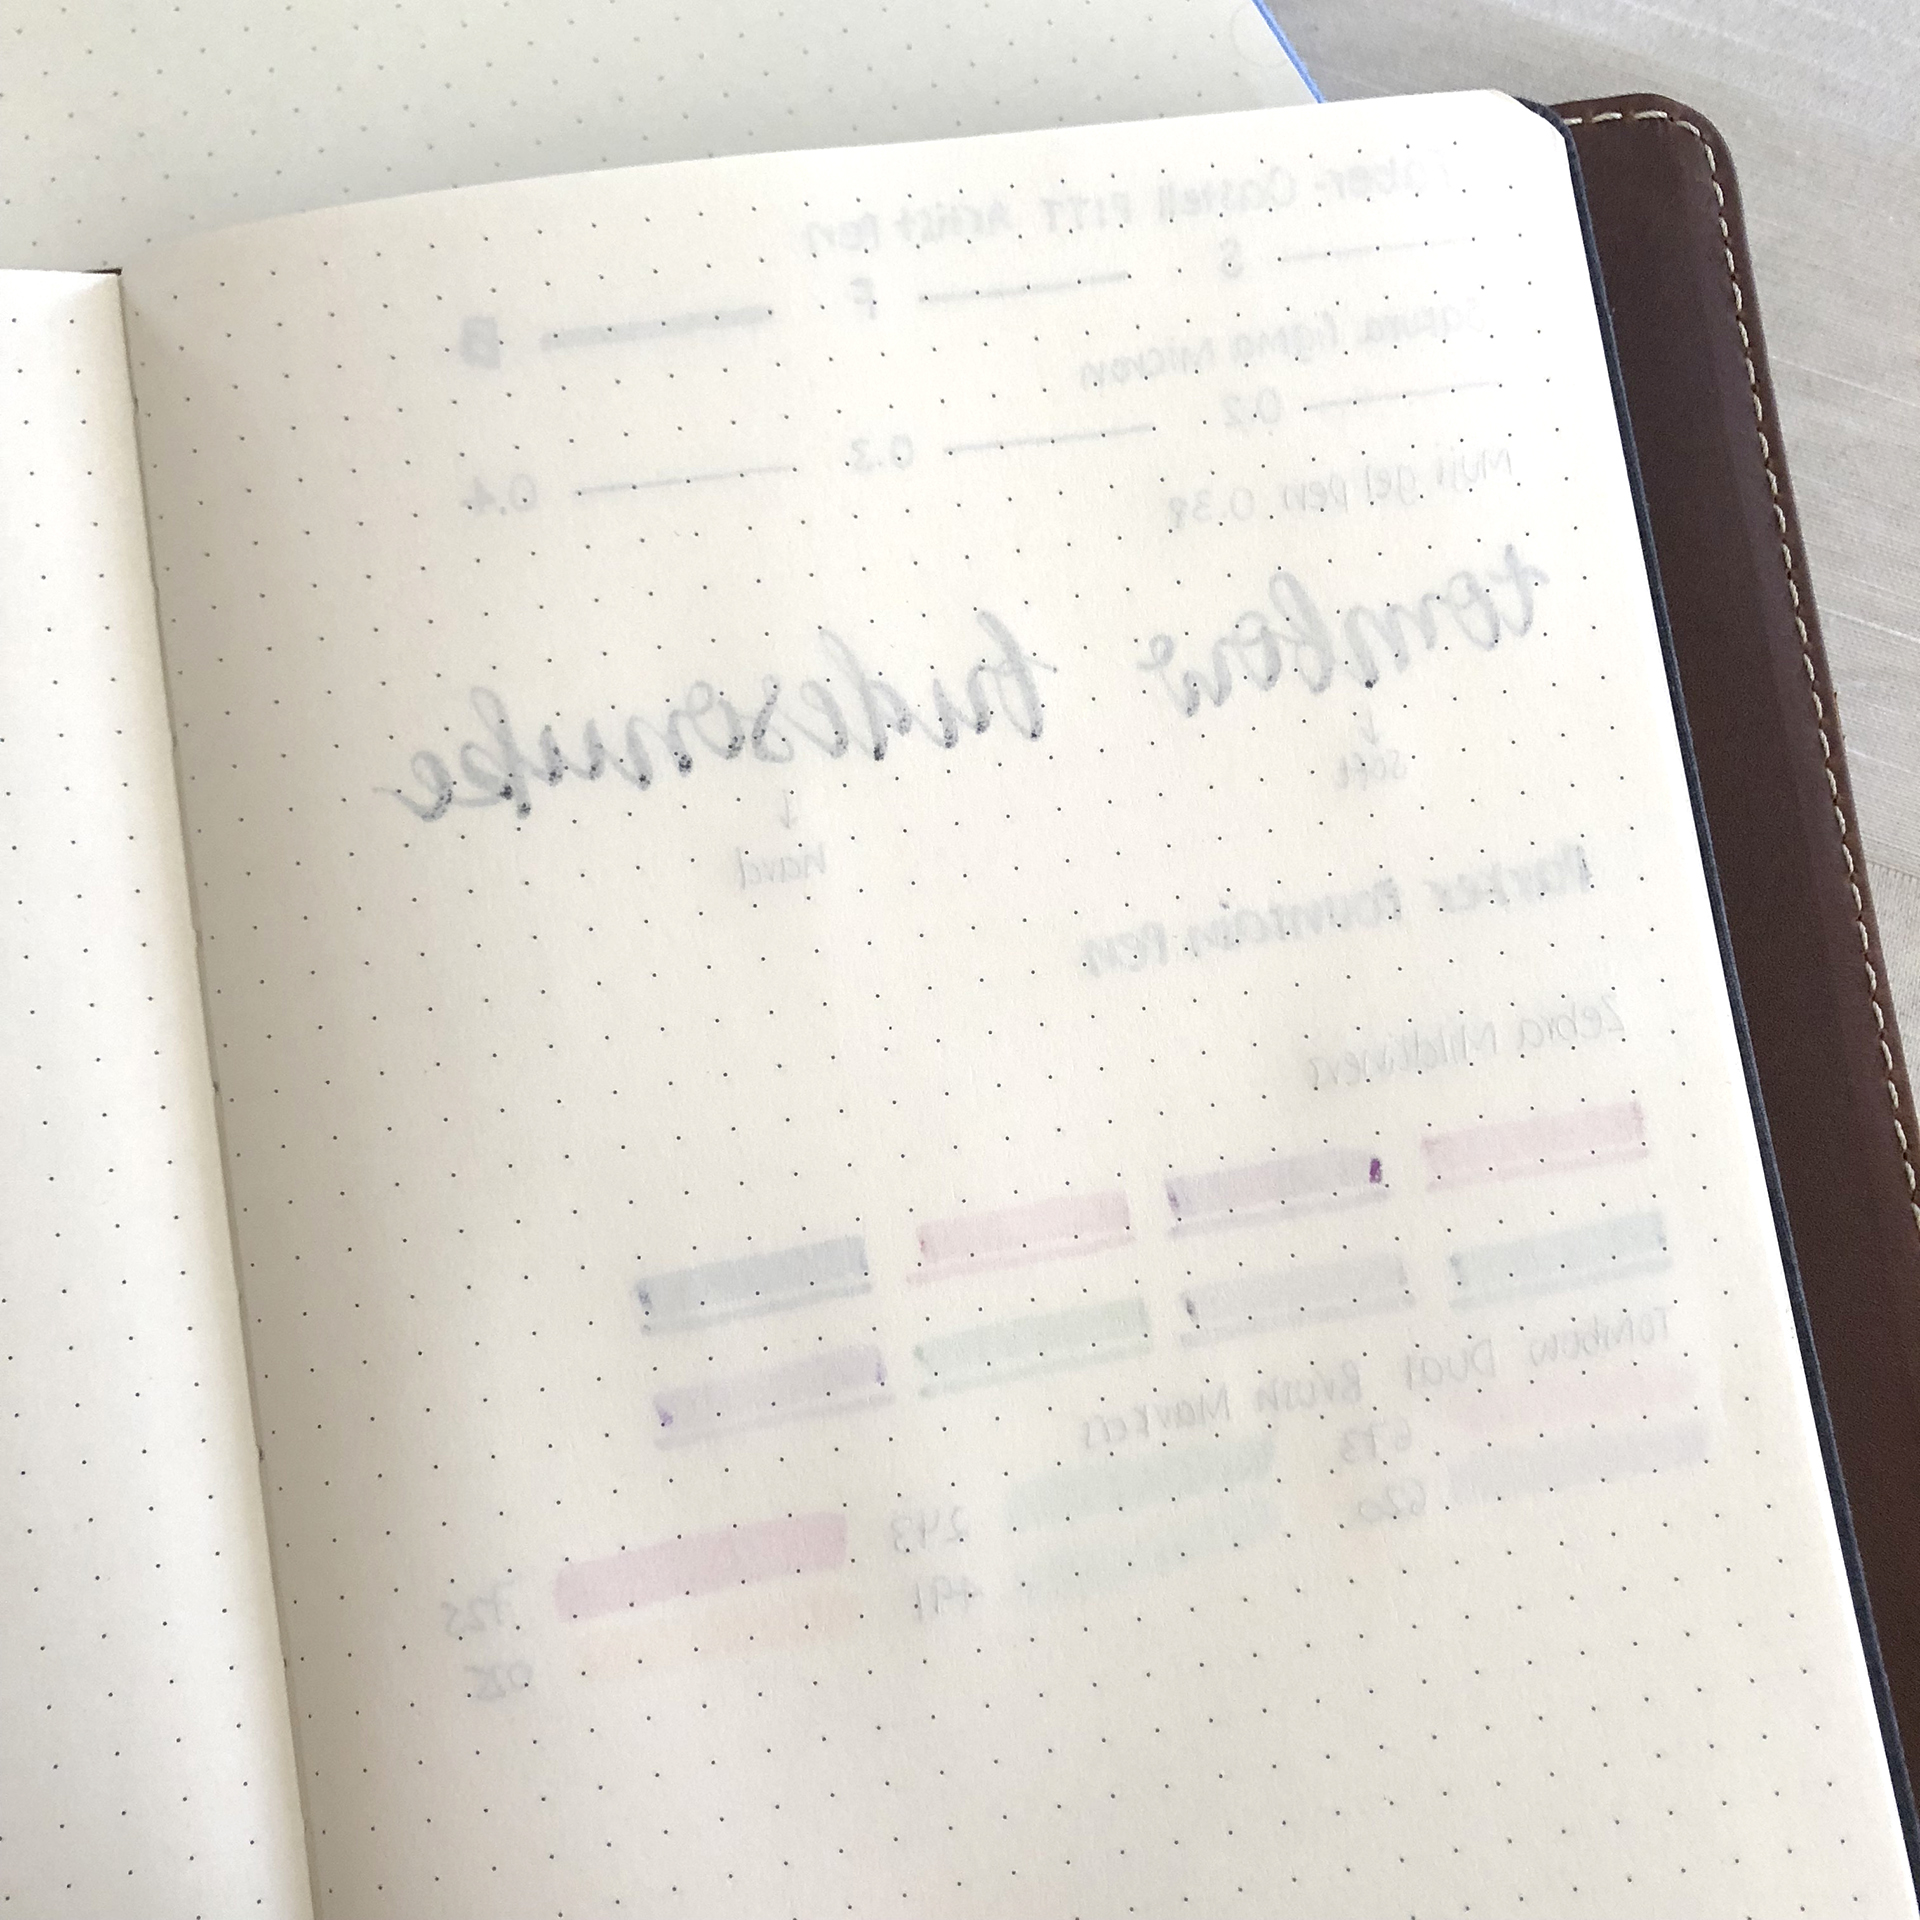
As always I tested my most used pens at one of the back pages of the notebook and I was surprised to see that it didn't do as well as I was expecting. There is definitely lots of ghosting but there was also some bleeding from the Tombow Fudesonuke pens and the Zebra Mildliners. However, there was no bleeding from the fountain pen, which I found really interesting.
Journal Notebook Small
The smaller notebook is simply adorable! The cover is made of the same fabric material as the first one, and it also comes in one grey colour as you can see in the picture. I was sent the plain paper one.
Apart from the plain pages, the smaller notebook has the same exact characteristics that the medium sized one has.
I was pleasantly surprised with the quality of the all of the Pad & Quill products that I was sent. Especially the leather case was amazing and I would totally recommend it, if you're looking for a cover for your notebook. The notebooks are really good, for journaling. But if you like to draw and doodle with markers in your journals, be prepared because there will definitely be ghosting and possible bleeding through the pages. For more information about the Pad & Quill products, make sure to visit their website: www.padandquill.com
Have you used any of the Pad & Quill products? What do you think of them? Let me know in the comments below.
Traveling Bullet Journal
Around 2 years ago Helen from @journalwithpurpose had this amazing idea of creating a Traveling Bullet Journal. And when she announced it on Instagram, I was one of the first people to apply in order to take part in this cool project.
Around 2 years ago Helen from @journalwithpurpose had this amazing idea of creating a Traveling Bullet Journal. And when she announced it on Instagram, I was one of the first people to apply in order to take part in this cool project.
But, what is the Traveling Bullet Journal?
It is a bullet journal that travels around the world and every bullet journalist that takes part can create any type of spread they want in 2 of it's pages. It started it's journey on the 12th of September 2016 and it has been already in so many different countries - UK, Denmark, Norway, Sweden, Germany, the Netherlands, USA, Spain, France, Austria and Italy! There is a page on Helen's blog where you can see pictures of what all the previous bullet journalist have created in it's pages.
When I was contacted by Helen to tell me that I was the next one to receive it, I was so so excited! I literally couldn't wait. And when I finally got it in the post, I spent so long going through all the pages and taking in all the details.
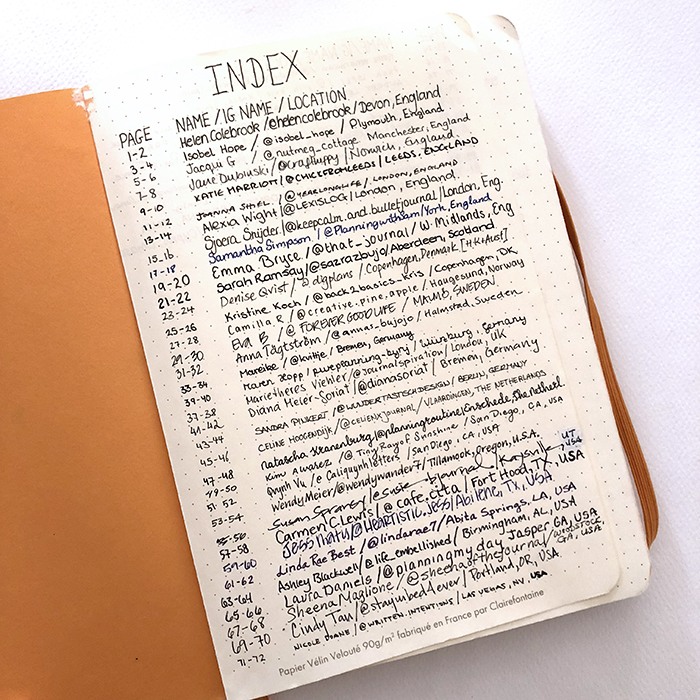
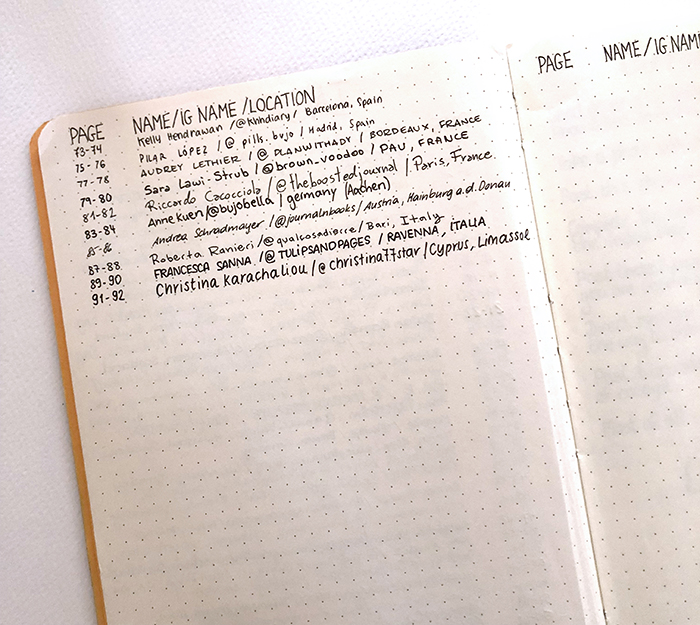
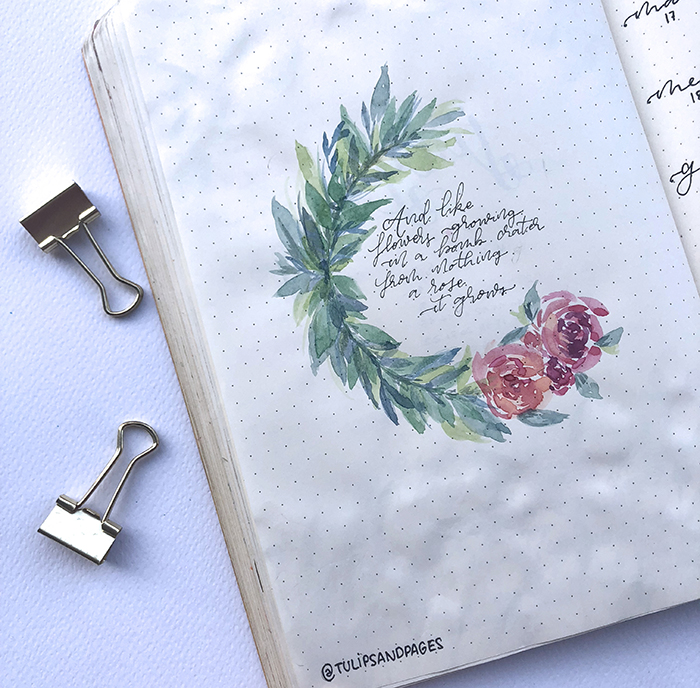
Pages created in the Traveling Bullet Journal
I thought it would be fun to share with you some of the pages that were created in the Traveling Bullet Journal so far, in order for you to see all the creativity and to get inspired.
@kvittie
My creations in the Traveling Bullet Journal
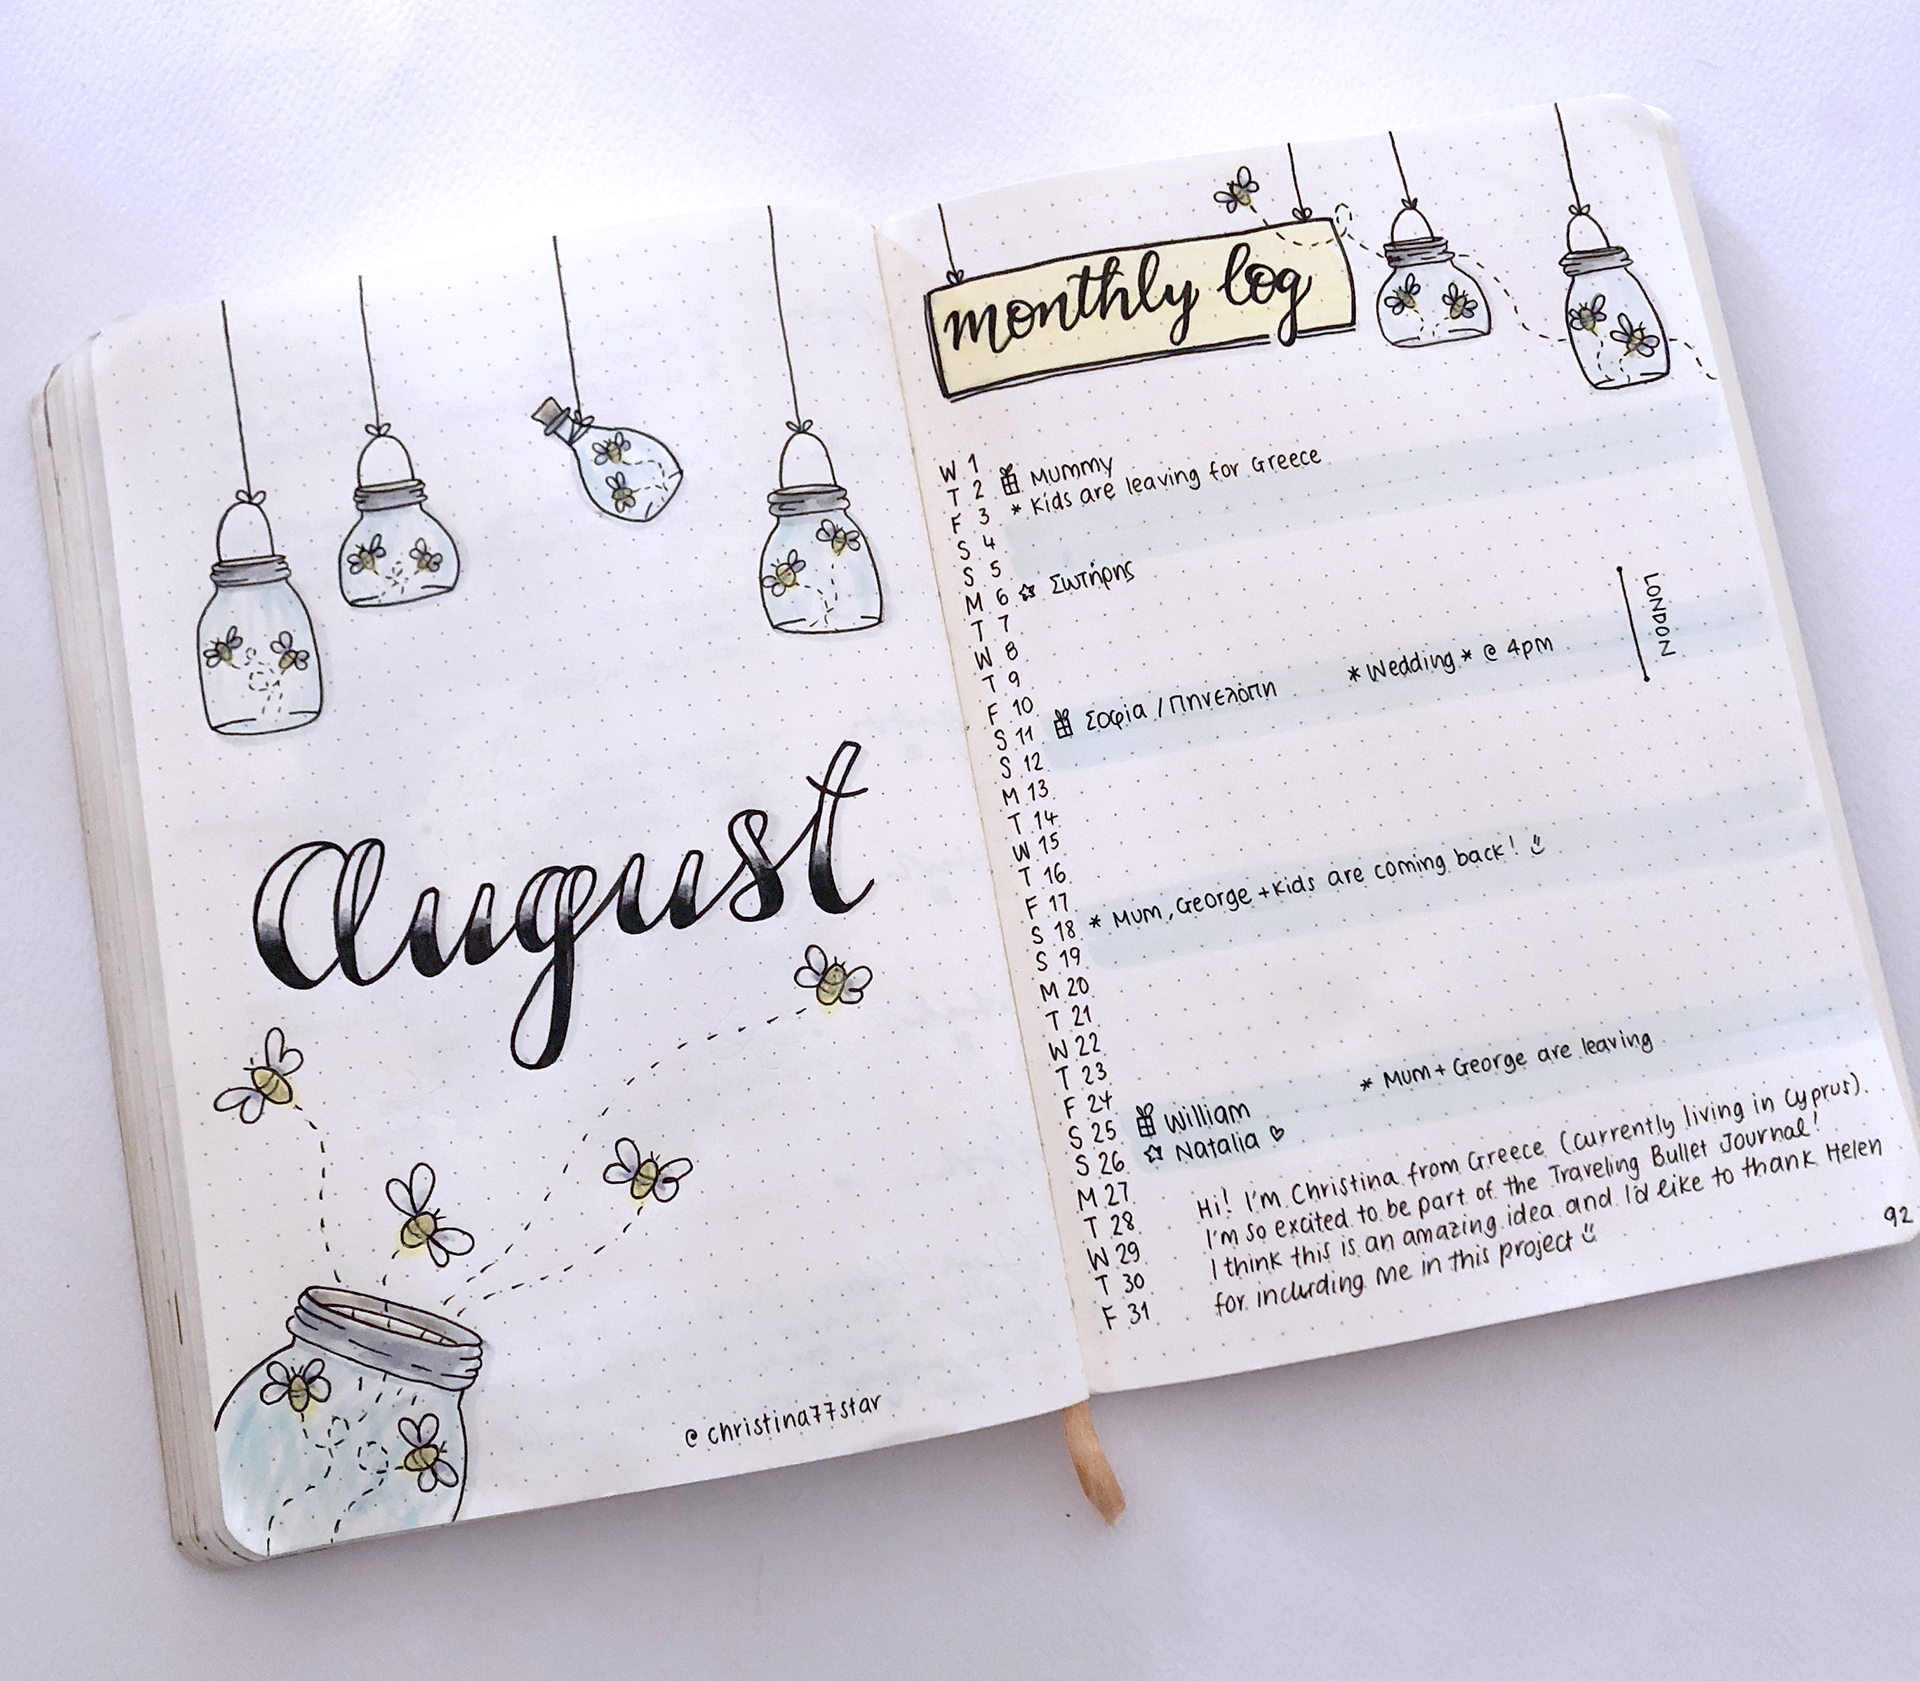
I won't deny that even though I was excited to take part in this project, when I decided to create my two-page spread in it I didn't know what to do! The possibilities were endless! Should I create a spread? Should I create something about the month we're in? Should I recreate a design / page that I'm known for? Should I do something new? I just couldn't decide.... In the end I decided to create the first page of the month - since it was going to be the first spread for August - and to create a new design.
The theme I chose was 'Mason Jars and Fireflies' and I think it turned out pretty good! I only used 3 pastel colours - light blue, light yellow and grey. I wanted a fun and pretty clean design and I think it came out ok!
On the next page I created my Monthly Log. Again I continued the theme so that the two pages match and I added some of my personal details, as if I was using that bullet journal for myself. I also added a small note for Helen and everyone that takes part, saying a few things about me and how grateful I am to take part in this amazing project!
What do you think of the Traveling Bullet Journal? Would you take part in a project like this? Let me know in the comments below.
Bullet Journal Ideas: 3 Weekly Spread Layouts for August 2018
In today's post I'll show you the 3 layouts I’m using for my weekly spreads in my bullet journal for August, and how I've decorated them.
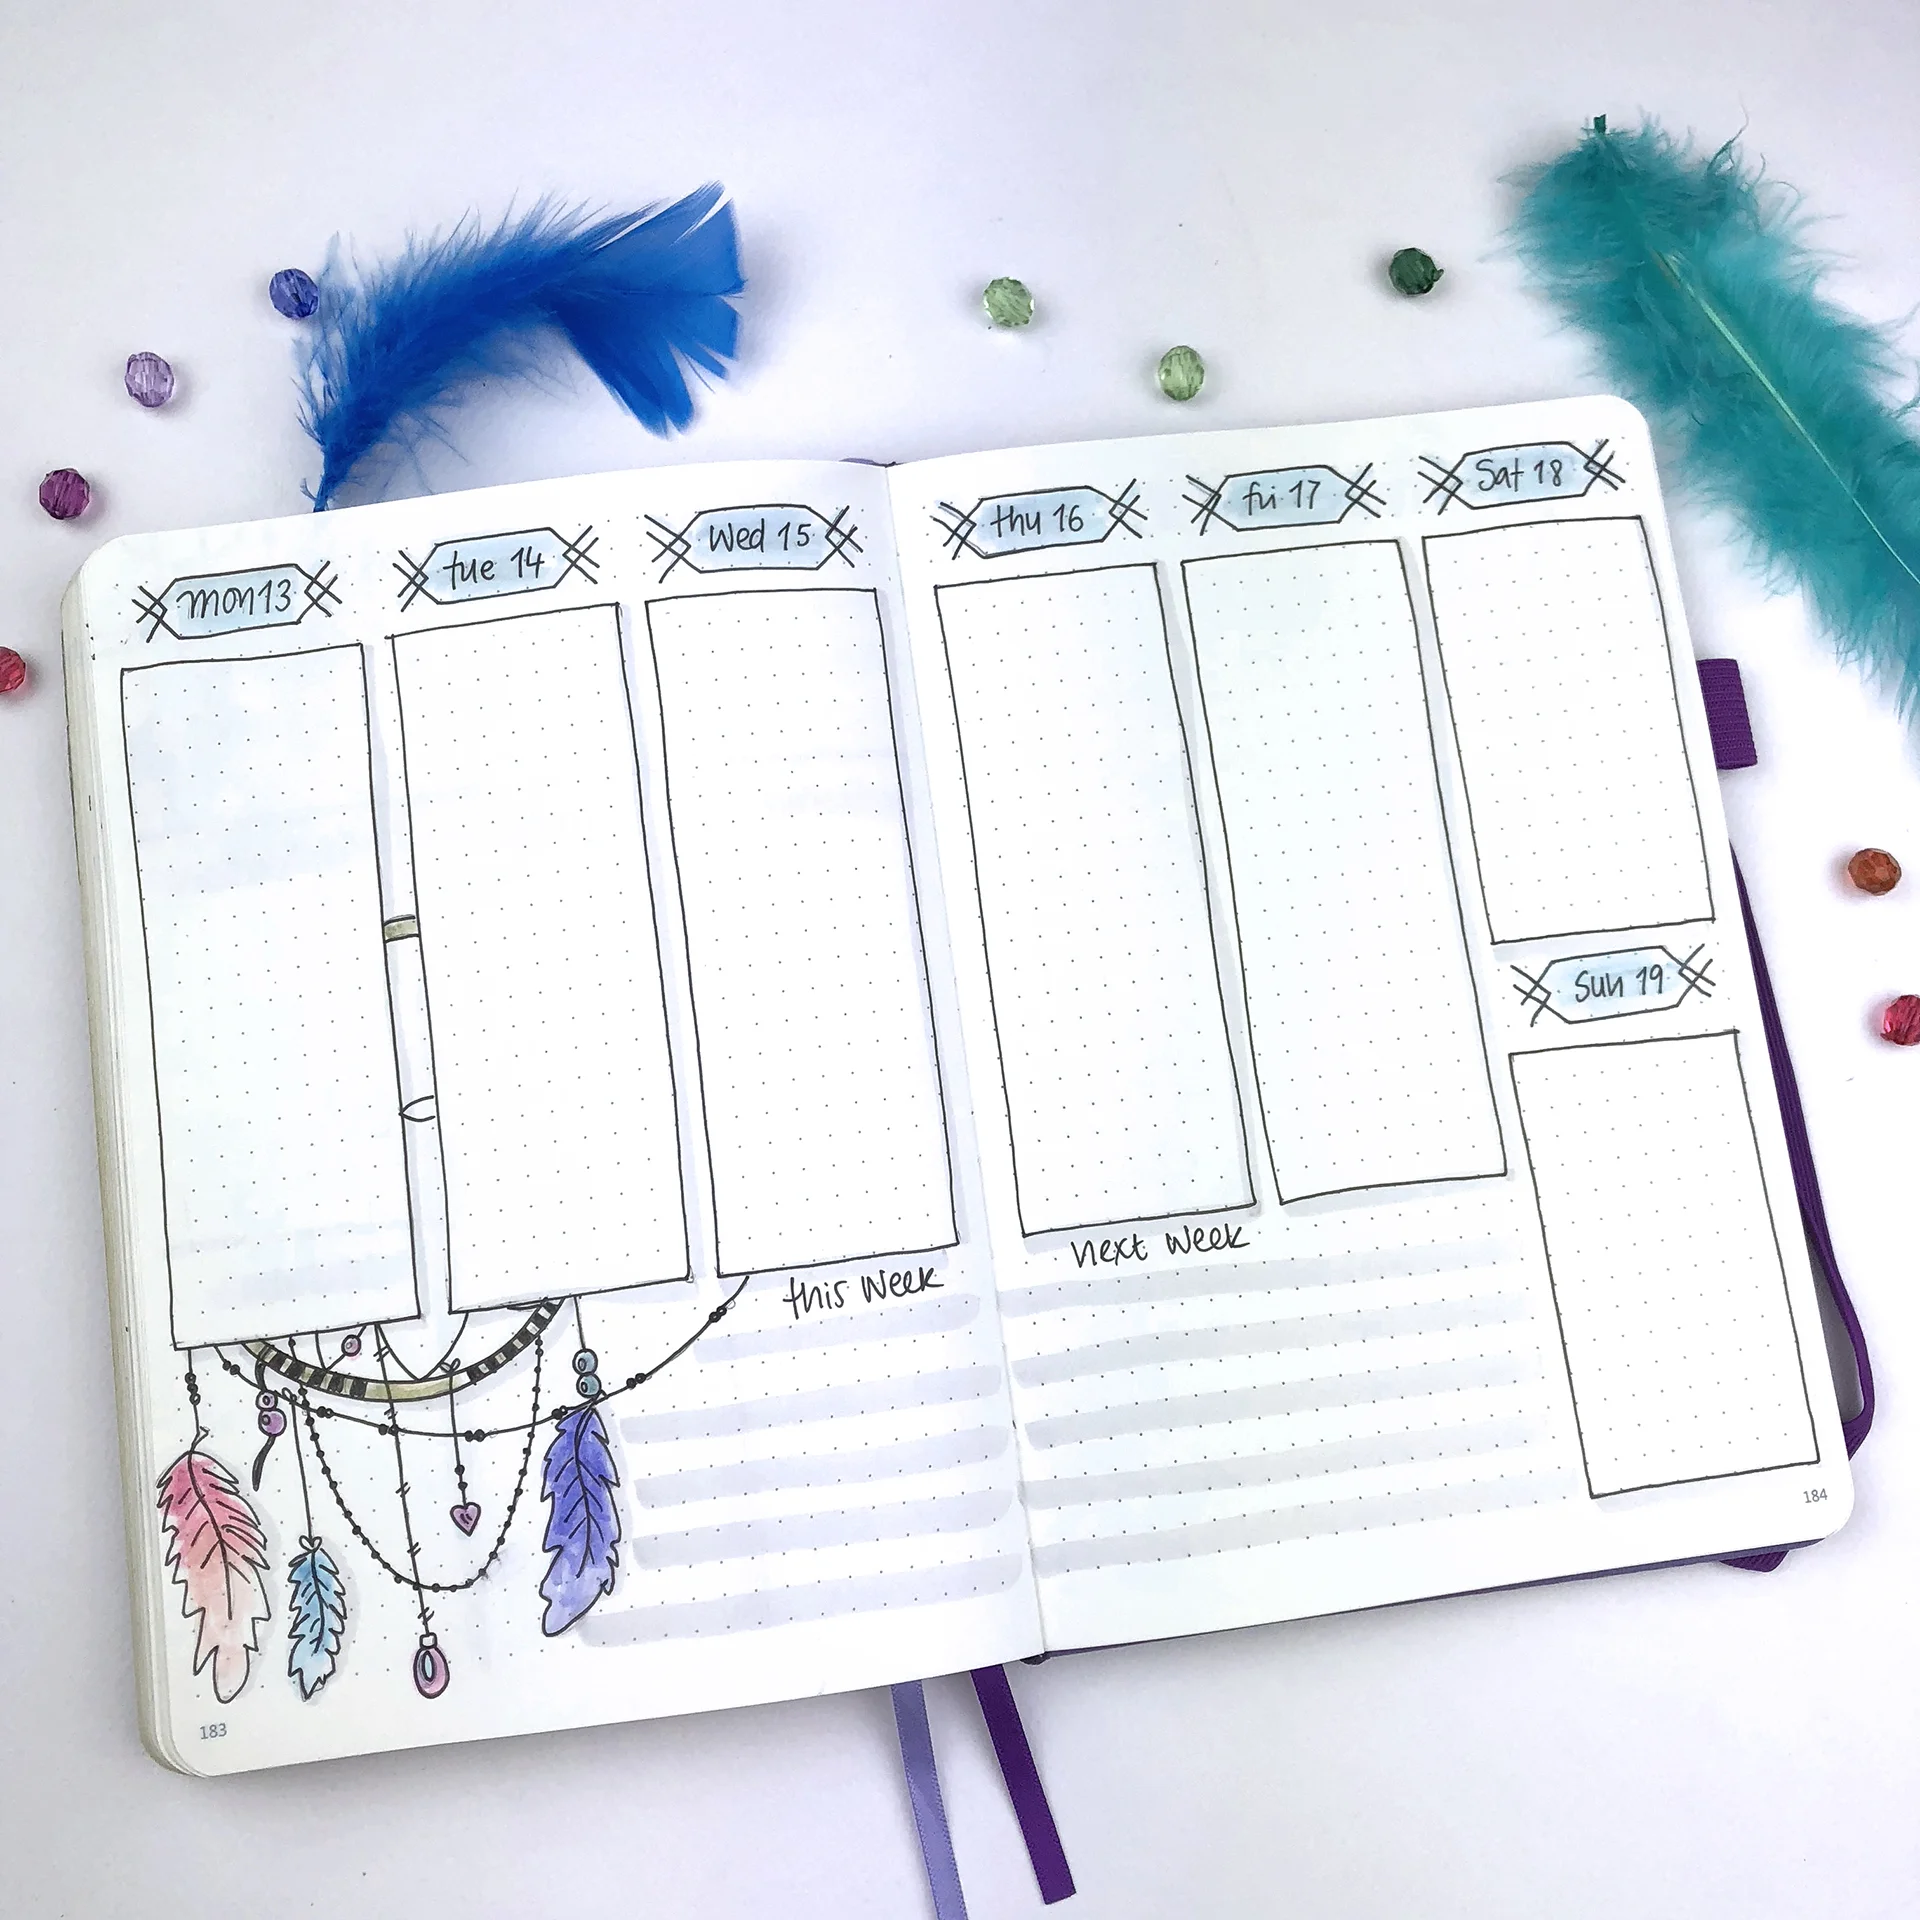
I tend to have 3-4 layouts for my weekly spreads which I rotate during the month. And of course I try to make them more interesting by decorating them according to that month’s theme. For August the theme is 'Boho Feathers'.
This is my first monthly spread of August. You can see exactly how I've set it up in this video.
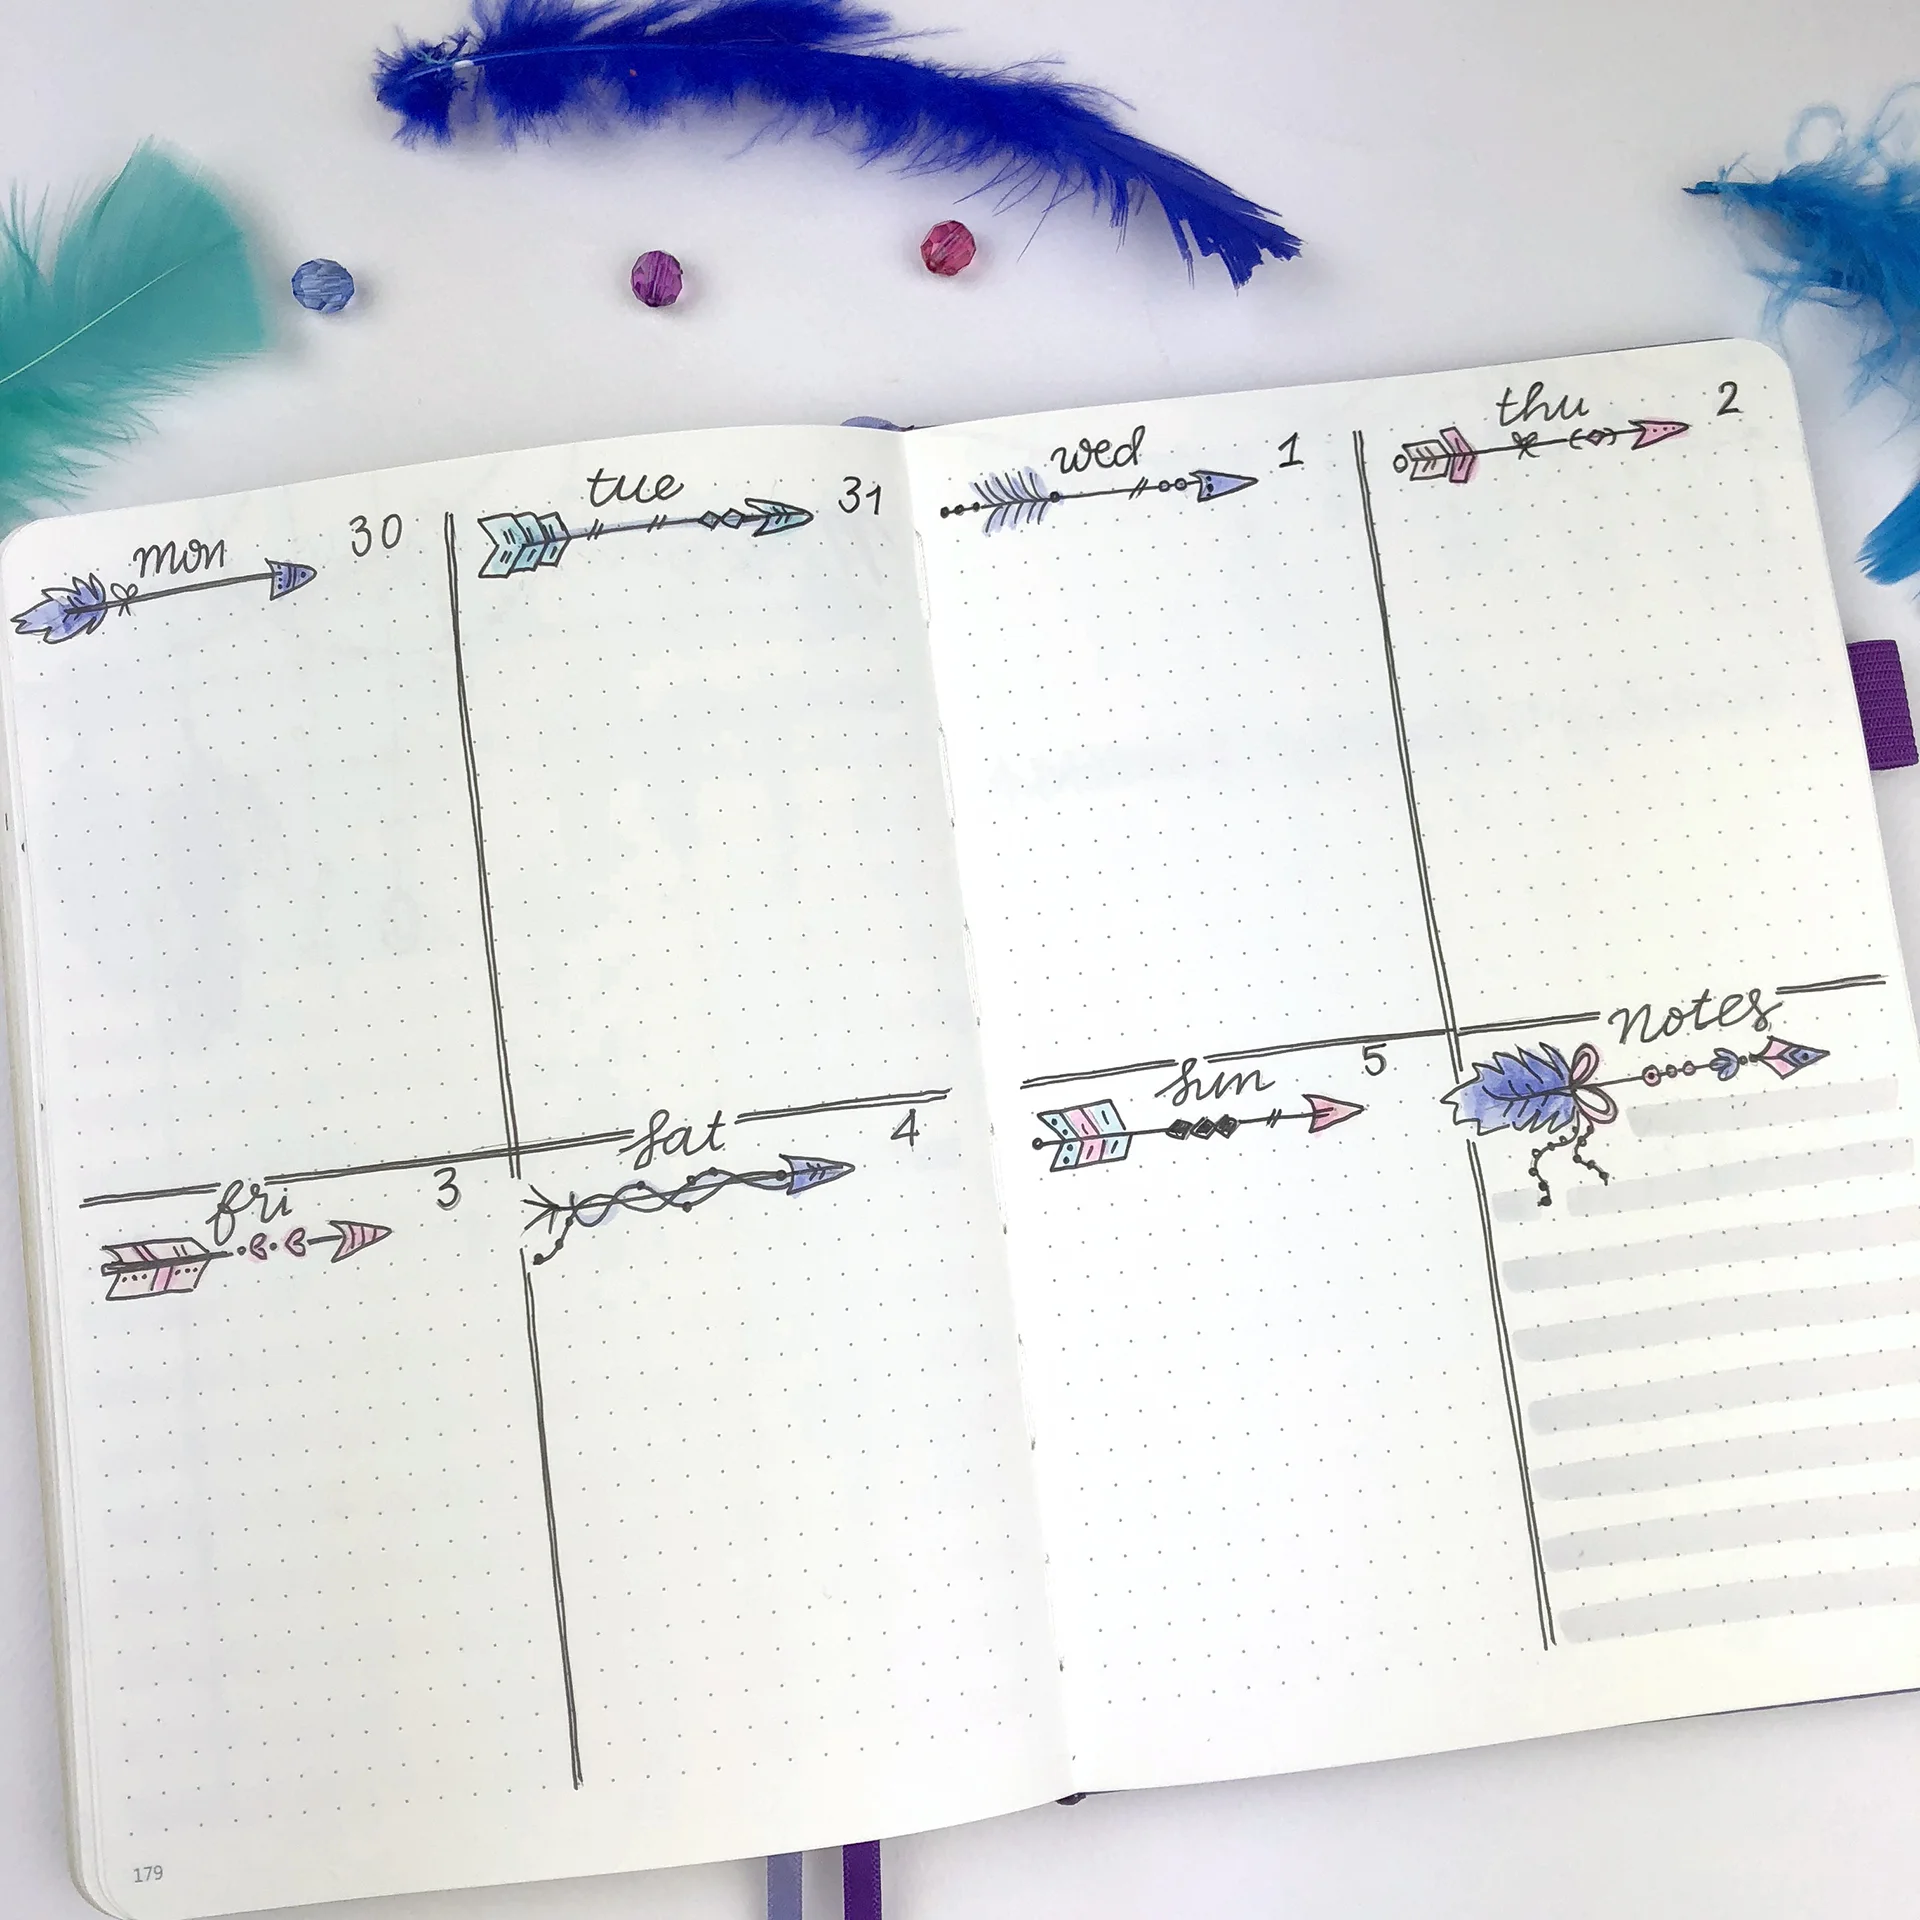
The second spread is a classic one that I'm using every month. It gives me a lot of space to add all the things I want, plus I can use the space on the left page for doodling (like I did) or to add more sections if I need to.
I kept the colours very simple and pastel, as always. I think it's very important to decide which colour palette you're going to use for your theme from the beginning. It makes things easier, and more consistent.
You can find all the supplies I used at the end of this post.
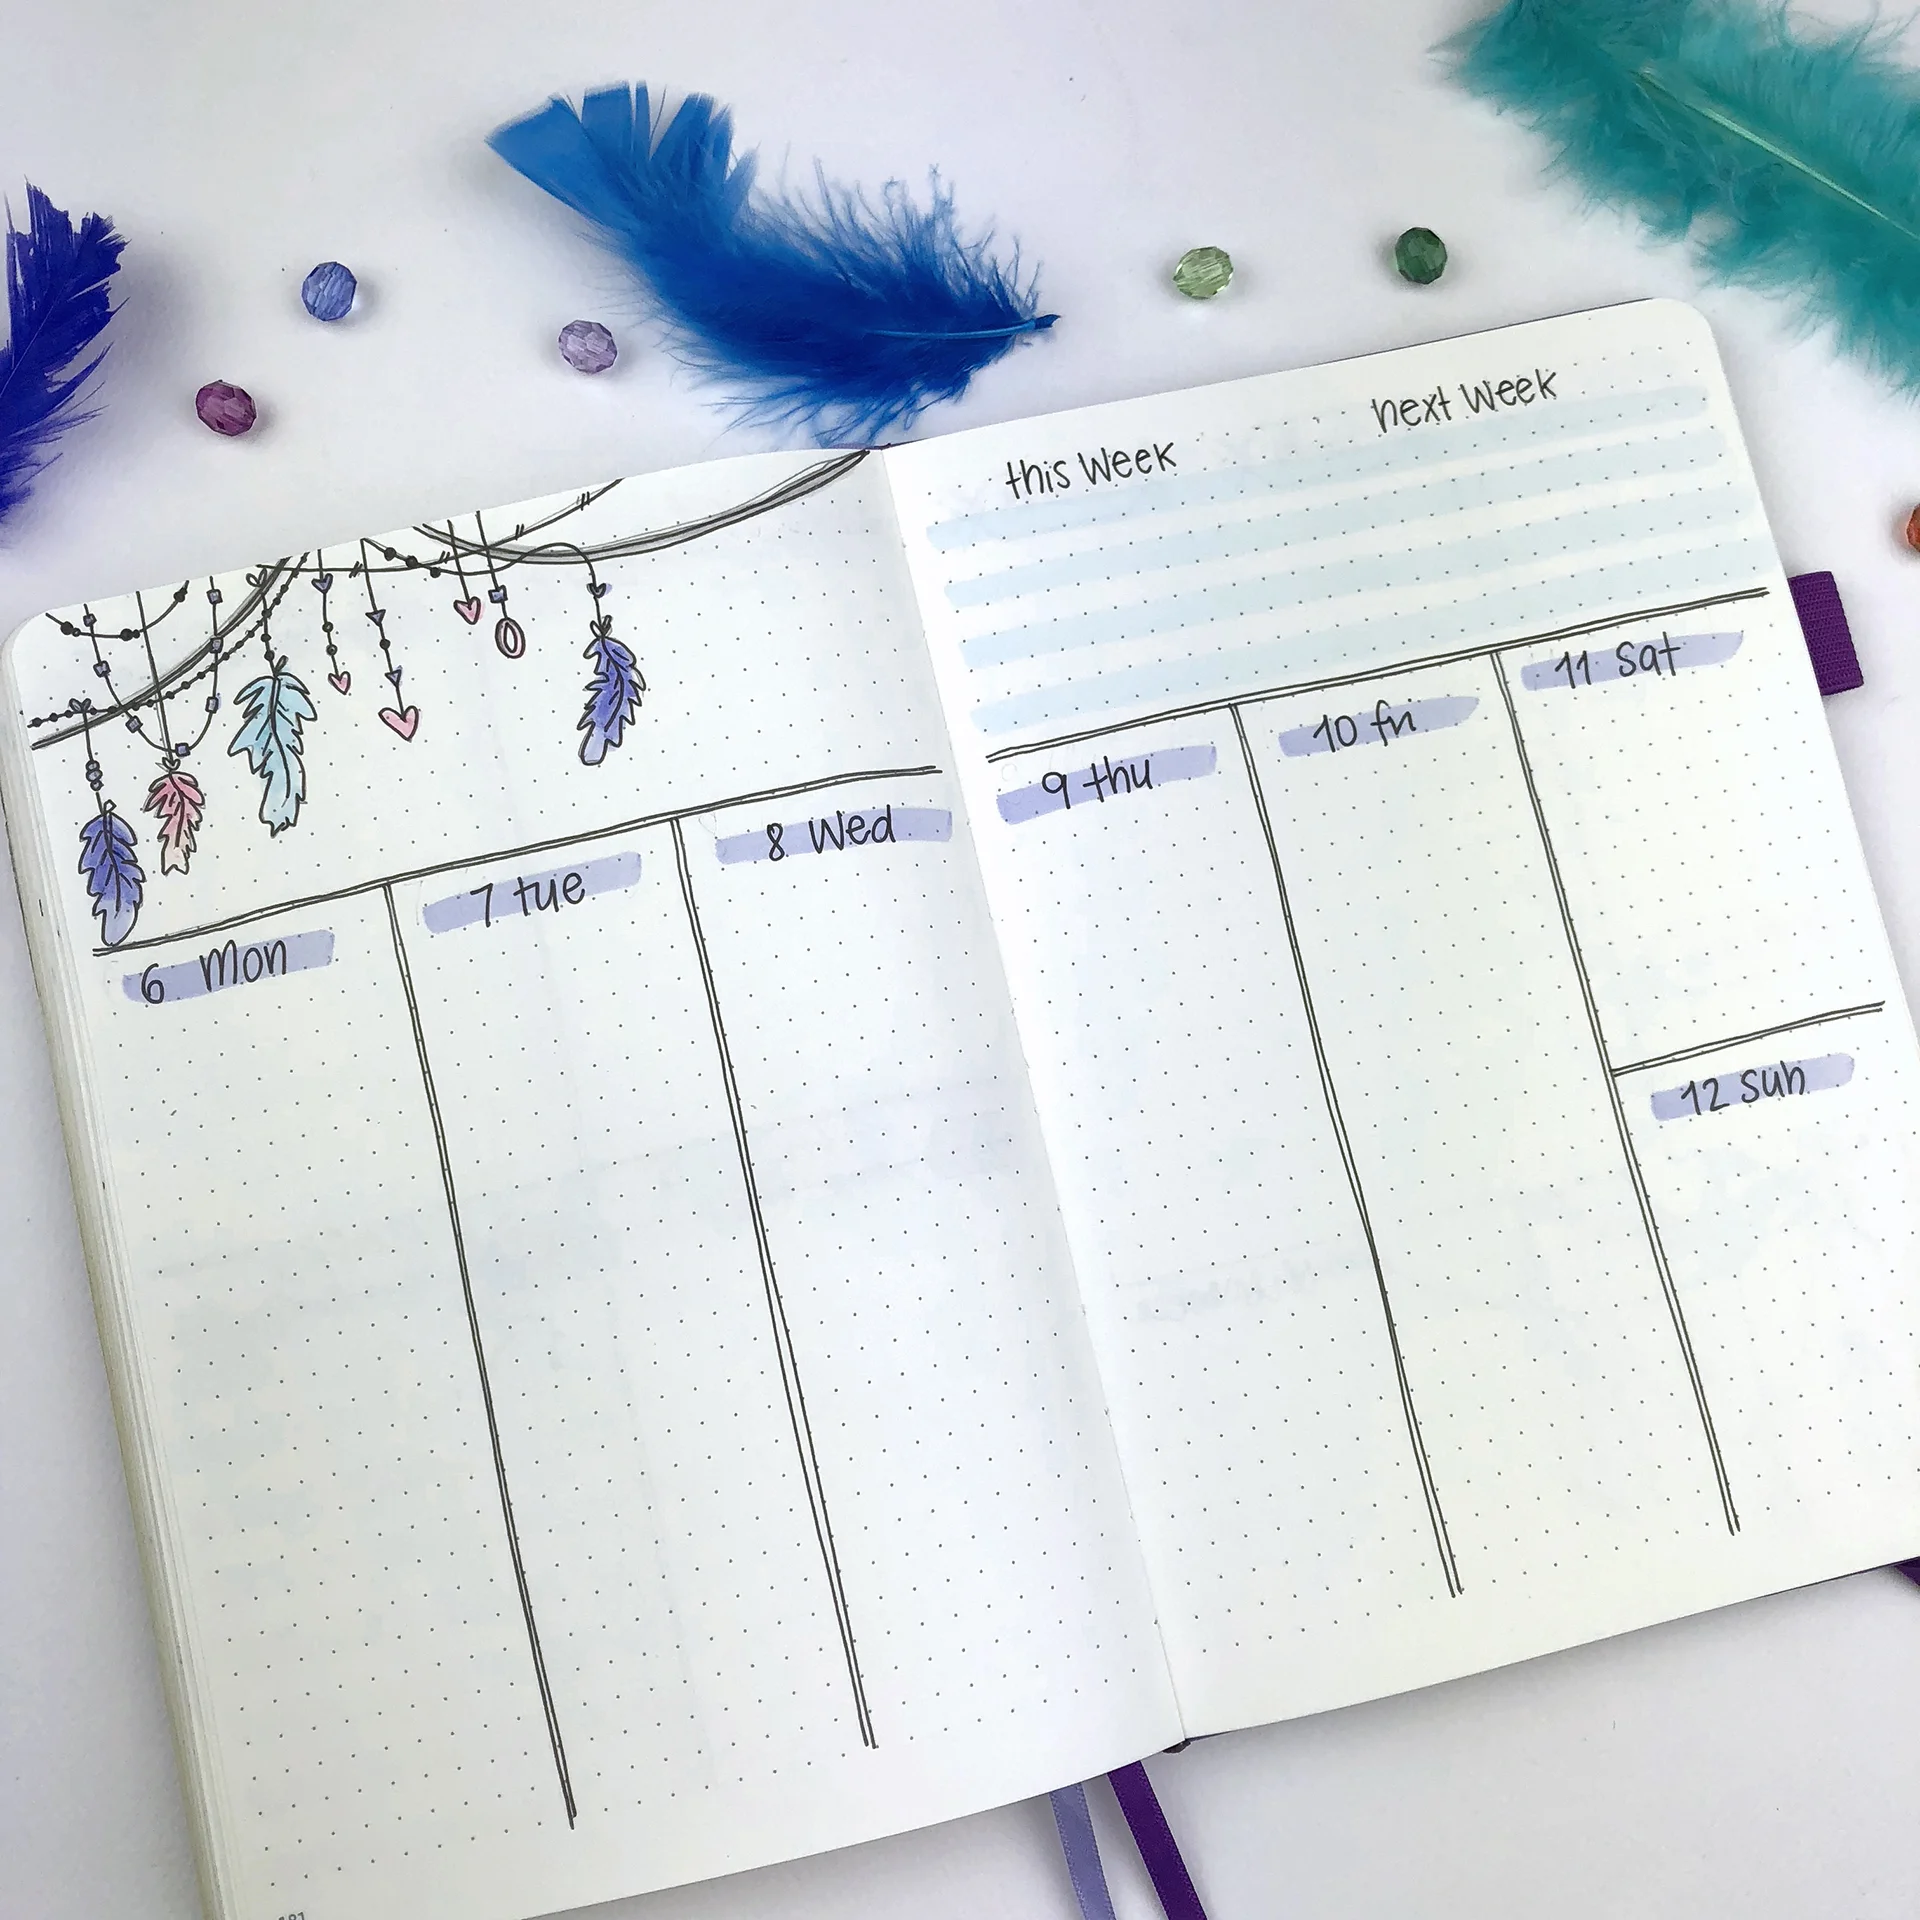
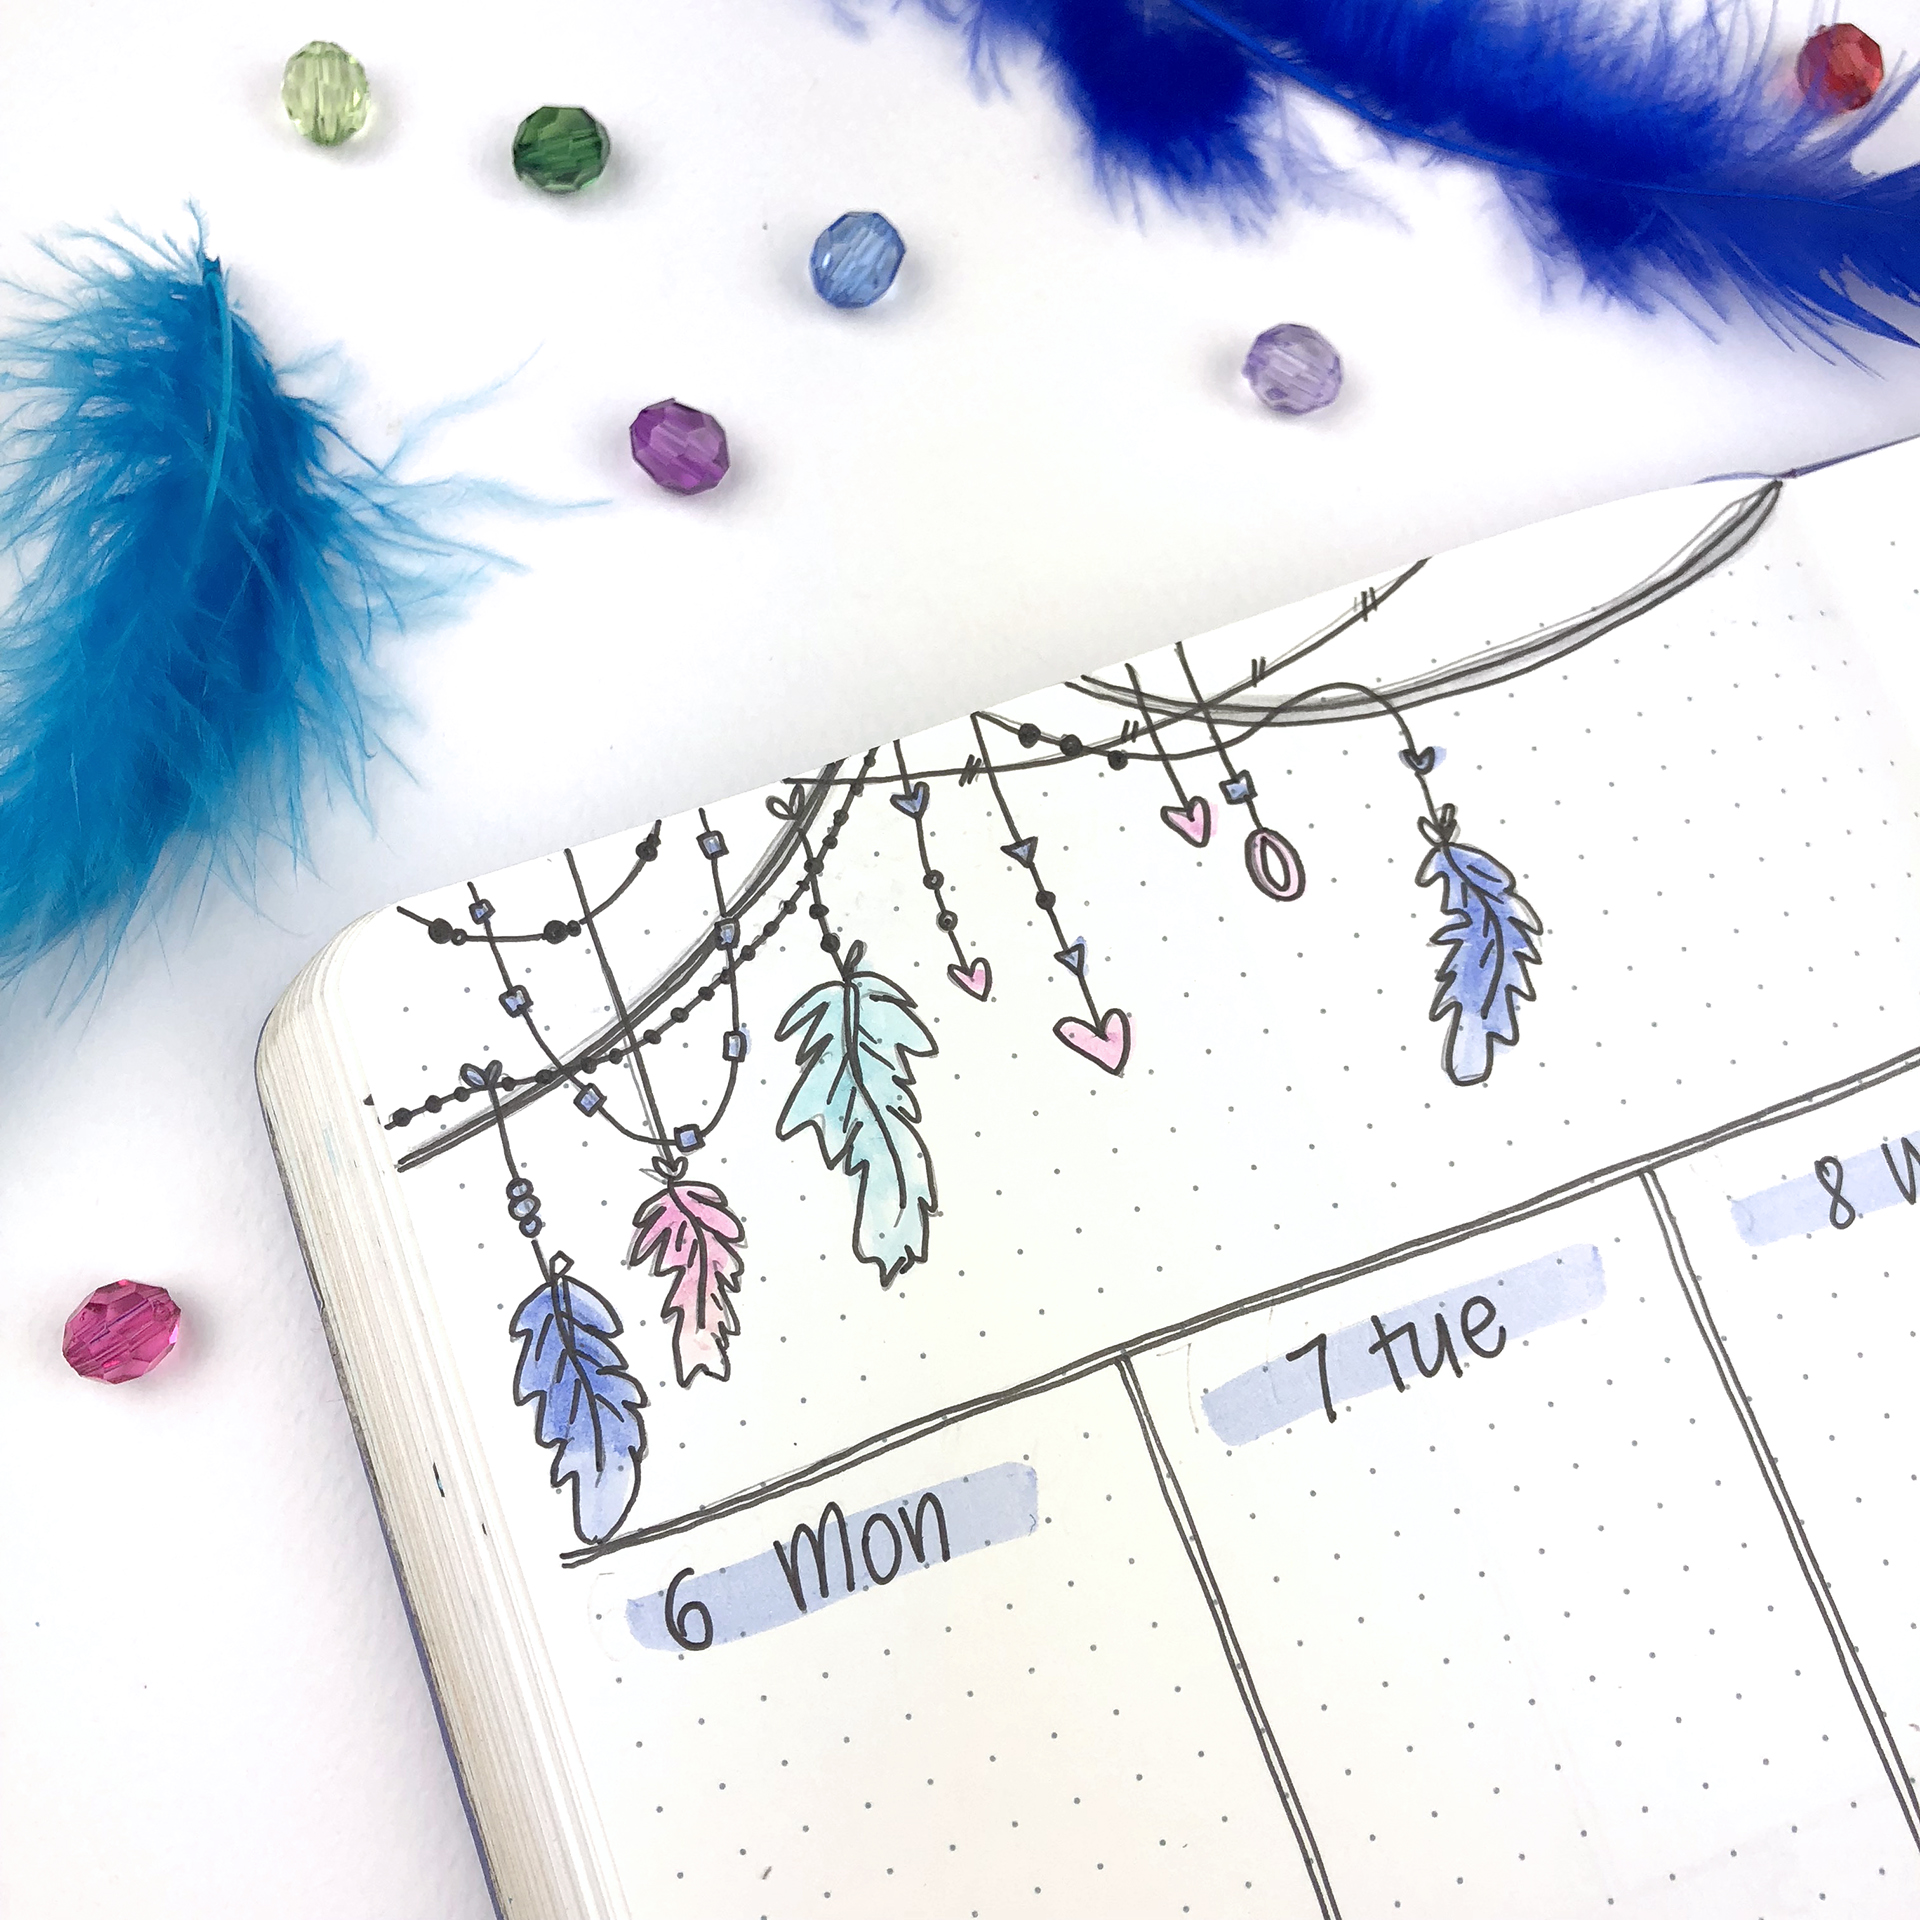
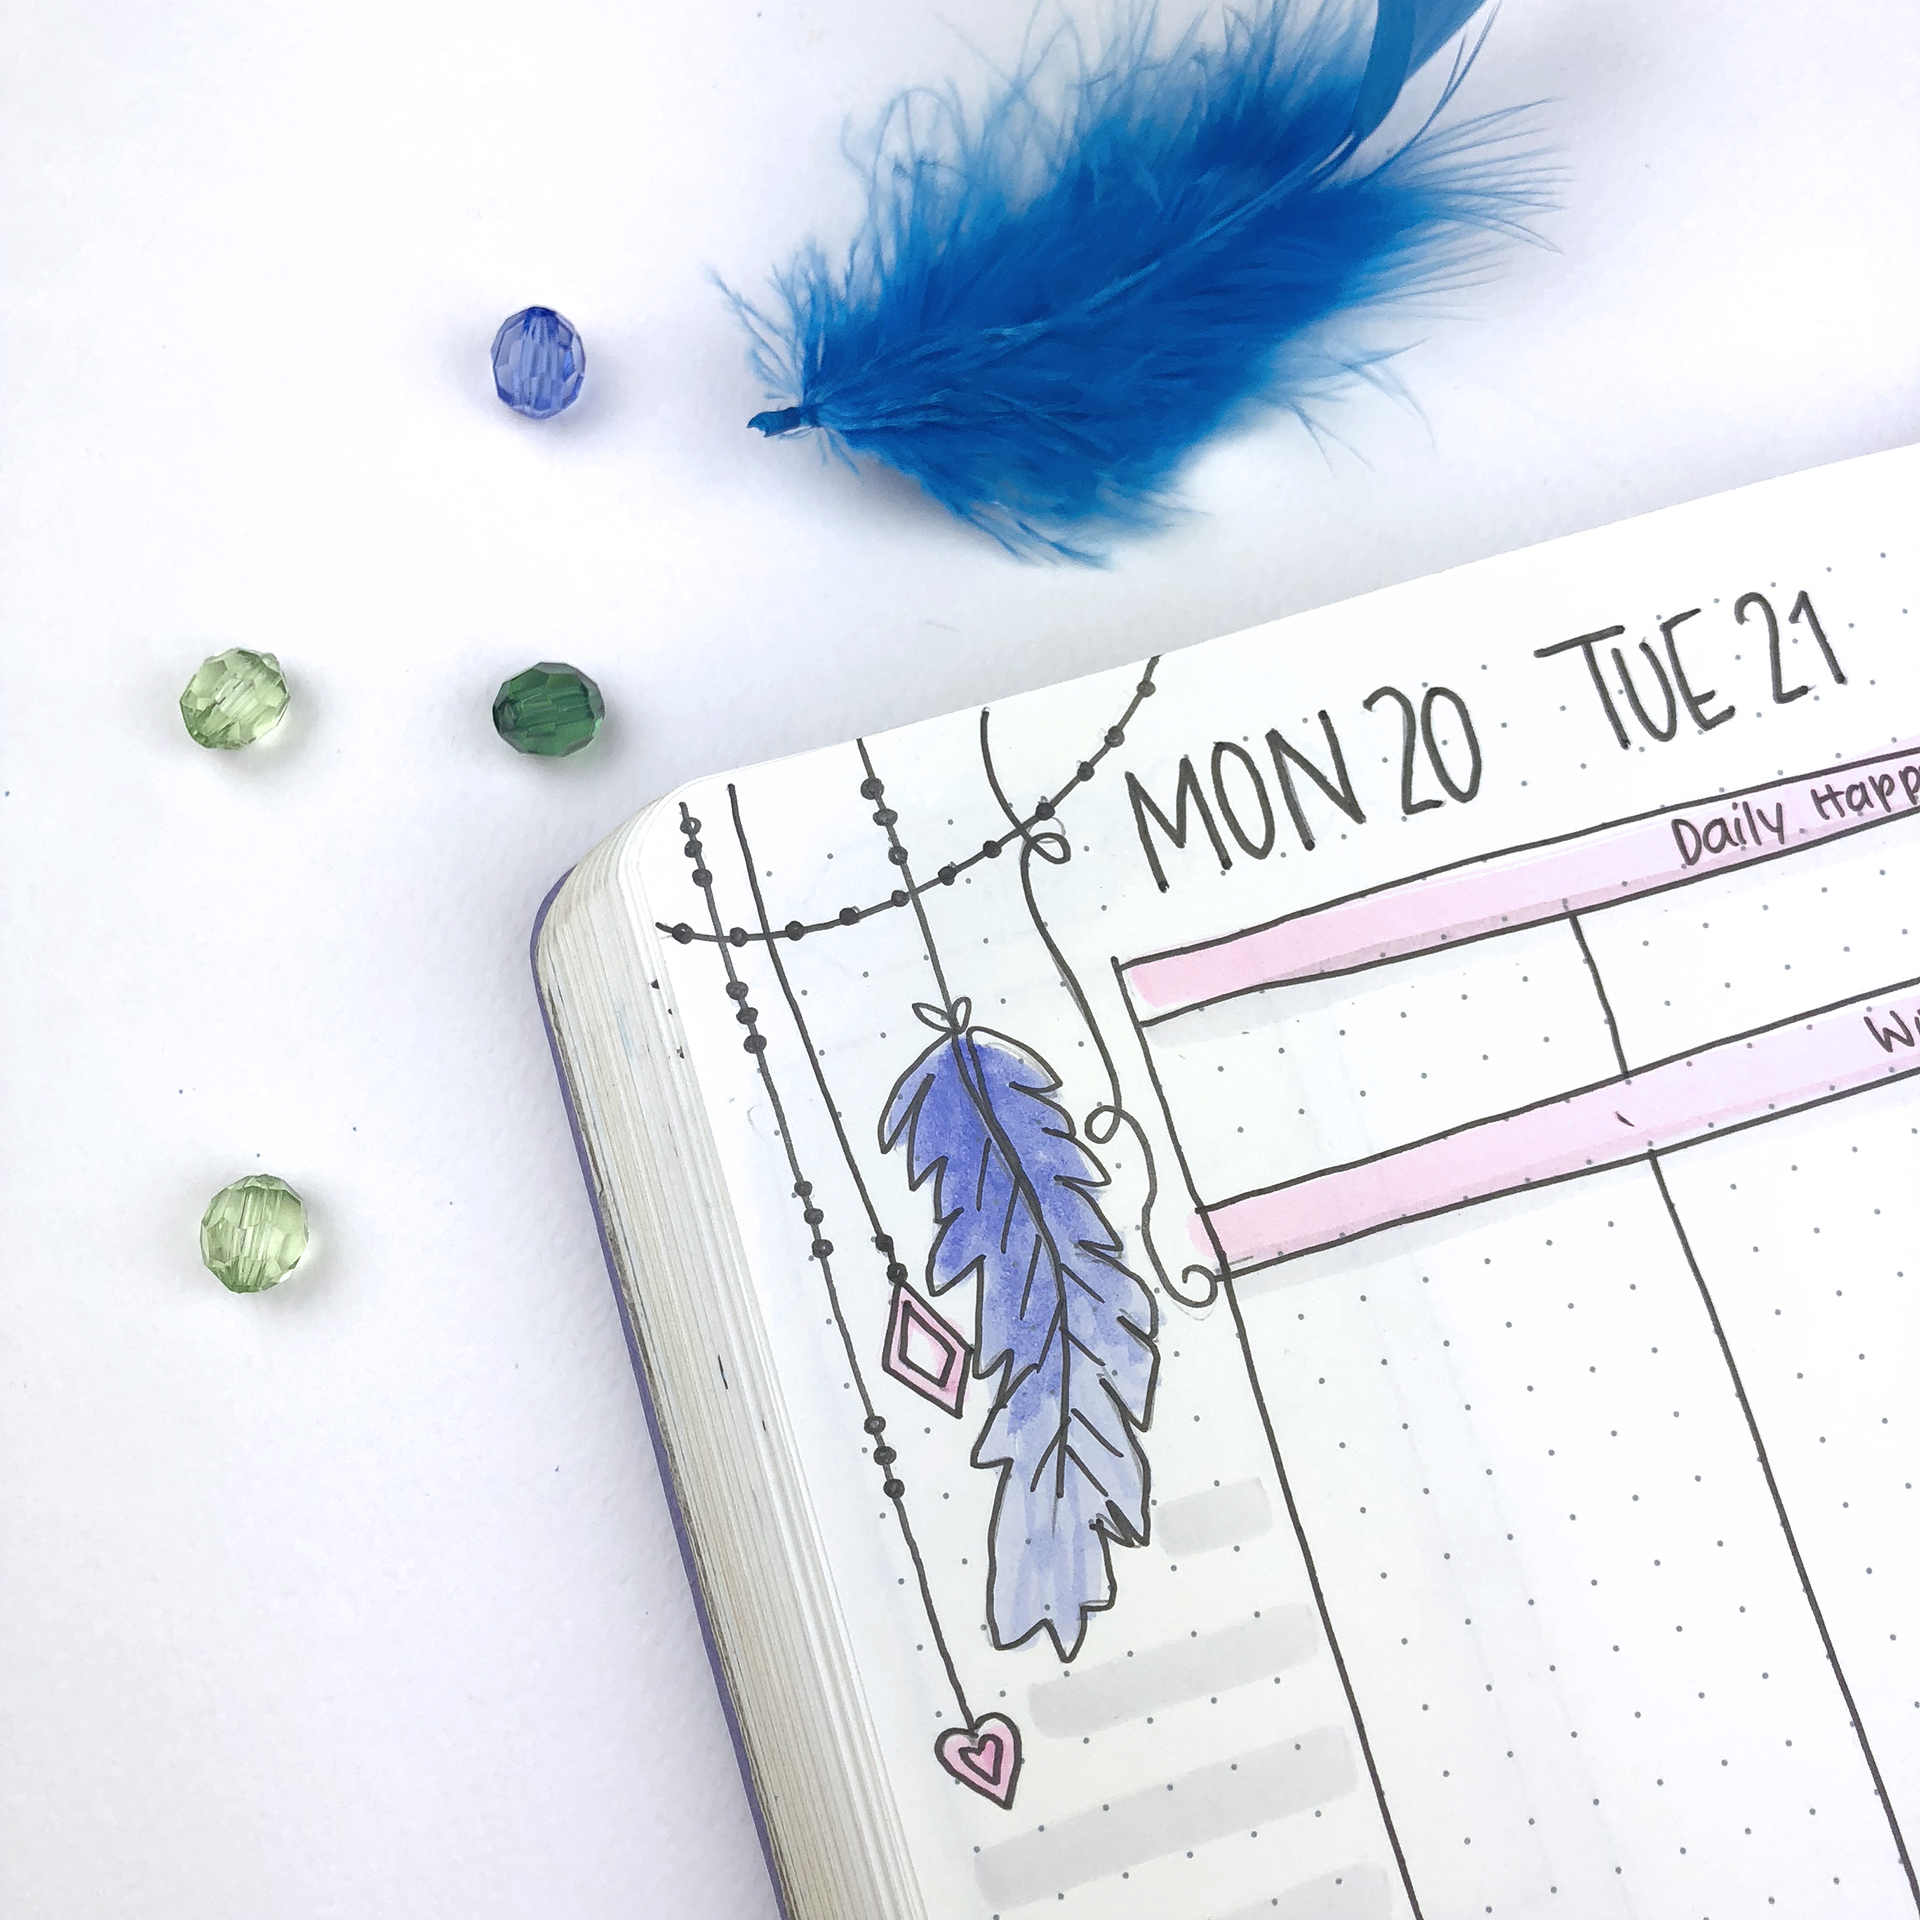
The third weekly spread is again a vertical layout. I always like to add accent lines in my spreads. I think it adds colour without too much effort and makes things more coherent. I usually choose pastel colours that won't interfere with my writing. And this week I also changed a bit my title banners for them to fit with the theme.
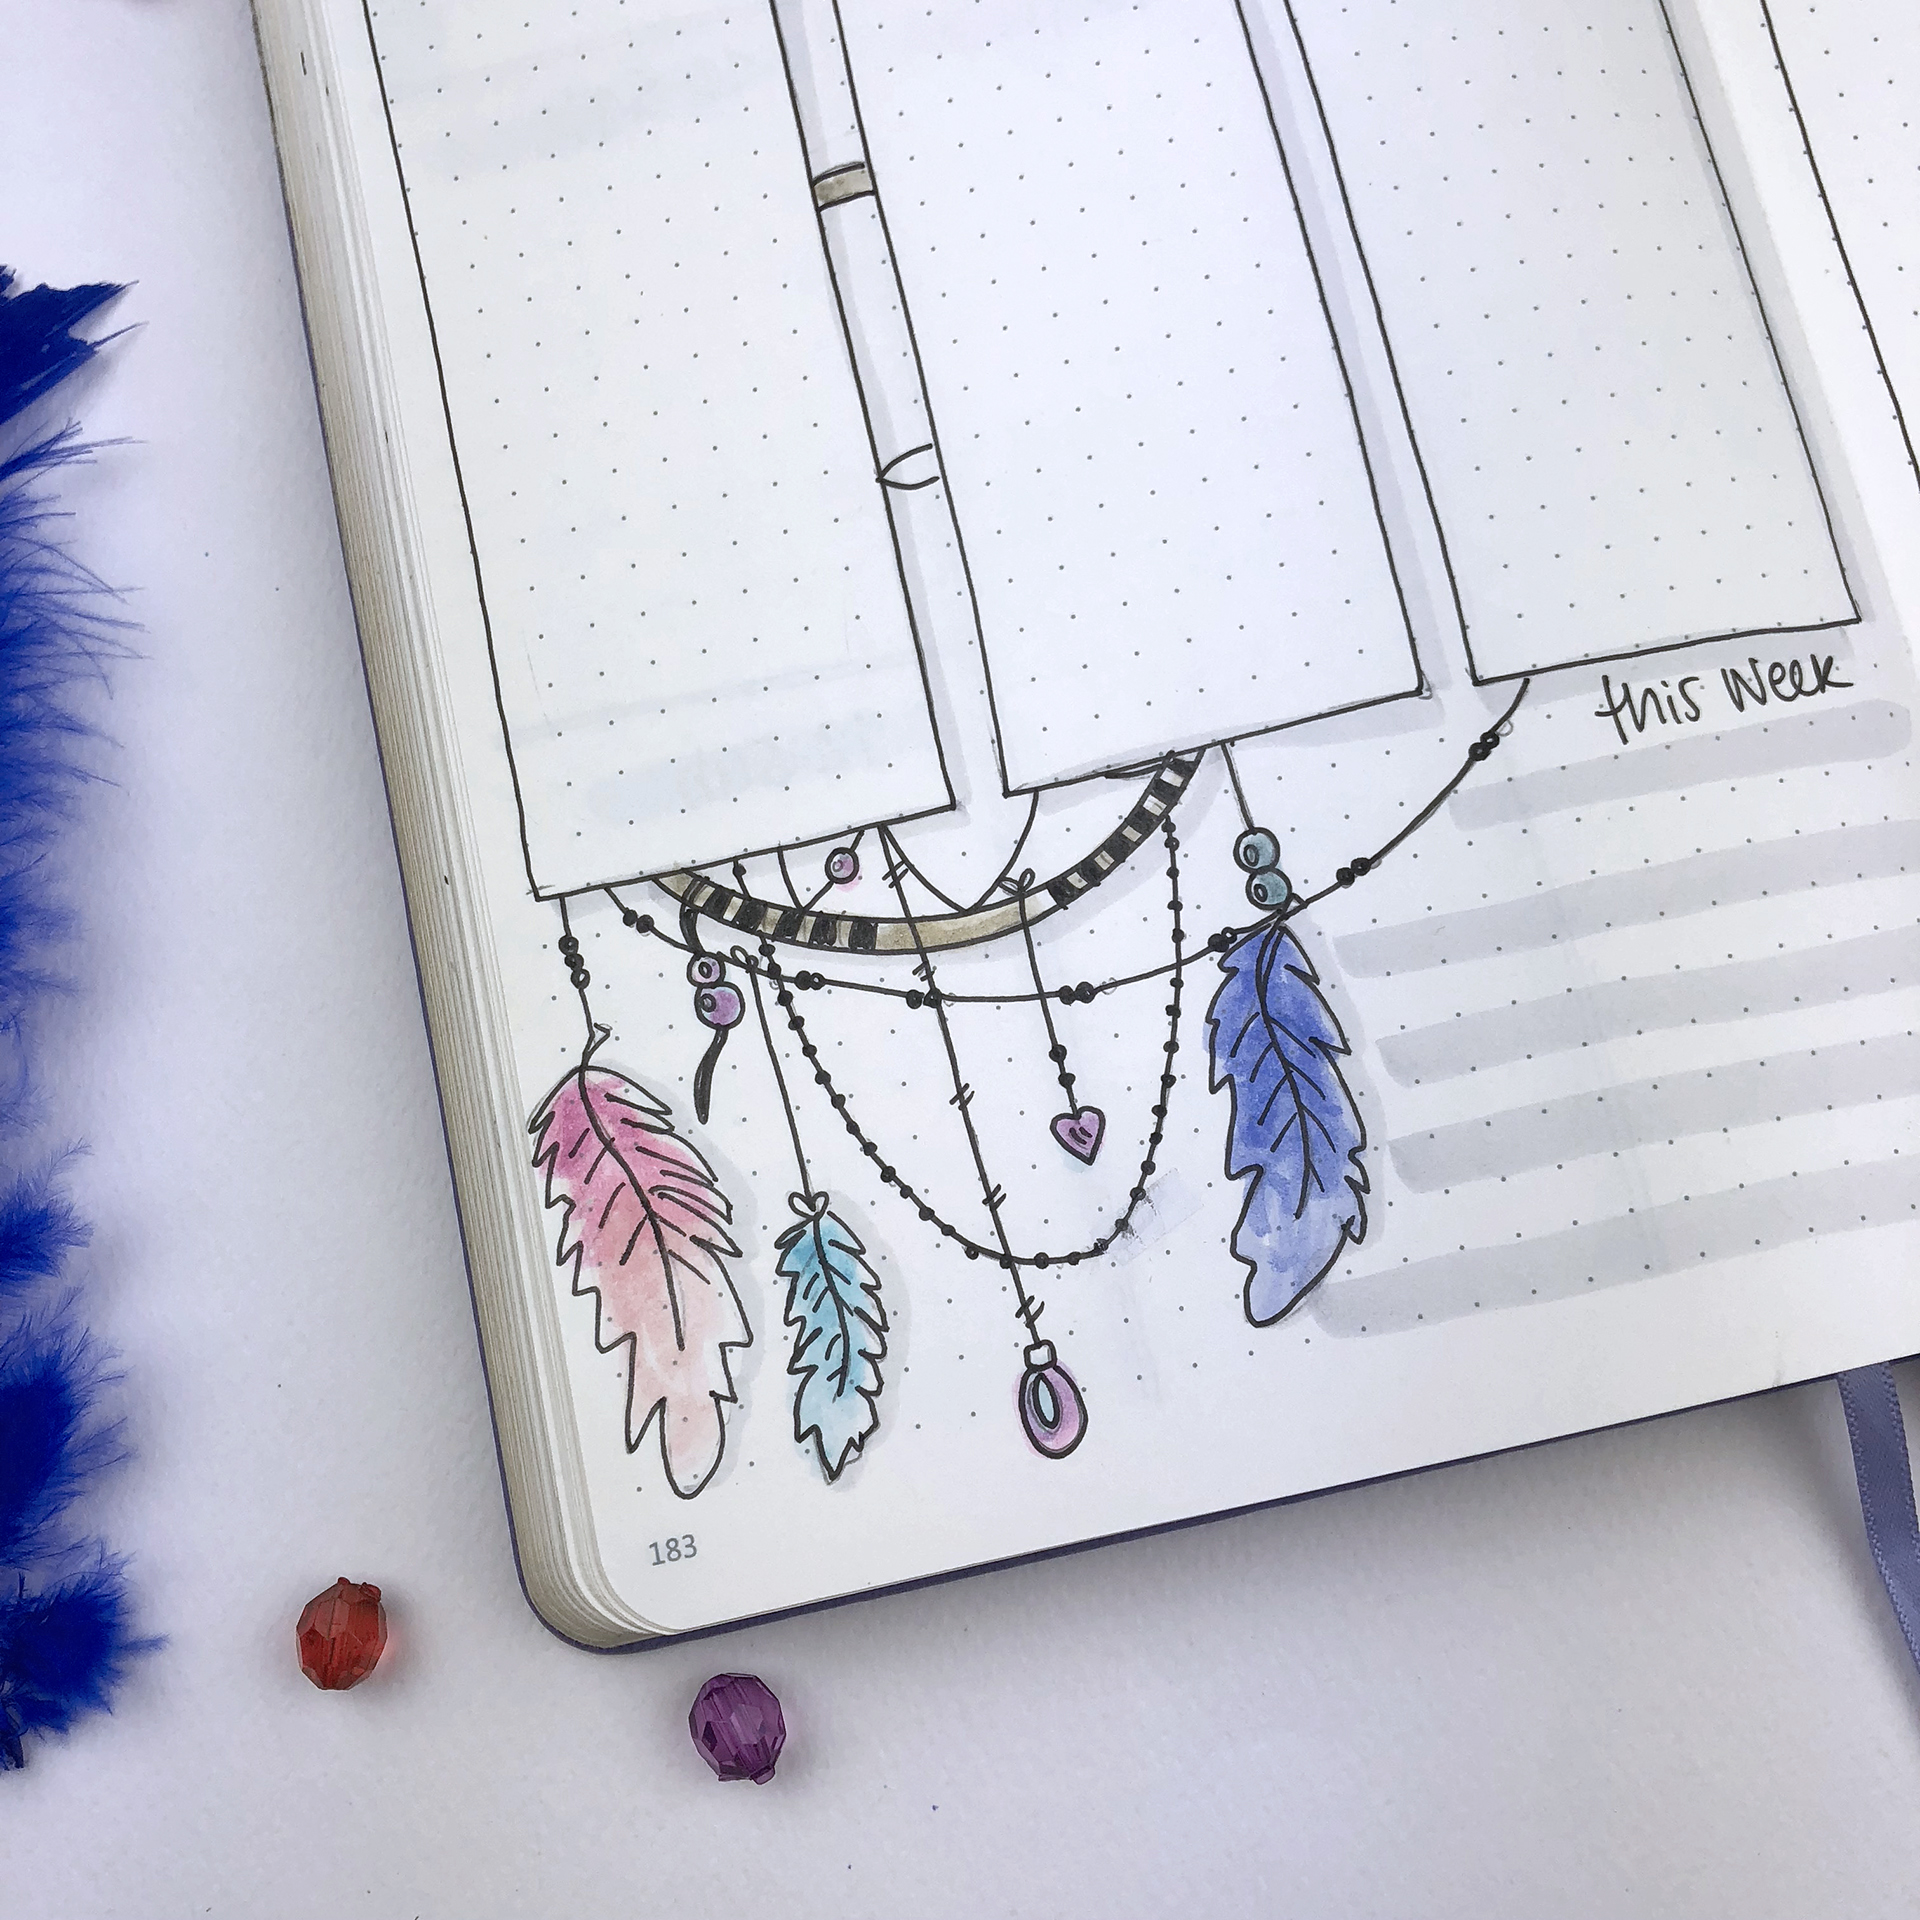
Adding various elements of your theme to your spreads, makes things more interesting and less monotonous. So, when you choose a theme, think of all the elements and doodles you can create - like an inspiration board. For this theme, I had to add various different beads and feathers throughout my spreads.
For the last weekly of the month, I decided to go with one of my favourite weekly layouts. I love that it separates your to-do list in categories, and you have the option to change the categories and also add more, if you wish.
SUPPLIES USED:
- Scribbles That Matter notebook
- Faber-Castell PITT Artist Pen in S, M
- Tombow Dual Brush Markers (673, 491, 990, 533, 553, N89, N95, 451, and 800)
- Sakura Pigma Micron 0.2, 0.3, 0.4
- Sakura Gelly Roll Pens 738, 721
So, these are the 3 weekly layouts for August. I hope you liked this post and that you found some inspiration for your own weekly layouts. If you liked the theme and you'd like to recreate it, please send me some pictures. I'd love to see your pages!! You can always contact me at christina77star@gmail.com
Plan With Me: My August Set Up in my Bullet Journal + Video
I'd like to start this post by giving everyone a big virtual hug! Thank you for all the love you've shown to my July theme and that cute rubber ducky! You guys are amazing! 😍
Moving on, tomorrow we're leaving for our family summer vacations to Protara and Ayia Napa and I'm so excited! I'm also currently hiding behind a pile of summer clothes that I have to somehow fit in 2 suitcases! 😬 We definitely don't travel light!!!!
Therefore I'm glad that I've already set up my bullet journal for August, and I am in love with the theme I chose for this month! I decided to go with 'Boho Feathers' theme for this month, which I think turned out super cute!
I'd like to start this post by giving everyone a big virtual hug! Thank you for all the love you've shown to my July theme and that cute rubber ducky! You guys are amazing! 😍
Moving on, tomorrow we're leaving for our family summer vacations to Protara and Ayia Napa and I'm so excited! I'm also currently hiding behind a pile of summer clothes that I have to somehow fit in 2 suitcases! 😬 We definitely don't travel light!!!!
Therefore I'm glad that I've already set up my bullet journal for August, and I am in love with the theme I chose for this month! I decided to go with a 'Boho Feathers' theme for this month, which I think turned out super cute! I kept the colours minimal to light blues, soft pinks and purples. (You can check all the supplies I used for this theme at the end of this post 😉)
Make sure you scroll down to the bottom of the post, because there's also a video, where I'm showing you exactly how I've created each spread.
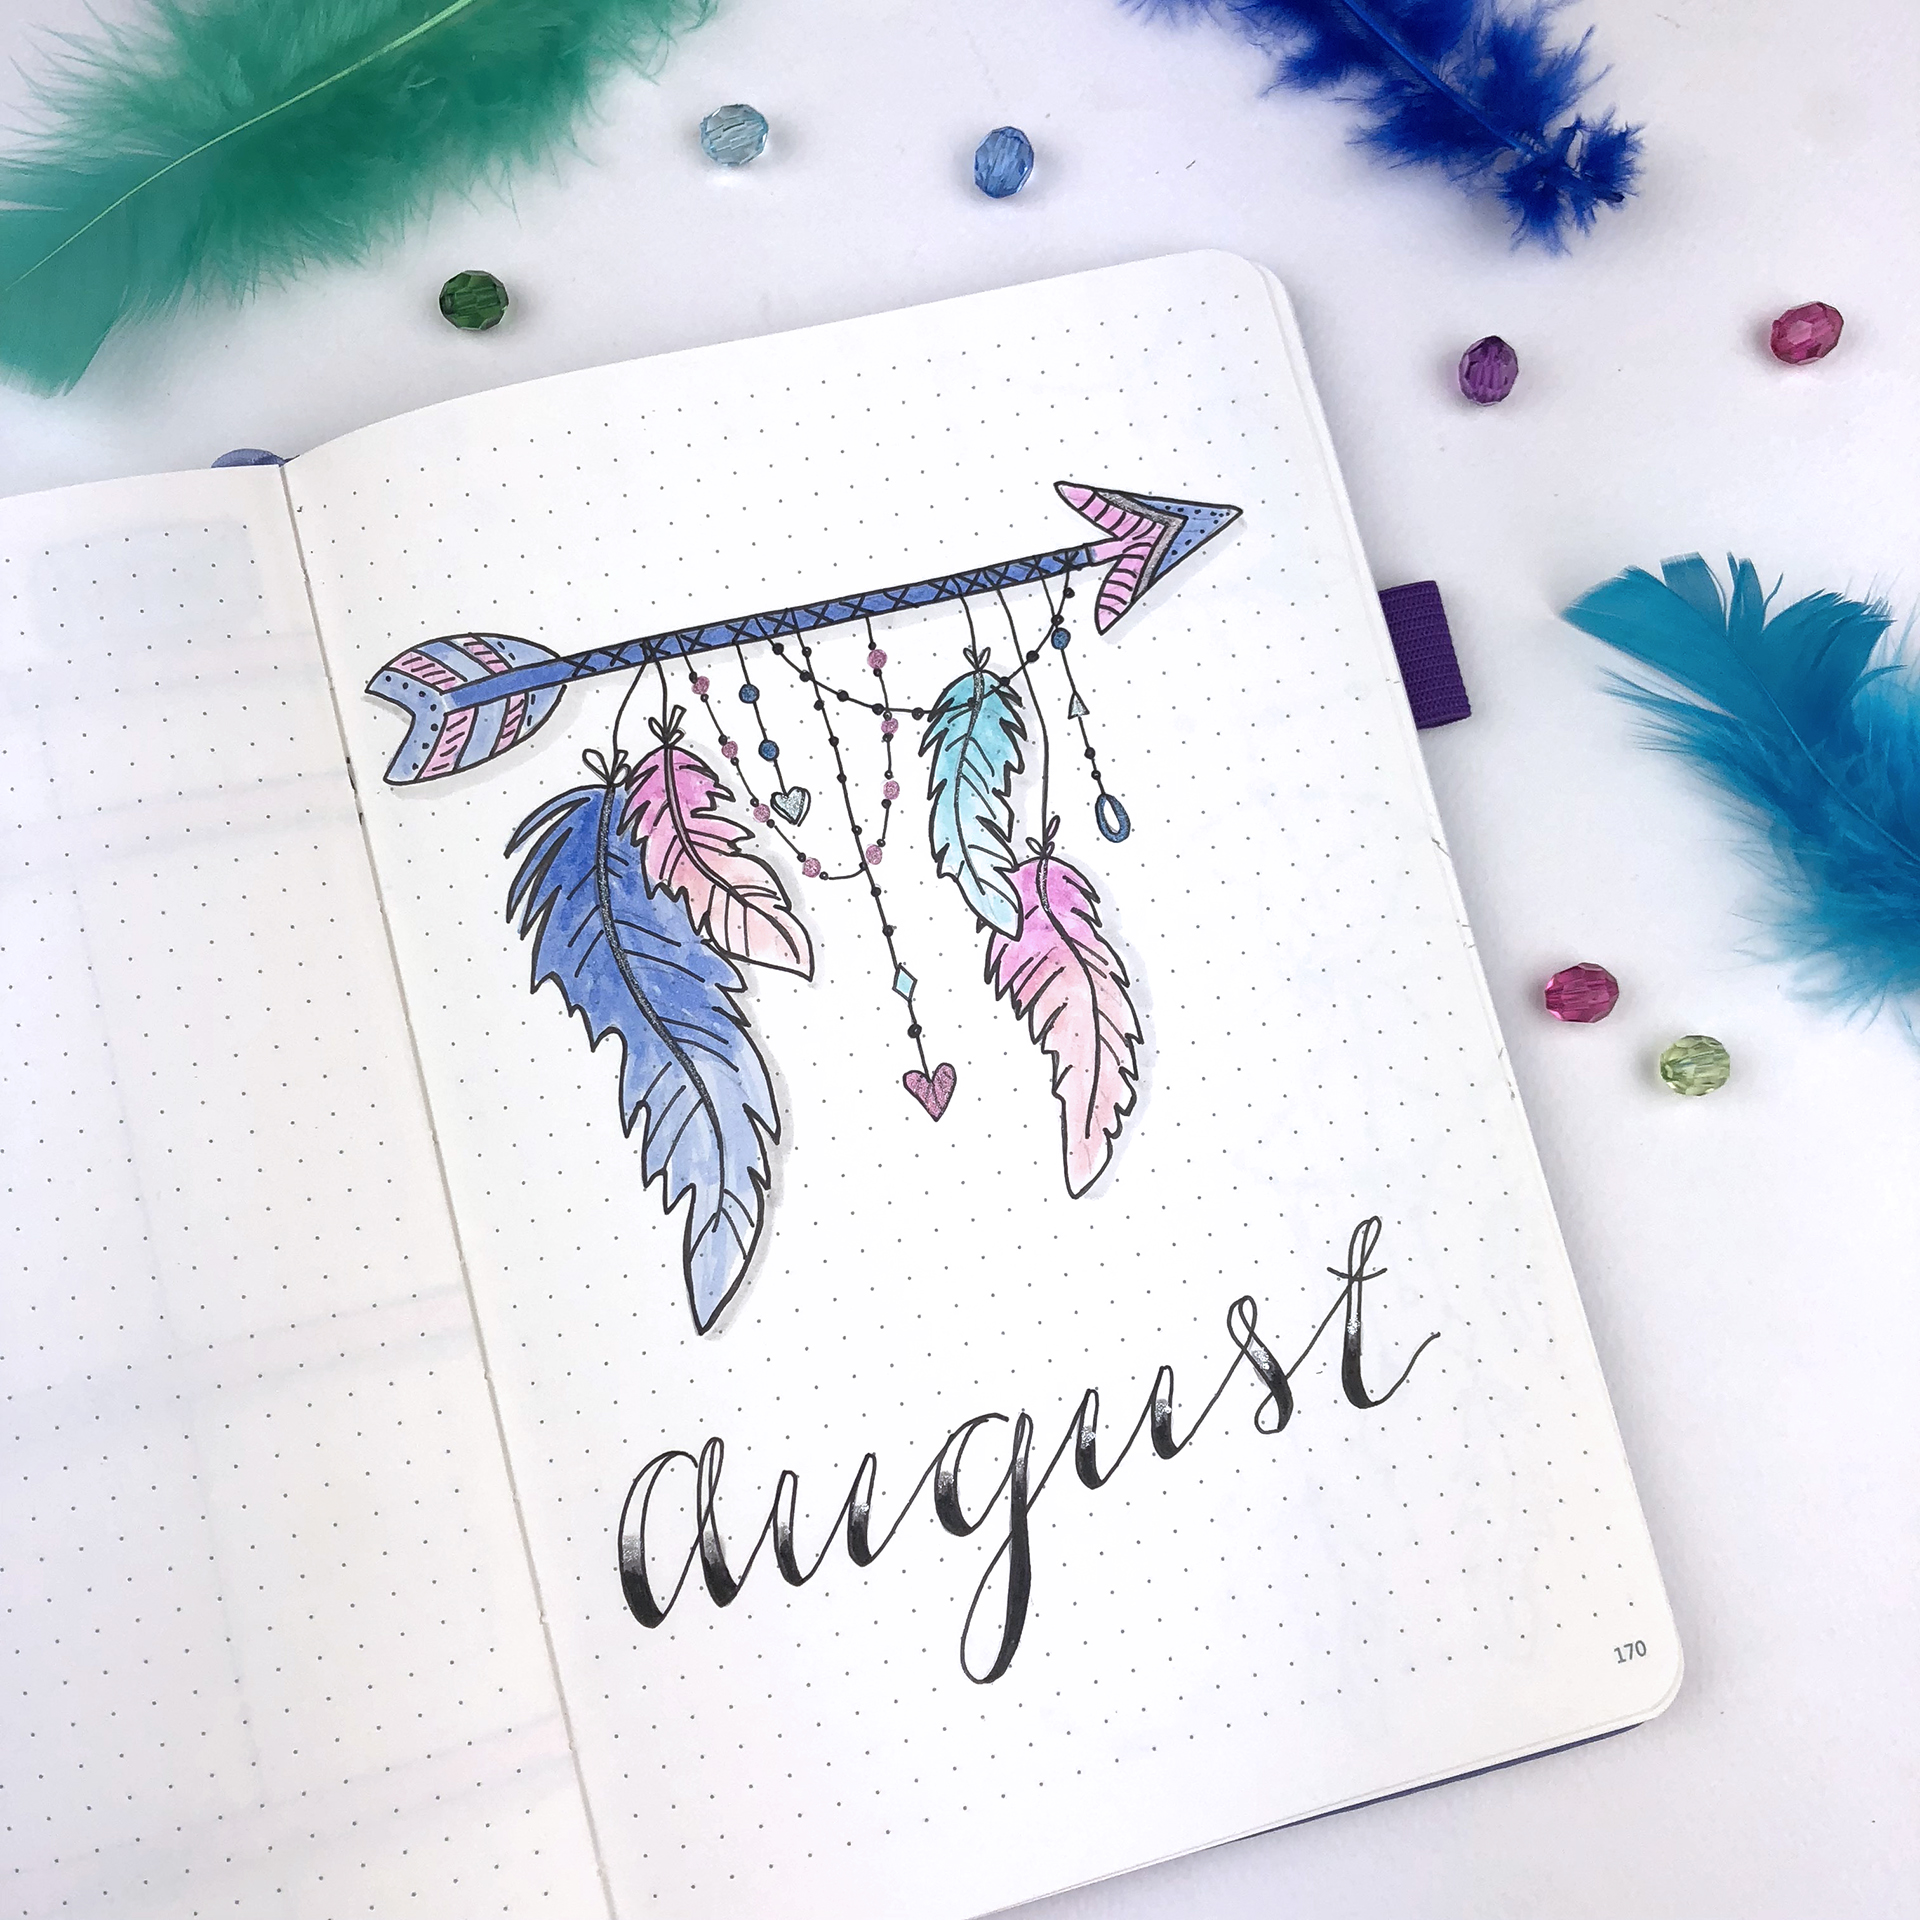
We start with the Cover Page of the month. I created an arrow with lots of feathers and beads. There's lots of pictures on line that can get you inspired in order to create your own designs. My advice is to not overthink about it. There's not a right or wrong, and it definitely doesn't have to be perfect. Plan your design with a pencil like I do, if that makes you feel more comfortable and just have fun!
The theme continues into my Monthly Spread. I went back to my separate boxes layout which as you know I love and use all the time. I liked the other layout I used in July, however I found it a bit confusing at times... I guess when you're used to something it's difficult to change things up... But the good thing with bullet journaling is that you can try new things and if they don't work, you can simply change it.
This layout also gave me enough space to continue the theme and decorate the spread with more feathers, beads, an arrow and a dream catcher.
From then on my spreads continue as usual. The next spread is my Monthly Goals with my Personal and Business categories. August is a more laid back month, so I don't plan to work too much. I've decided to spend more time with my family and to plan lots of excursions! However, I'm still going to do some planning, therefore I created all the spreads that I usually do in the previous months.
I love how I incorporated the theme in my Monthly Focus spread as well, and the two pages work perfectly together.
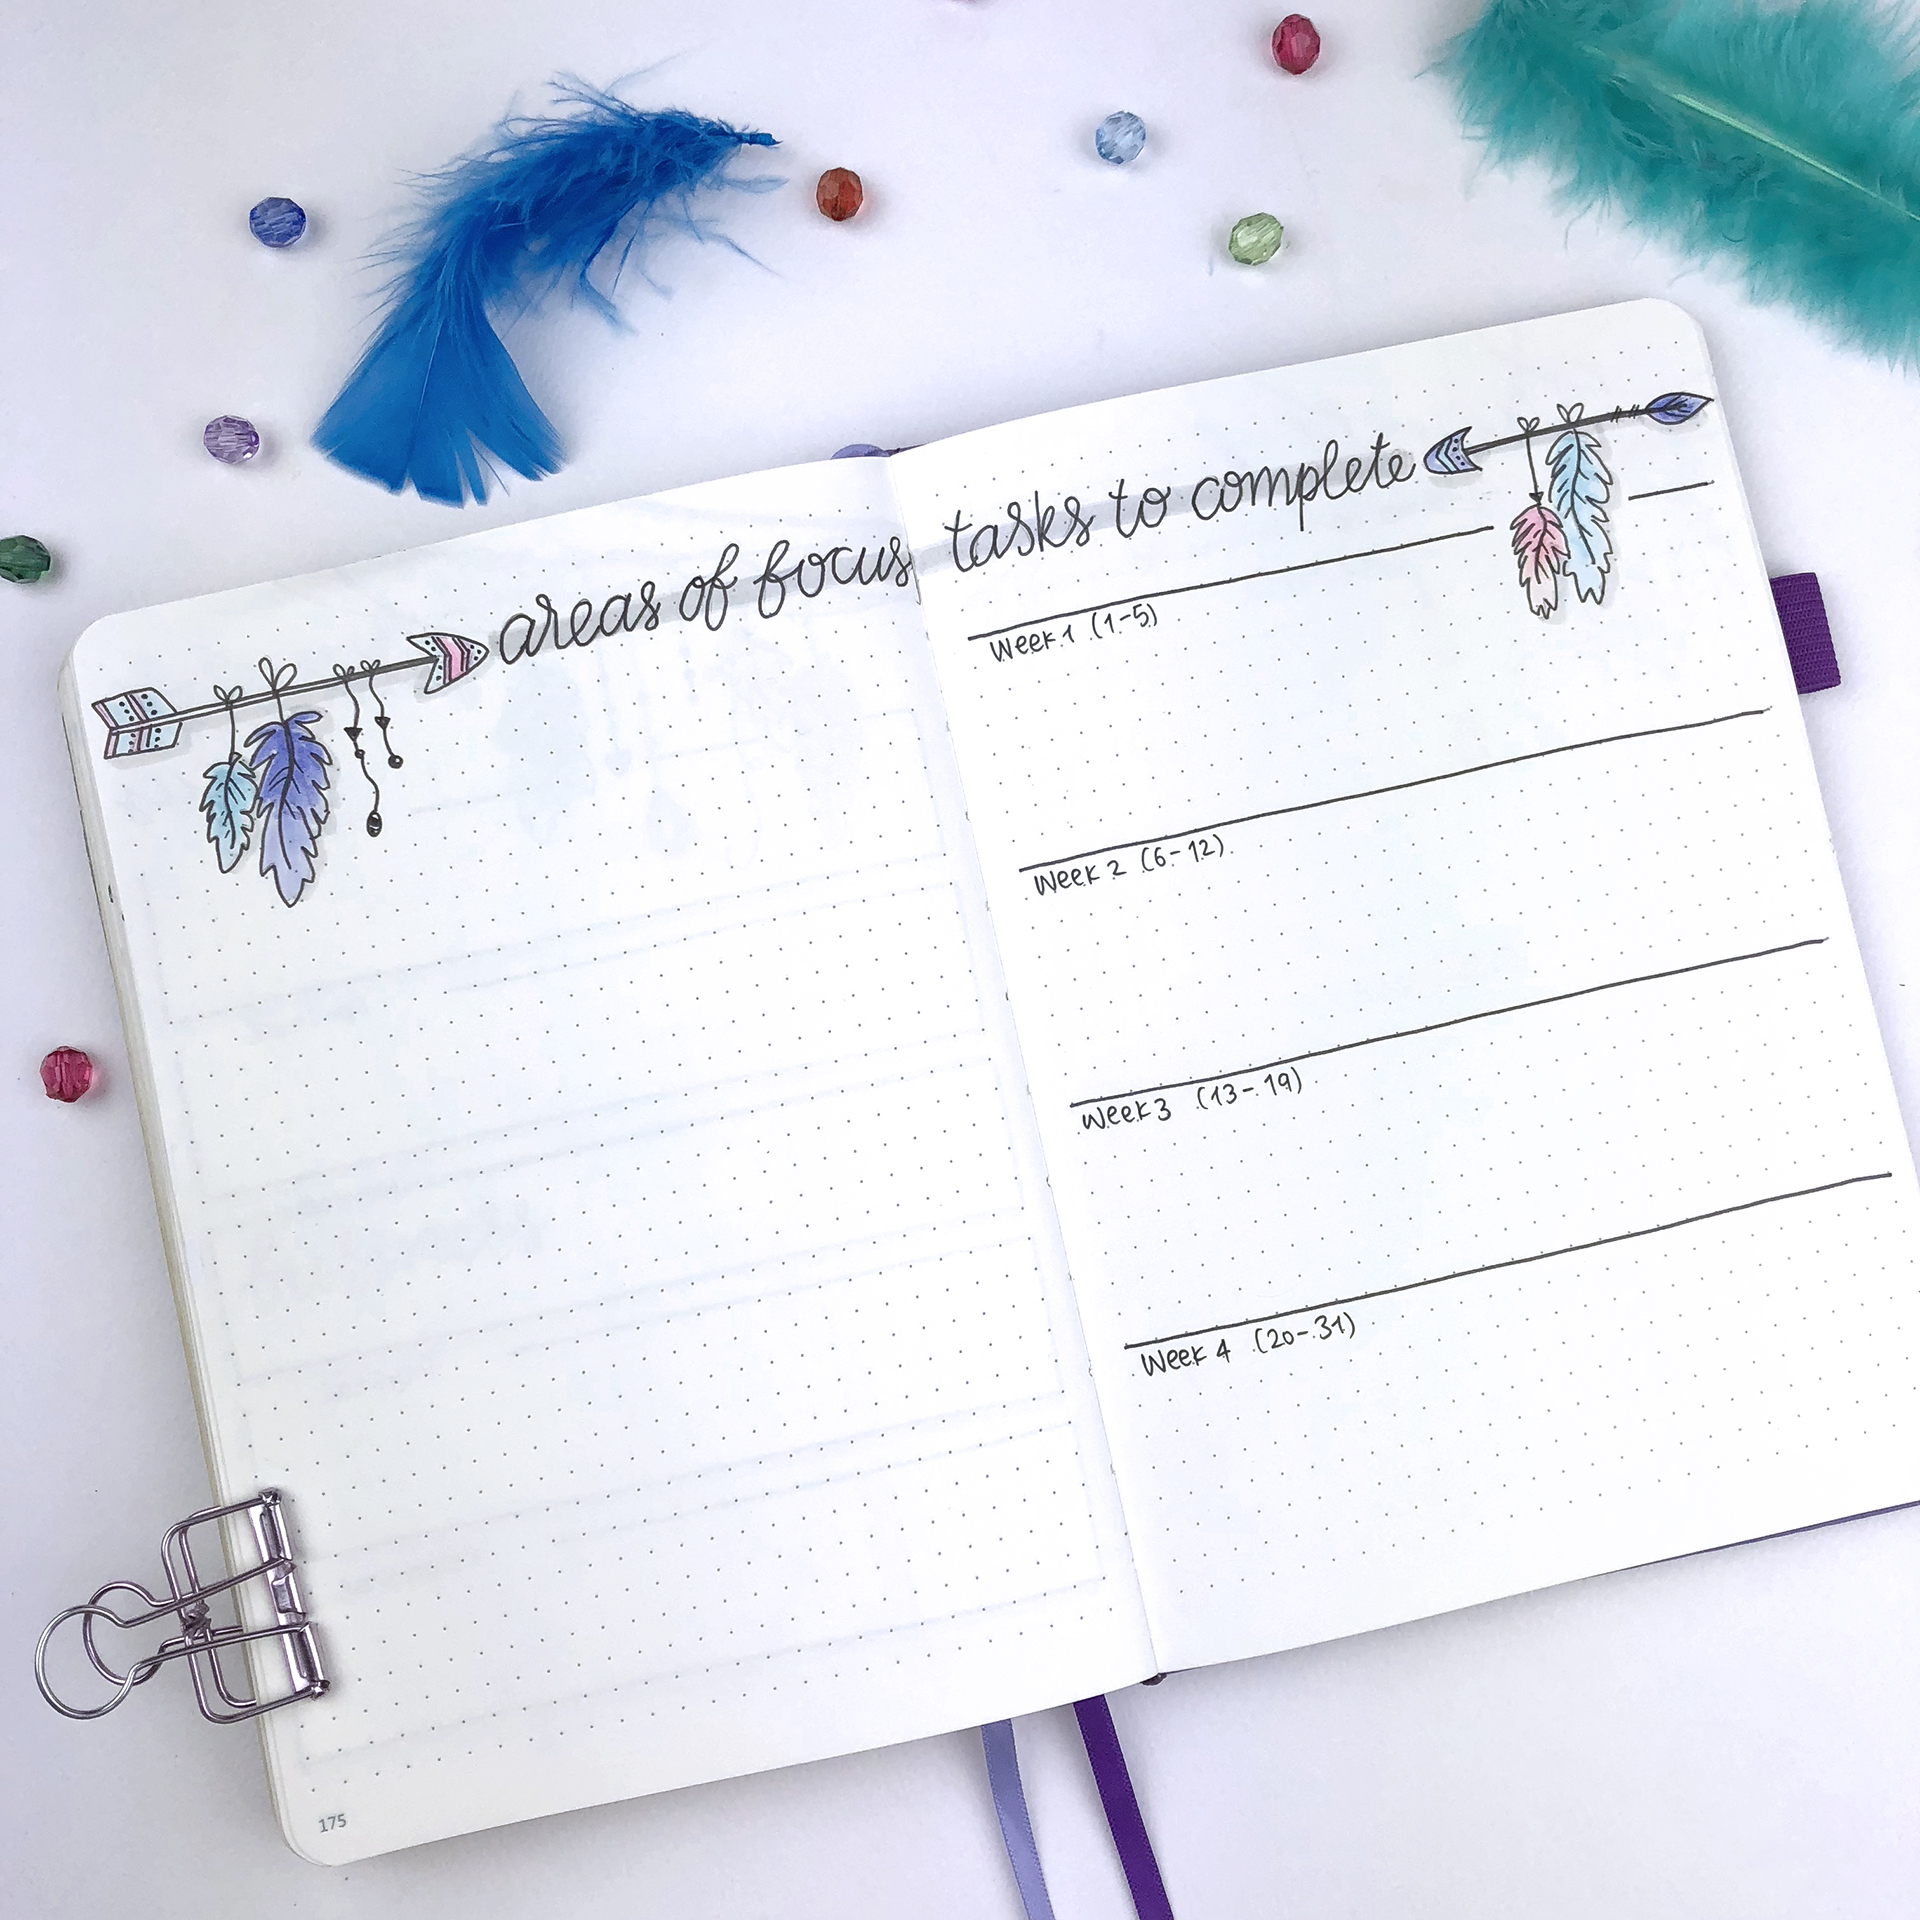
Next comes my 'Areas of Focus / Tasks to Complete' spread. Planning each week separately is very helpful, especially when there's lots of trips and excursions to plan ahead!
Next comes my Finances spread. I'll be going to London in August for a few days, so I think I should have made the expenses list a bit bigger!!! 😂 My wish list has grown dramatically and it looks very scary and excited at the same time!!!
Next comes my Notes page as always. I keep on adding lots of things in my notes page each month, and I think I might start making it into a 2-page spread from next month! We'll see...
The last spread is the first Weekly Spread of the month. I love the details of the arrows and how cute this page looks!
SUPPLIES USED:
- Scribbles That Matter notebook
- Faber-Castell PITT Artist Pen in S, M
- Tombow Dual Brush Markers (673, 491, 990, 533, 553, N89, N95, 451, and 800)
- Sakura Pigma Micron 0.2, 0.3, 0.4
- Sakura Gelly Roll Pens 738, 721
And that is one more month planned in my bullet journal. Have you decided on August's theme yet? Do you prepare ahead of time, or you like to start planning on the 1st of each month? Let me know in the comments below. Also, if you use the same theme like me, please send me a picture of it at christina77star@gmail.com
Going on Vacation with your Bullet Journal
In today's blog post I'll show you how you can use your bullet journal while you're on vacation. I love the many uses a bullet journal has, and that each person can adjust it to his/hers lifestyle and circumstances.
So, while you're on vacation, you can create the pages and collections that you want. It's also so practical, because you have everything in one place and you take it with you as well!
Packing List
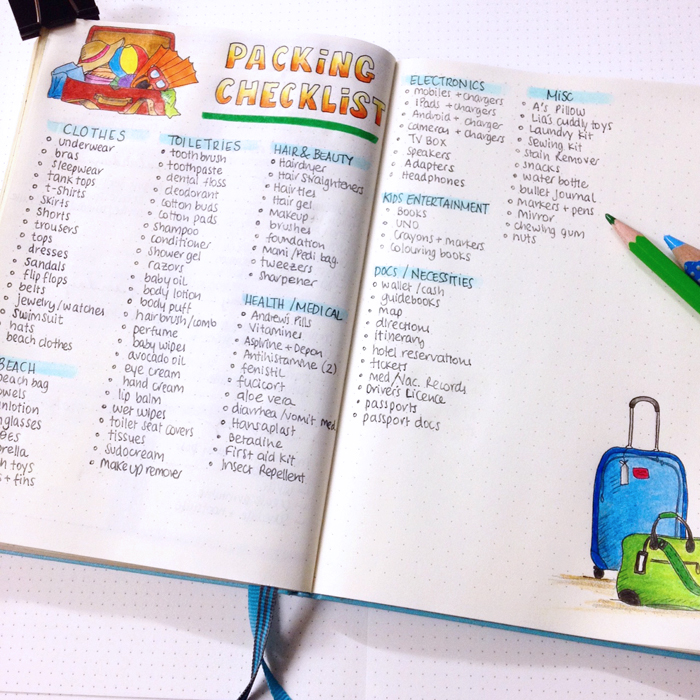
So, the first thing you can add to your bullet journal is the packing list. And the best thing about it is that you have it with you. So, after your vacation is over and you're packing to leave you can double check that you've taken everything and nothing is left behind! (I know I've done my fair share of forgotten items in hotel rooms, from my bathing suit to my phone!!! 😬)
You also have it archived in your bullet journal to use for any other trip you may have, without having to create another one.
I've also created a Packing List for a Summer Vacation Printable for anyone that's interested. It's my go to list and I love how practical it is.
If you prefer not to write your packing list in your Bullet Journal, or if you prefer to have it on a piece of paper like that, then this list is for you ;)
I tried to include everything I could think of that someone might need for their summer holidays. But I also left space under each category so that you can add any missing items you wish to take with you. There is also a 'Before I Leave' space, as well as a space for Notes.
Join now my newsletter and get the FREE Printable . Plus get access to the library of free resources.
JOIN THE GANG!
Subscribe now to my Newsletter to download the FREE Printable.
Plus get access to the Resources Library!
Maps
You can create a map of the country or the place you're going to. That's perfect if you're planning a road trip, so that you can document all the places you visit.
You can also have a map in your bullet journal where you add all the places you've already been, and keep on adding every time you go to a new one.
Itinerary
Having all the information about your trip in one place is such a good idea. That way you won't forget anything and you can just check on one page for everything you need!
Planning
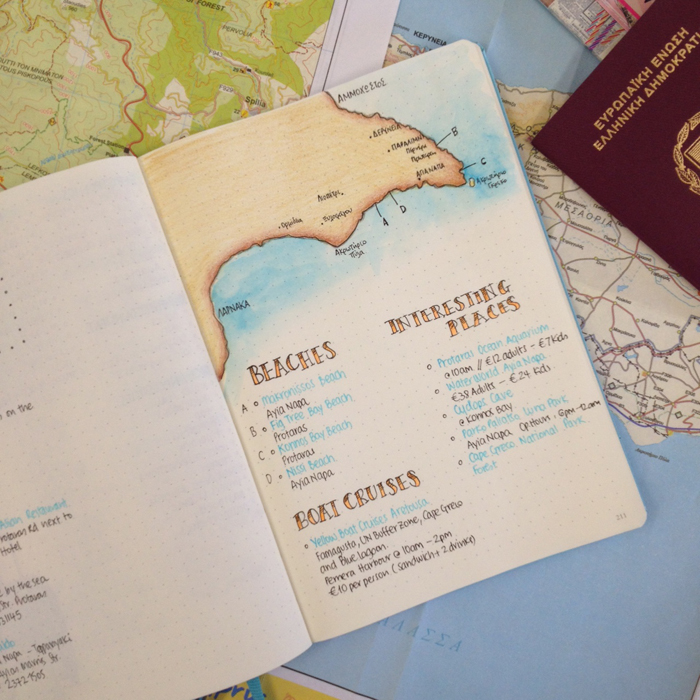
You can use your bullet journal to pre-plan your trip or to note down interesting things you've found for that place you're going to visit.
You can add beaches, museums etc. that you'd like to check out while you're there, type of foods you'd like to try or restaurants that people might have recommended, and so on.
Journal
I believe journaling is a must when you are on holidays. I always like to journal while I'm on vacation. It relaxes me and at the same time I keep all the memories I want in my notebook. My bullet journal lets me to be as creative as I want and I love it!
I decided to use the dutch door system in my latest vacation trip. I wanted to document my days during our holidays, but I also wanted to have certain information and sections at hand. It worked perfectly for what I wanted to do, and I’m really happy with the result!
So, these are a few ways you can use your bullet journal while you're on vacation.
Do you use your bullet journal while you're on vacation? What other pages or spreads do you create in it?
Bullet Journal Ideas: 5 Weekly Spread Layouts for July 2018
In today's post I'll show you the 5 layouts I’m using for my weekly spreads in my bullet journal for July, and how I've decorated them.
I tend to have 3-4 layouts for my weekly spreads which I rotate during the month. And of course I try to make them more interesting by decorating them according to that month’s theme. For July the theme is 'Rubber Duck and Bubble Bath'.
This is my first monthly spread of July. You can see exactly how I've set it up in this video.
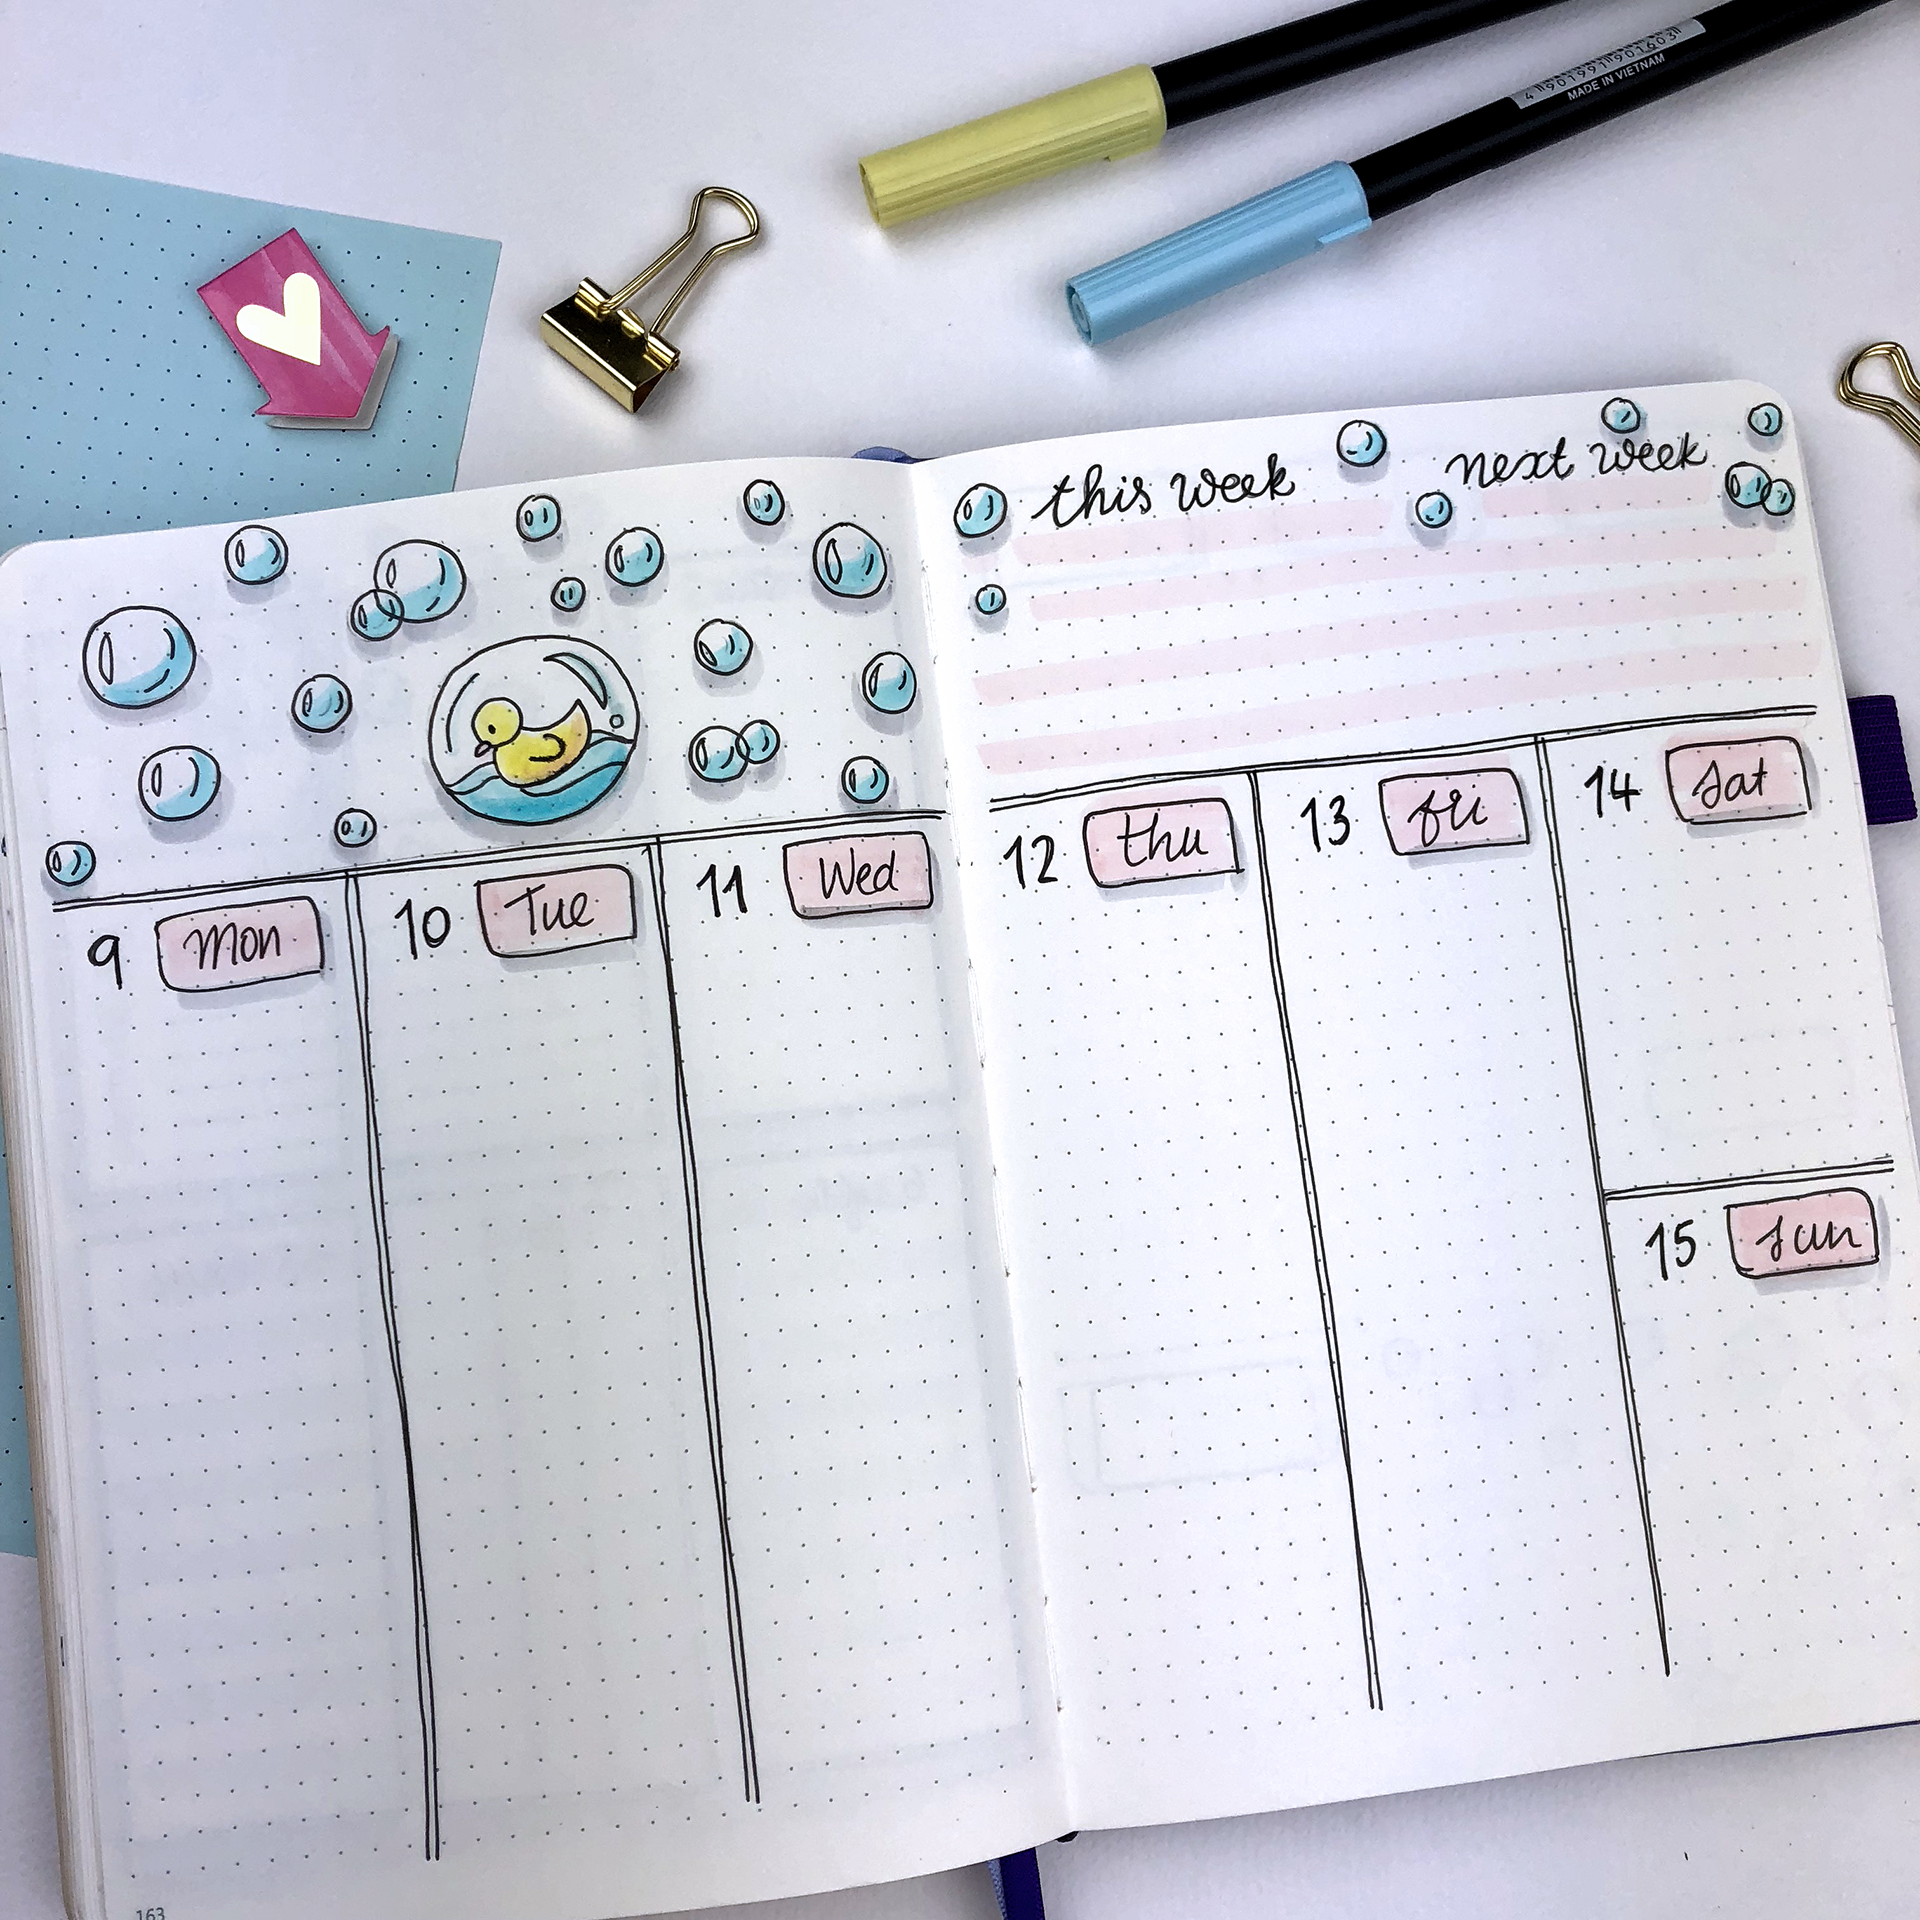
My second Weekly is a new layout that I'm trying for this month. Again I'm using vertical boxes for the days, but I've also made space for general to-do lists for this and the next month, as well as a box dedicated to our meals for this week.
The rubber ducky looks adorable as always and I really like how this weekly turned out.
The third spread is a classic one that I'm using every month. It gives me a lot of space to add all the things I want, plus I can use the space on the left page for doodling (like I did) or to add more sections if I need to.
I kept the colours very simple and pastel, as always. I think it's very important to decide which colour palette you're going to use for your theme from the beginning. It makes things easier, and more consistent.
You can find all the supplies I used at the end of this post.
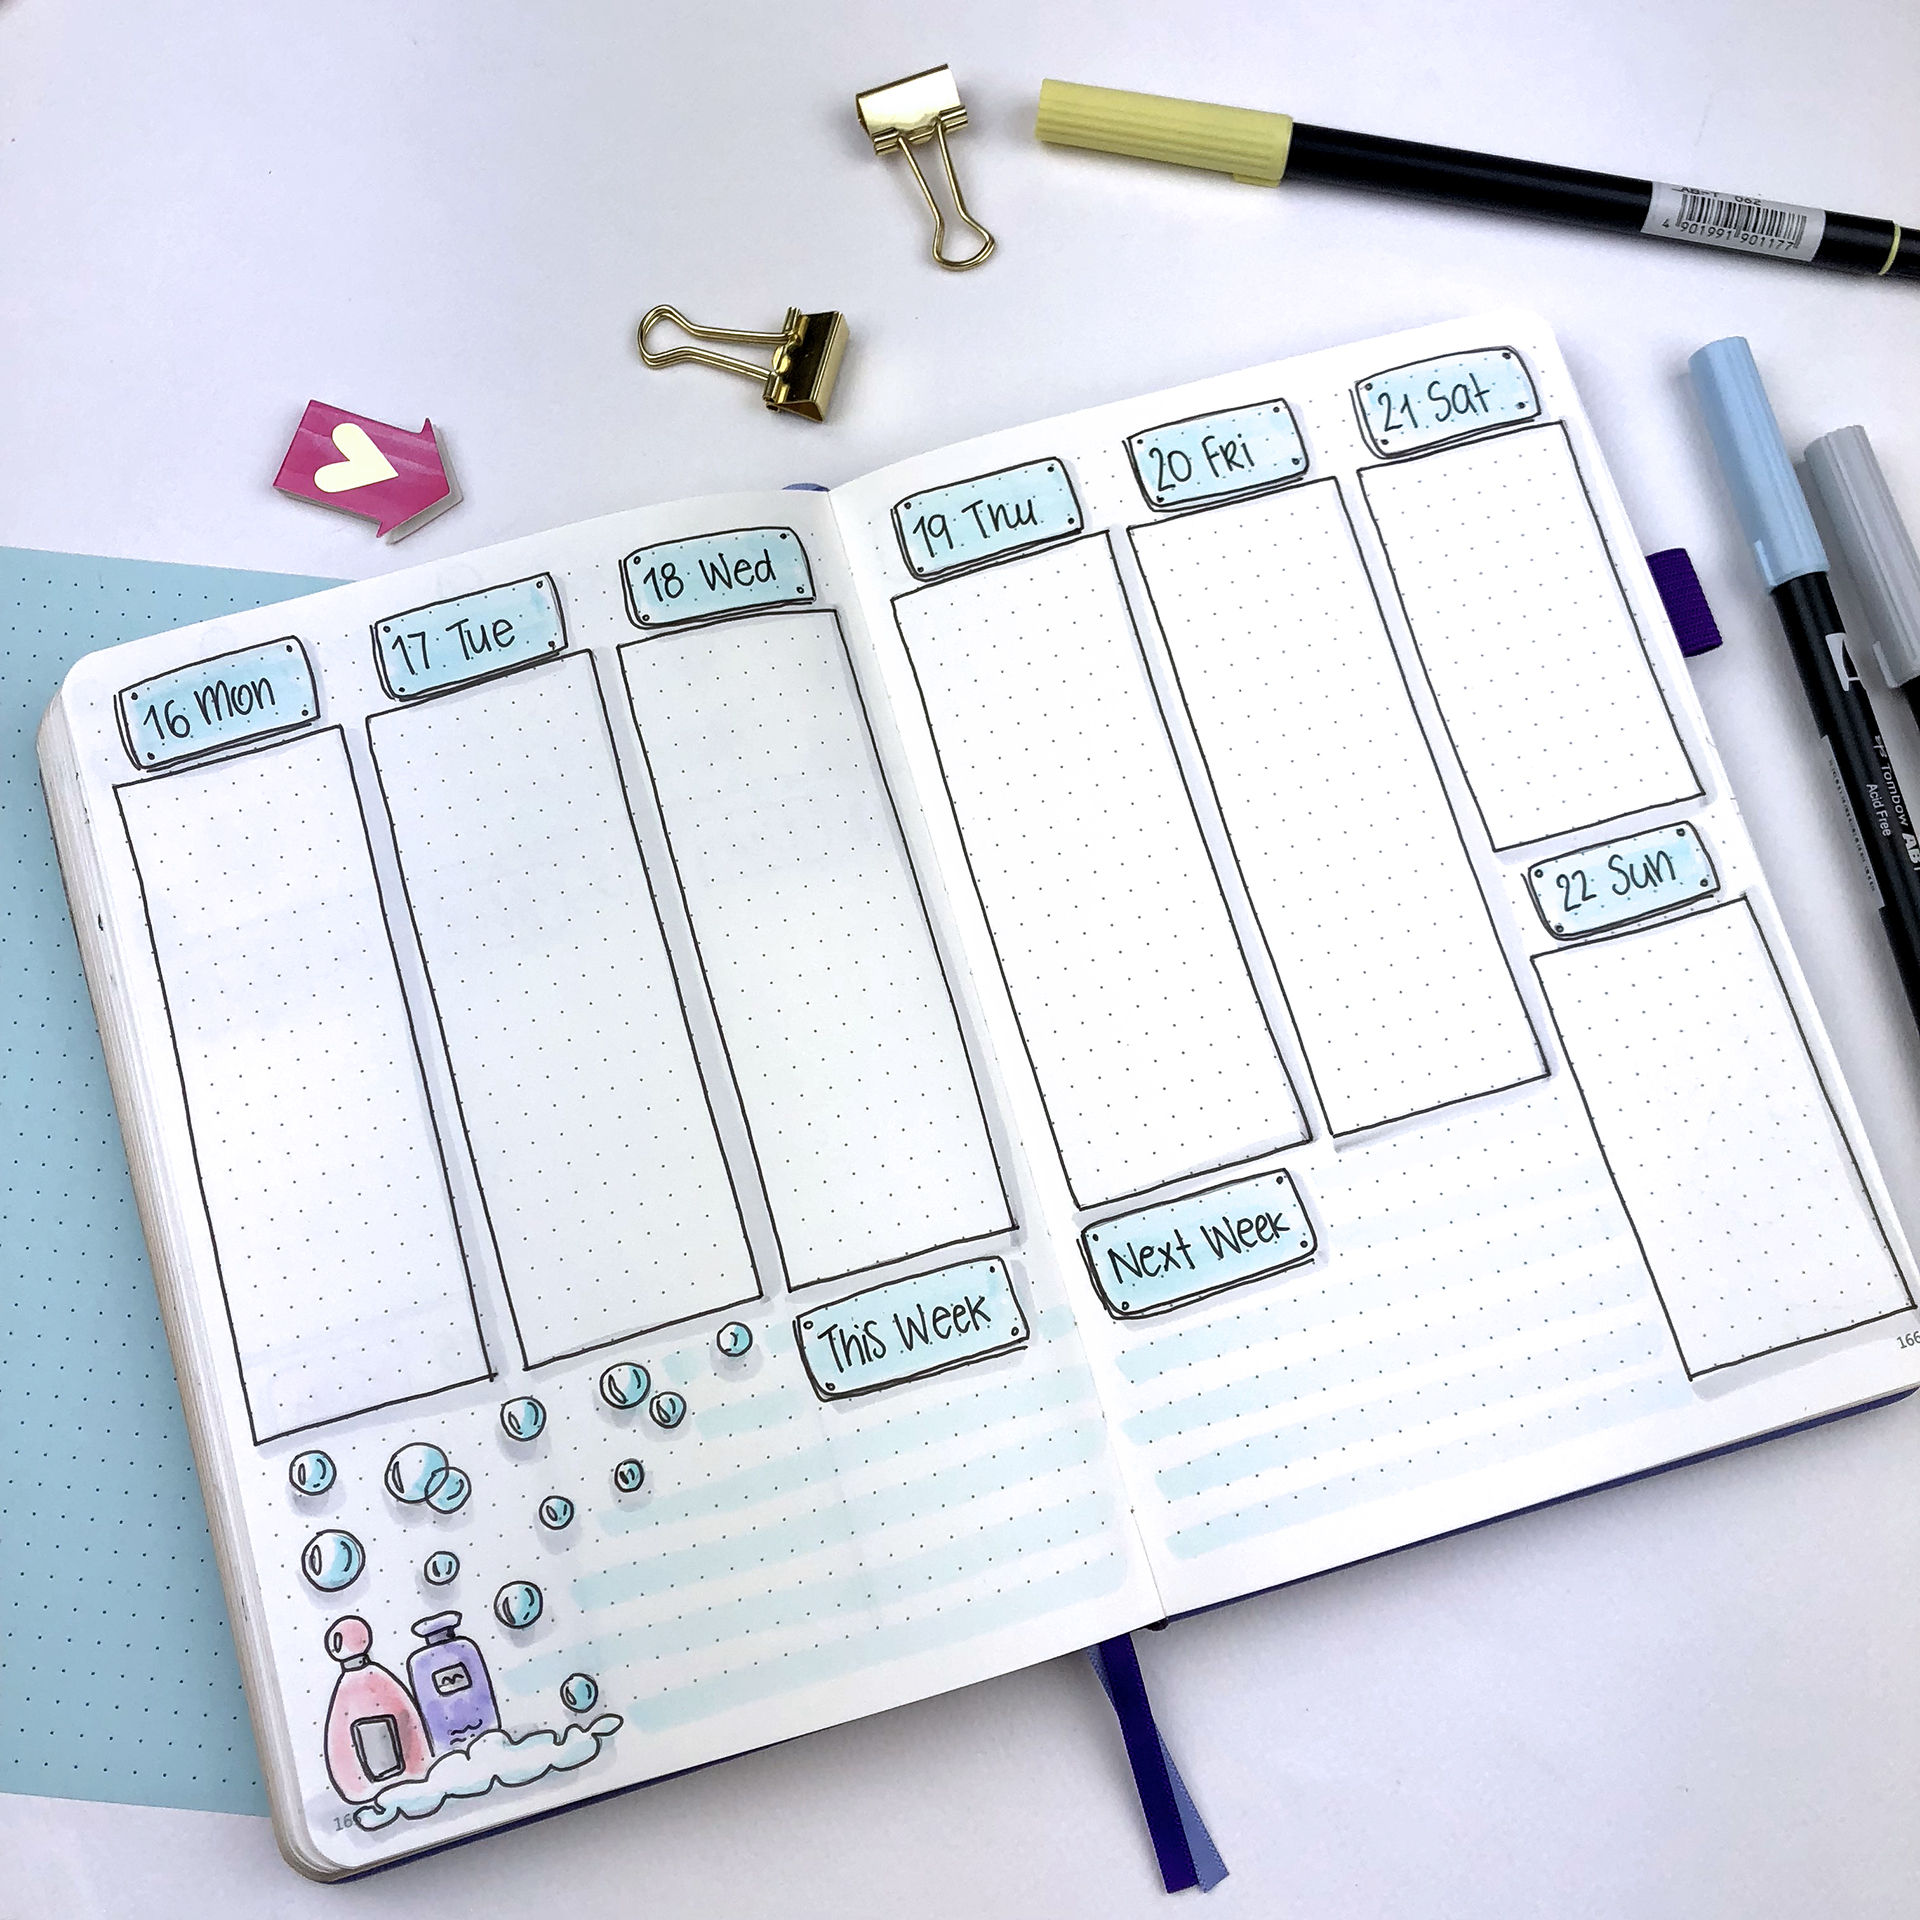
The fourth weekly spread is again a vertical layout. I always like to add accent lines in my spreads. I think it adds colour without too much effort and makes things more coherent. I usually choose pastel colours that won't interfere with my writing.
Adding various elements of your theme on your spreads, makes things more interesting and less monotonous. So, when you choose a theme, think of all the elements and doodles you can create - like an inspiration board.
For this month there was a 5th weekly as well!!! So, I decided to go with one of my favourite weekly layouts. I love it separates your to-do list in categories, and you have the option to change the categories and also add more, if you wish.
SUPPLIES USED:
- Scribbles That Matter notebook
- Faber-Castell PITT Artist Pen in S, F, B
- Tombow Dual Brush Markers (620, 491, 451, 800, 062, N89 and N95)
- Tombow Fudenosuke Brush Pen (hard)
So, these are the 5 weekly layouts for July. I hope you liked this post and that you found some inspiration for your own weekly layouts. If you liked the theme and you'd like to recreate it, please send me some pictures. I'd love to see your pages!! You can always contact me at christina77star@gmail.com
Plan With Me: My July Set Up in my Bullet Journal + Video
I'd like to start this post by saying that I'm amazed by how many of you tried my theme for June! The response was unbelievable and I'm so happy and thankful that I inspired you to try and recreate my design! I loved seeing your pictures and recreations! 😍
Moving on to this post, summer is officially here and I'm not going to lie, I am so ready for my vacations 😎 ! June has been a whirlwind and one of the busiest months for sure! So, I can't wait for more carefree times with the family, by the pool or at the beach...! 🌴👙
I'm already set up in my bullet journal and I am loving the theme I chose for this month!
I'd like to start this post by saying that I'm amazed by how many of you tried my theme for June! The response was unbelievable and I'm so happy and thankful that I inspired you to try and recreate my design! I loved seeing your pictures and recreations! 😍
Moving on to this post, summer is officially here and I'm not going to lie, I am so ready for my vacations 😎 ! June has been a whirlwind and one of the busiest months for sure! So, I can't wait for more carefree times with the family, by the pool or at the beach...! 🌴👙
I'm already set up in my bullet journal and I am loving the theme I chose for this month! 🦆🛁 I wanted again something different, not your usual 'summer theme', and in the end I decided to go with 'a rubber ducky having a bath' theme, which I think is adorable! I kept the colours minimal to light blues, greys and soft pink and yellow. (You can check all the supplies I used for this theme at the end of this post 😉)
Make sure you scroll down to the bottom of the post, because there's also a video, where I'm showing you exactly how I've created each spread.
We start with the Cover Page of the month. Here you can see the rubber ducky in all his glory having a lovely bubble bath! This reminded me that I need to arrange some much needed 'me time' and a luxurious bubble bath like this, very soon! 🛁
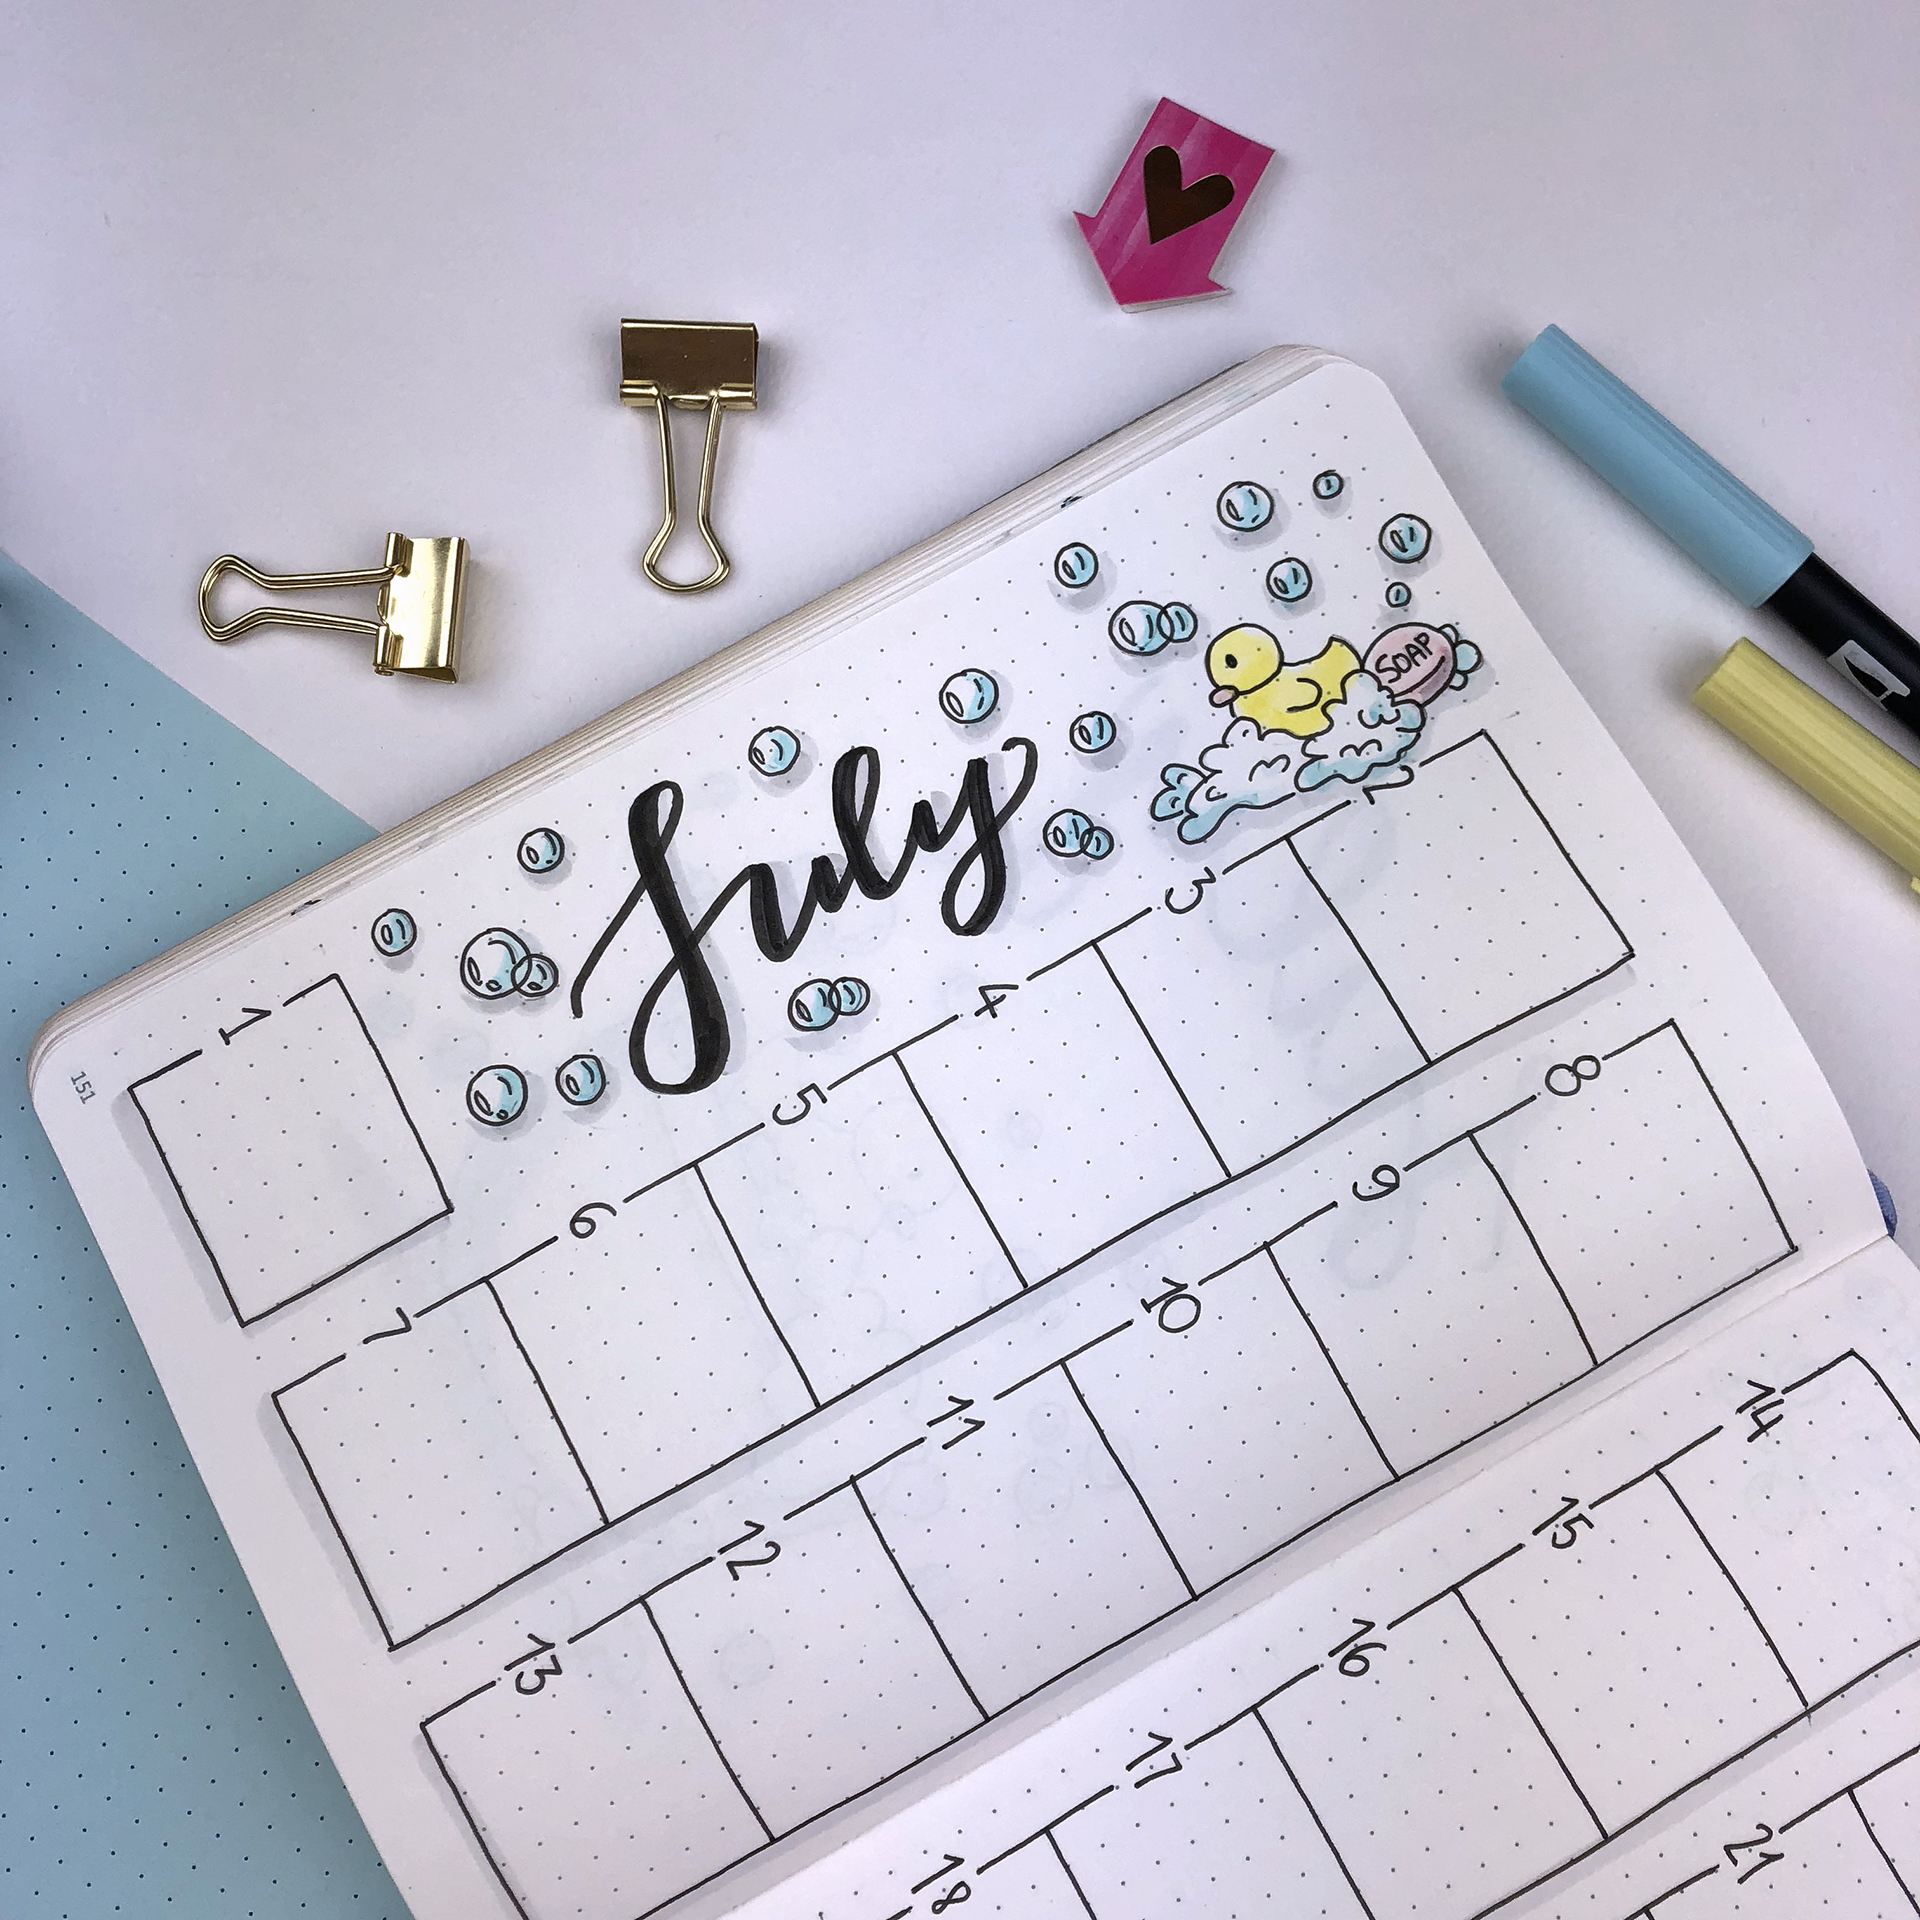
The theme continues into my Monthly Spread. This time I decided to do things a bit differently. I got inspired by the lovely Eve (@_intosimple) and her monthly spread, that I mentioned in my previous blog post on '20 Monthly Spread Layouts for your Bullet Journal'. So, instead of my usual separate boxes, I chose to create these columns of boxes that you can see in the picture above. I really like this effect and it is very convenient to organise the days of the month on your notebook. The only thing I noticed is that I haven't put the days of the week, but I might add those later. But of course you can leave it as it is if you want.
This layout also gave me enough space to continue the theme and decorate the spread with the rubber ducky, his soap and lots of bubbles!
From then on my spreads continue as usual. The next spread is my Monthly Goals, separated as always in Personal and Business. By writing things down I keep myself accountable and I actually do the things I need to do to reach my goals. When I shared June's similar spread on Instagram, it was nice to see that lots of you are doing the same thing each month
My Monthly Goals spread goes hand in hand with my Monthly Focus one. Candi on Instagram mentioned that she uses a 6th category - Intellectual - which I find very interesting and I might start using it from next month. As I've mentioned before, these are the five pillars of a harmonic life, as taught in 'Harmonic Wealth: The Secret of attracting the life you want' by James Arthur Ray. And on this page you basically write what you want to improve during this month in each of those categories.
Next comes my 'Areas of Focus / Tasks to Complete' spread. I explained in my video exactly how I use all of the above spreads I've mentioned, in order to plan my goals and my tasks during the month. I've been using this process since March and I have to say that it's helped me a lot with my planning and my productivity!
Next comes my Finances spread. When you write things down it's very easy to see where your money goes each month! If you need more space for your finances, you can turn this into a 2-page spread, where you have your Income on one page and your Expenses on the other.
Each month my Notes page is one of my favourites. Plus it's one of the most practical and functional ones! So, here's the one for July with the rubber ducky, of course!
I skipped my '2 lines per day' spread this month. I usually keep a journal for the summer where I like to write more about my days and my holidays, and so on. So, I thought that keeping a spread like that would be redundant.
Therefore, my next spread is the first Weekly Spread of the month. I love how cute the little bath tub looks in the notes section and how simple this spread looks. I love this layout. It's very basic but it gives you lots of space to plan and decorate your spread the way you want.
SUPPLIES USED:
- Scribbles That Matter notebook
- Faber-Castell PITT Artist Pen in S, F, B
- Tombow Dual Brush Markers (620, 491, 451, 800, 062, N89 and N95)
- Tombow Fudenosuke Brush Pen (hard)
And that is one more month planned in my bullet journal. Have you decided on July's theme yet? Do you prepare ahead of time, or you like to start planning on the 1st of each month? Let me know in the comments below. Also, if you use the same theme like me, please send me a picture of it at christina77star@gmail.com
20 Monthly Spread Layouts for your Bullet Journal - Ideas and Inspiration
One of the best things about bullet journaling for me is the fact that you can change any layout to suit your needs. You can create your own totally from scratch, or you can get inspired from all the amazing fellow bullet journalists online. You can see how they do things and then try to take that layout and make it your own.
I have to admit that over the years that I've been bullet journaling I've tried a few different monthly spread layouts, but I seem to navigate towards a certain way of setting up my monthly log. However, there are so many different ways to create your monthly spread.
So, today I thought of sharing with you some amazing monthly spreads that I found, and some that I made myself in order to get you inspired. Let's get started!
One of the best things about bullet journaling for me is the fact that you can change any layout to suit your needs. You can create your own totally from scratch, or you can get inspired from all the amazing fellow bullet journalists online. You can see how they do things and then try to take that layout and make it your own.
I have to admit that over the years that I've been bullet journaling, I've tried a few different monthly spread layouts, but I seem to navigate towards a certain way of setting up my monthly log. However, there are so many different ways to create your monthly spread!
So, today I thought of sharing with you some amazing monthly log layouts that I found, and some that I made myself, in order to get you inspired. Let's get started!
You can create your monthly log in one page, like Julia has. Or you can create a two-page spread like the one Aimi has created in her bullet journal.
You can choose to connect the squares, so that you have more space to write, or you can leave a gap in between them.
I love how Eve has chosen to create her monthly log with vertical columns.
Erin - @thepetitplanner
If you still prefer to have a one-page monthly log, but you want more space to write, simply turn it and create it sideways on the page. That way you have the next page empty to add all your tracker, goals and to-do lists.
And of course there is the option of no boxes at all! The way Kit does it, by drawing only the vertical lines.
Moving on, we go to another layout for your monthly spread, that seems to be quite popular lately. You simply write the days and dates of the month in two parallel lines. And then you just add the events to each day. That can be done horizontally, like you can see in the picture above.
Or it can be done vertically. I like how Roberta below, adds lines with her highlighters to denote the weekends in her planner.
If you want you can add a vertical line in the middle of the page to add events for two different categories. Haley below separated her monthly planning in work and personal events.
Kay has gotten really creative and added two different columns in the middle of the page with the dates of the month.
You can even go ahead and add three columns so that you can add events for 3 different categories, if you wish.
One of my favourite monthly spreads is the one that Amanda created above, where she has two different types of monthly planning on one spread! Genius!
Moving on to the monthly spread done in a circle. That is a very cute and creative way to add your monthly log in your journal. And you can keep it as minimal or as creative as you want.
@dutch_color_love
And of course you can take things to the next level and a completely unique layout for your monthly log. Like Marie has done in the picture above, where she has turned her monthly spread into a board game! I love it!
Lastly, but not least there are the monthly spreads where apart from your events list, you also add all the things you want to track, your goals, the books you want to read etc. and you create a very personalised spread for you.
So these were 7 different layouts and 20 amazing monthly spreads for you to get inspired. Have you tried any of the above layouts? What is your favourite one?


