

Bullet Journal Ideas: 3 Weekly Spread Layouts for August 2018
In today's post I'll show you the 3 layouts I’m using for my weekly spreads in my bullet journal for August, and how I've decorated them.
I tend to have 3-4 layouts for my weekly spreads which I rotate during the month. And of course I try to make them more interesting by decorating them according to that month’s theme. For August the theme is 'Boho Feathers'.
This is my first monthly spread of August. You can see exactly how I've set it up in this video.
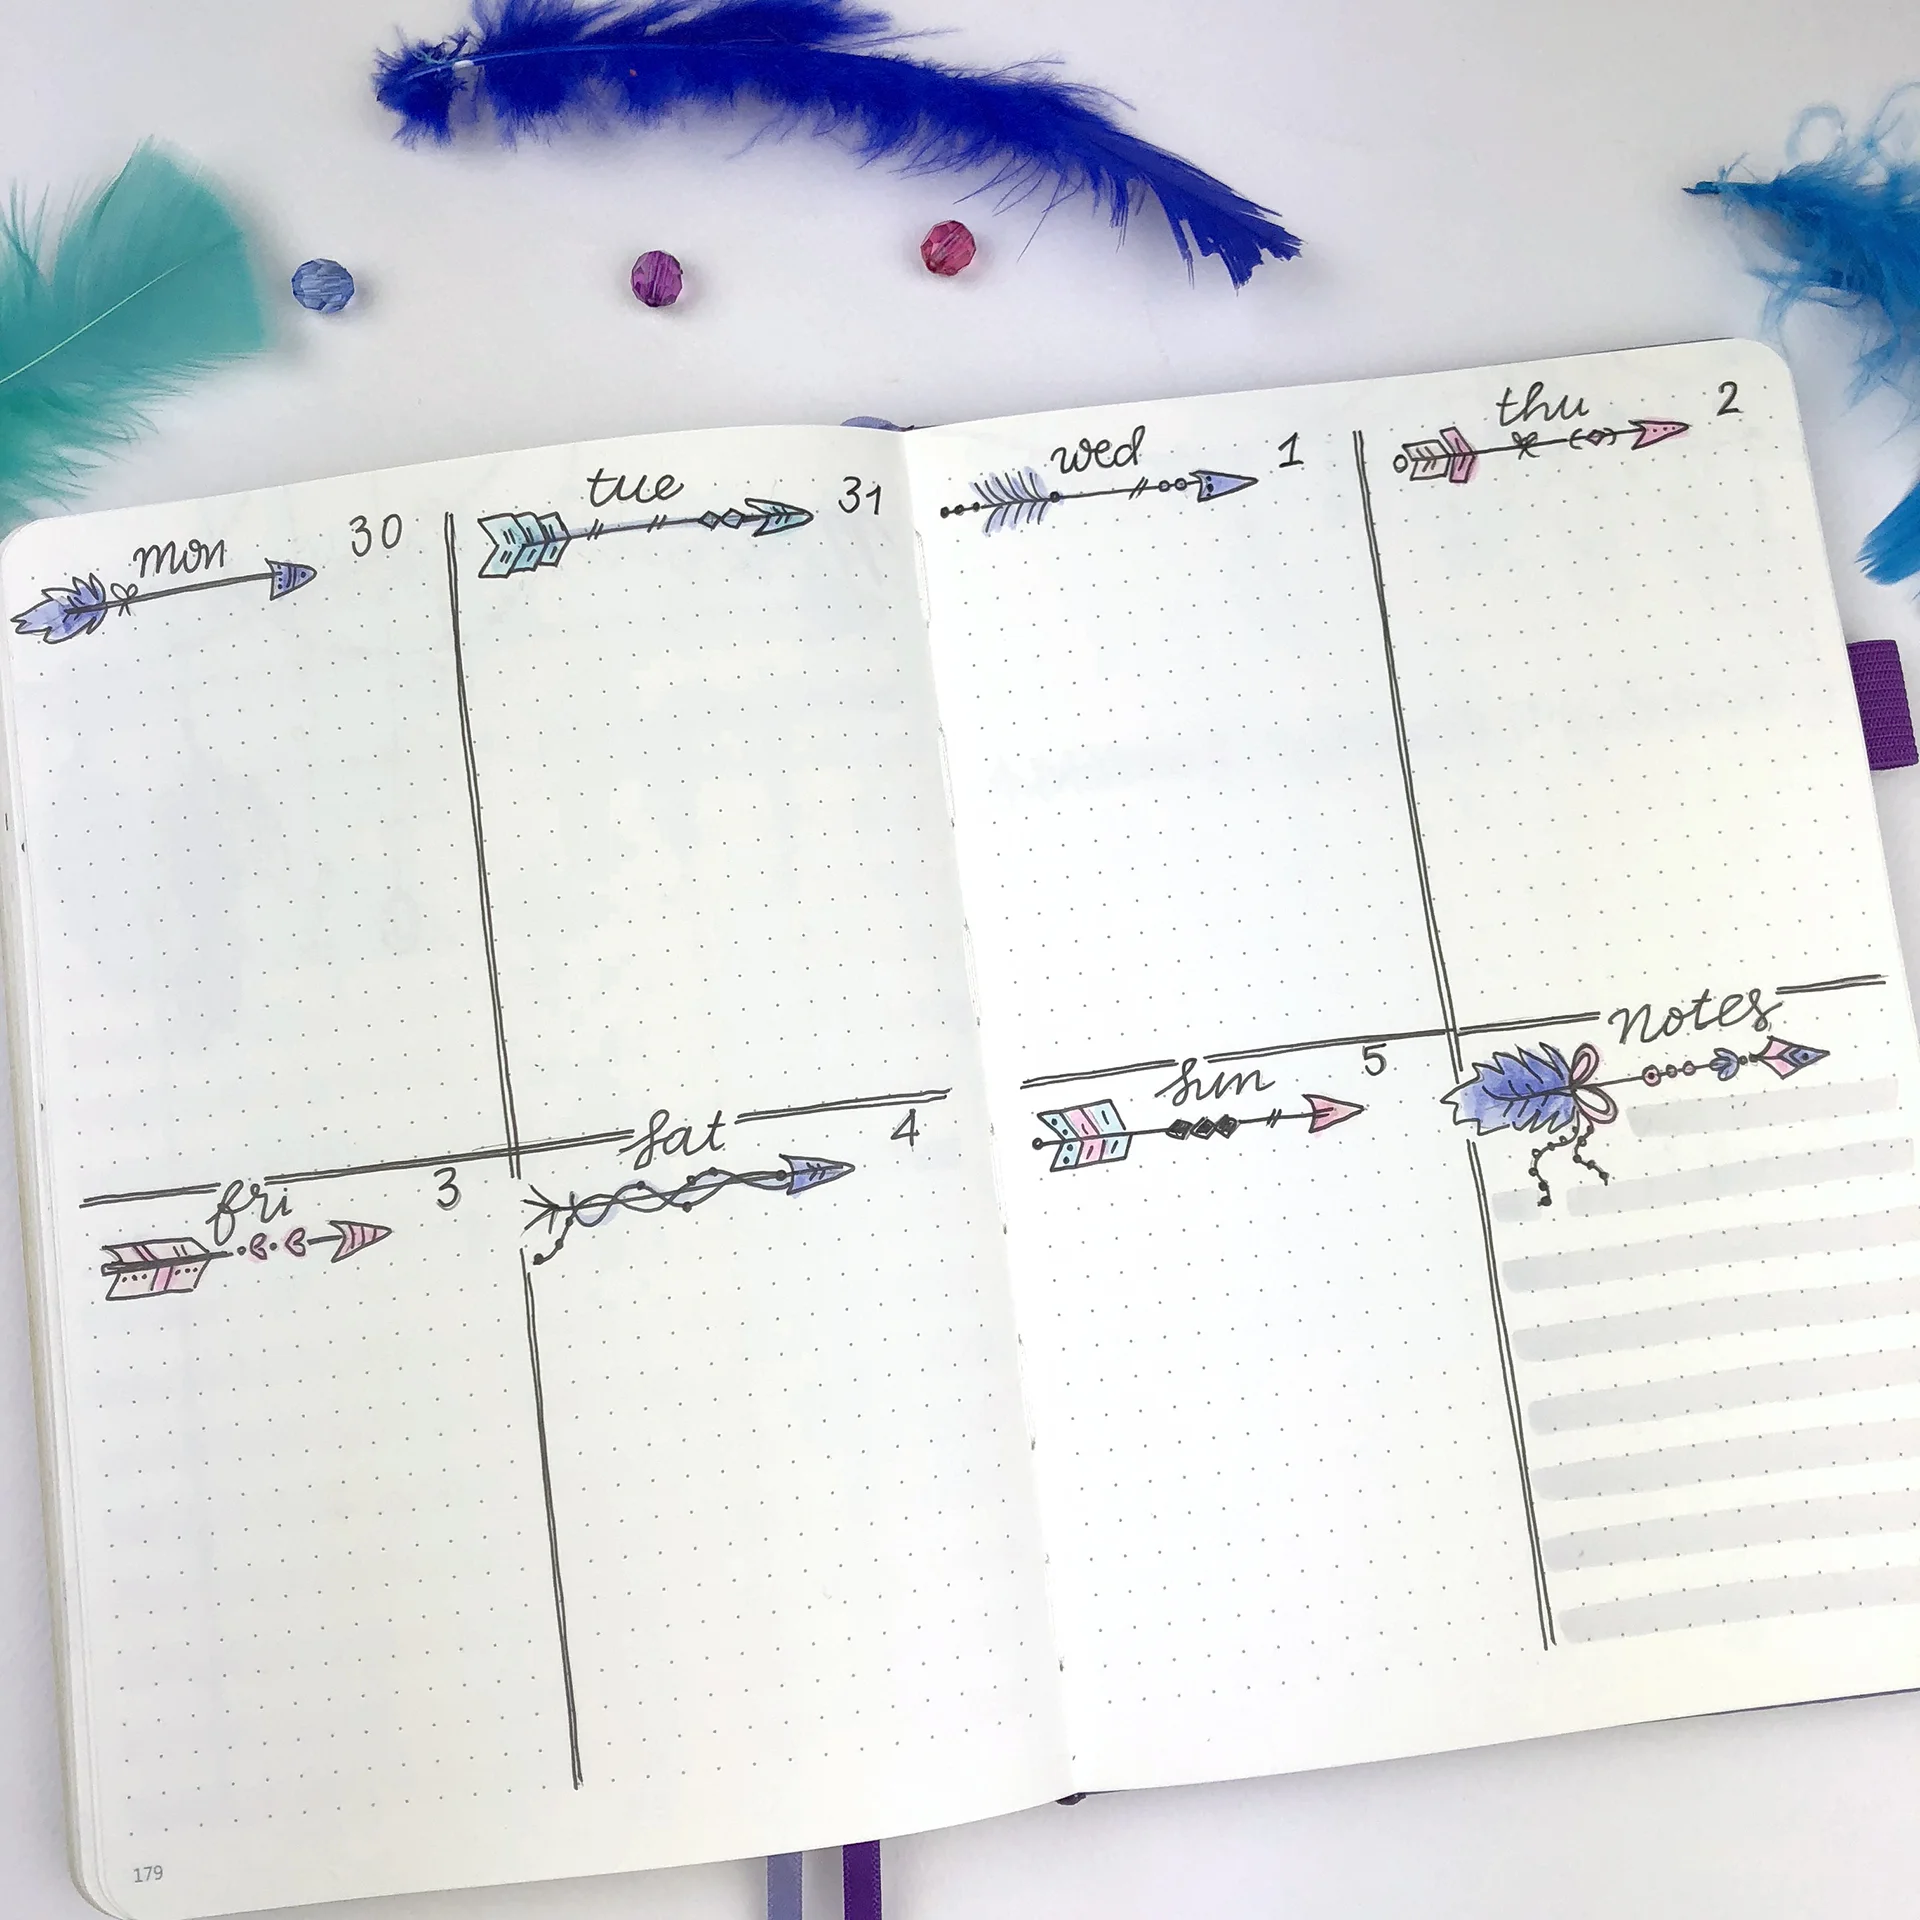
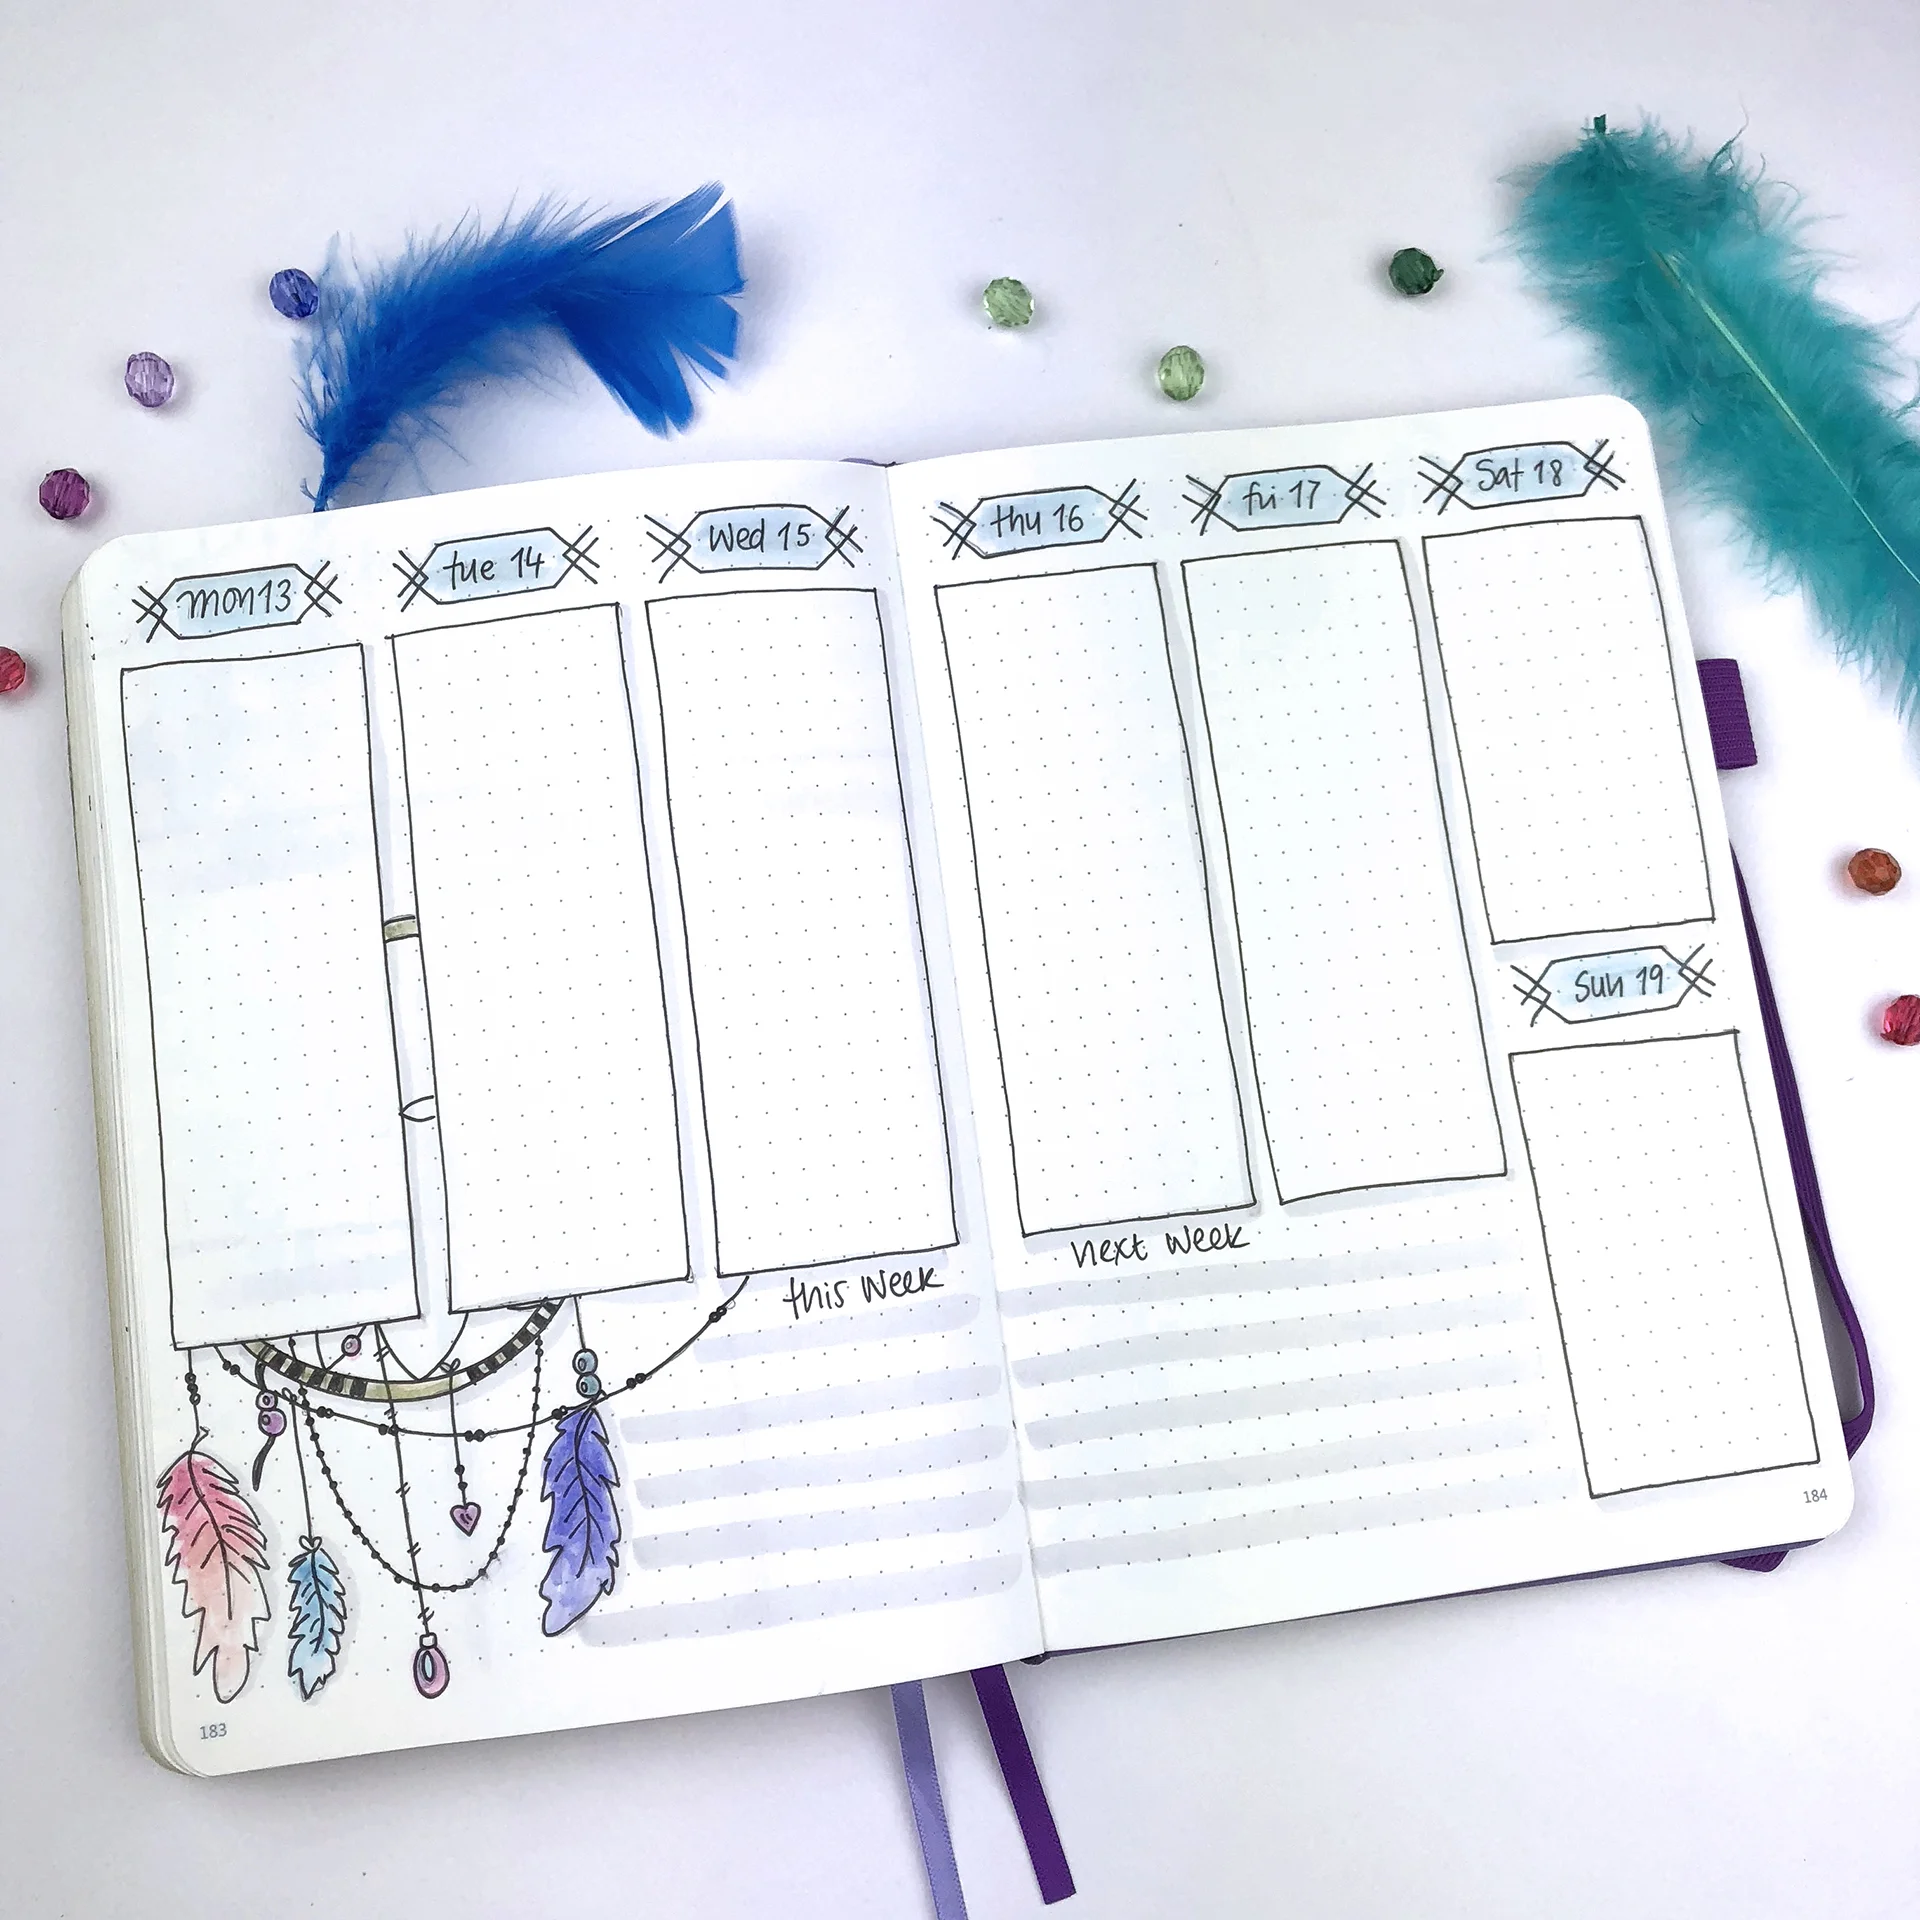
The second spread is a classic one that I'm using every month. It gives me a lot of space to add all the things I want, plus I can use the space on the left page for doodling (like I did) or to add more sections if I need to.
I kept the colours very simple and pastel, as always. I think it's very important to decide which colour palette you're going to use for your theme from the beginning. It makes things easier, and more consistent.
You can find all the supplies I used at the end of this post.
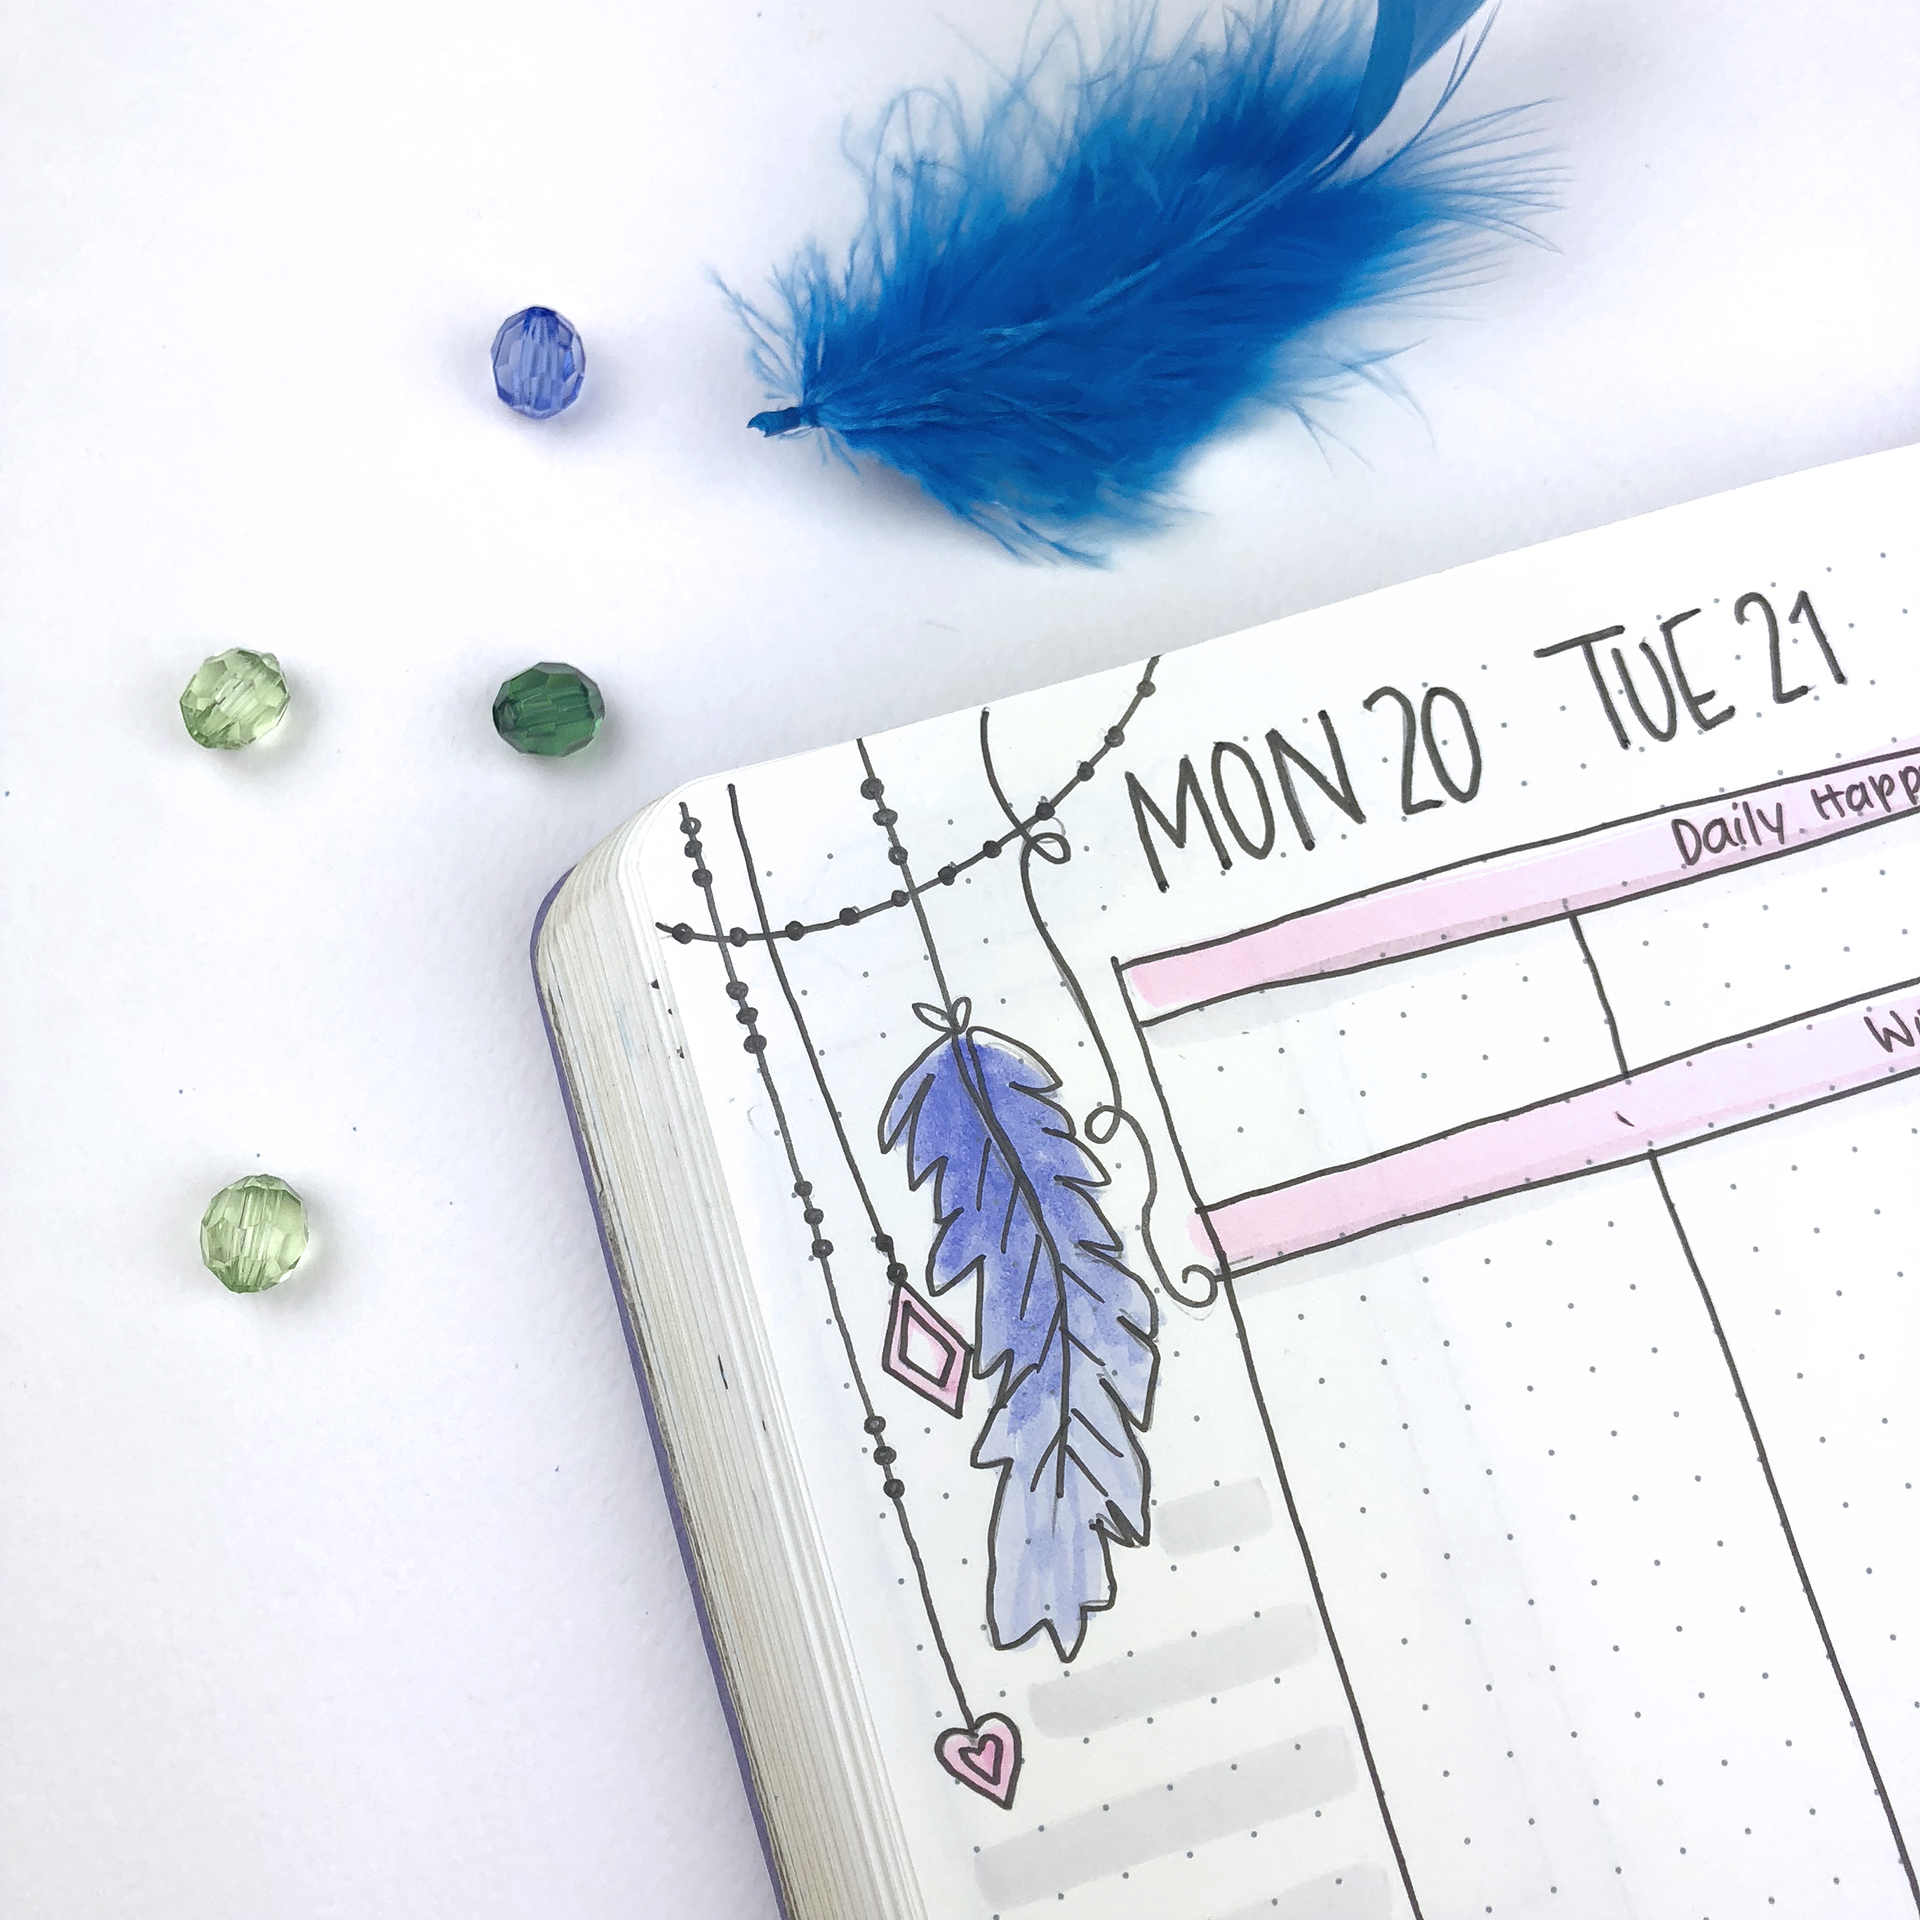
The third weekly spread is again a vertical layout. I always like to add accent lines in my spreads. I think it adds colour without too much effort and makes things more coherent. I usually choose pastel colours that won't interfere with my writing. And this week I also changed a bit my title banners for them to fit with the theme.
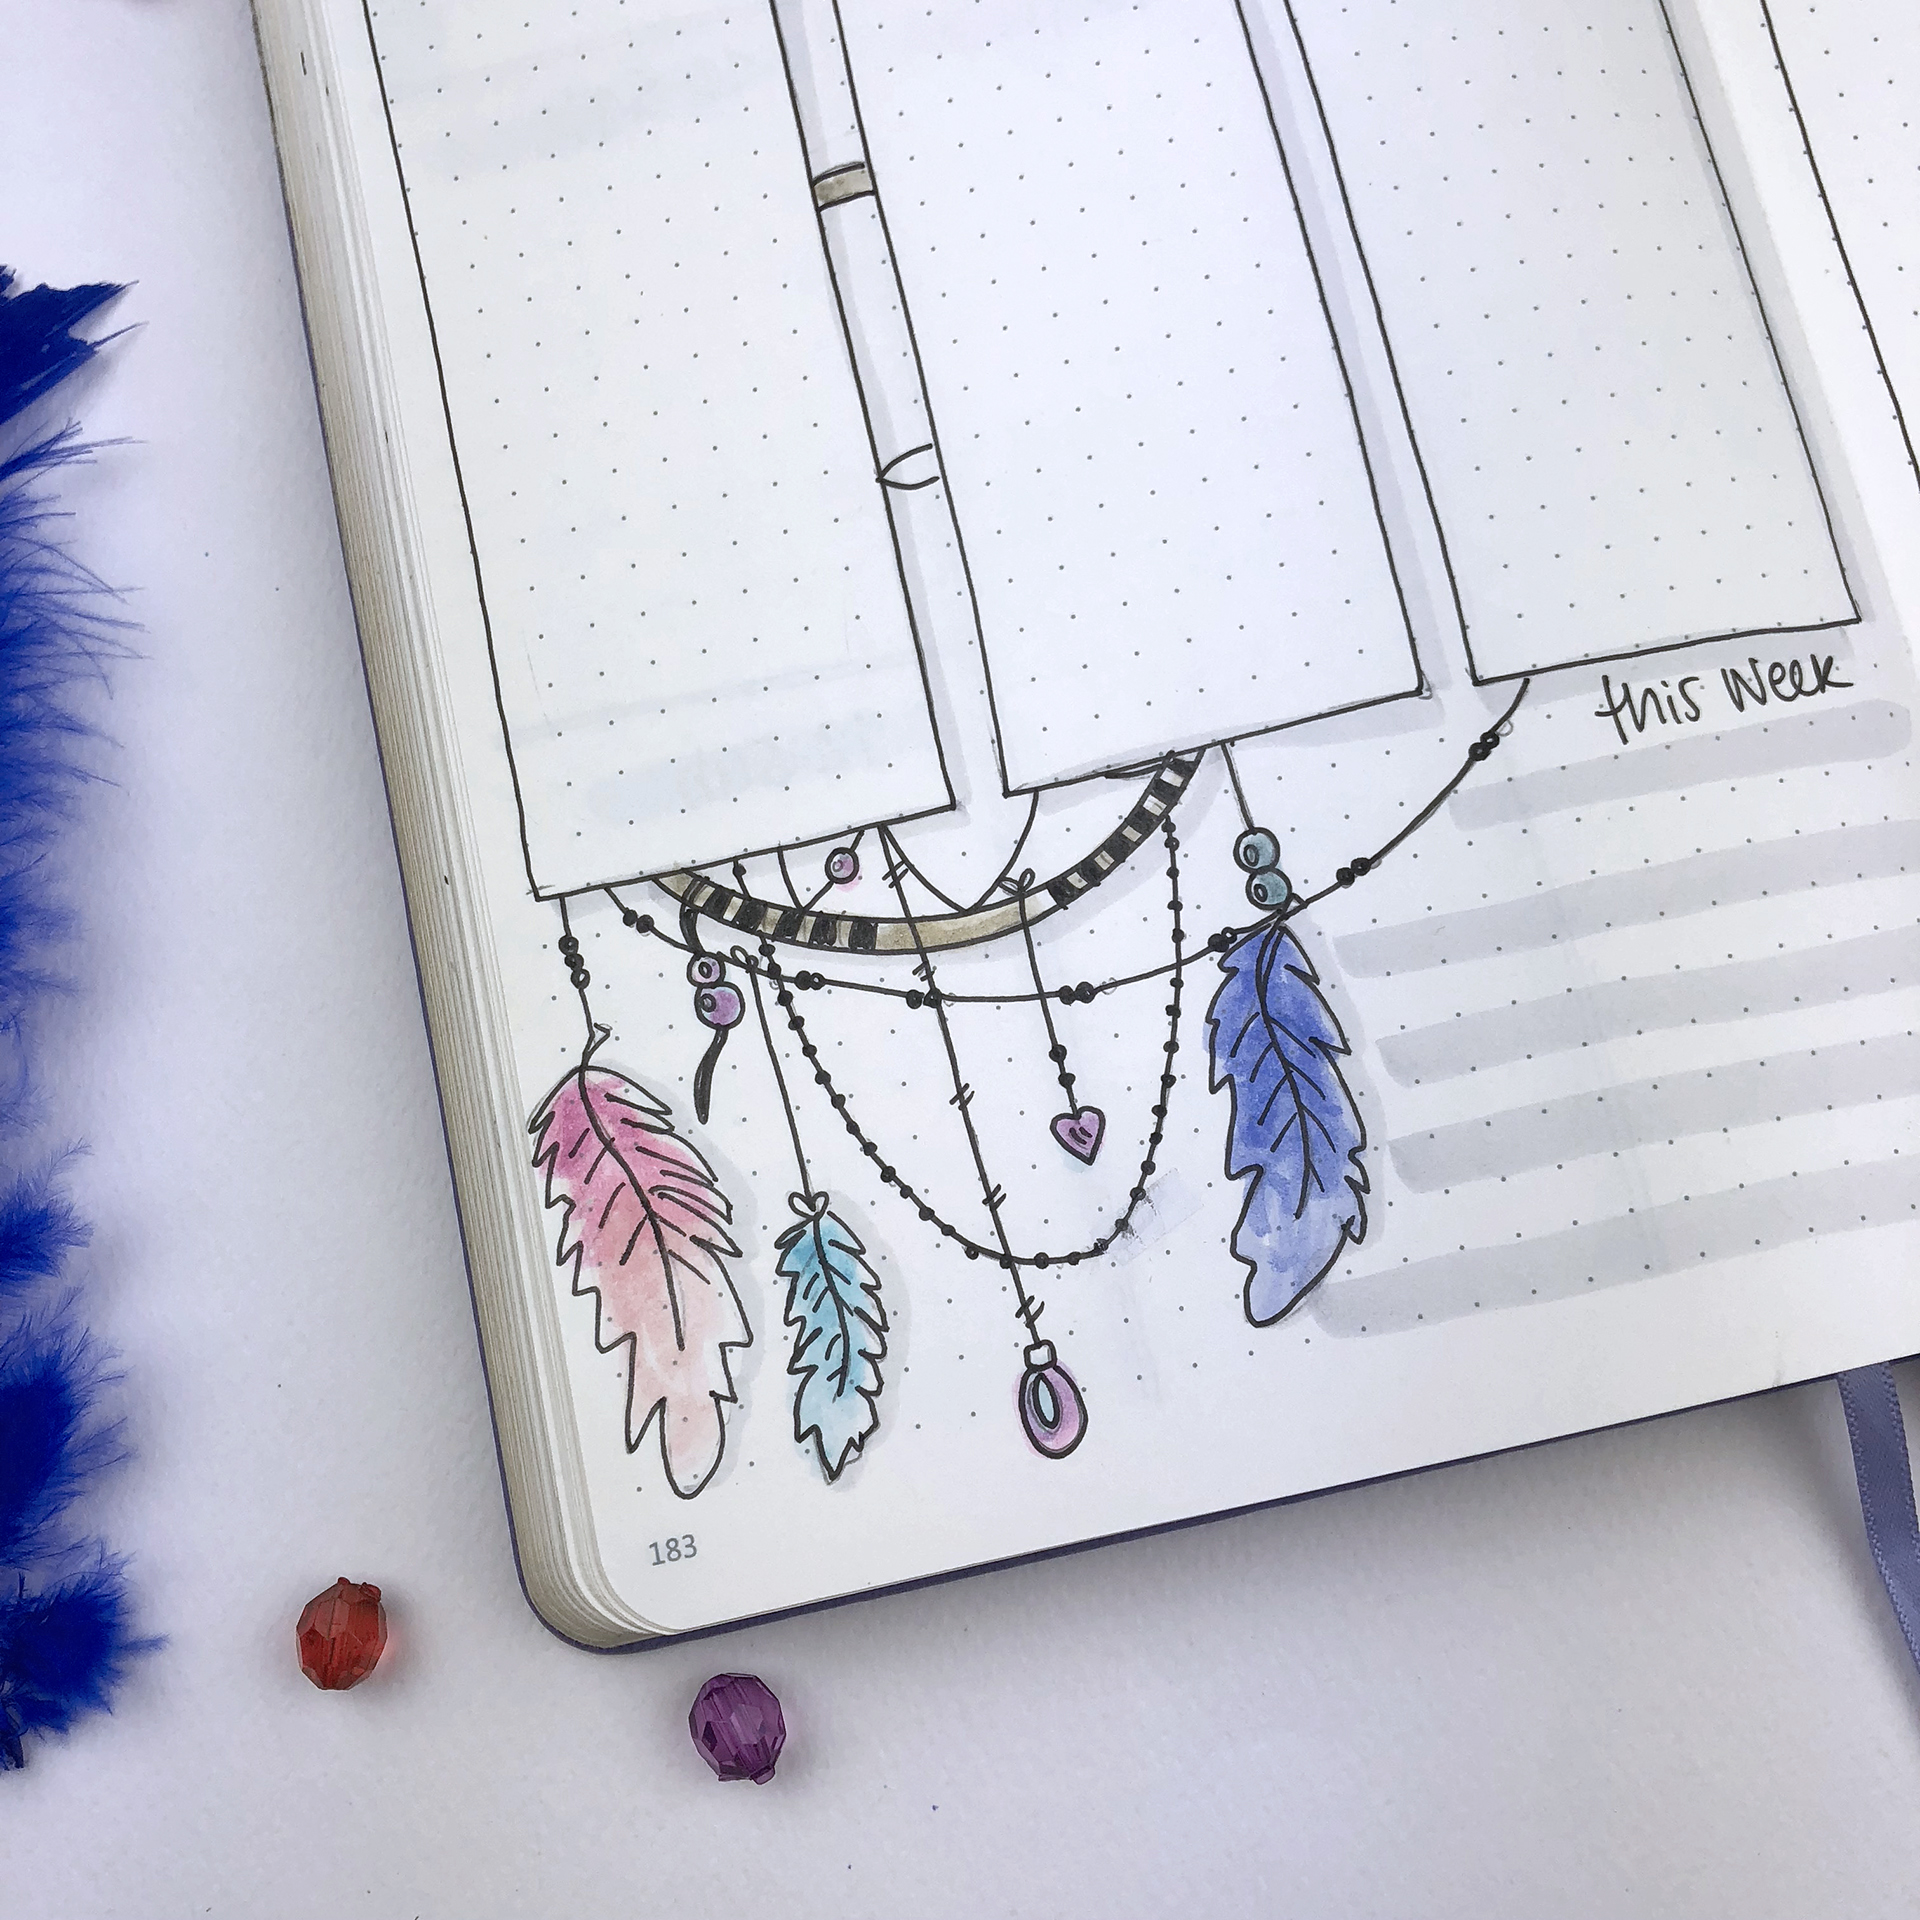
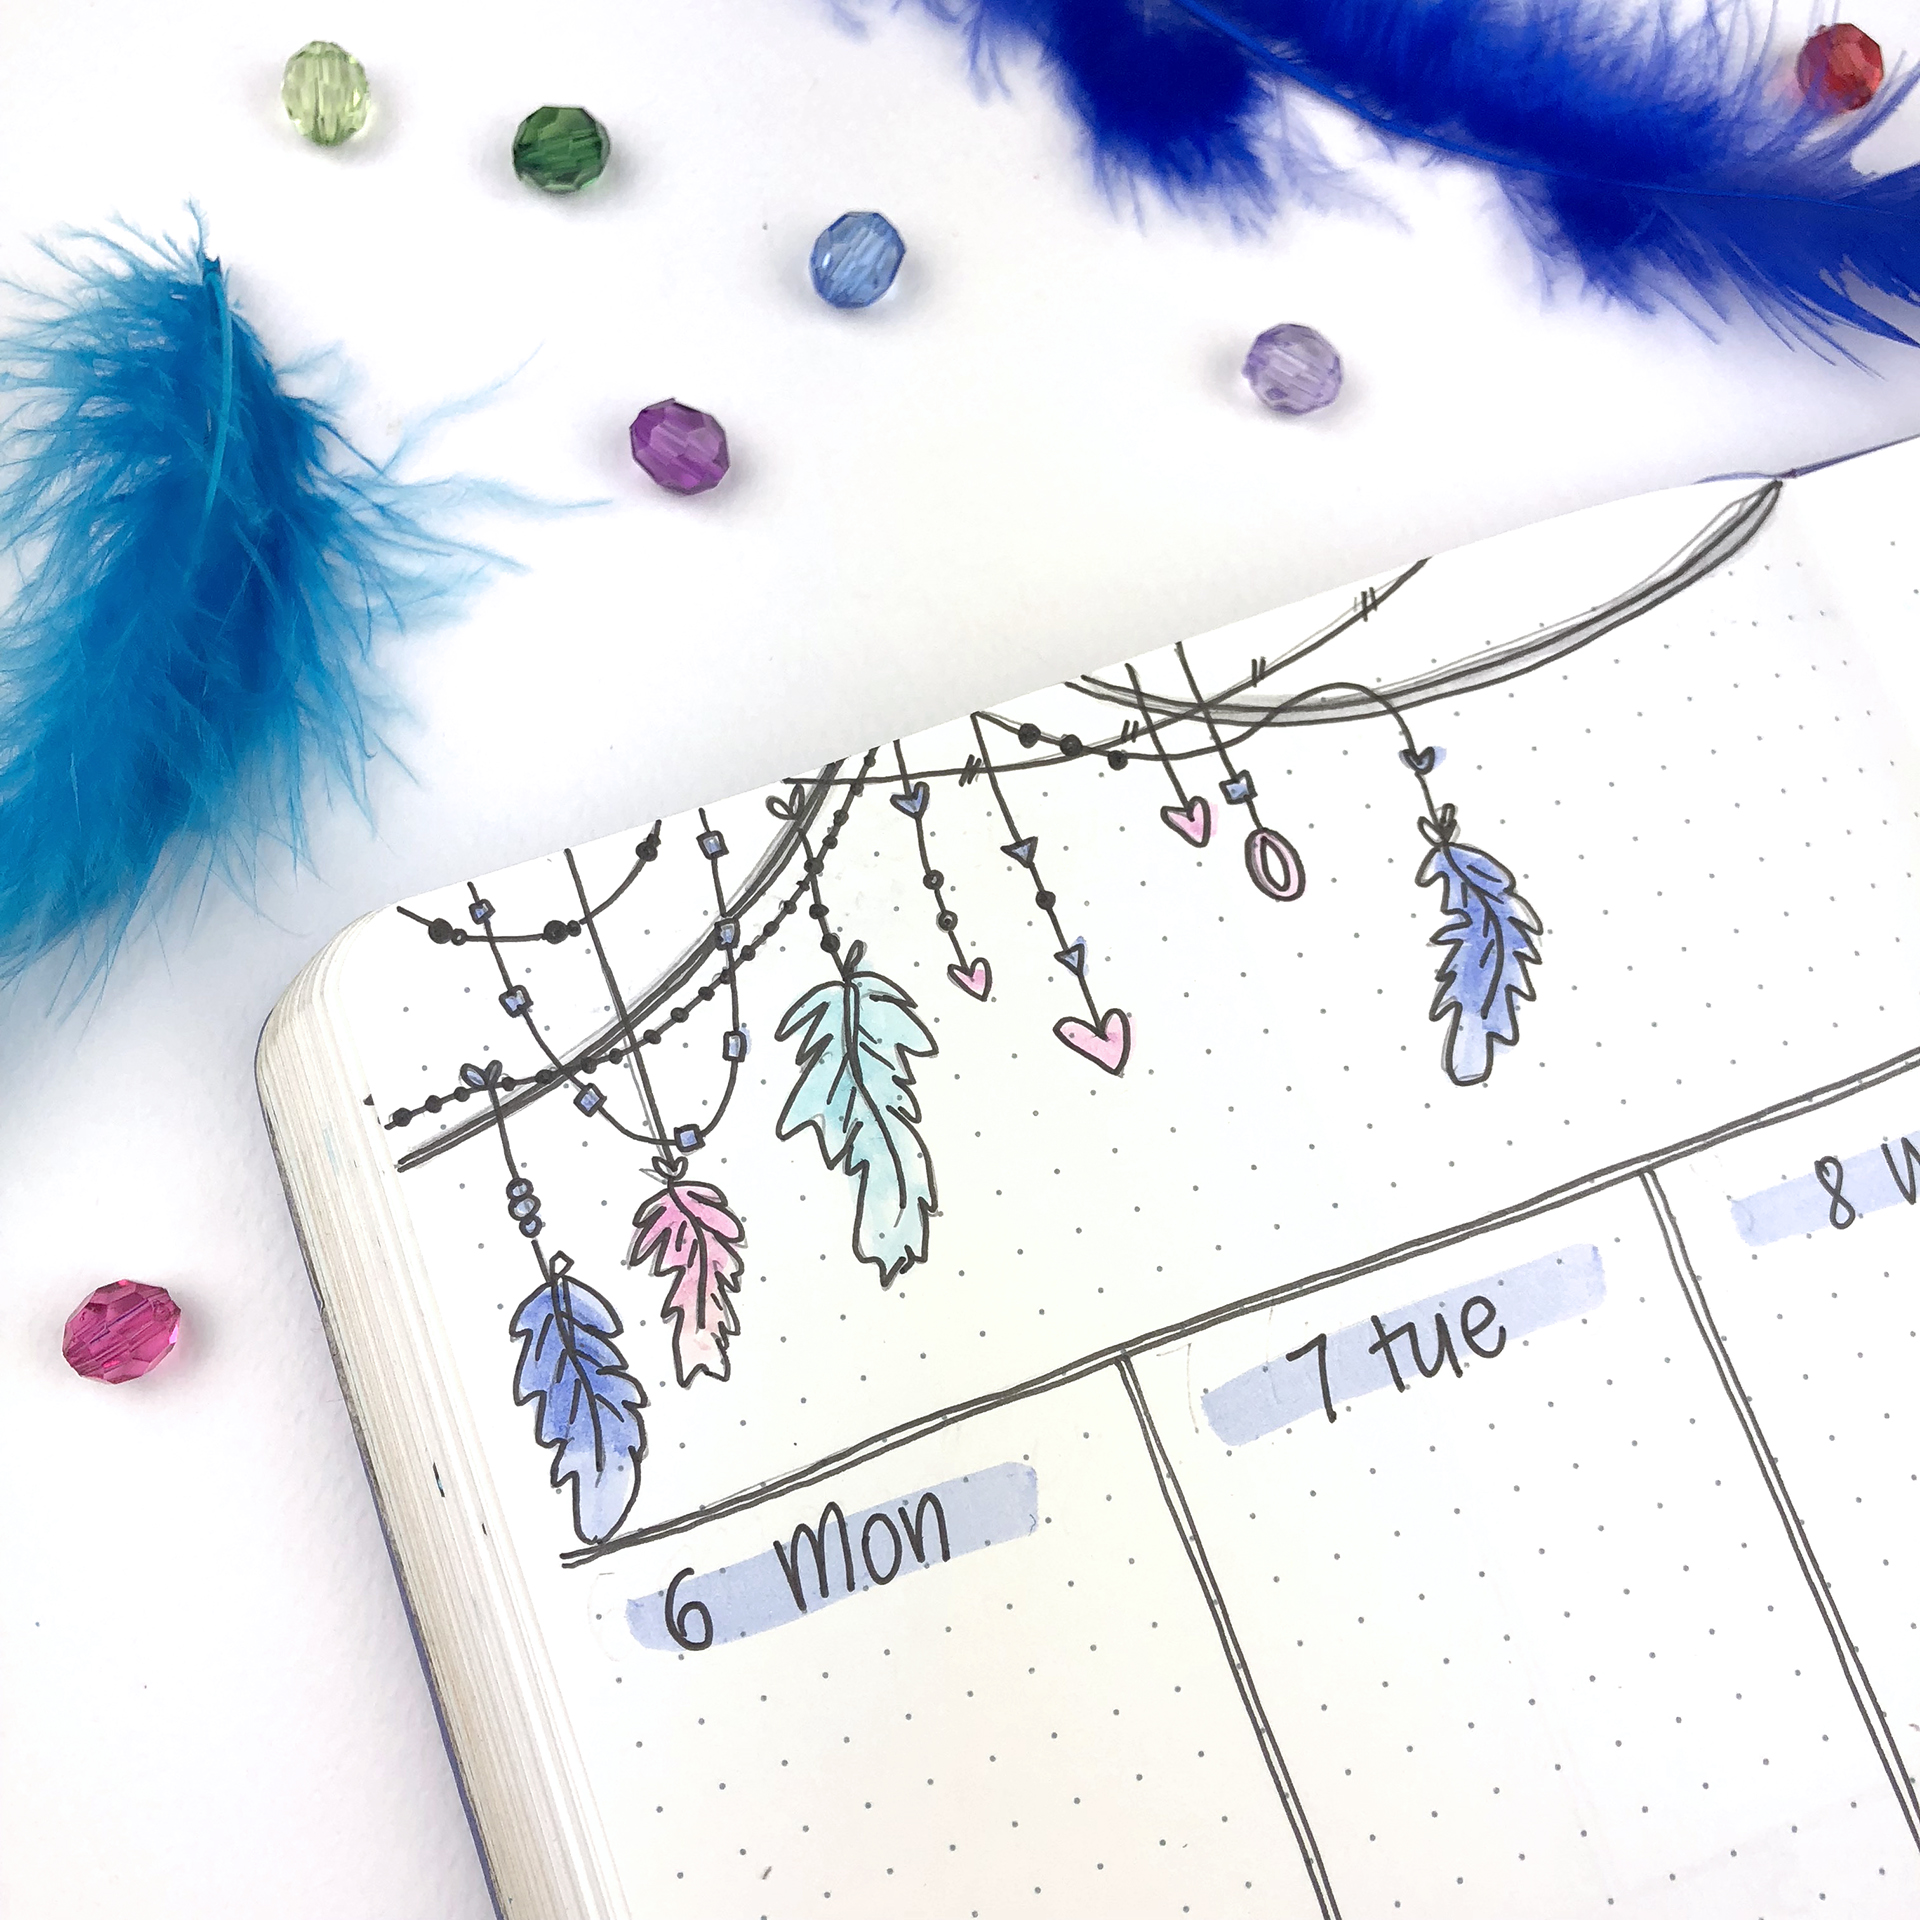
Adding various elements of your theme to your spreads, makes things more interesting and less monotonous. So, when you choose a theme, think of all the elements and doodles you can create - like an inspiration board. For this theme, I had to add various different beads and feathers throughout my spreads.

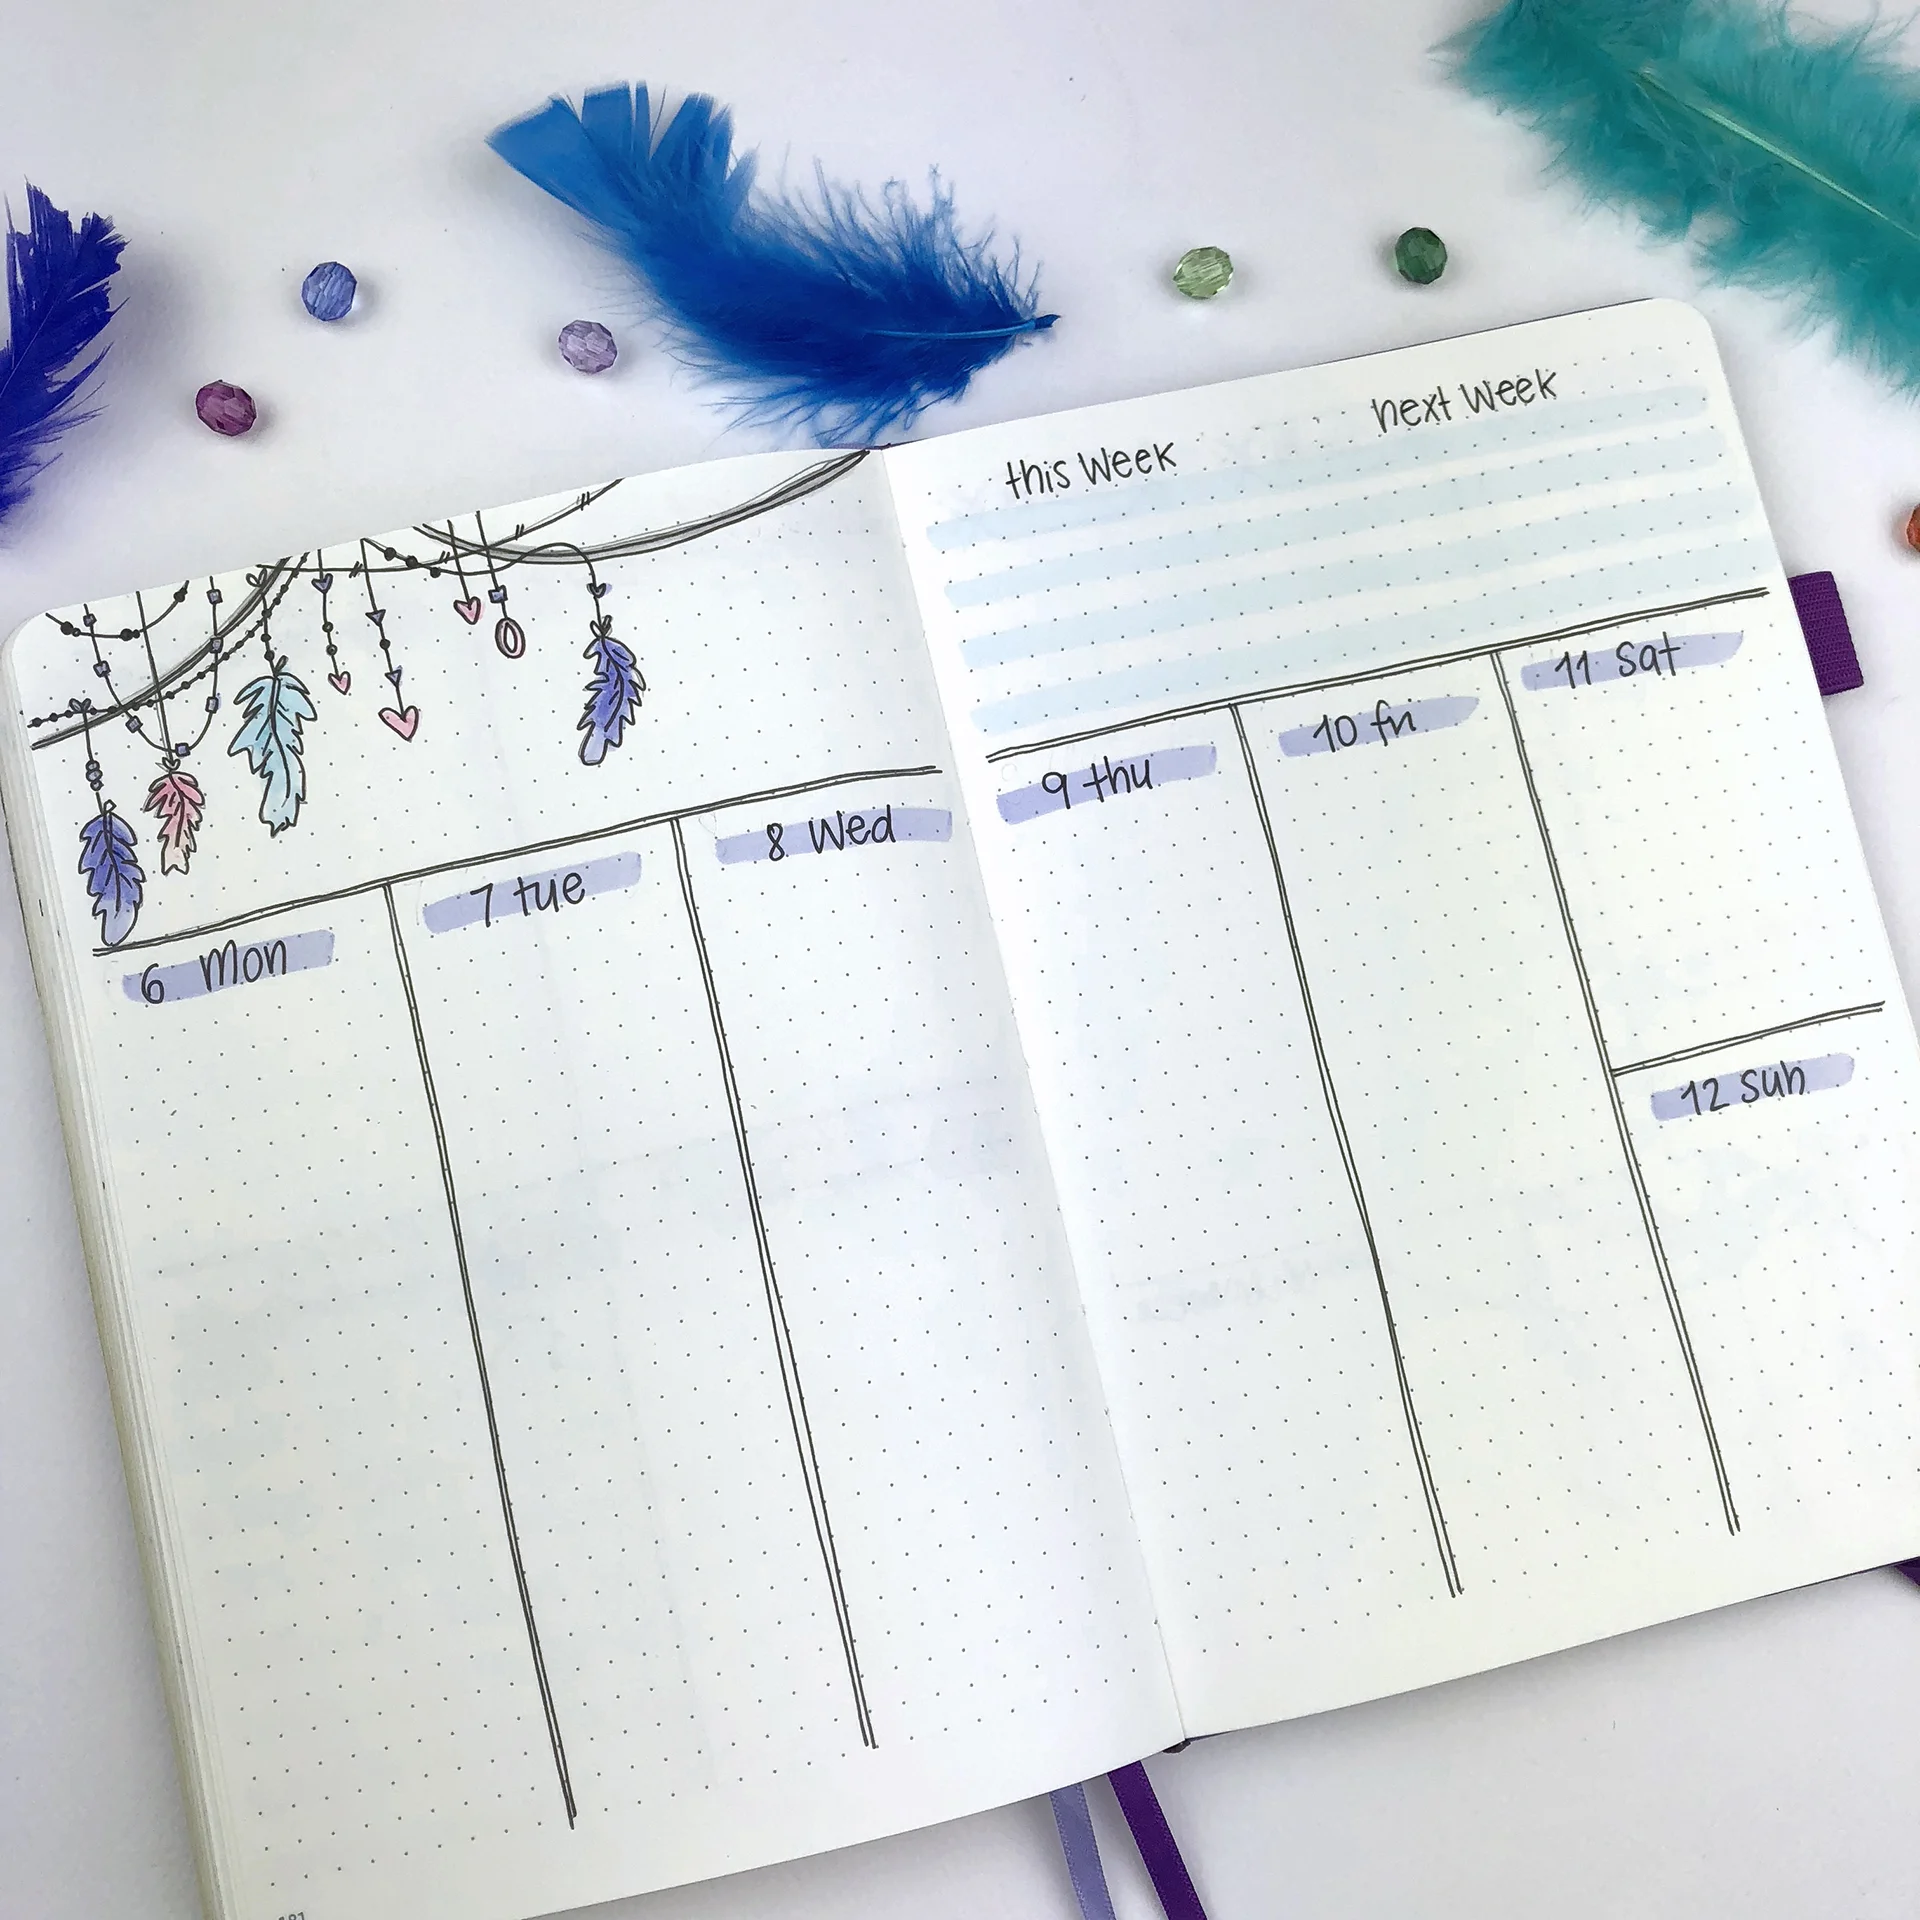
For the last weekly of the month, I decided to go with one of my favourite weekly layouts. I love that it separates your to-do list in categories, and you have the option to change the categories and also add more, if you wish.
SUPPLIES USED:
- Scribbles That Matter notebook
- Faber-Castell PITT Artist Pen in S, M
- Tombow Dual Brush Markers (673, 491, 990, 533, 553, N89, N95, 451, and 800)
- Sakura Pigma Micron 0.2, 0.3, 0.4
- Sakura Gelly Roll Pens 738, 721
So, these are the 3 weekly layouts for August. I hope you liked this post and that you found some inspiration for your own weekly layouts. If you liked the theme and you'd like to recreate it, please send me some pictures. I'd love to see your pages!! You can always contact me at christina77star@gmail.com


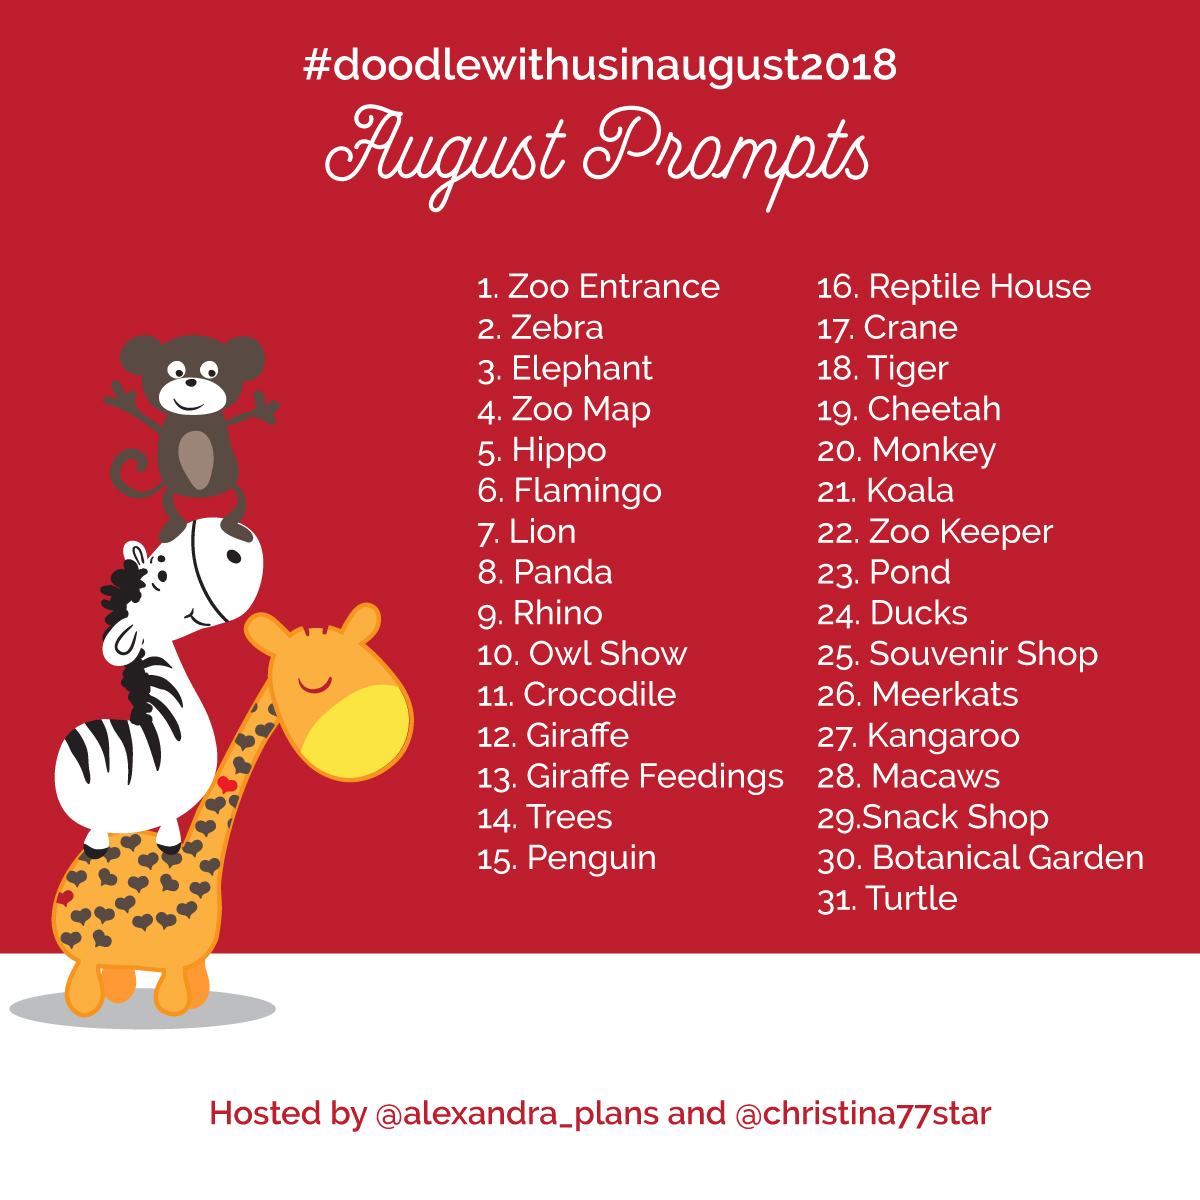
Instagram Challenge: #doodlewithusinaugust2018
I'm excited to announce our Instagram Challenge for the month of August! 👏🏻
It's the #doodlewithusinaugust2018 Instagram Challenge created by me and Alexandra (from @alexandra_plans).
It's going to be 31 days of doodles that will hopefully get you to be creative and have fun! We're going with a 'The Zoo' for this month. I seriously can't wait to start drawing!
As we did before, all the doodles are part of one big comprehensive picture. Imagine each day to be one piece of the puzzle. So, at the end of the month you will have one big doodle picture! :)
If you decide to follow this way, you'll have to create a table with 5x6 +1 boxes and you shouldn't add the days on the top. You can also make the boxes and dates in pencil, if you don't want the lines to obscure the end result. It's totally up to you.
Of course, if you prefer to draw the doodles in the traditional way, that's absolutely fine as well. The important thing is to have fun!
You can also download a free printable with the daily prompts here.

If you want to join us then:
- Follow me (Christina) @christina77star and Alexandra @alexandra_plans over on Instagram.
- Download the prompts below.
- Draw something according to the day's prompt, take a photo of it, and share it with us on Instagram.
- Don't forget to add the hashtag #doodlewithusinaugust2018 and spread the word.
- Everyone is welcome!
We're excited to see what you'll share!
Thank you for joining in!
Christina x

Improve Your Handwriting Challenge - August
I'm back with one more "Improve your Handwriting Challenge"!
It's a fun way to practice daily, keep a photo archive of your handwriting and see how you've improved through time. You can also interact online with other people doing the same challenge, and also you can get inspired by others' handwriting too.
So, for August it's going to be 31 days of handwriting prompts that will hopefully get you to start practicing your handwriting every day. For this month the words have to do with 'Vacation'.
So with this theme you can practice your letters and at the same time dream or plan for your vacation! 😎

HERE'S HOW TO PARTICIPATE:
- Follow me (Christina) @christina77star over on Instagram.
- If you want, you can download and print the monthly prompts here.
- Each day there is a corresponding prompt, that you simply have to write on a piece of paper. You can also choose to have a dedicated notebook for your daily handwriting practice. Try and focus on the word and the letters as you write them. You can repeat the word as many times as you want. Look at the way that you wrote the word the first time and the way you wrote it the last time. Is there a difference? Do you think you need to work on a specific letter?
- Take a photo of your practice and tag it with #improveyourhandwritingchallenge, so that it gets added to the feed.
- At the end of each month look back at your practice pages and see how you've improved.
- Make sure to encourage each other and have fun!
- Please share this post to spread the word and invite others to join in the fun and improve their handwriting as well!
Thank you for joining in!
Christina x

Plan With Me: My August Set Up in my Bullet Journal + Video
I'd like to start this post by giving everyone a big virtual hug! Thank you for all the love you've shown to my July theme and that cute rubber ducky! You guys are amazing! 😍
Moving on, tomorrow we're leaving for our family summer vacations to Protara and Ayia Napa and I'm so excited! I'm also currently hiding behind a pile of summer clothes that I have to somehow fit in 2 suitcases! 😬 We definitely don't travel light!!!!
Therefore I'm glad that I've already set up my bullet journal for August, and I am in love with the theme I chose for this month! I decided to go with 'Boho Feathers' theme for this month, which I think turned out super cute!

I'd like to start this post by giving everyone a big virtual hug! Thank you for all the love you've shown to my July theme and that cute rubber ducky! You guys are amazing! 😍
Moving on, tomorrow we're leaving for our family summer vacations to Protara and Ayia Napa and I'm so excited! I'm also currently hiding behind a pile of summer clothes that I have to somehow fit in 2 suitcases! 😬 We definitely don't travel light!!!!
Therefore I'm glad that I've already set up my bullet journal for August, and I am in love with the theme I chose for this month! I decided to go with a 'Boho Feathers' theme for this month, which I think turned out super cute! I kept the colours minimal to light blues, soft pinks and purples. (You can check all the supplies I used for this theme at the end of this post 😉)
Make sure you scroll down to the bottom of the post, because there's also a video, where I'm showing you exactly how I've created each spread.
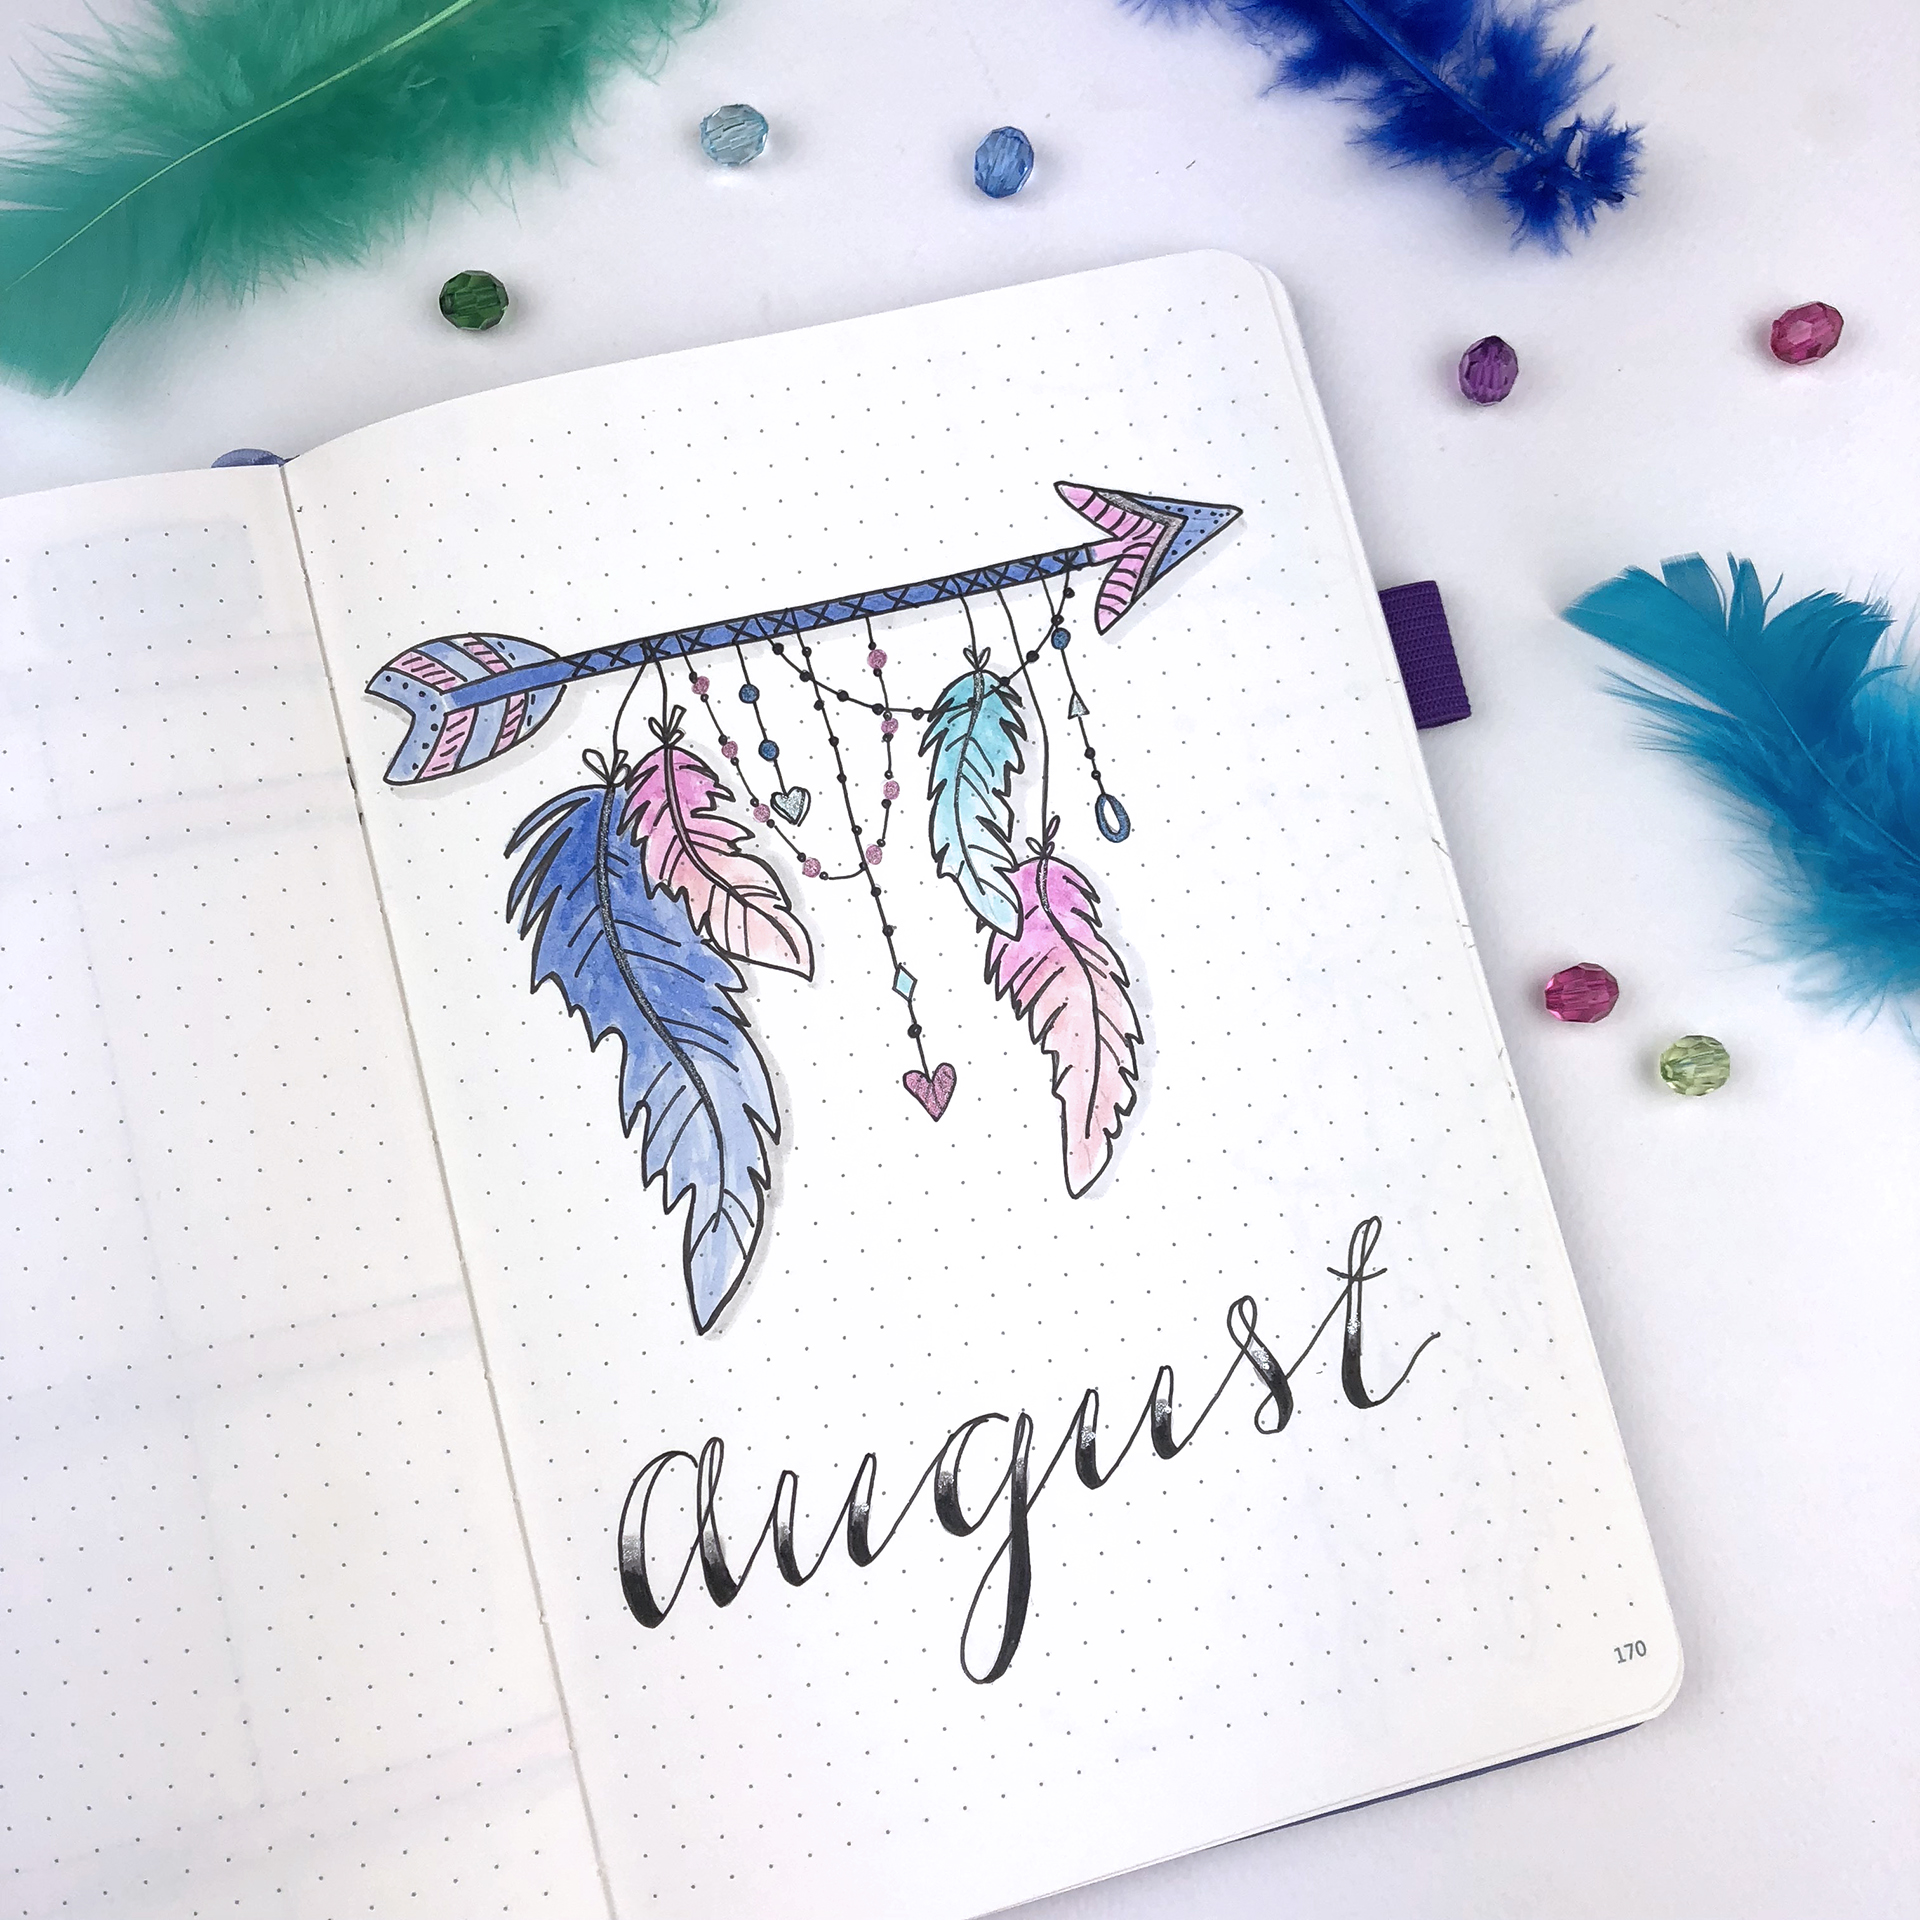
We start with the Cover Page of the month. I created an arrow with lots of feathers and beads. There's lots of pictures on line that can get you inspired in order to create your own designs. My advice is to not overthink about it. There's not a right or wrong, and it definitely doesn't have to be perfect. Plan your design with a pencil like I do, if that makes you feel more comfortable and just have fun!

The theme continues into my Monthly Spread. I went back to my separate boxes layout which as you know I love and use all the time. I liked the other layout I used in July, however I found it a bit confusing at times... I guess when you're used to something it's difficult to change things up... But the good thing with bullet journaling is that you can try new things and if they don't work, you can simply change it.
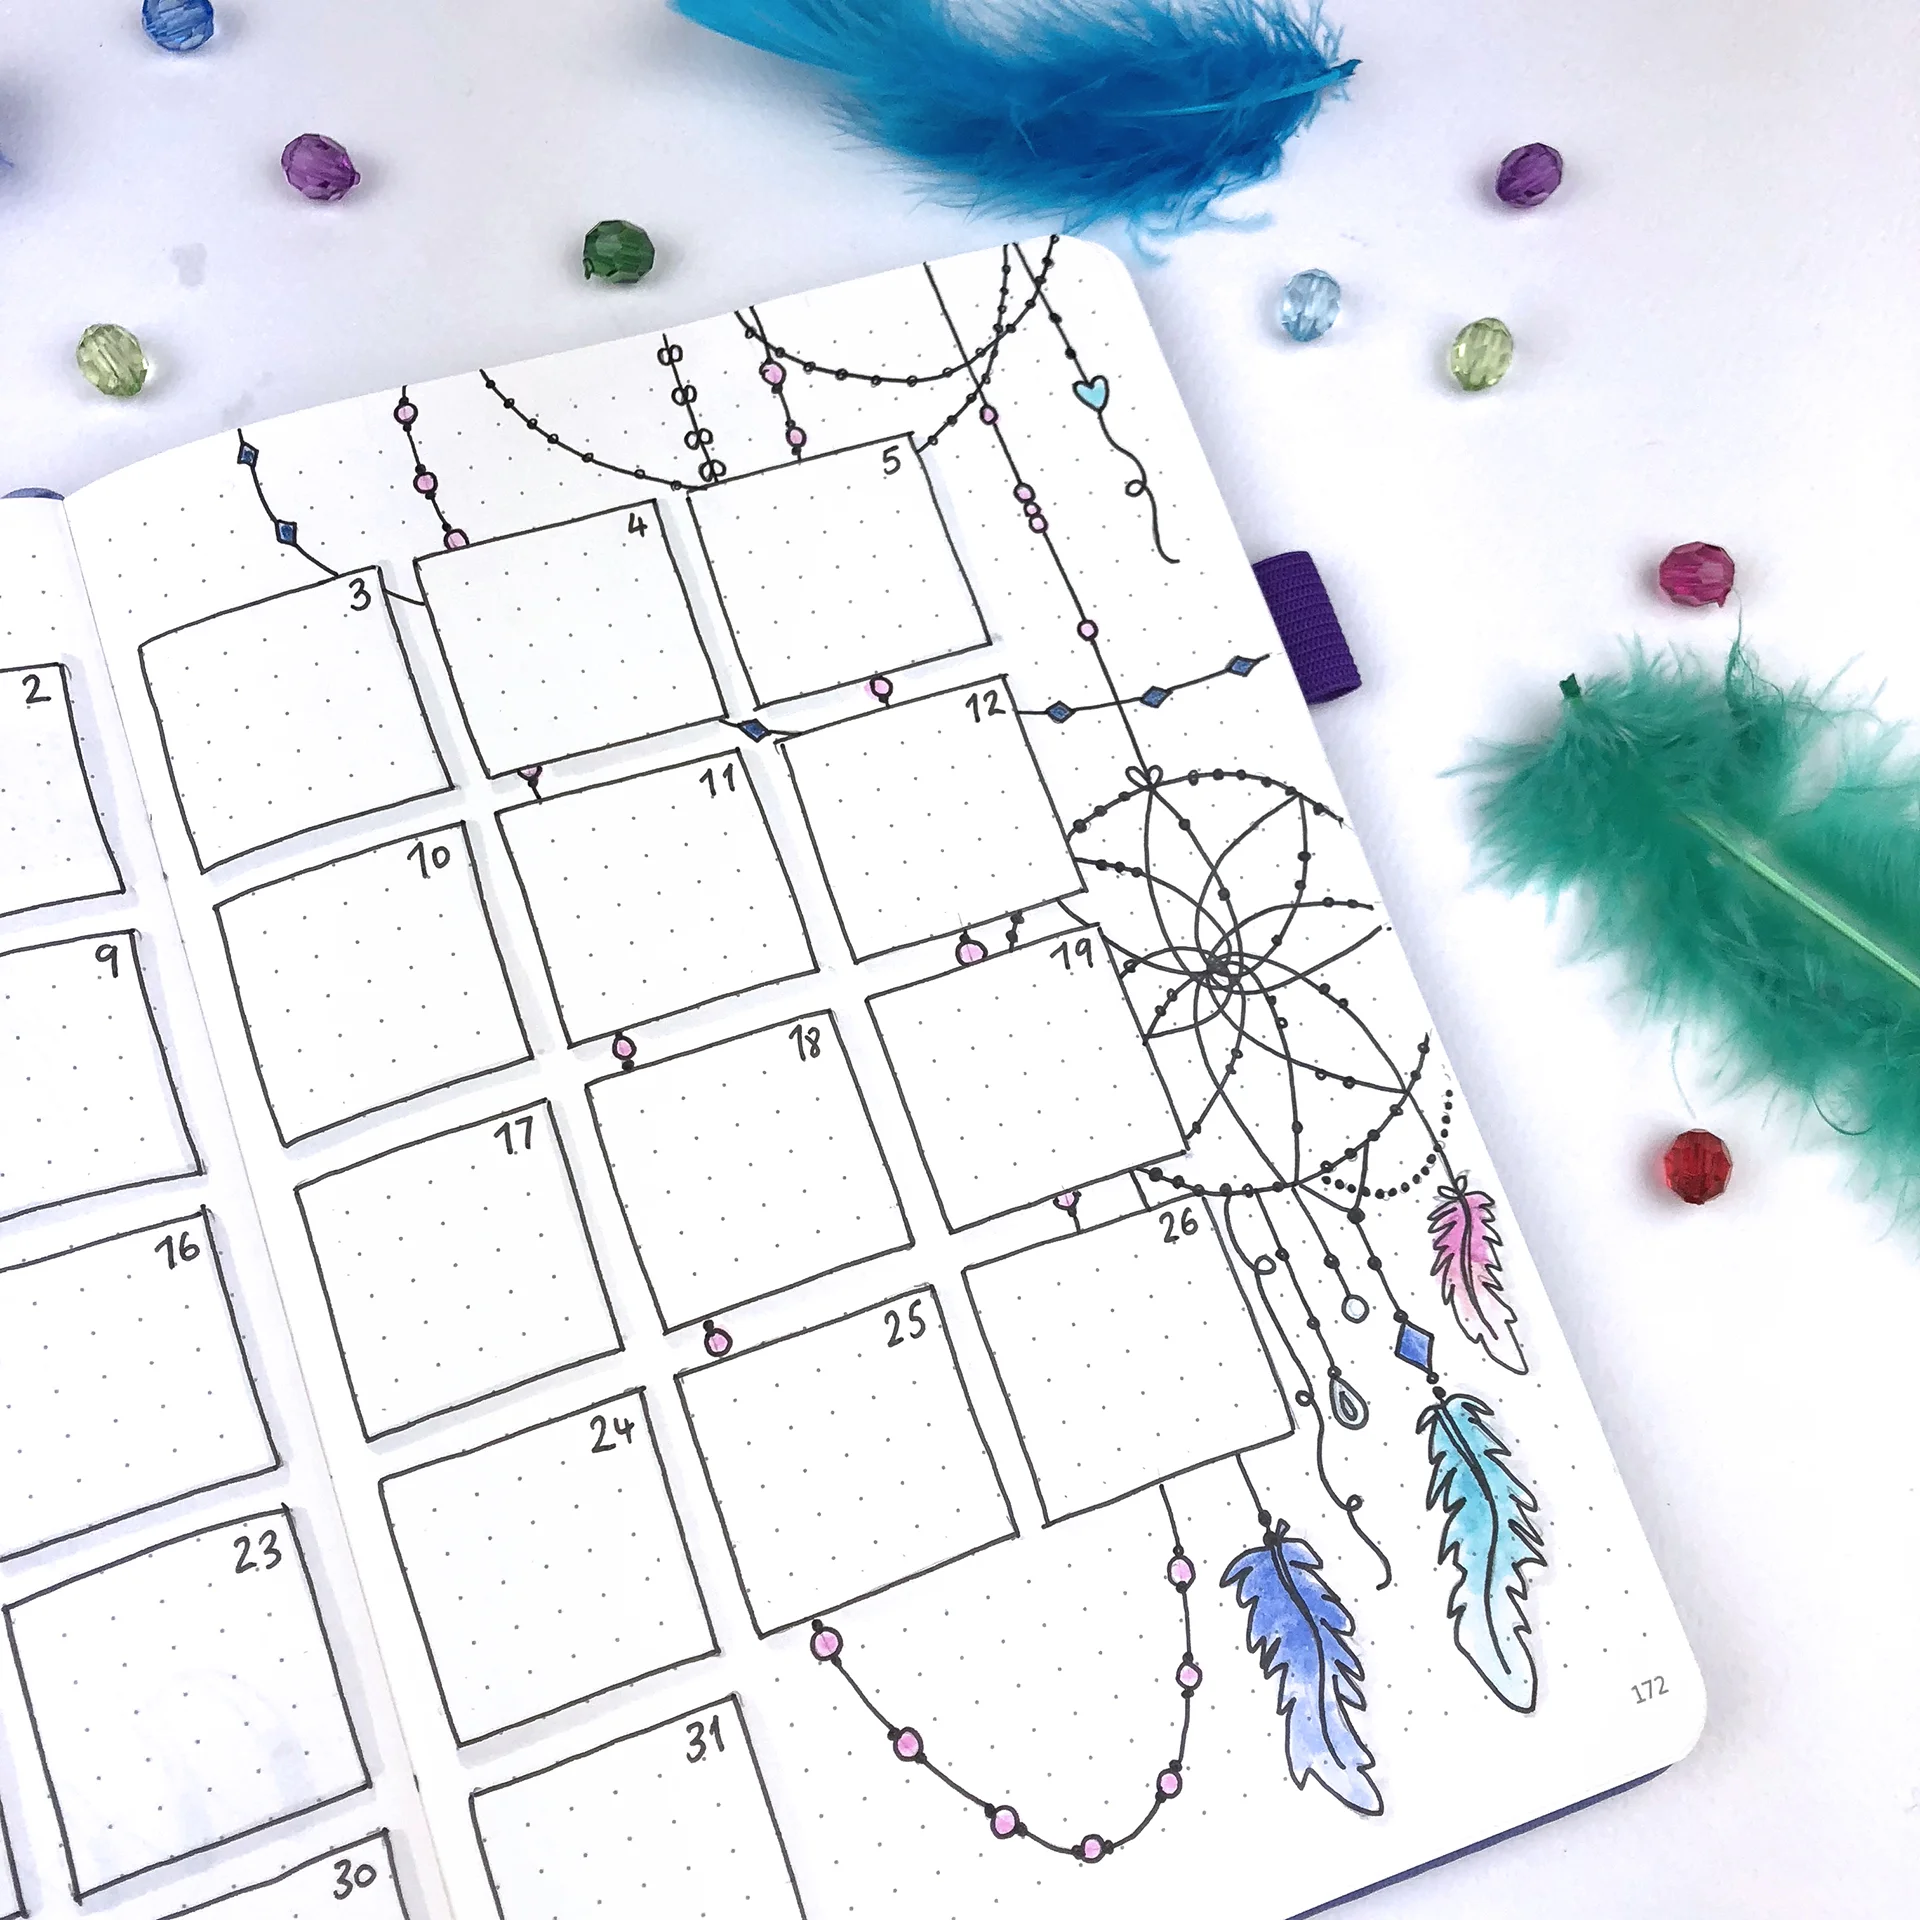
This layout also gave me enough space to continue the theme and decorate the spread with more feathers, beads, an arrow and a dream catcher.

From then on my spreads continue as usual. The next spread is my Monthly Goals with my Personal and Business categories. August is a more laid back month, so I don't plan to work too much. I've decided to spend more time with my family and to plan lots of excursions! However, I'm still going to do some planning, therefore I created all the spreads that I usually do in the previous months.
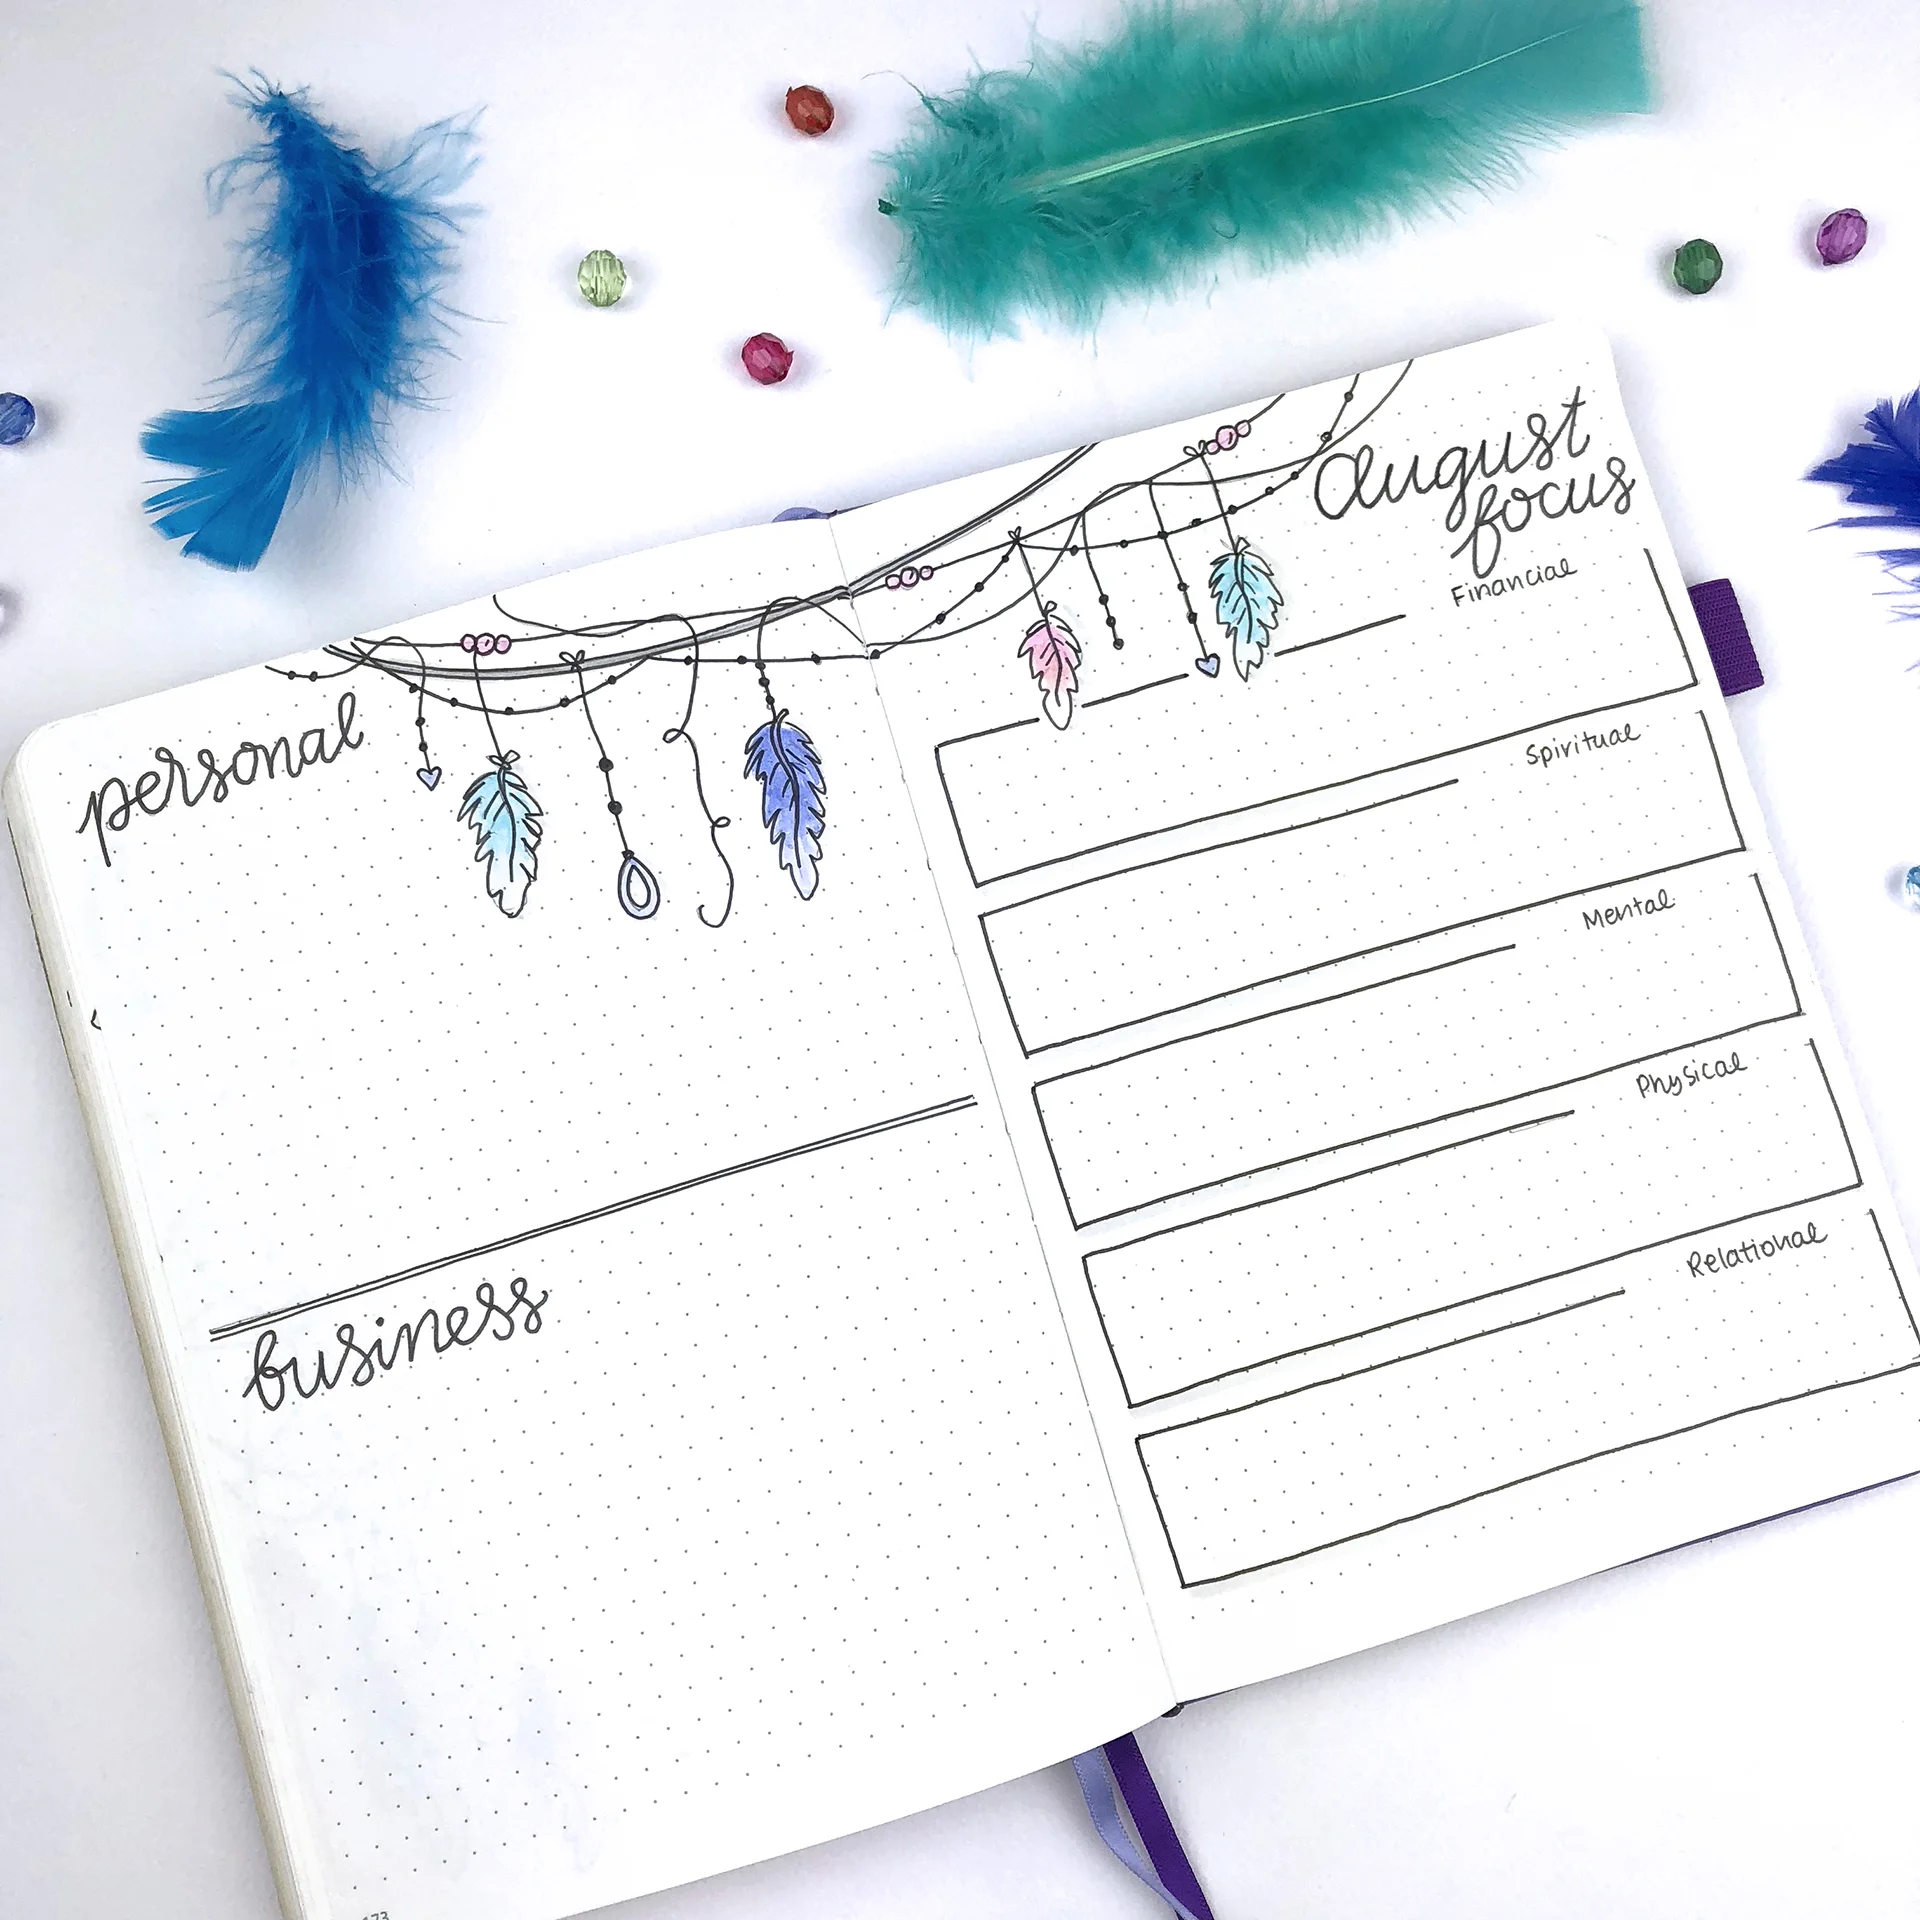
I love how I incorporated the theme in my Monthly Focus spread as well, and the two pages work perfectly together.
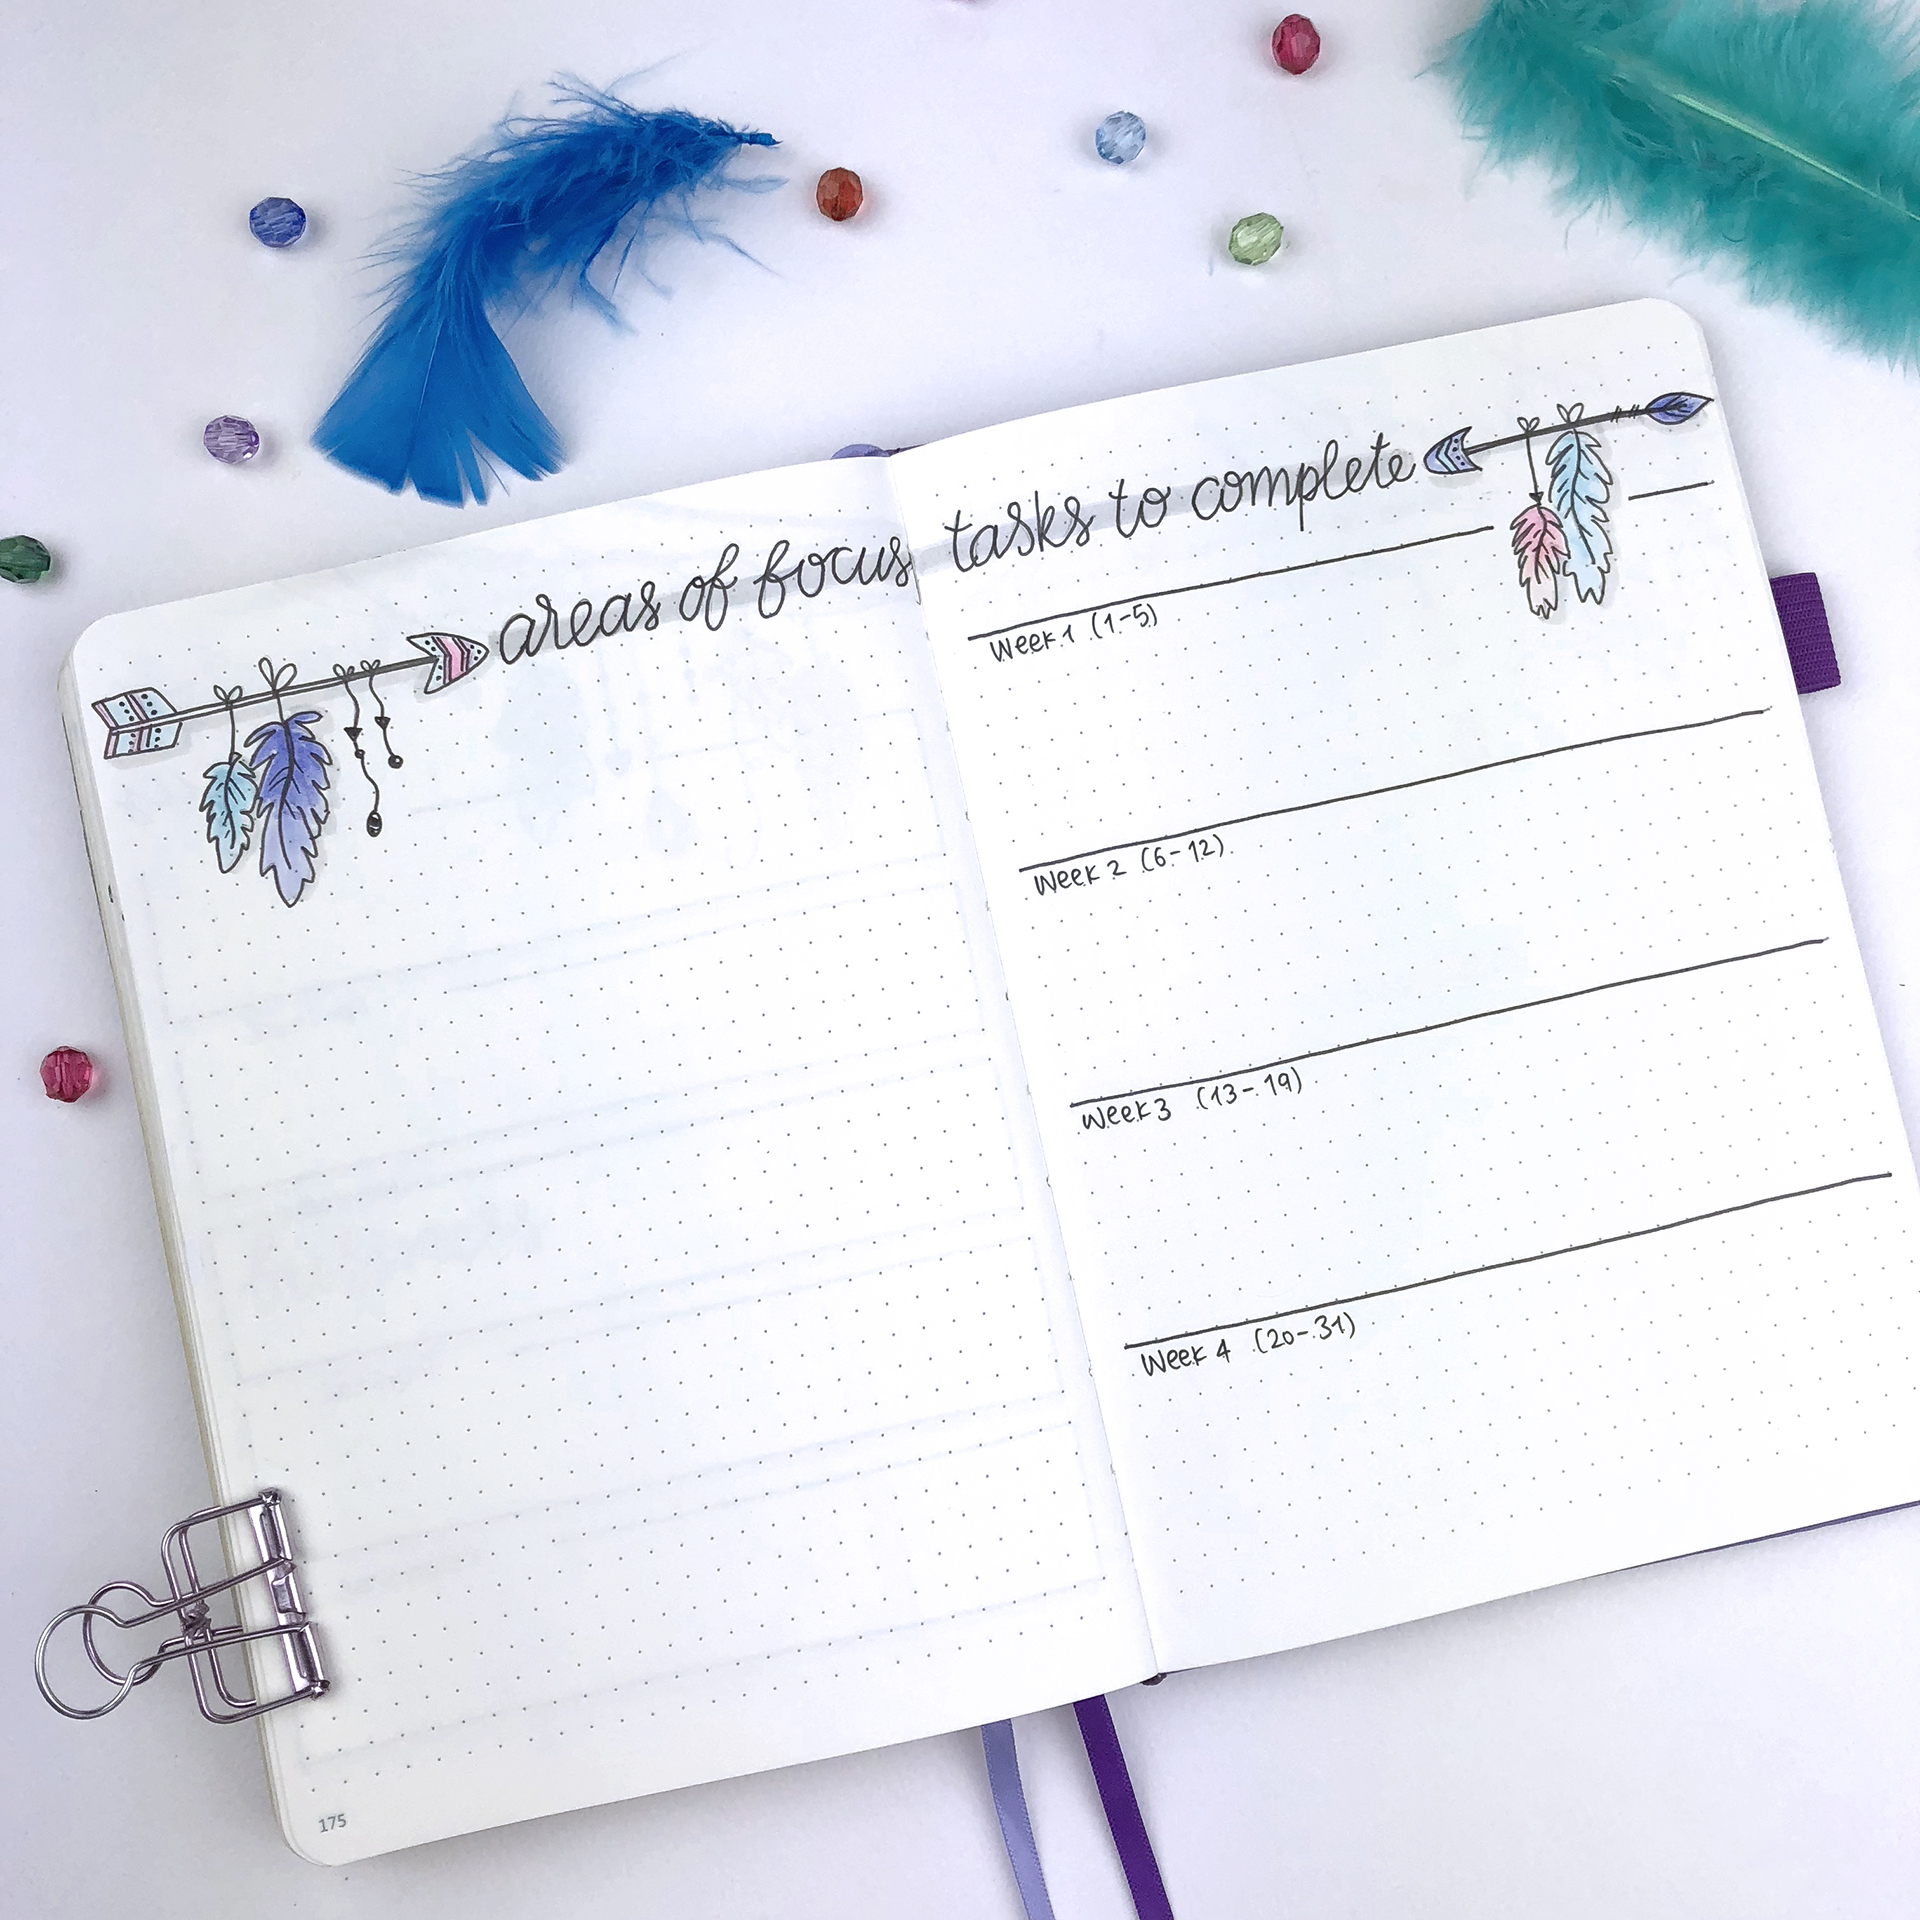
Next comes my 'Areas of Focus / Tasks to Complete' spread. Planning each week separately is very helpful, especially when there's lots of trips and excursions to plan ahead!

Next comes my Finances spread. I'll be going to London in August for a few days, so I think I should have made the expenses list a bit bigger!!! 😂 My wish list has grown dramatically and it looks very scary and excited at the same time!!!

Next comes my Notes page as always. I keep on adding lots of things in my notes page each month, and I think I might start making it into a 2-page spread from next month! We'll see...

The last spread is the first Weekly Spread of the month. I love the details of the arrows and how cute this page looks!
SUPPLIES USED:
- Scribbles That Matter notebook
- Faber-Castell PITT Artist Pen in S, M
- Tombow Dual Brush Markers (673, 491, 990, 533, 553, N89, N95, 451, and 800)
- Sakura Pigma Micron 0.2, 0.3, 0.4
- Sakura Gelly Roll Pens 738, 721
And that is one more month planned in my bullet journal. Have you decided on August's theme yet? Do you prepare ahead of time, or you like to start planning on the 1st of each month? Let me know in the comments below. Also, if you use the same theme like me, please send me a picture of it at christina77star@gmail.com


Dingbats Notebook Review
I've been bullet journaling for over 2 years now, and during all this time I've used and tried various notebooks. More specifically I've used a Moleskine, a William & Hannah one, a Jane's Agenda notebook, lots of Leuchtturm1917 ones and my last one has been a Scribbles That Matter notebook.
I'm always keen to try new notebooks! I love testing the pages and creating in them!
I've been wanting to try the Dingbats notebook or a while now. I kept on hearing lots of good reviews about it, and a few YouTubers that I follow use one. When the Earth Collection was released, I knew I had to buy one. And since my 4th bullet journal is almost finished, I was just about to make a purchase. The lovely people from Dingbats were kind enough to send me one of their notebooks for review and of course I jumped at the opportunity!

It arrived perfectly packaged within a few days! And I have to tell you, it was love at first sight!
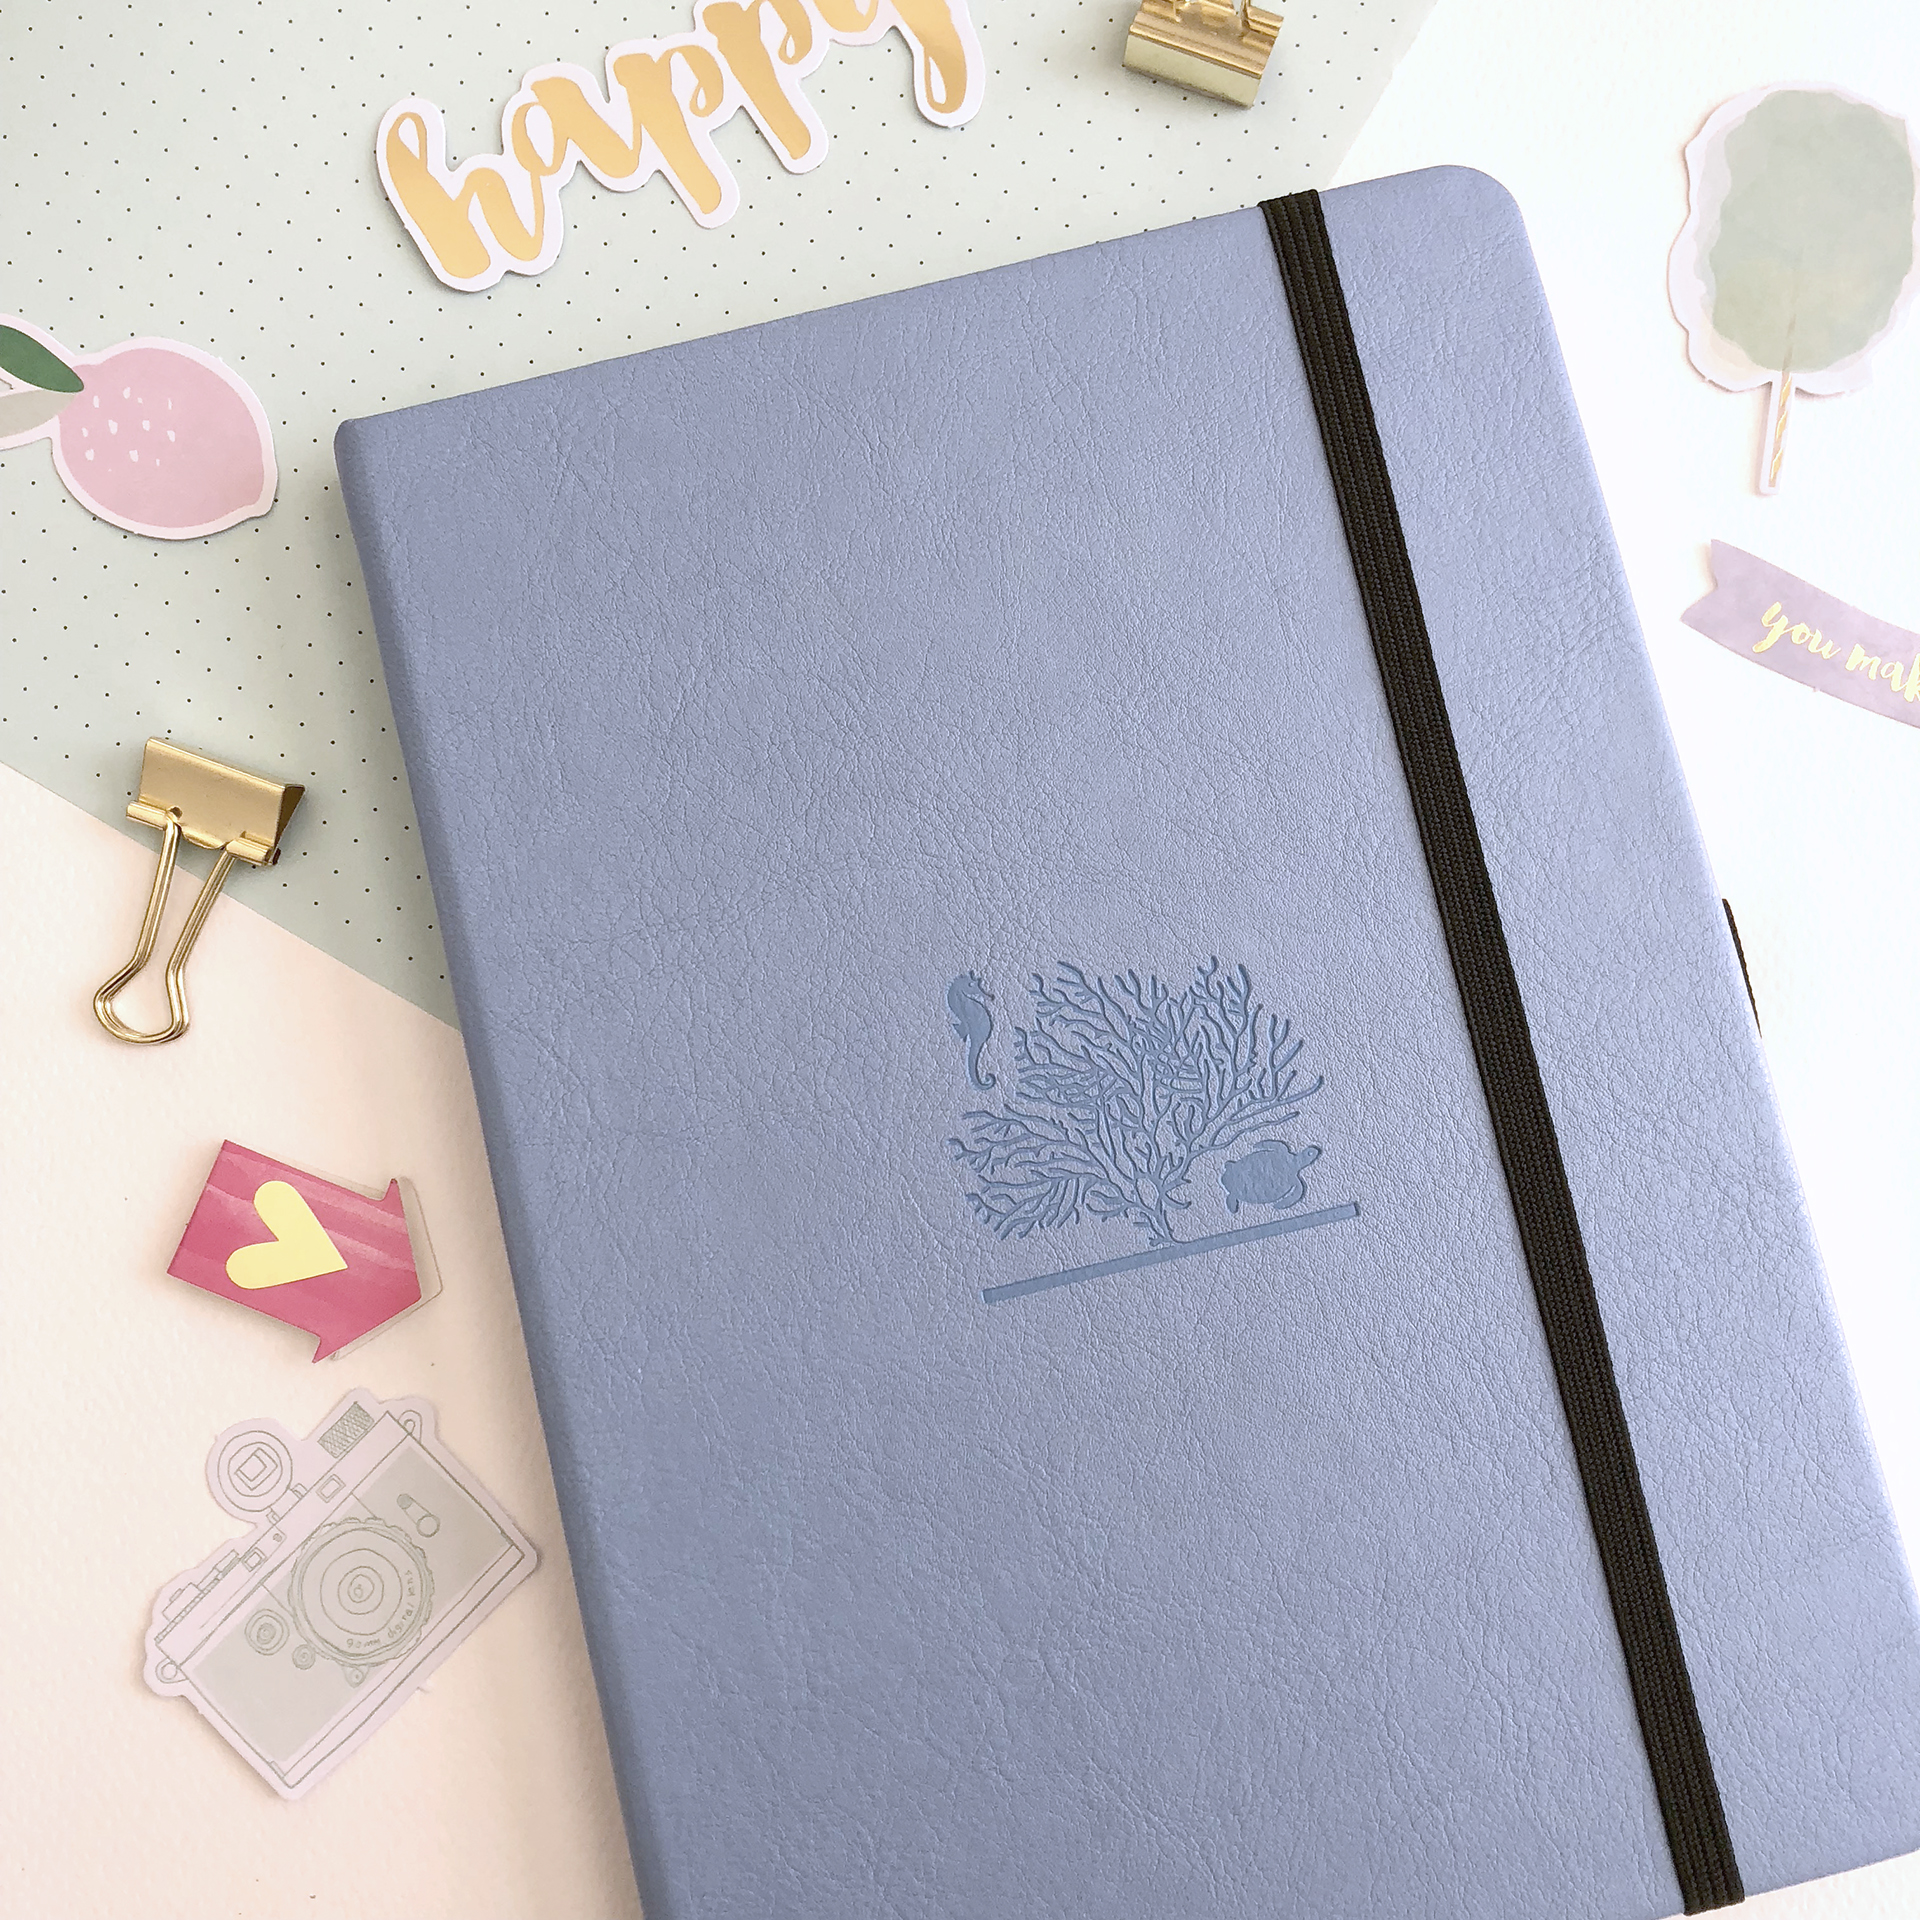
I've chosen the 'Great Barrier Reef' one from the Earth Collection in A5 size, with dotted pages which comes in a lovely sky blue colour. The pictures just don't make justice of how pretty the colour and the design of this notebook is!

The quality is amazing, the finish and the details of the design are exceptional. And as you can tell I'm very pleased with my new notebook and I can't wait to start creating in it!

There is an elastic band in black colour to keep the notebook closed, and a pen holder.


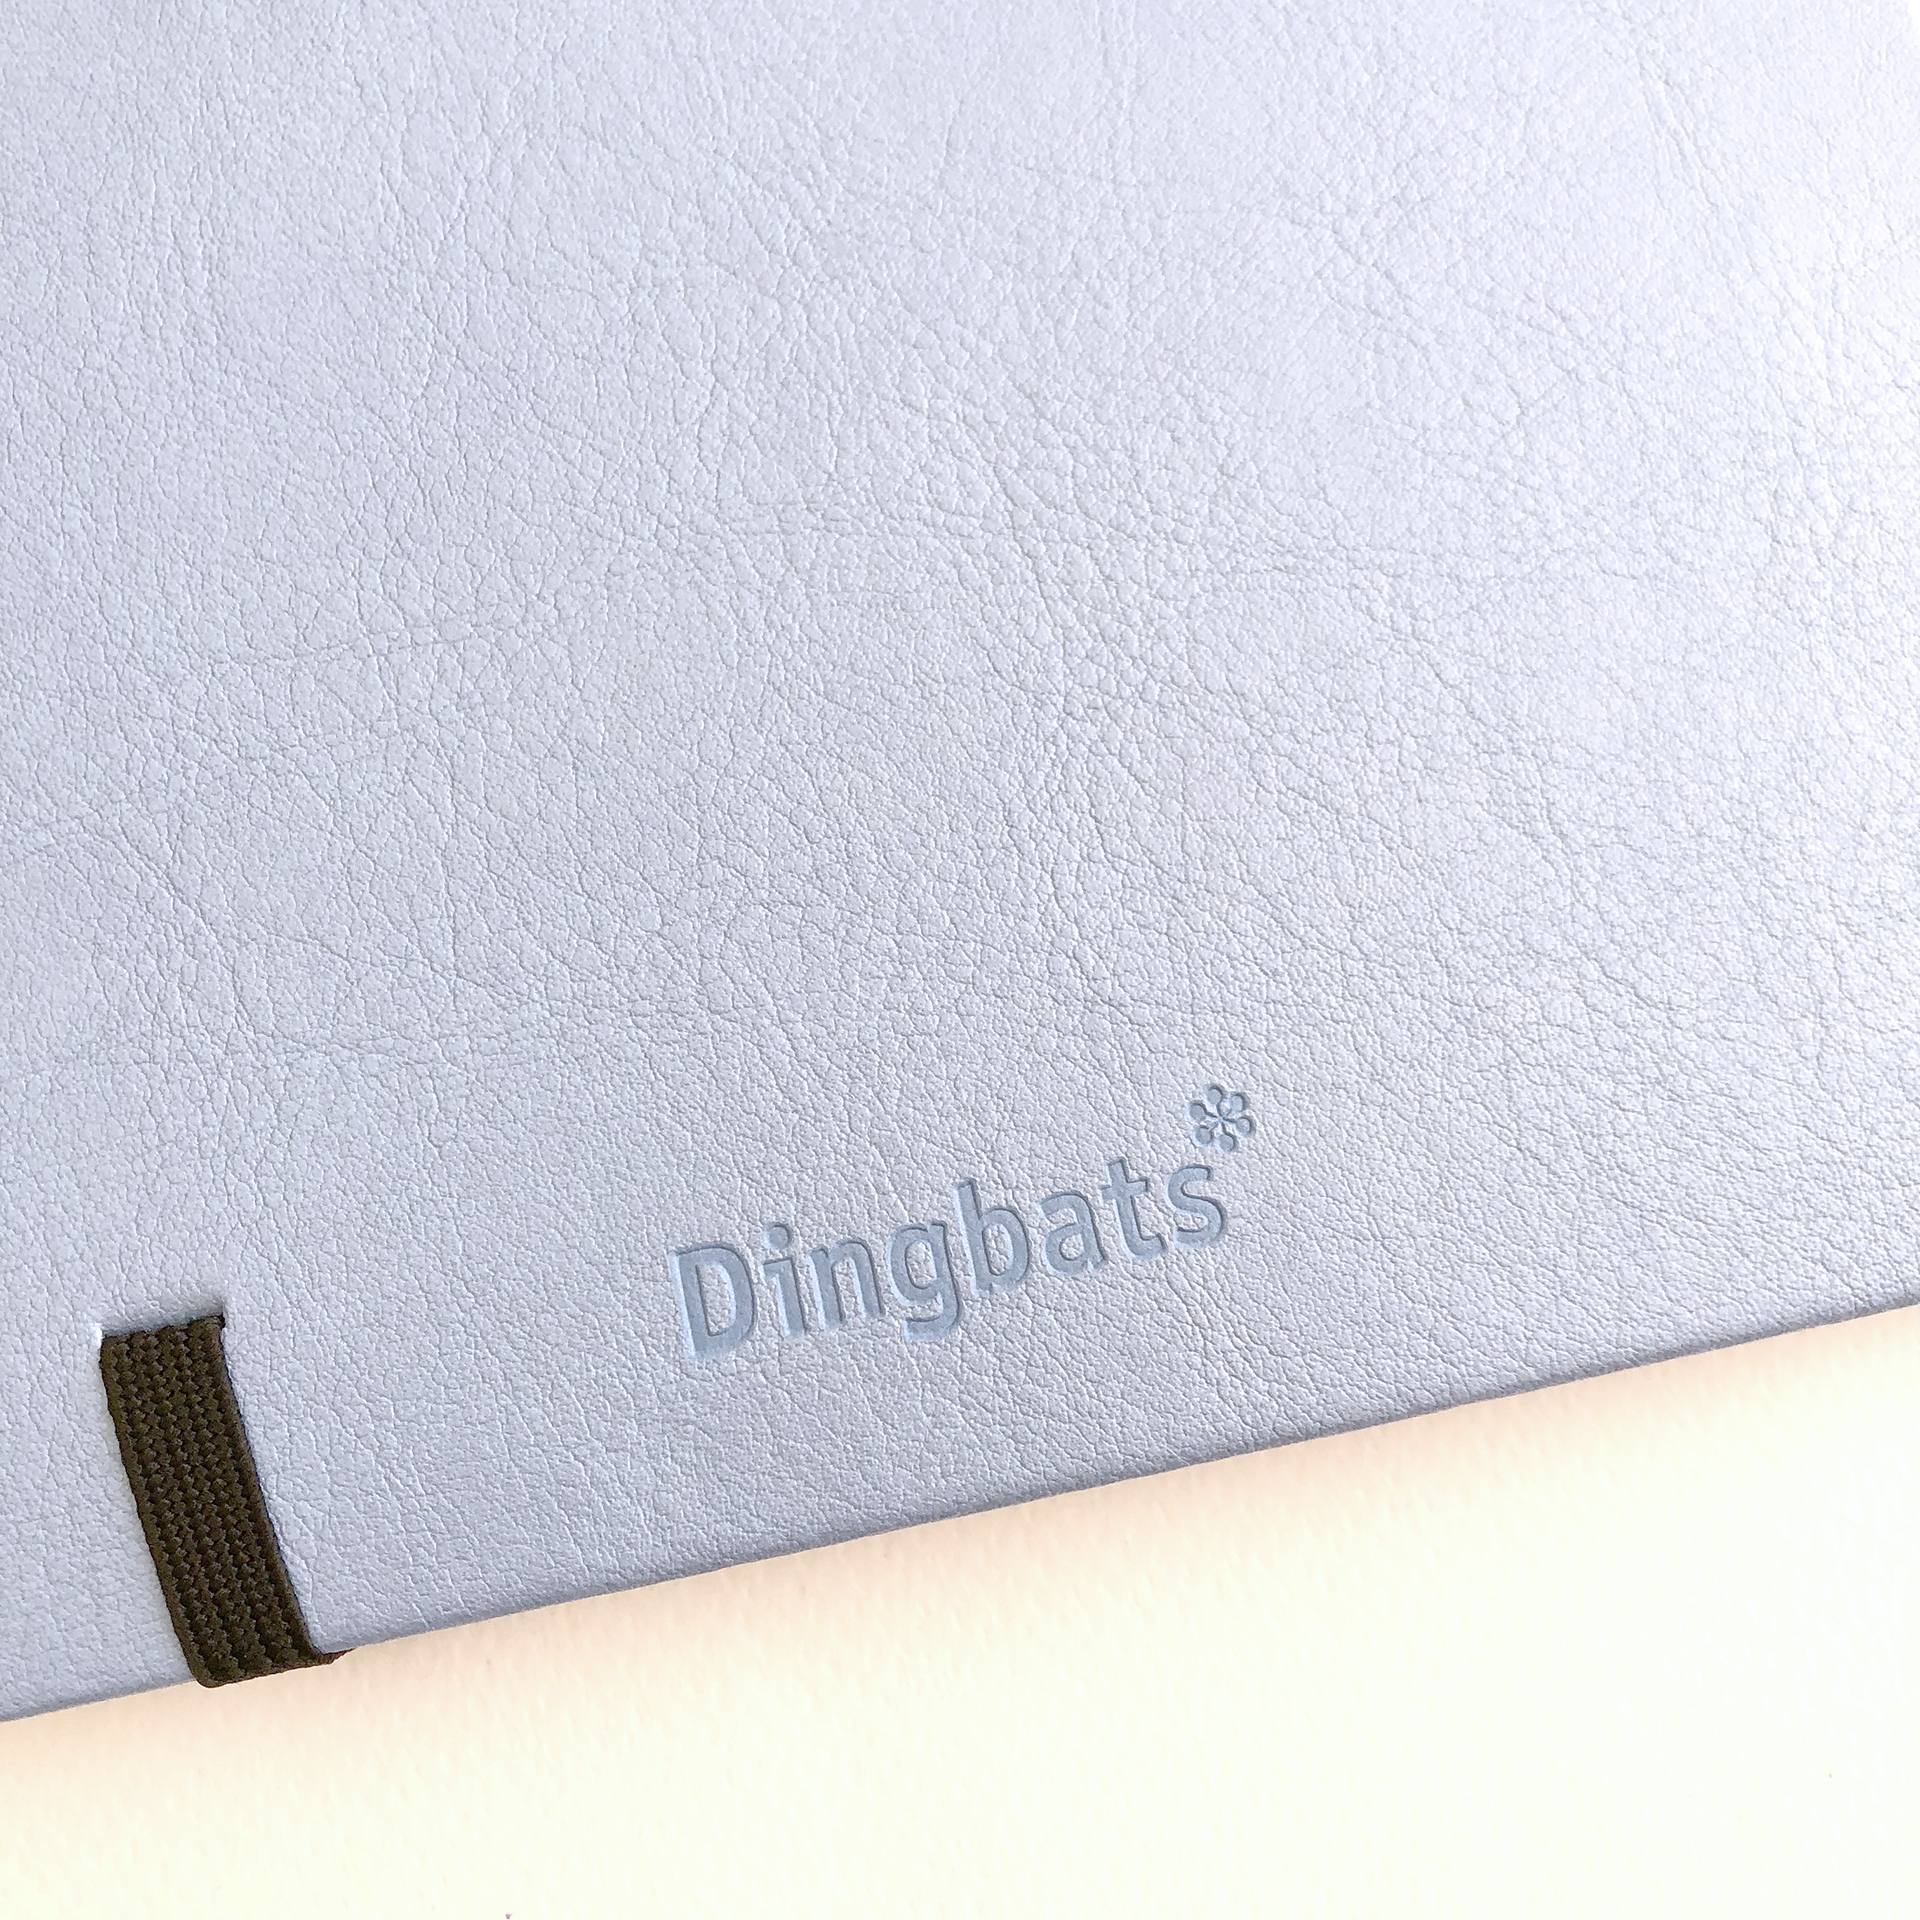
The cover of the notebook is very soft and smooth. It is bound with pearlescent PU leather (100% vegan) with a Great Barrier Reef debossing. I love how cute and elegant it looks!


Printed on the inside cover of the notebook is an infographic spread for you to explore more about the reef, its threats and how we can help save it.

The next page is this lovely blue page full of fish, corals and turtles, which I think is such a lovely touch. And on the opposite page, it has a section for you to write your name and all your details, which I really like.

Then there is a page with a guide which explains how to use the new feature of page tabs that are included in the notebook, and get the most out of it. It also shows how to create your own key.
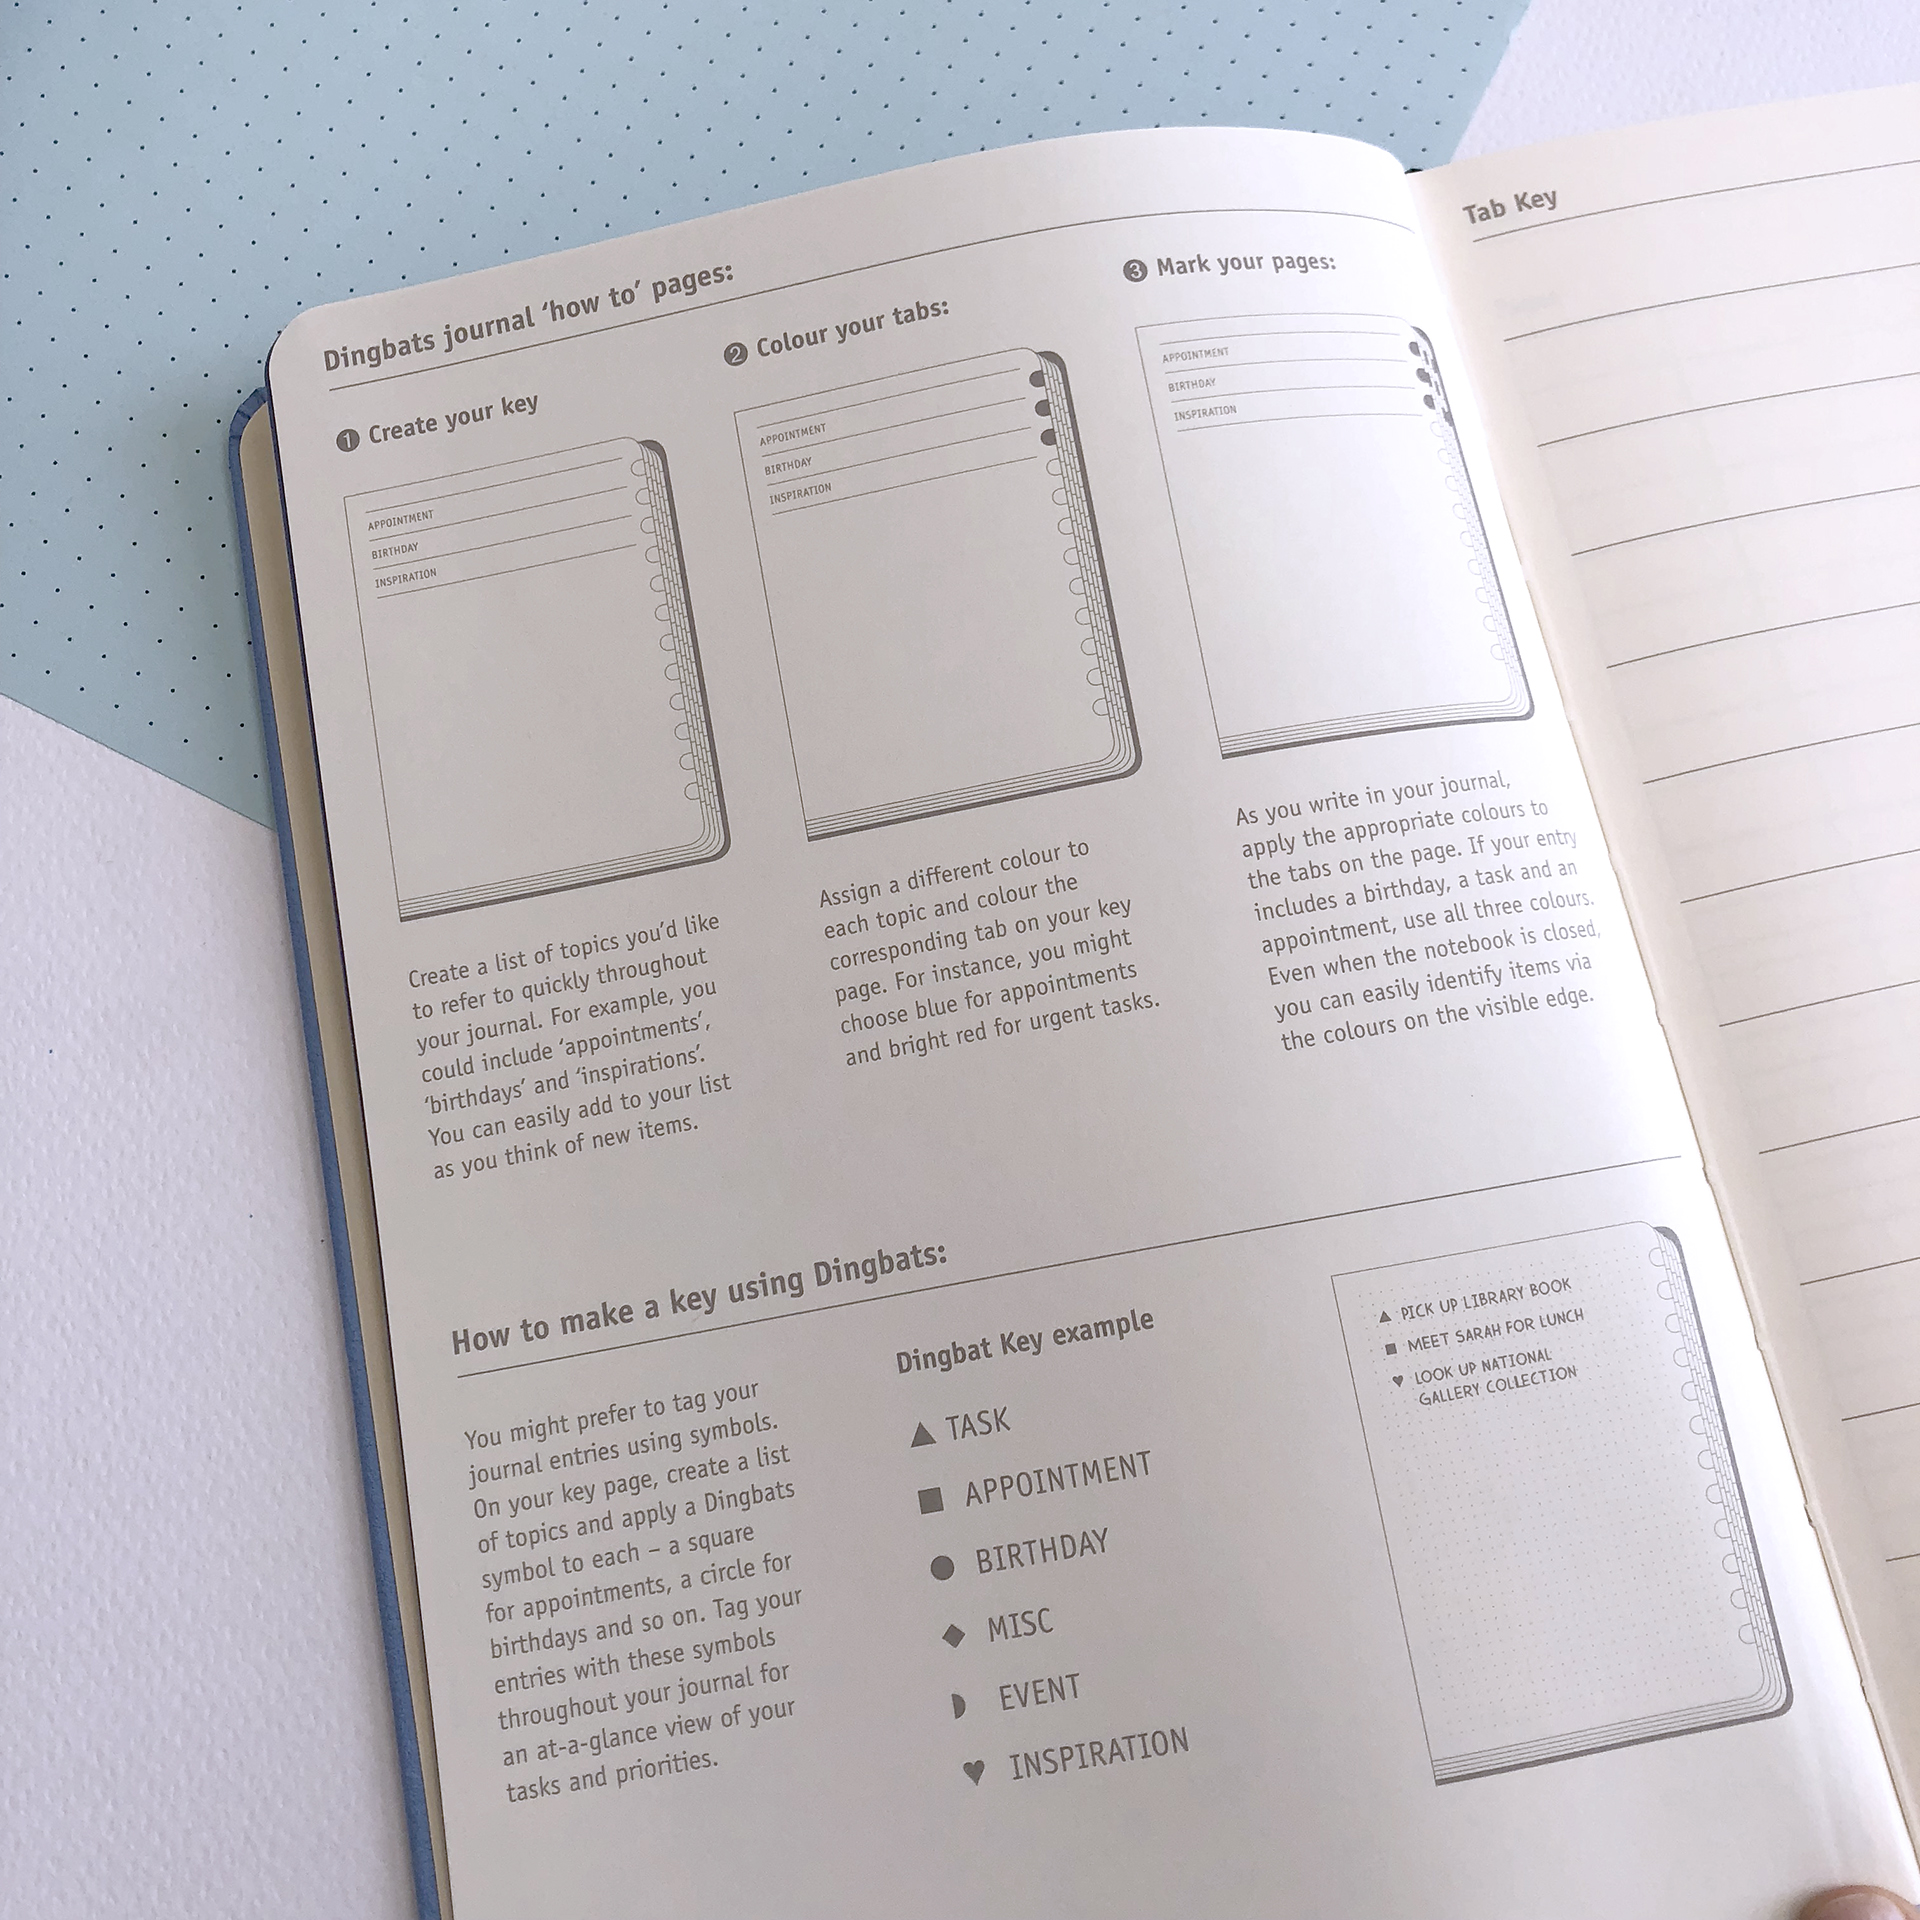

So, on the Tab Key page, you can create a list of categories of the pages you'll create in your bullet journal. For example, you can write Monthly Spreads, Weekly Spreads, various collections you might have on certain topics like family, finances, health, travel etc. You can add and personalise your notebook any way you want!

Then you assign a colour for each one of the above topics and you colour the corresponding tab on your key page. These tabs are on all the pages in the notebook, and so as you write in your journal you apply the appropriate colour to the tab on the page. So, even when your notebook is closed you can easily identify items through the colours on the visible edge.
I think that it's such a cool idea and it makes it easier for you to find things in your bullet journal!

Then you can turn the page and create your own Colour Key and add your own signifiers for the things you want to log in your pages, i.e. your tasks, birthdays, appointments etc.

Moving further, there are 3 pages for the Index, which I really like. It gives you plenty of room to write things down, and to also categorise your topics.

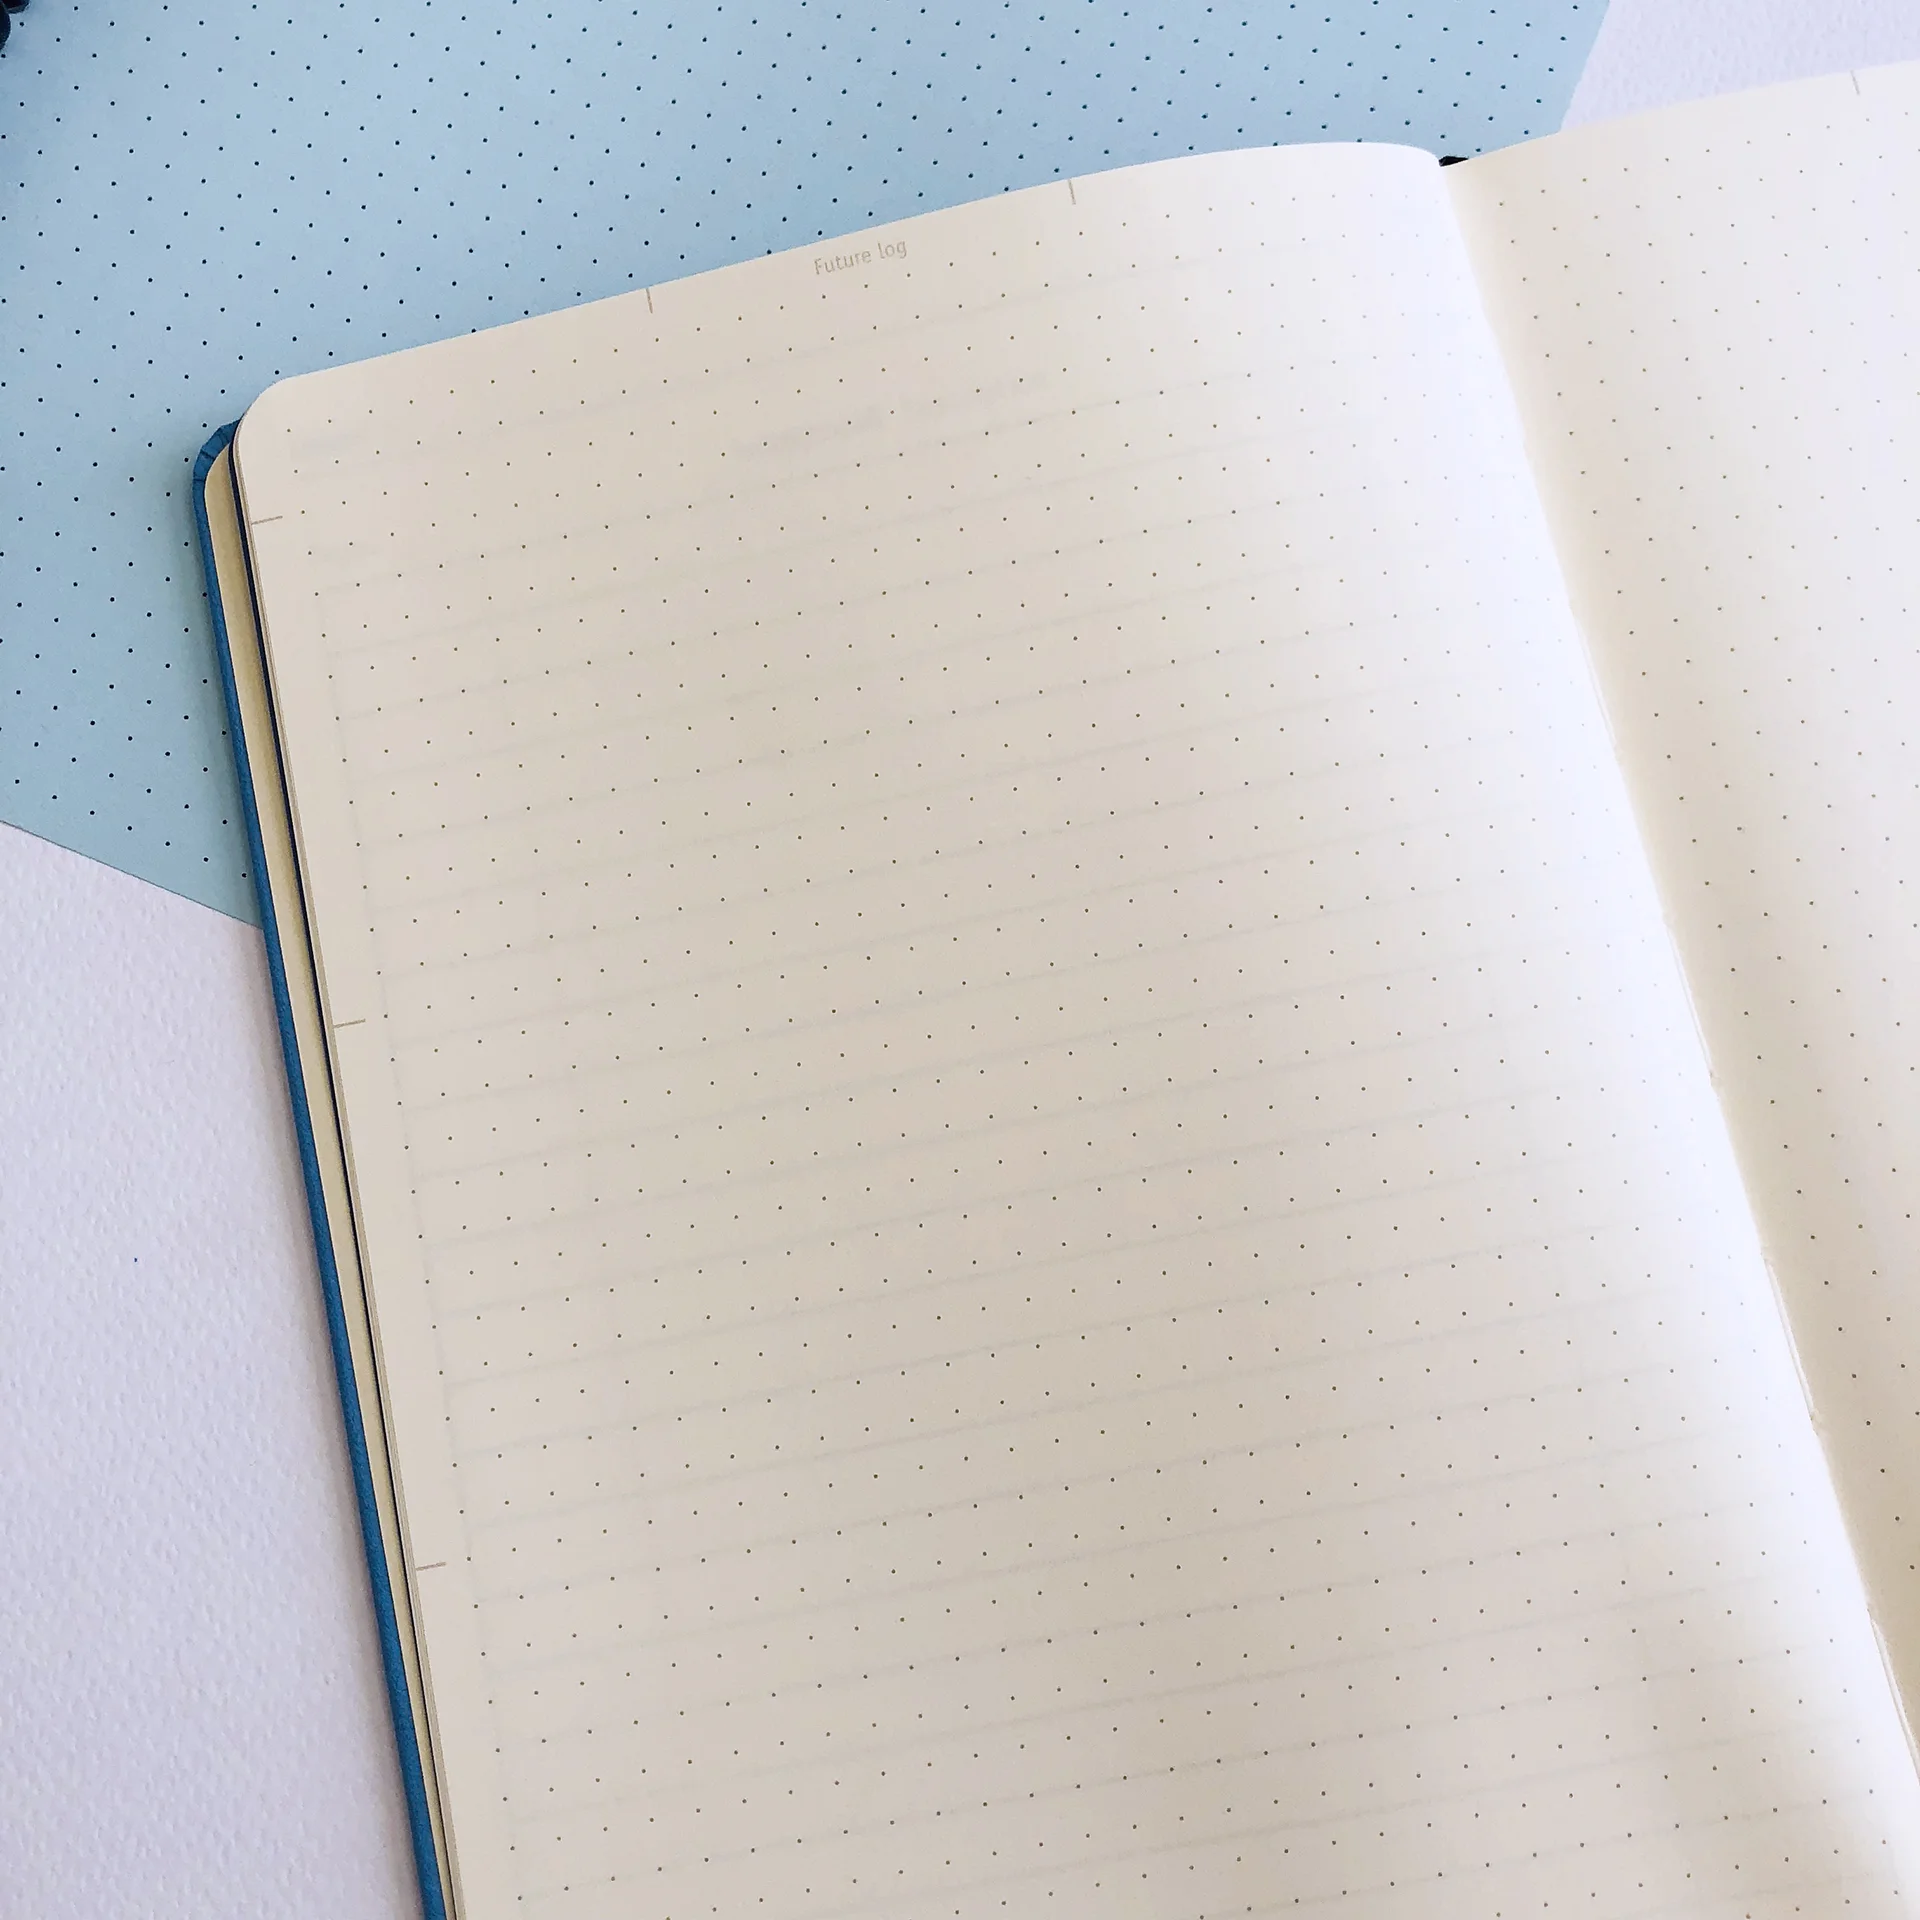
Then there are 4 pages dedicated to Future Log. There are also lines at the edge of the pages that help you create a grid if you want for your future log. too.
At the back you also find the back pocket that, as you can see in the picture below, it has those designs I mentioned before, throughout. These details add to the quality of this notebook.

You also get a little leaflet with all the various collections and lots of information on their products.

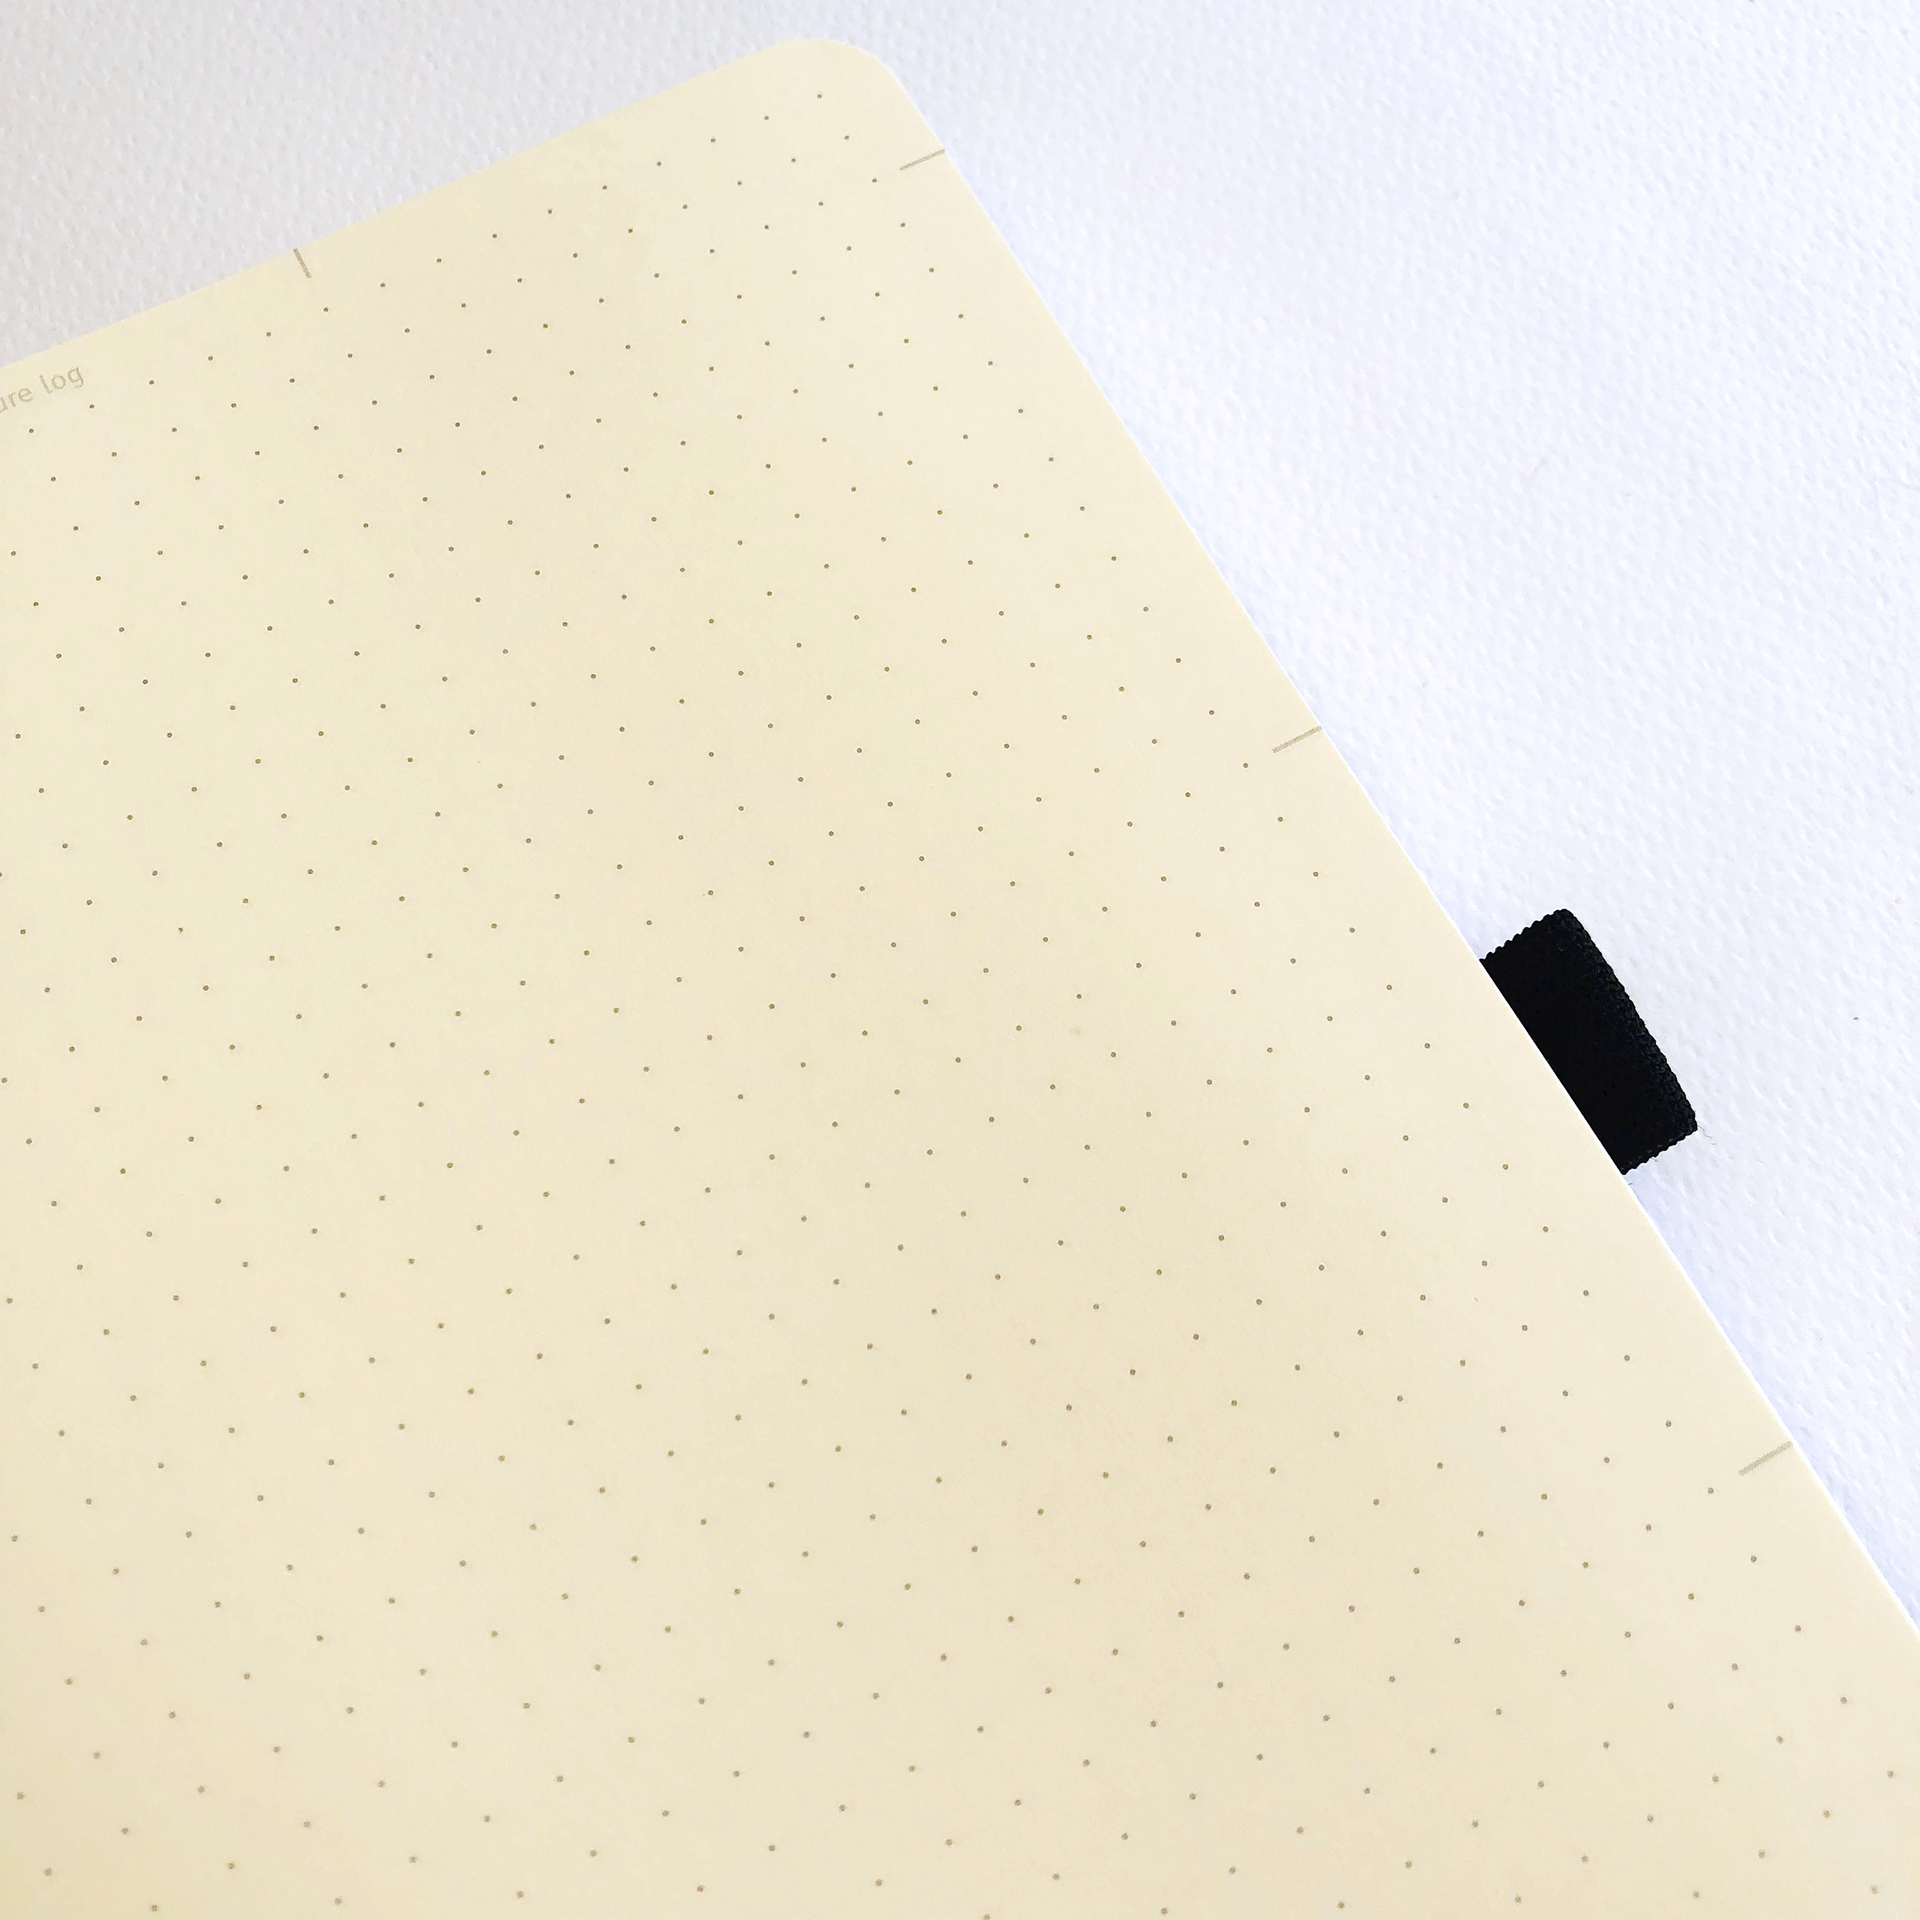
There's two bookmarks in two different colours - blue and black.


The pages are numbered. Each page is of 100gsm coated cream fountain pen-friendly FSC-certified paper, with a total of 96 sheets or 192 pages. And the notebook can open flat. The dots on the page are 5mm apart (like the Leuchtturm1917), and they are in light grey colour.
It has 28 boxes horizontally and 39 vertically, which is slightly bigger from any other notebook I've used.
To compair, Scribbles That Matter has 26 and 37 while Leuchtturm1917 has 26 and 38 respectively.
I have to say that even before I wrote on this notebook the feel of the pages was a m a z i n g!!! I don't have any other notebook that it's pages feel so good to the touch! I'm impressed!
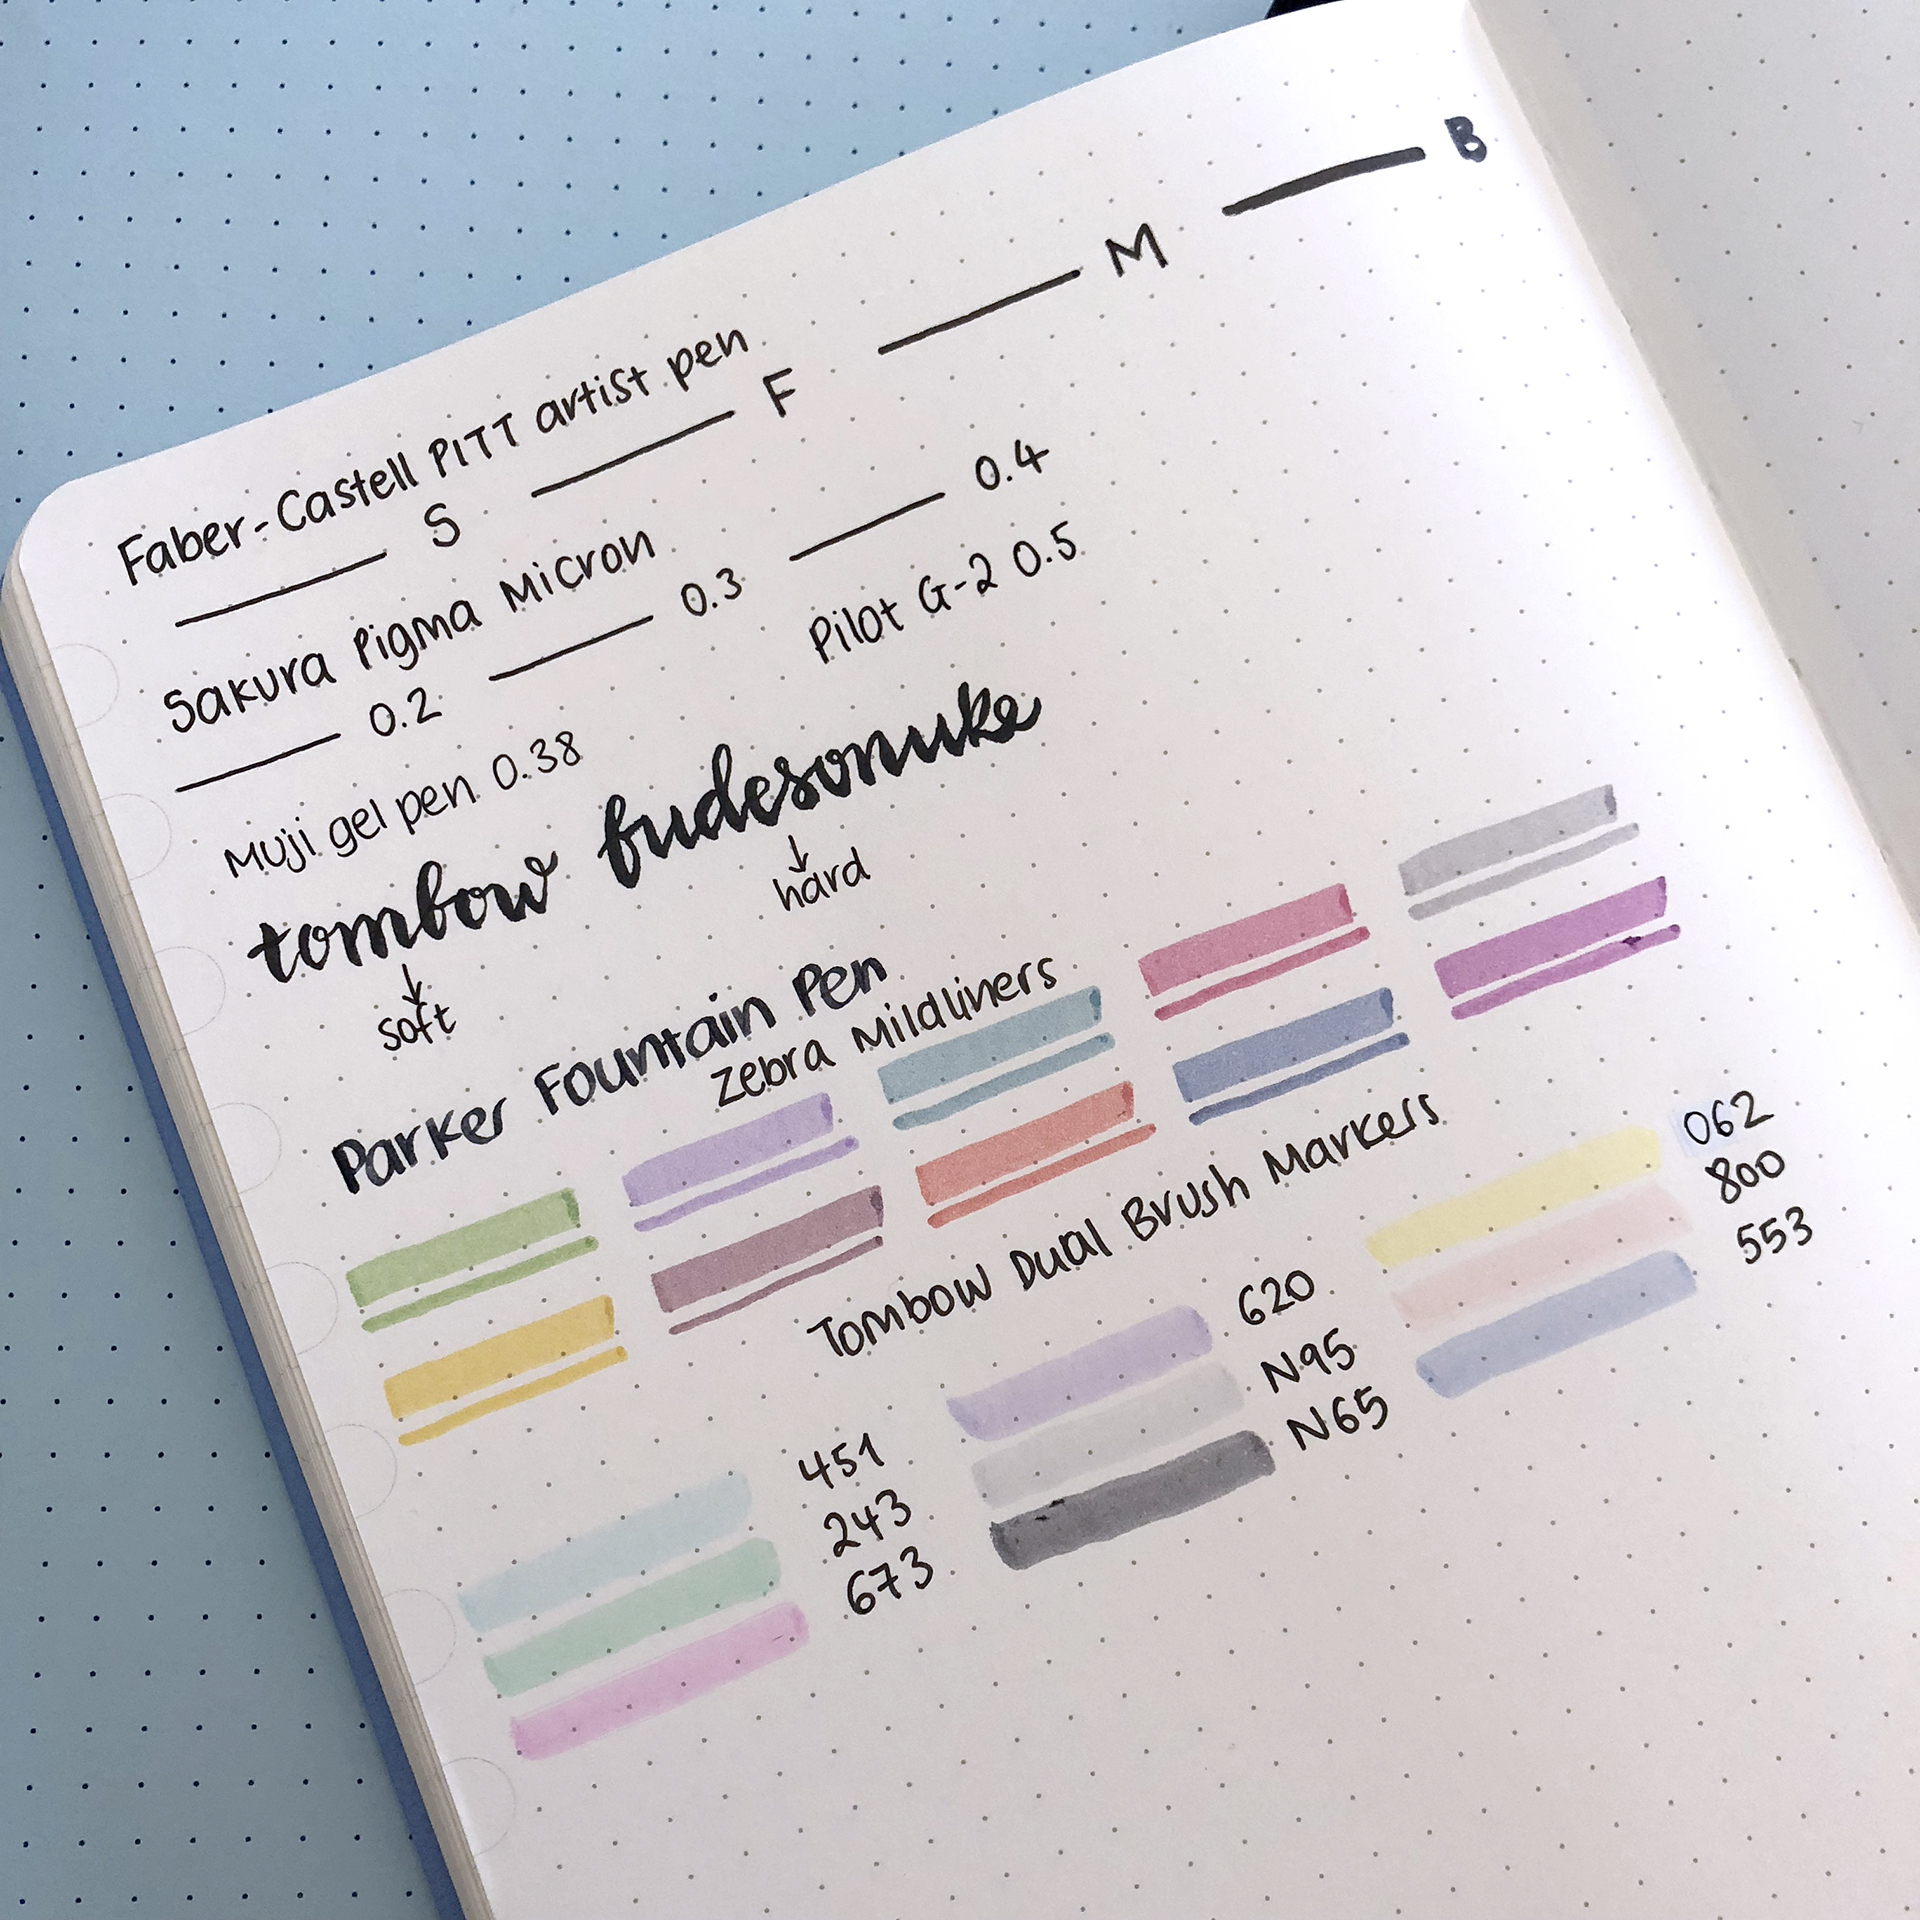

After creating a pen test page at the back of the notebook, with all my most used pens and markers, I have to say that I'm in love! 😍 Apart from the Fudenosuke brush pen (hard), which I admittedly pressed a bit more than I should for some reason, everything else is almost not even noticeable at the back of the page. Very very slight ghosting, even with my fountain pen!
I'm very pleased with my new notebook and I can't wait to start using it and setting it up!
What notebook are you using for your bullet journal? Have you used a Dingbats one before? What do you think of them?


Going on Vacation with your Bullet Journal
In today's blog post I'll show you how you can use your bullet journal while you're on vacation. I love the many uses a bullet journal has, and that each person can adjust it to his/hers lifestyle and circumstances.
So, while you're on vacation, you can create the pages and collections that you want. It's also so practical, because you have everything in one place and you take it with you as well!
Packing List
So, the first thing you can add to your bullet journal is the packing list. And the best thing about it is that you have it with you. So, after your vacation is over and you're packing to leave you can double check that you've taken everything and nothing is left behind! (I know I've done my fair share of forgotten items in hotel rooms, from my bathing suit to my phone!!! 😬)
You also have it archived in your bullet journal to use for any other trip you may have, without having to create another one.

I've also created a Packing List for a Summer Vacation Printable for anyone that's interested. It's my go to list and I love how practical it is.

If you prefer not to write your packing list in your Bullet Journal, or if you prefer to have it on a piece of paper like that, then this list is for you ;)
I tried to include everything I could think of that someone might need for their summer holidays. But I also left space under each category so that you can add any missing items you wish to take with you. There is also a 'Before I Leave' space, as well as a space for Notes.
Join now my newsletter and get the FREE Printable . Plus get access to the library of free resources.
JOIN THE GANG!
Subscribe now to my Newsletter to download the FREE Printable.
Plus get access to the Resources Library!
Maps

You can create a map of the country or the place you're going to. That's perfect if you're planning a road trip, so that you can document all the places you visit.

You can also have a map in your bullet journal where you add all the places you've already been, and keep on adding every time you go to a new one.
Itinerary
Having all the information about your trip in one place is such a good idea. That way you won't forget anything and you can just check on one page for everything you need!

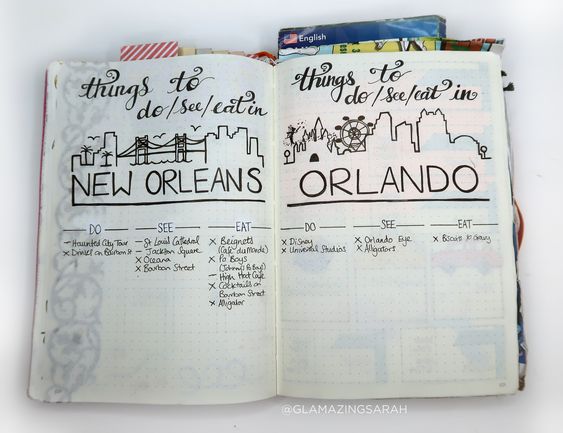
Planning
You can use your bullet journal to pre-plan your trip or to note down interesting things you've found for that place you're going to visit.
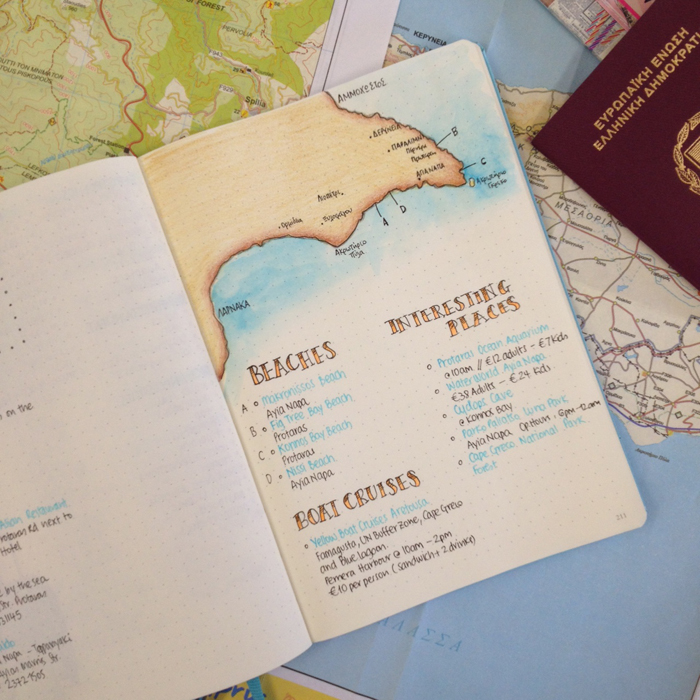
You can add beaches, museums etc. that you'd like to check out while you're there, type of foods you'd like to try or restaurants that people might have recommended, and so on.

Journal
I believe journaling is a must when you are on holidays. I always like to journal while I'm on vacation. It relaxes me and at the same time I keep all the memories I want in my notebook. My bullet journal lets me to be as creative as I want and I love it!

I decided to use the dutch door system in my latest vacation trip. I wanted to document my days during our holidays, but I also wanted to have certain information and sections at hand. It worked perfectly for what I wanted to do, and I’m really happy with the result!
So, these are a few ways you can use your bullet journal while you're on vacation.
Do you use your bullet journal while you're on vacation? What other pages or spreads do you create in it?

Bullet Journal Ideas: 5 Weekly Spread Layouts for July 2018
In today's post I'll show you the 5 layouts I’m using for my weekly spreads in my bullet journal for July, and how I've decorated them.
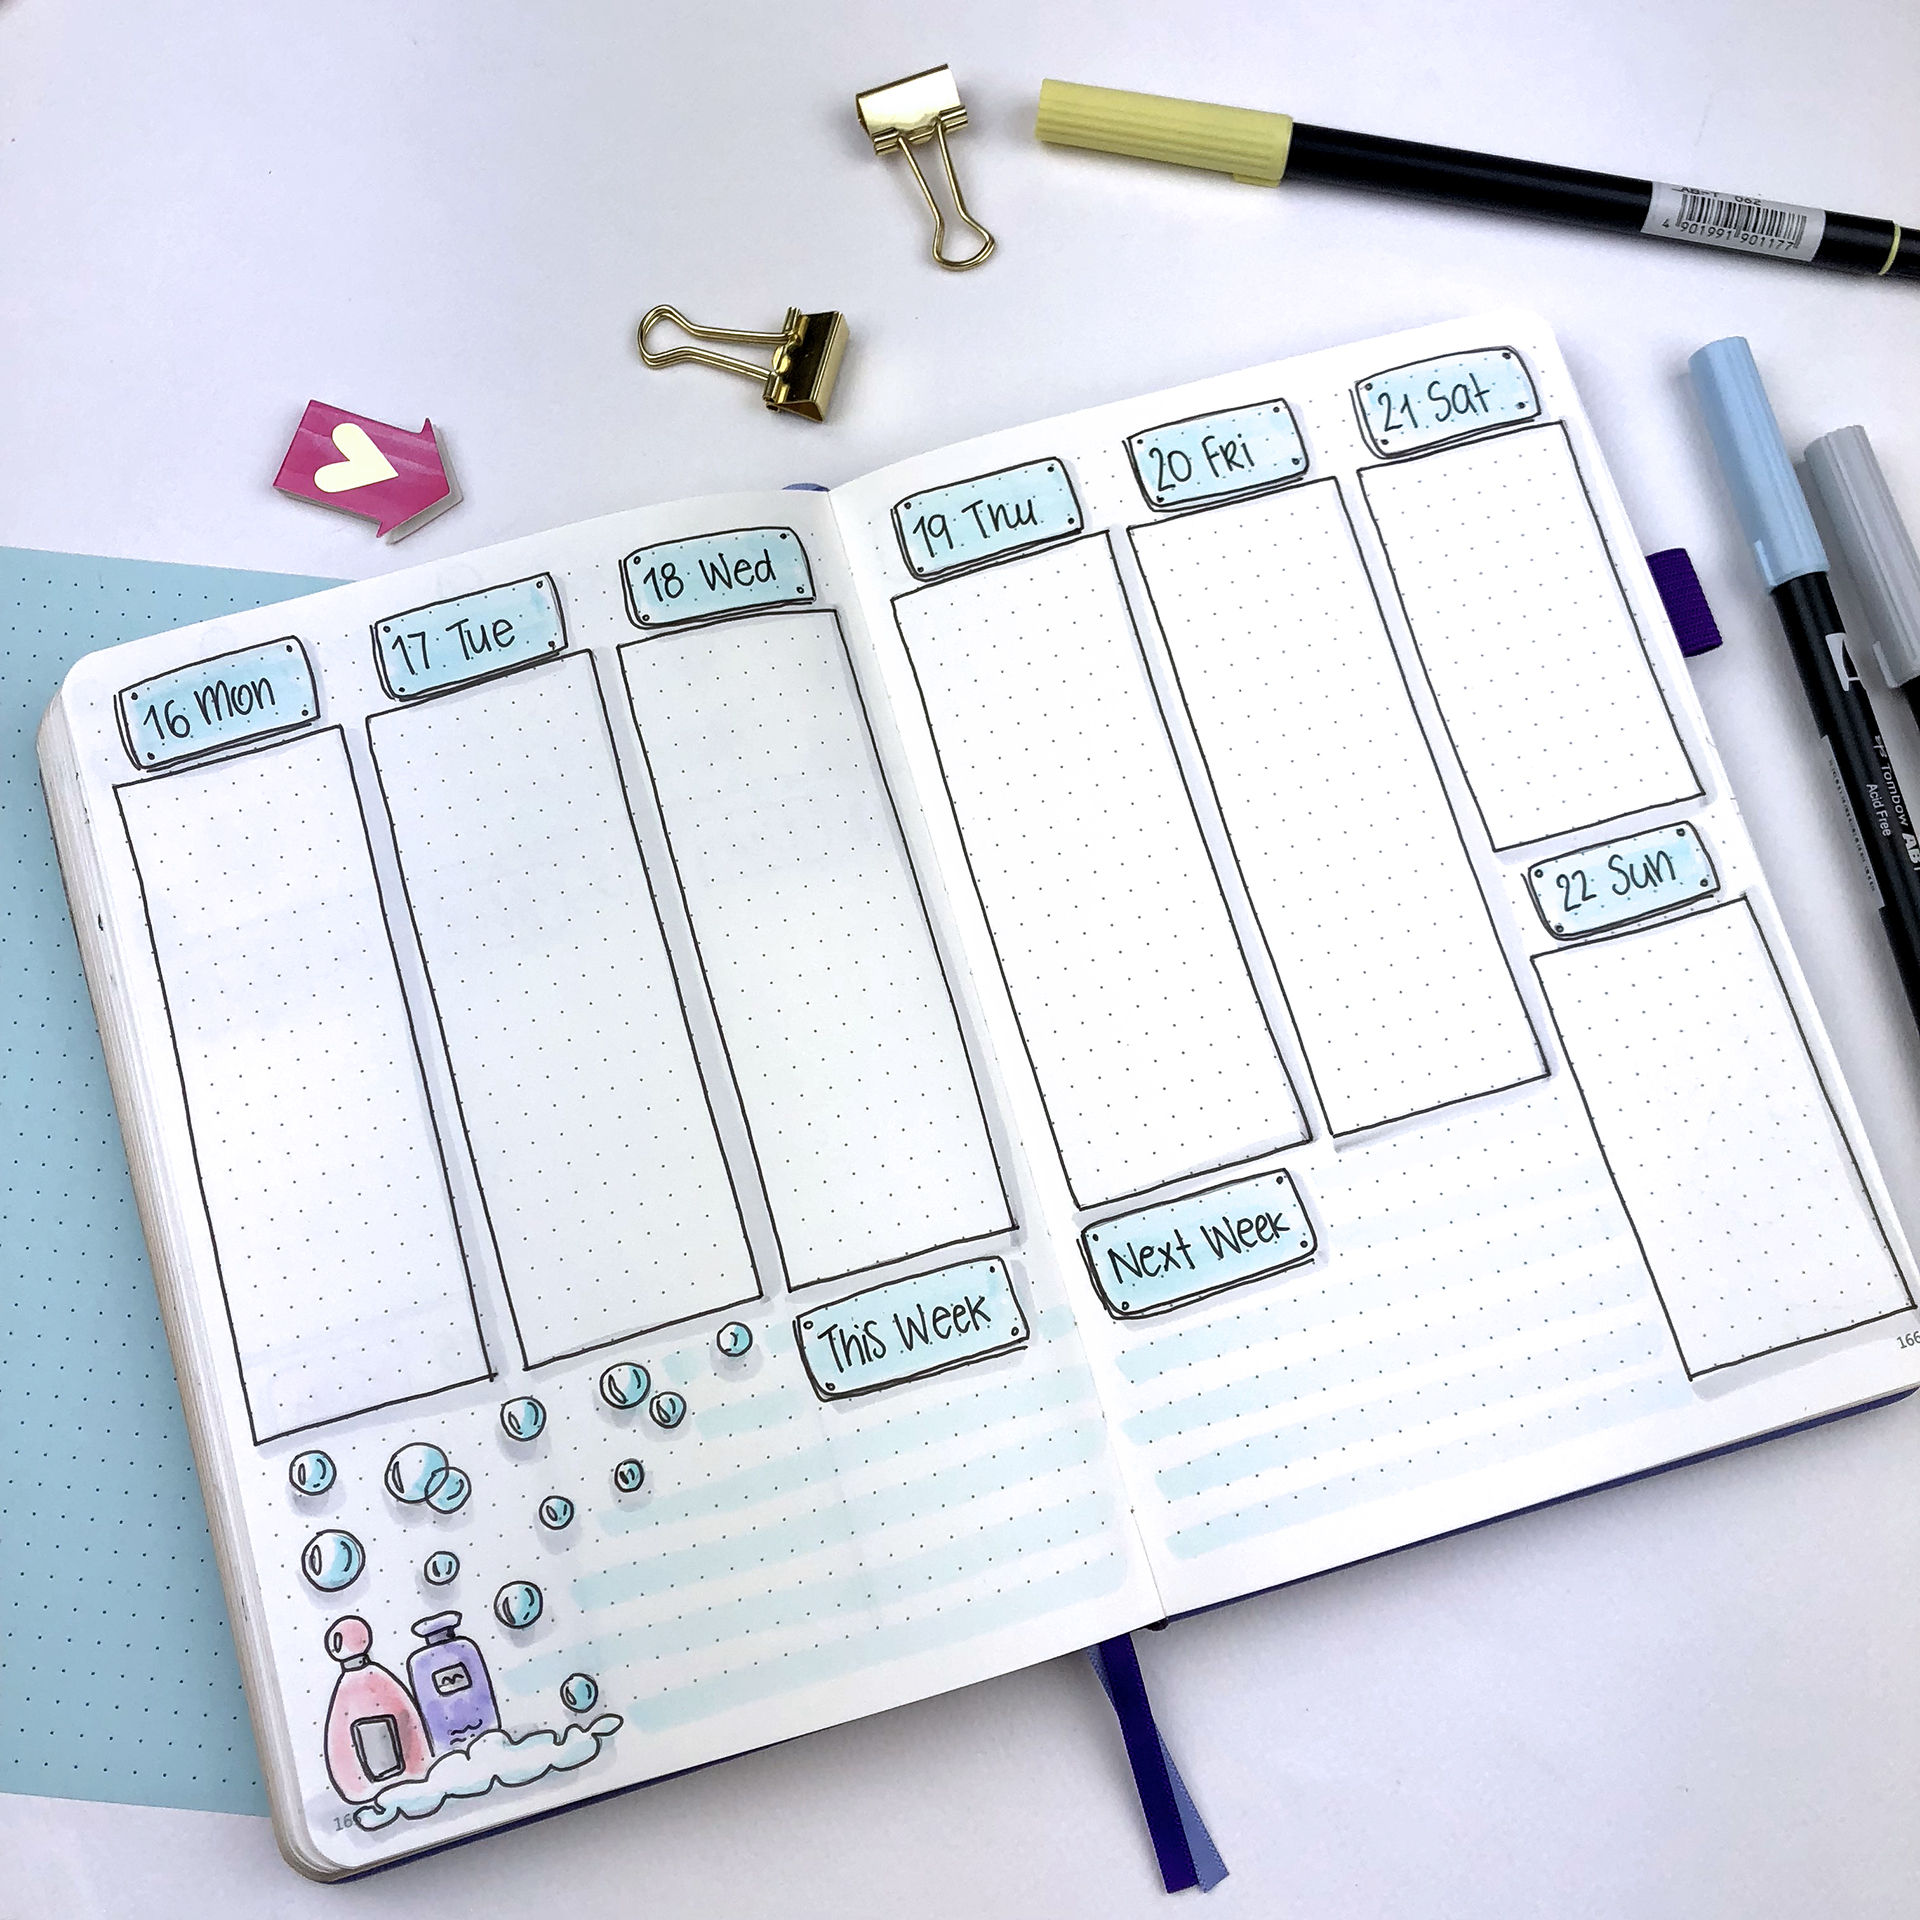
I tend to have 3-4 layouts for my weekly spreads which I rotate during the month. And of course I try to make them more interesting by decorating them according to that month’s theme. For July the theme is 'Rubber Duck and Bubble Bath'.

In today's post I'll show you the 5 layouts I’m using for my weekly spreads in my bullet journal for July, and how I've decorated them.
I tend to have 3-4 layouts for my weekly spreads which I rotate during the month. And of course I try to make them more interesting by decorating them according to that month’s theme. For July the theme is 'Rubber Duck and Bubble Bath'.

This is my first monthly spread of July. You can see exactly how I've set it up in this video.

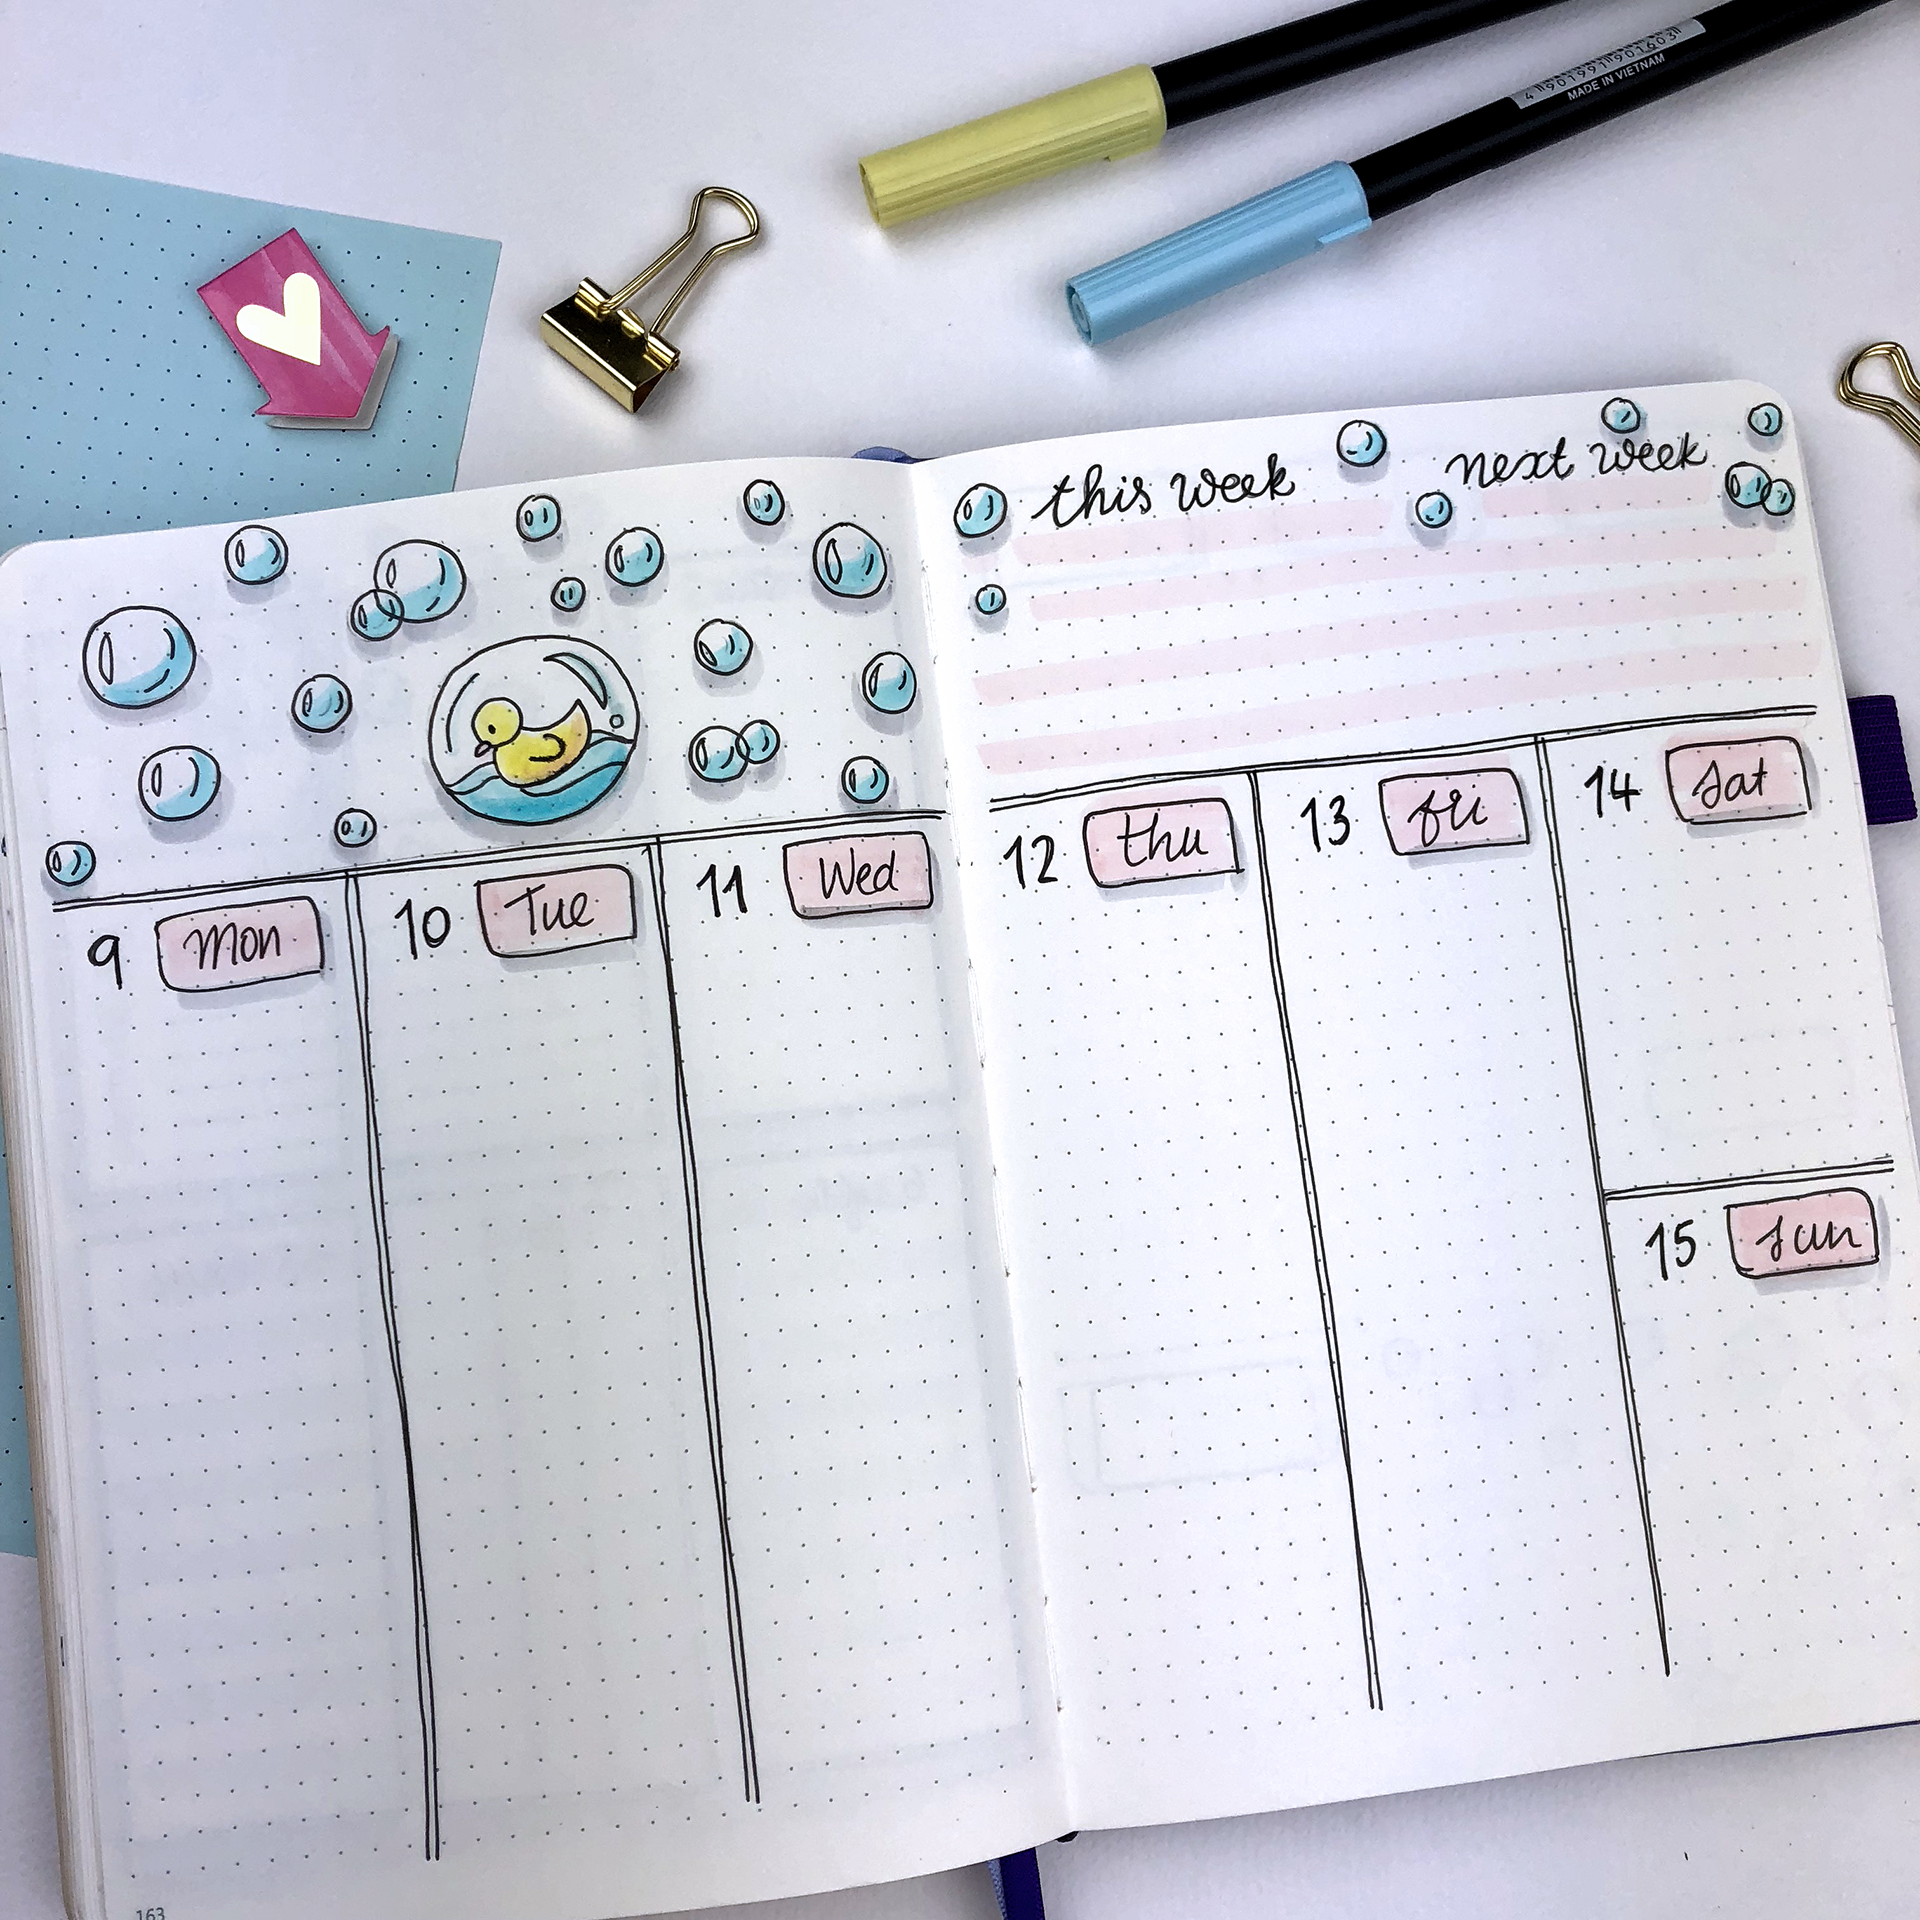
My second Weekly is a new layout that I'm trying for this month. Again I'm using vertical boxes for the days, but I've also made space for general to-do lists for this and the next month, as well as a box dedicated to our meals for this week.

The rubber ducky looks adorable as always and I really like how this weekly turned out.
The third spread is a classic one that I'm using every month. It gives me a lot of space to add all the things I want, plus I can use the space on the left page for doodling (like I did) or to add more sections if I need to.

I kept the colours very simple and pastel, as always. I think it's very important to decide which colour palette you're going to use for your theme from the beginning. It makes things easier, and more consistent.
You can find all the supplies I used at the end of this post.
The fourth weekly spread is again a vertical layout. I always like to add accent lines in my spreads. I think it adds colour without too much effort and makes things more coherent. I usually choose pastel colours that won't interfere with my writing.

Adding various elements of your theme on your spreads, makes things more interesting and less monotonous. So, when you choose a theme, think of all the elements and doodles you can create - like an inspiration board.

For this month there was a 5th weekly as well!!! So, I decided to go with one of my favourite weekly layouts. I love it separates your to-do list in categories, and you have the option to change the categories and also add more, if you wish.

SUPPLIES USED:
- Scribbles That Matter notebook
- Faber-Castell PITT Artist Pen in S, F, B
- Tombow Dual Brush Markers (620, 491, 451, 800, 062, N89 and N95)
- Tombow Fudenosuke Brush Pen (hard)
So, these are the 5 weekly layouts for July. I hope you liked this post and that you found some inspiration for your own weekly layouts. If you liked the theme and you'd like to recreate it, please send me some pictures. I'd love to see your pages!! You can always contact me at christina77star@gmail.com

Instagram Challenge: #doodlewithusinjuly2018
I'm excited to announce our Instagram Challenge for the month of July! 👏🏻
It's the #doodlewithusinjuly2018 Instagram Challenge created by me and Alexandra (from @alexandra_plans).
It's going to be 31 days of doodles that will hopefully get you to be creative and have fun! We're going with a 'Desserts' for this month. I seriously can't wait to start drawing (and eating some!)!
As we did before, all the doodles are part of one big comprehensive picture. Imagine each day to be one piece of the puzzle. So, at the end of the month you will have one big doodle picture! :)
If you decide to follow this way, you'll have to create a table with 5x6 +1 boxes and you shouldn't add the days on the top. You can also make the boxes and dates in pencil, if you don't want the lines to obscure the end result. It's totally up to you.
Of course, if you prefer to draw the doodles in the traditional way, that's absolutely fine as well. The important thing is to have fun!
You can also download a free printable with the daily prompts here.

If you want to join us then:
- Follow me (Christina) @christina77star and Alexandra @alexandra_plans over on Instagram.
- Download the prompts below.
- Draw something according to the day's prompt, take a photo of it, and share it with us on Instagram.
- Don't forget to add the hashtag #doodlewithusinjuly2018 and spread the word.
- Everyone is welcome!

We're excited to see what you'll share!
Thank you for joining in!
Christina x