
How I've setup my 5th Bullet Journal + Video
I mentioned in one of my previous posts that I was planning to setup my new bullet journal really soon, and a lot of you requested for me to create a video and a post with my new setup. So, in today's blog post I’m going to show you the process of me moving into my new bullet journal.

I mentioned in one of my previous posts that I was planning to setup my new bullet journal really soon, and a lot of you requested for me to create a video and a post with my new setup. So, in today's blog post I’m going to show you the process of me moving into my new bullet journal.
*Make sure to scroll down to the end of the post to watch the video!
I think it can be helpful to see the way I transition from one notebook to the next. To see my whole thought process of how I do it, what I move over, what changes I make and so on. Hopefully this will help you out. Maybe you are planning to move to a new bullet journal very soon as well, and you could use some inspiration. 😉
The whole process of moving to a new bullet journal can be daunting for some. In order to make things easier I believe it's best to write everything down and plan everything ahead. Before we get started with setting up our bullet journal, we must first decide on which spreads and collections we want to add to it, and in what order. So, the first thing I do is to go through my previous journals and I note down the spreads that I want to keep, change and add to my new journal.

I have created a whole workbook for that in my 'Creative Journaling' course, where I take you step by step the exact process I take to choose the spreads.

Creative Journaling
Step-by-step video lessons that will help you set up and organise your life in your new journal one spread at a time.
For the spreads that I want to change, I try to write down exactly what I want to change about them. This makes things much easier later on. So, once I know which spreads I want to add, I write them down on a list and I’m also adding the number of pages each spread needs. This can affect the order you add them in your journal, so it's important to do that. The next step is to put the spreads in the order that you want them to be in your bullet journal.

Another way to do this is with sticky notes. Doing it this way it allows you to play around more and see how things look while deciding on the order. It makes it easier to move collections around instead of writing and erasing every time. Plus once you’re satisfied with the order, you can leave the sticky notes on the pages and take your time to actually create the layout on each page.
So, after I've decided on the spreads and the order I want them, I move on to my favourite part, which is to start creating in my new bullet journal! I don't know about you, but I'm always excited when I start writing in a brand new notebook!!! 😍

For my 5th bullet journal I chose to use the Dingbats Earth Notebook. I've done a thorough review on it here, if you'd like to learn more about it. It's important to choose a notebook that will work for what you want to use it for. So, think about the size you want, the layout, the thickness of the pages and so on. I've also written a whole post dedicated on 'How to choose the perfect Bullet Journal for you'. Once you've chosen your notebook, then we're ready to go!
If you choose a notebook that is meant to be used as a bullet journal then some of the following pages might be already setup for you.

So, I start by filling in my details at the very first page of the notebook. I don't like to add too much information, and I prefer to add my email address instead of my normal address for privacy.

The Dingbats notebook has this new feature which is called 'Tab Keys'. On the Tab Key page, you can create a list of categories of the pages you'll create in your bullet journal. For example, you can write Monthly Spreads, Weekly Spreads, various collections you might have on certain topics like family, finances, health, travel etc. You can add and personalise your notebook any way you want! Then you assign a colour for each one of the above topics and you colour the corresponding tab on your key page. These tabs are on all the pages in the notebook, and so as you write in your journal you apply the appropriate colour to the tab on the page. So, even when your notebook is closed you can easily identify items through the colours on the visible edge.

I've decided to categorise my pages by the months first. And since each notebook lasts me for about 6 months, I created 6 tabs until March. I'll also leave 2 lines empty under March, just in case I use it for longer and then I can add more months. On the rest of the lines I'll add more categories as I go along.

The Colour Key has all the colours that I use for specific categories, and it has stayed the same throughout all my bullet journals. I keep my Key and Signifiers very simple. I only use a dot for my tasks and I only use more specific symbols for bithdays and anniversaries and events. I found that using various different symbols for your activities can be a bit confusing some times, and I also thought that it made my pages look a bit messy.

In the Index, I was adding the titles of the pages as I was creating them.
Usually I start by decorating the very first page of my bullet journal. I like to add a quote or a drawing that means something to me on the first page of the notebook. I prefer to do it on the first page because it's usually thicker than the rest of the pages and this allows me to be more creative and add watercolours and other mediums that would normally bleed through the normal pages. I also think that it’s nice to see something inspiring every time you open your bullet journal. I talk more about it in this blog post.
However, the Dingbats notebook has an infographic on the first page, which I like but I can't use the first page as I normally do. So, I moved to the very first page after the Index and I created my quote page there. When I start my bullet journal in the beginning of the year, I tend to go for something inspiring for new beginnings and things like that. But since this one starts mid-year I wanted something more general but still inspiring.

After I searched a bit online, I found this quote on Pinterest that I really liked and decided to recreated on my page. I like the way it turned out and even though I was a bit apprehensive for using too much black, I really like the effect.

For the next page I wanted to add a year at a glance, so I printed one of my layouts on a sticker paper and added it on the page. That's a much quicker and cleaner way to create all these months. You can find the 2018 Year at a Glance on my Etsy Shop.
I know that I'm starting from October and that a lot of people usually start from the month they are actually starting using the notebook, but I still wanted to have a whole view of 2018. And I'm also planning to create another Year at a glance page later on, for 2019.

Next I created my Future Log. I've tried loads of different layouts for my future log in the past, and even though I liked them, I wanted to try something new. So, I saw this picture by Inga on Instagram and I knew I had to use this layout for my new bujo! I decided to add different pastel colours for each month to separate them. And I'm planning to use these colours for the Tab Key I mentioned earlier, to keep everything organised. I love how it turned out and how simple everything looks.

I decided to add a Notes page after that. I wanted to have a page after my future log where I can add any possible future events / appointments that I might plan for after March. I didn't do that in my previous bullet journal and I ended up using post-it on the page. Which I guess it's one way to do it, but this time I wanted to make sure I have enough space for my plans or any notes for the months after March.

On the opposite page, I added my Goals per Month spread. I kept it very simple with a table with all the months starting from October and ending on September 2019. I think it's very important to set goals for yourself, and I've found that I'm way more productive when I set specific goals for each month separately.

For the Birthdays spread I decided this time to turn it into a one-page spread. I saw that I didn't need the extra space and I think everything looks now more structured and organised.


Next comes my Accomplishments page. I tend to do this one in every bullet journal, as I like to go back and see all the things (both personal and work related) I accomplished through the year. I usually do a very creative page that I got inspired from @helloiamprince. But this time I wanted everything to look more simple, so again I used the table for all the months starting from October. Again I contemplated whether I should do this spread until March, but I decide to create the table until September, just in case! 😉

The last spread I've created for now is the one dedicated to my book reading. If you didn't know this about me, I'm an avid reader of Sci-Fi and Fantasy books and I like to keep track of new publications and also keep a list of the books I'd really like to read as soon as possible. As you can see I completely messed this up with the months, but with the use of old good correction tape it looks alright! I used the table for the new publications and I created a lined page opposite for my to-read list 😉
So, this is how I've setup my 5th bullet journal. As you can see I've opted for a more simple layout with lots of tables and boxes to plan ahead. I also used one type of font for all my titles, whereas in previous bullet journal I was experimenting with different types of fonts and calligraphic styles. I like that everything is more put together and more coherent. Also the use of the same pastel colours throughout the setup helps to keep everything consistent. I hope you find some inspiration in all the above and you use some of the layouts for your own bullet journal. If you do so, please tag me at @christina77star. I'd love to see your recreations!
SUPPLIES USED:
- Dingbats Earth Notebook
- Faber-Castell PITT Artist Pen in M, B, S, F
- Tombow Dual Brush Markers (025, 243, N89, 673, N95, 062, 620, 991, 451, 815, and 723)
- Staedtler Tripous Colour black
- Zebra Mildliners
- Uni Posca white pen
- Pritt Corrector mini roller
- Year at a Glance Printable
- Sticker Paper


Bullet Journal Ideas: 5 Weekly Spread Layouts for September 2018
I think I say the same thing in the beginning of each month, but seriously I can't believe it's September already! 2018 is literally flying by! I don't know about you, but I love this time of year. My kids are getting ready for school, and I think I'm more excited about it than them! I love buying stationery and school supplies, and getting their school bags ready. I also like it because as in January, it feels like a new start, a new beginning, within the year. It's another chance to re-focus and plan and schedule the last few months of 2018.

I think I say the same thing in the beginning of each month, but seriously I can't believe it's September already! 2018 is literally flying by! I don't know about you, but I love this time of year. My kids are getting ready for school, and I think I'm more excited about it than them! I love buying stationery and school supplies, and getting their school bags ready. I also like it because as in January, it feels like a new start, a new beginning, within the year. It's another chance to re-focus and plan and schedule the last few months of 2018.
As always I like to plan my weeklies for the month in advance. That way I can plan everything properly and make sure that all my appointments and tasks are scheduled. For September the theme is 'Message in a bottle' and you can see how I've setup my bullet journal for the month in this post, or you can watch the video here.
September starts on a Saturday, and for this month I had to plan 5 different weekly layouts.
For the first weekly layout I chose to use a dutch door system.

I created the layout as normal, but I cut the middle page vertically in half, to use for my tracker and my planning for this and next week.
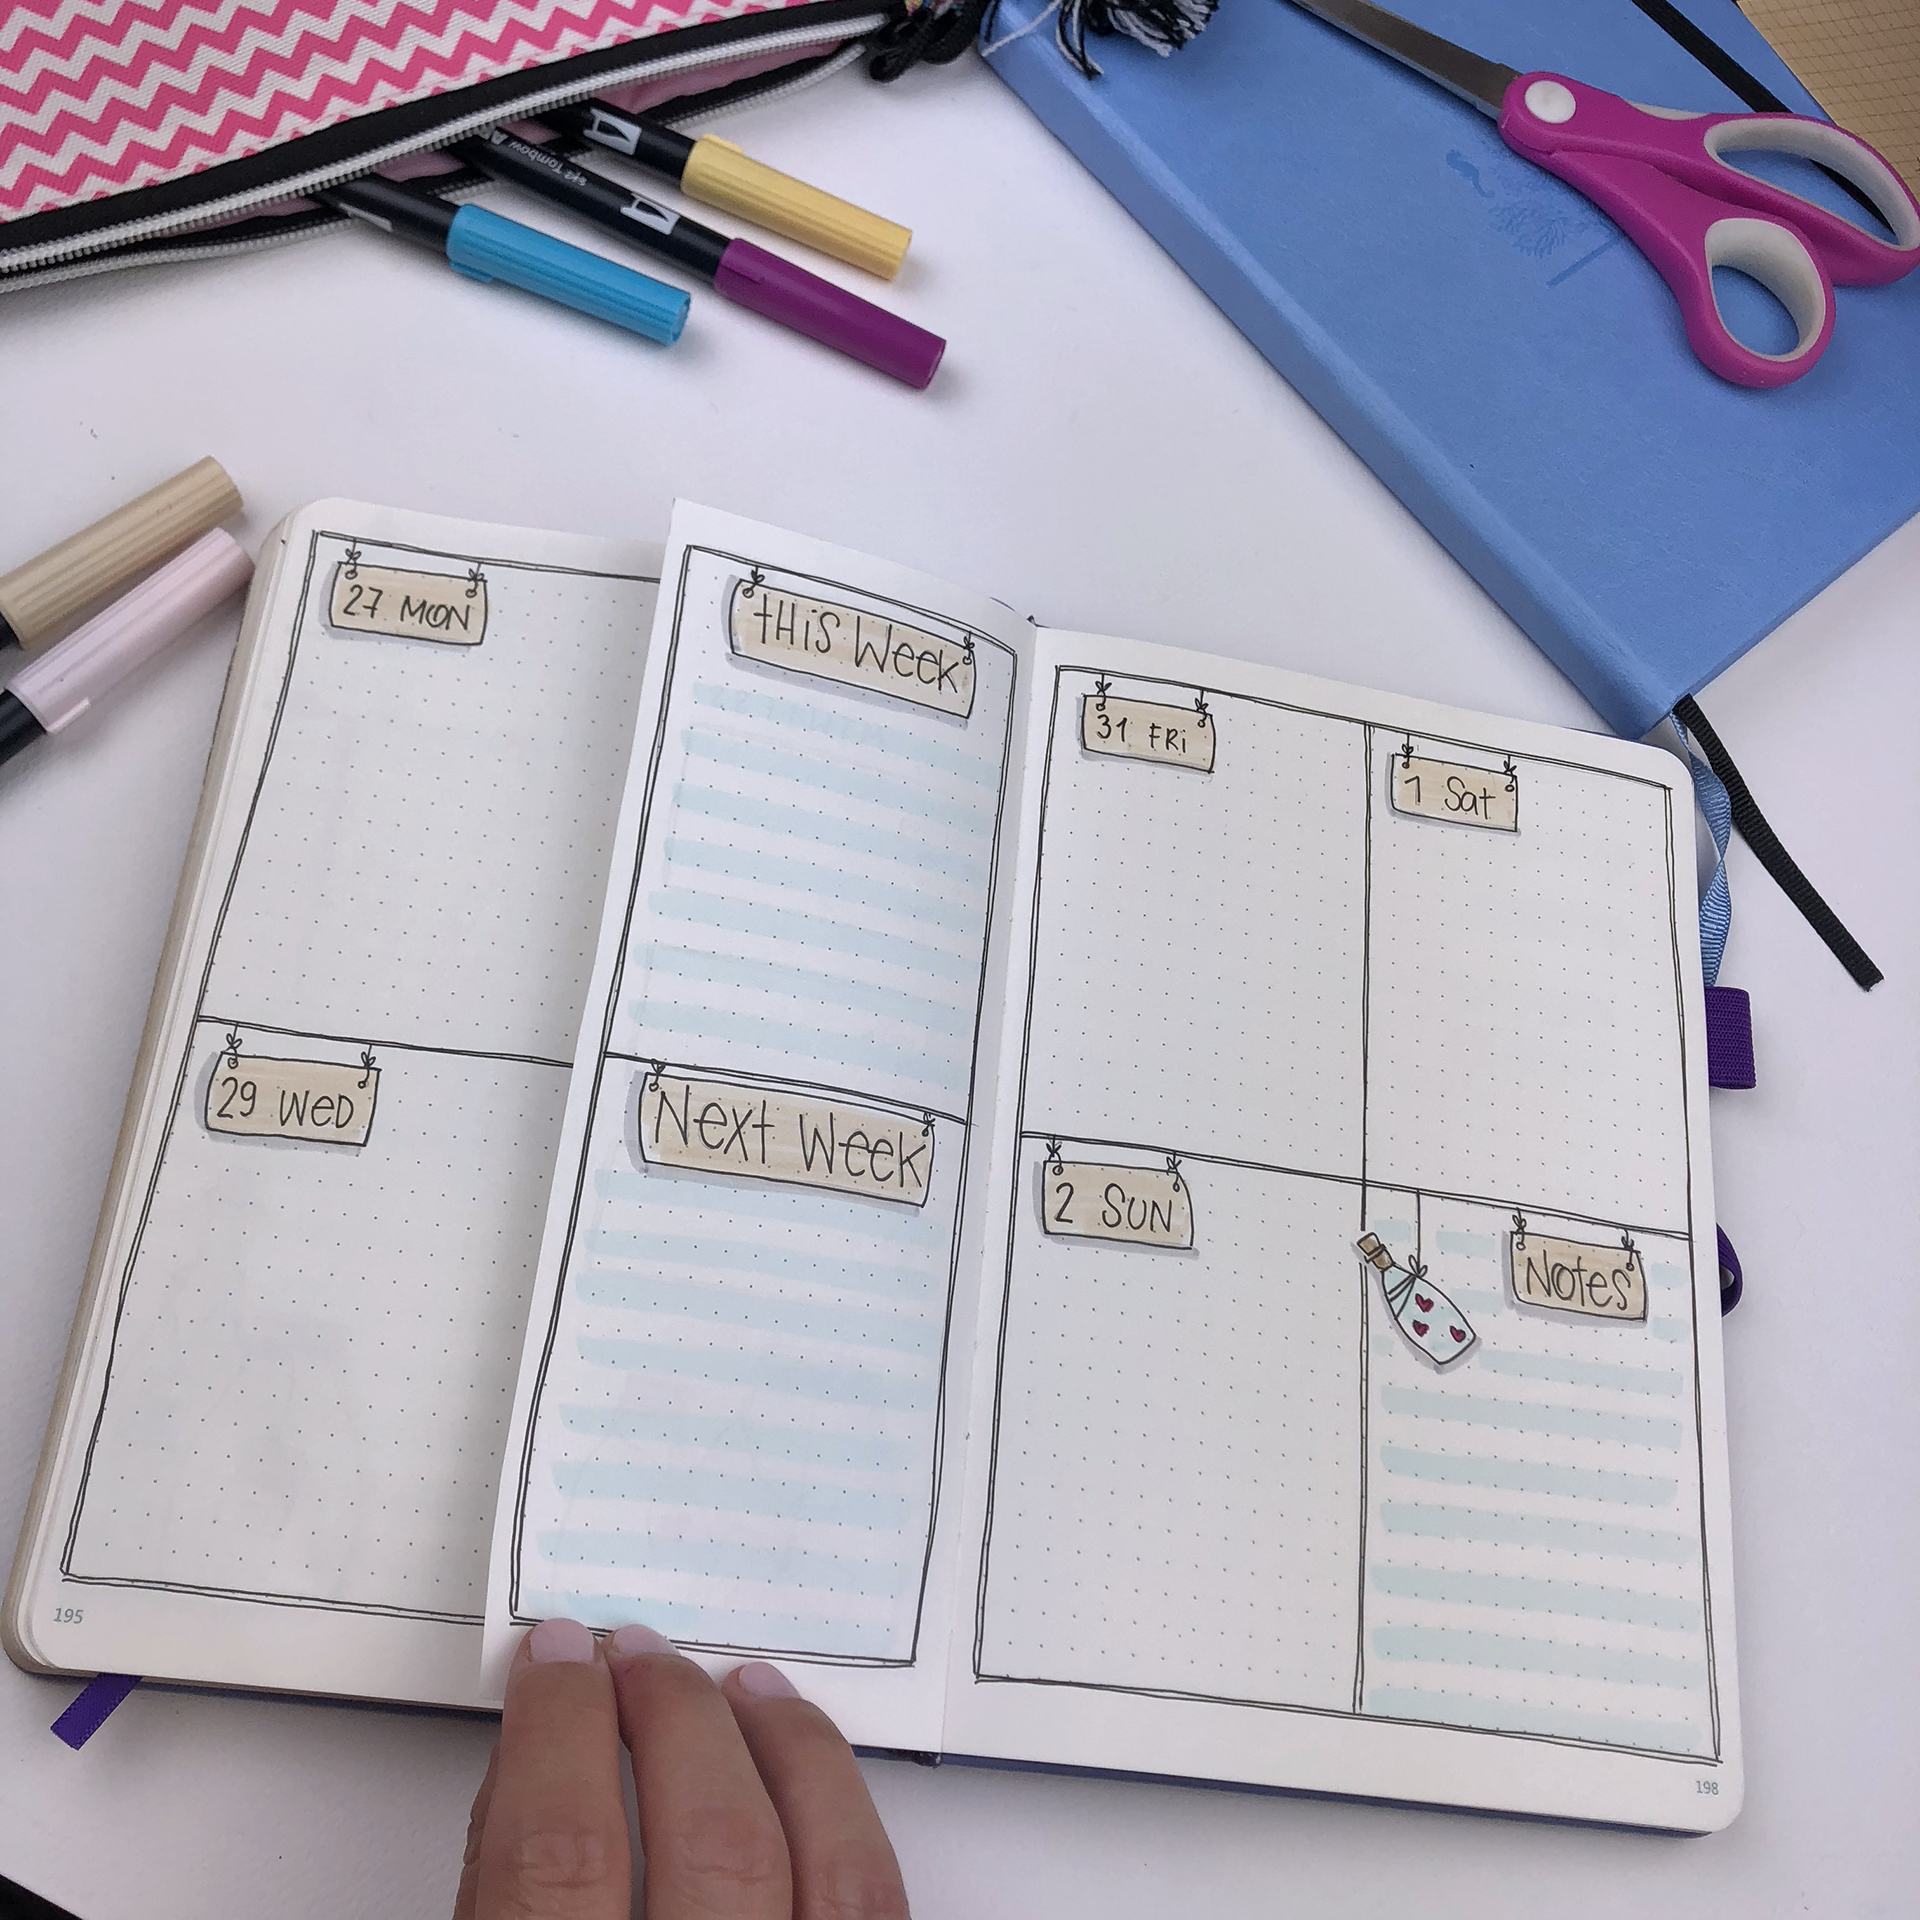
I find this type of layout really functional and I am going to be using it again in the future for sure.
This was the last page in my 4th bullet journal. The rest of the weekly spreads were created in my brand new one! I've chosen a Dingbats notebook for my 5th bullet journal, and I'm so excited to start using it. You can see my review and pictures of the notebook in this blog post.
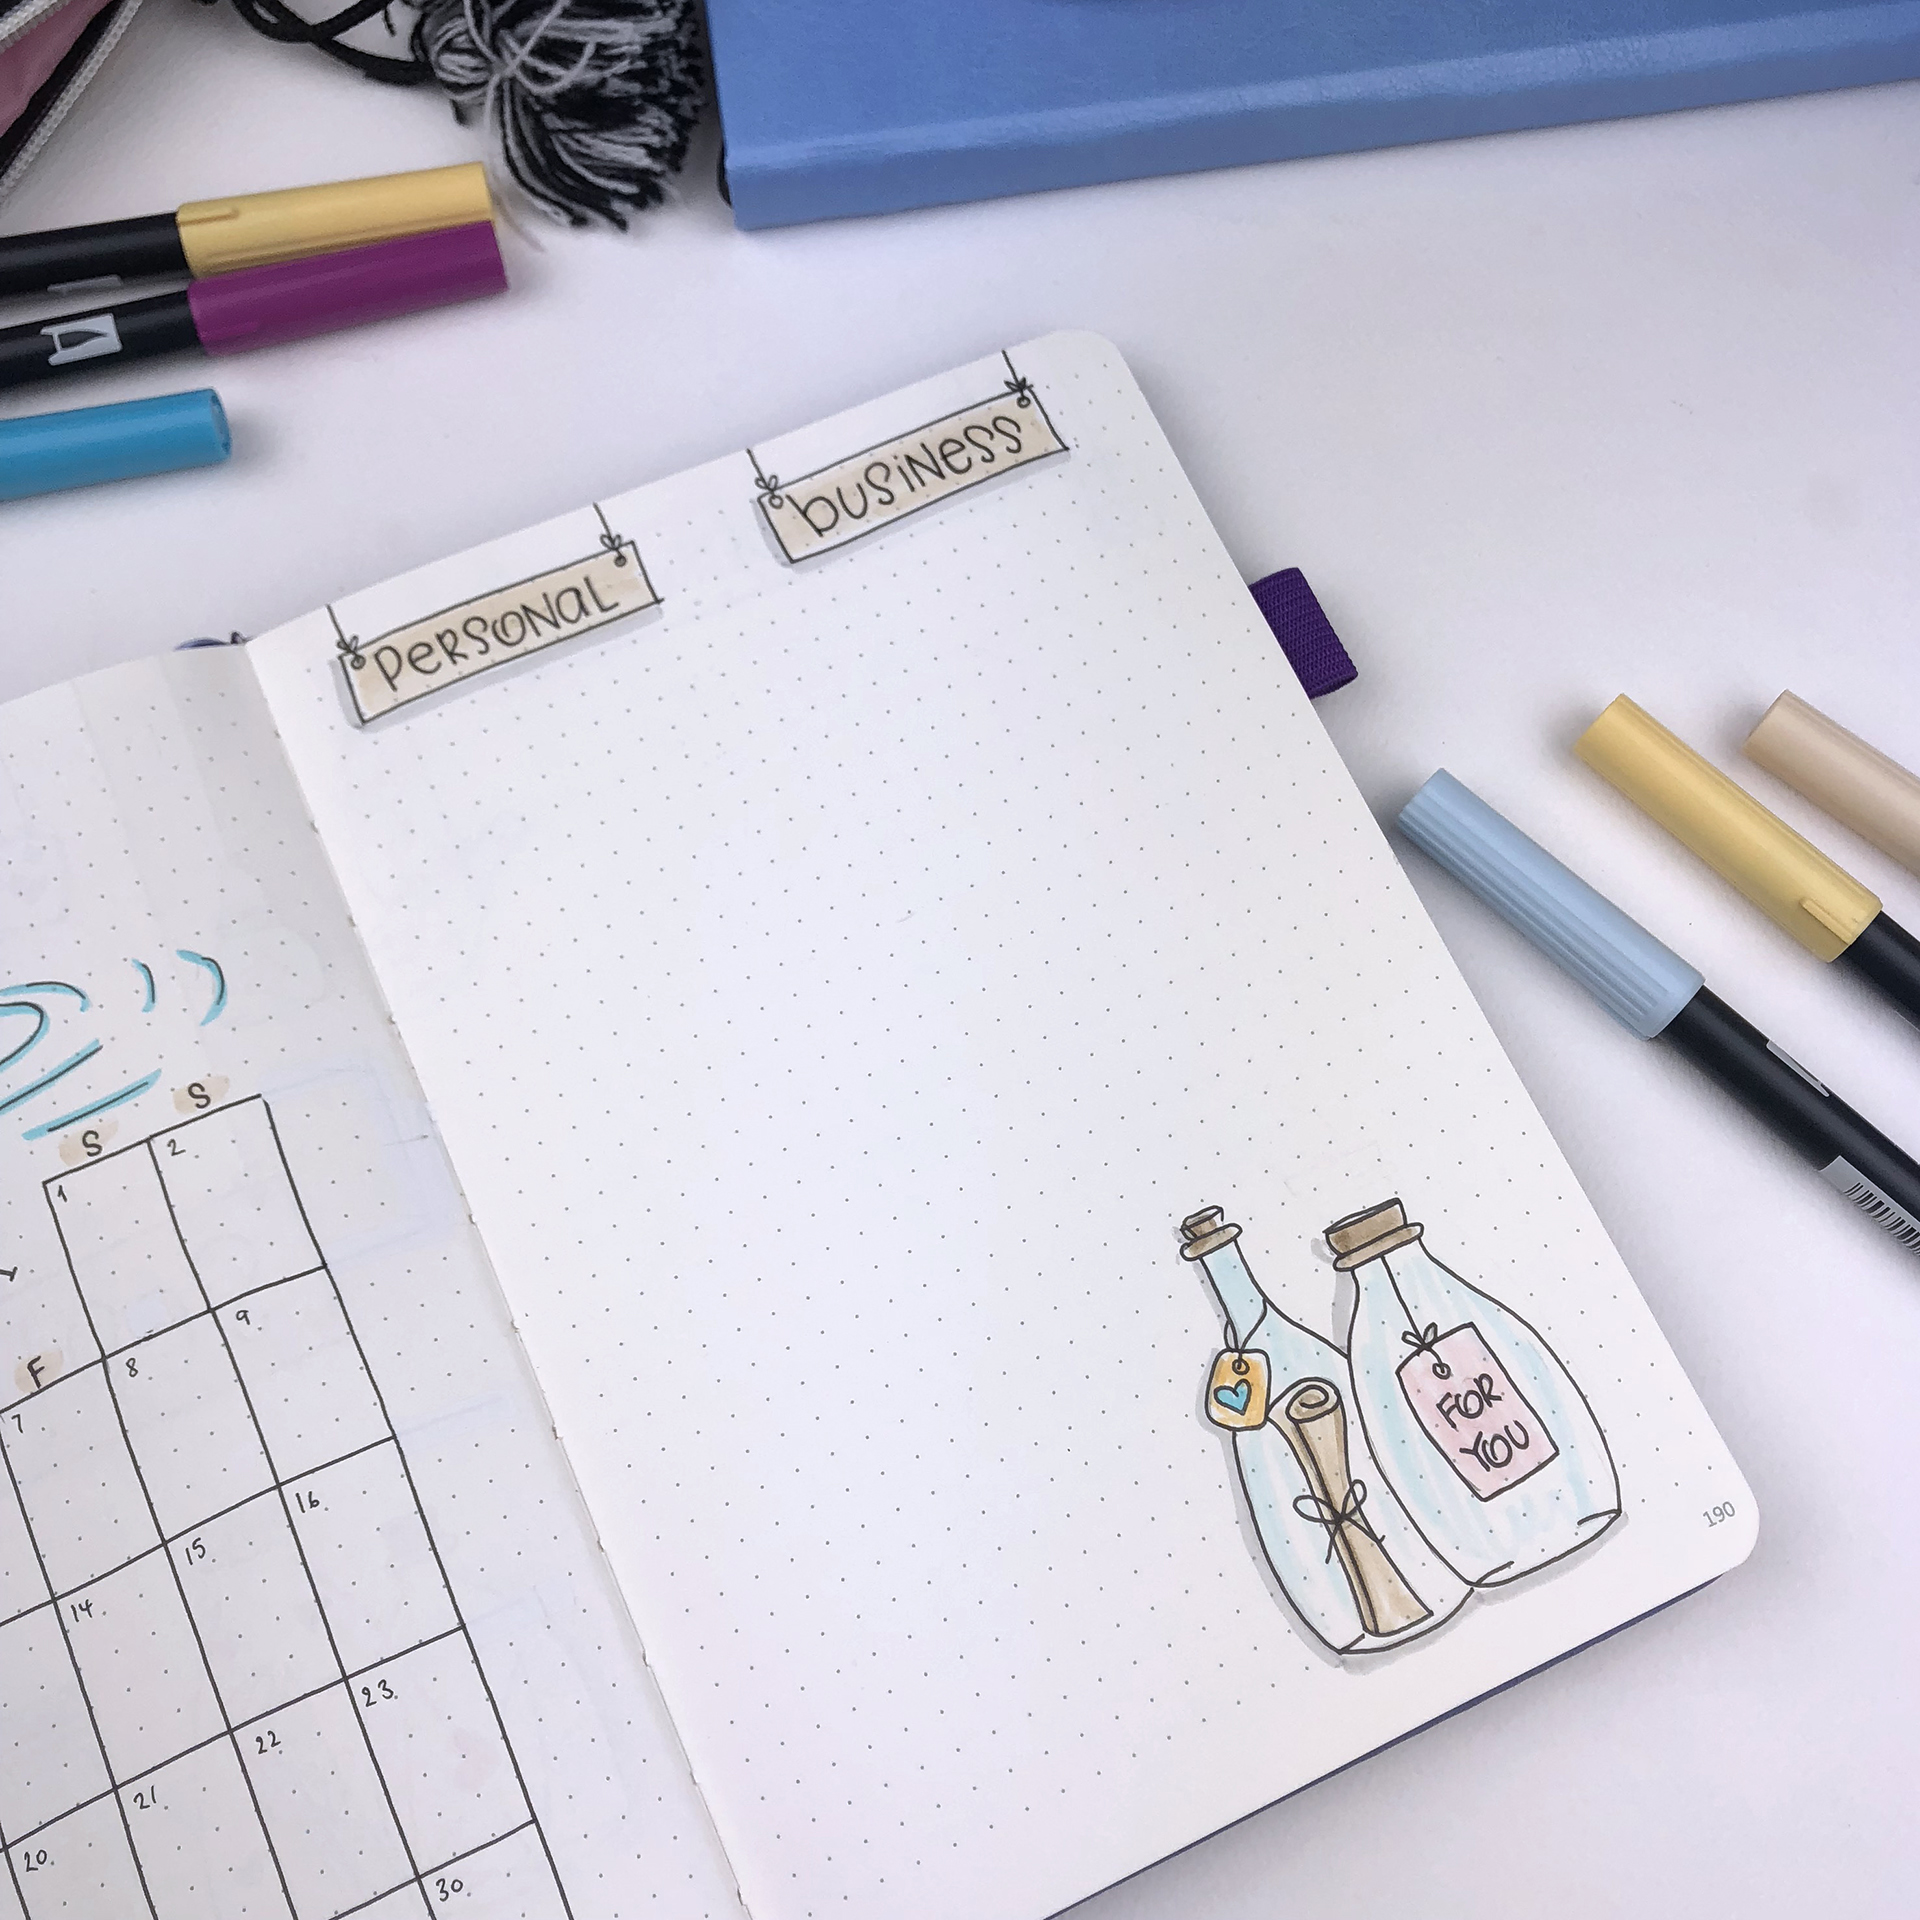
For the second weekly, I decided to use a horizontal layout. If you've been following me for a while you know that I prefer the vertical layouts most of the time. I find that I can use the space better and I can create to-do lists for both personal and work related tasks. With a horizontal layout I find that I can't separate things. But I saw this layout by @organisedhustler and I decided to give it a go.

The line in the middle helps me to create 2 different to-do lists and separate my personal and work tasks! Love it!
The 3rd weekly spread is a layout I use every month. I decorated it according to the month's theme, and the only change I've made is that I extended a bit the space for my to-do lists.

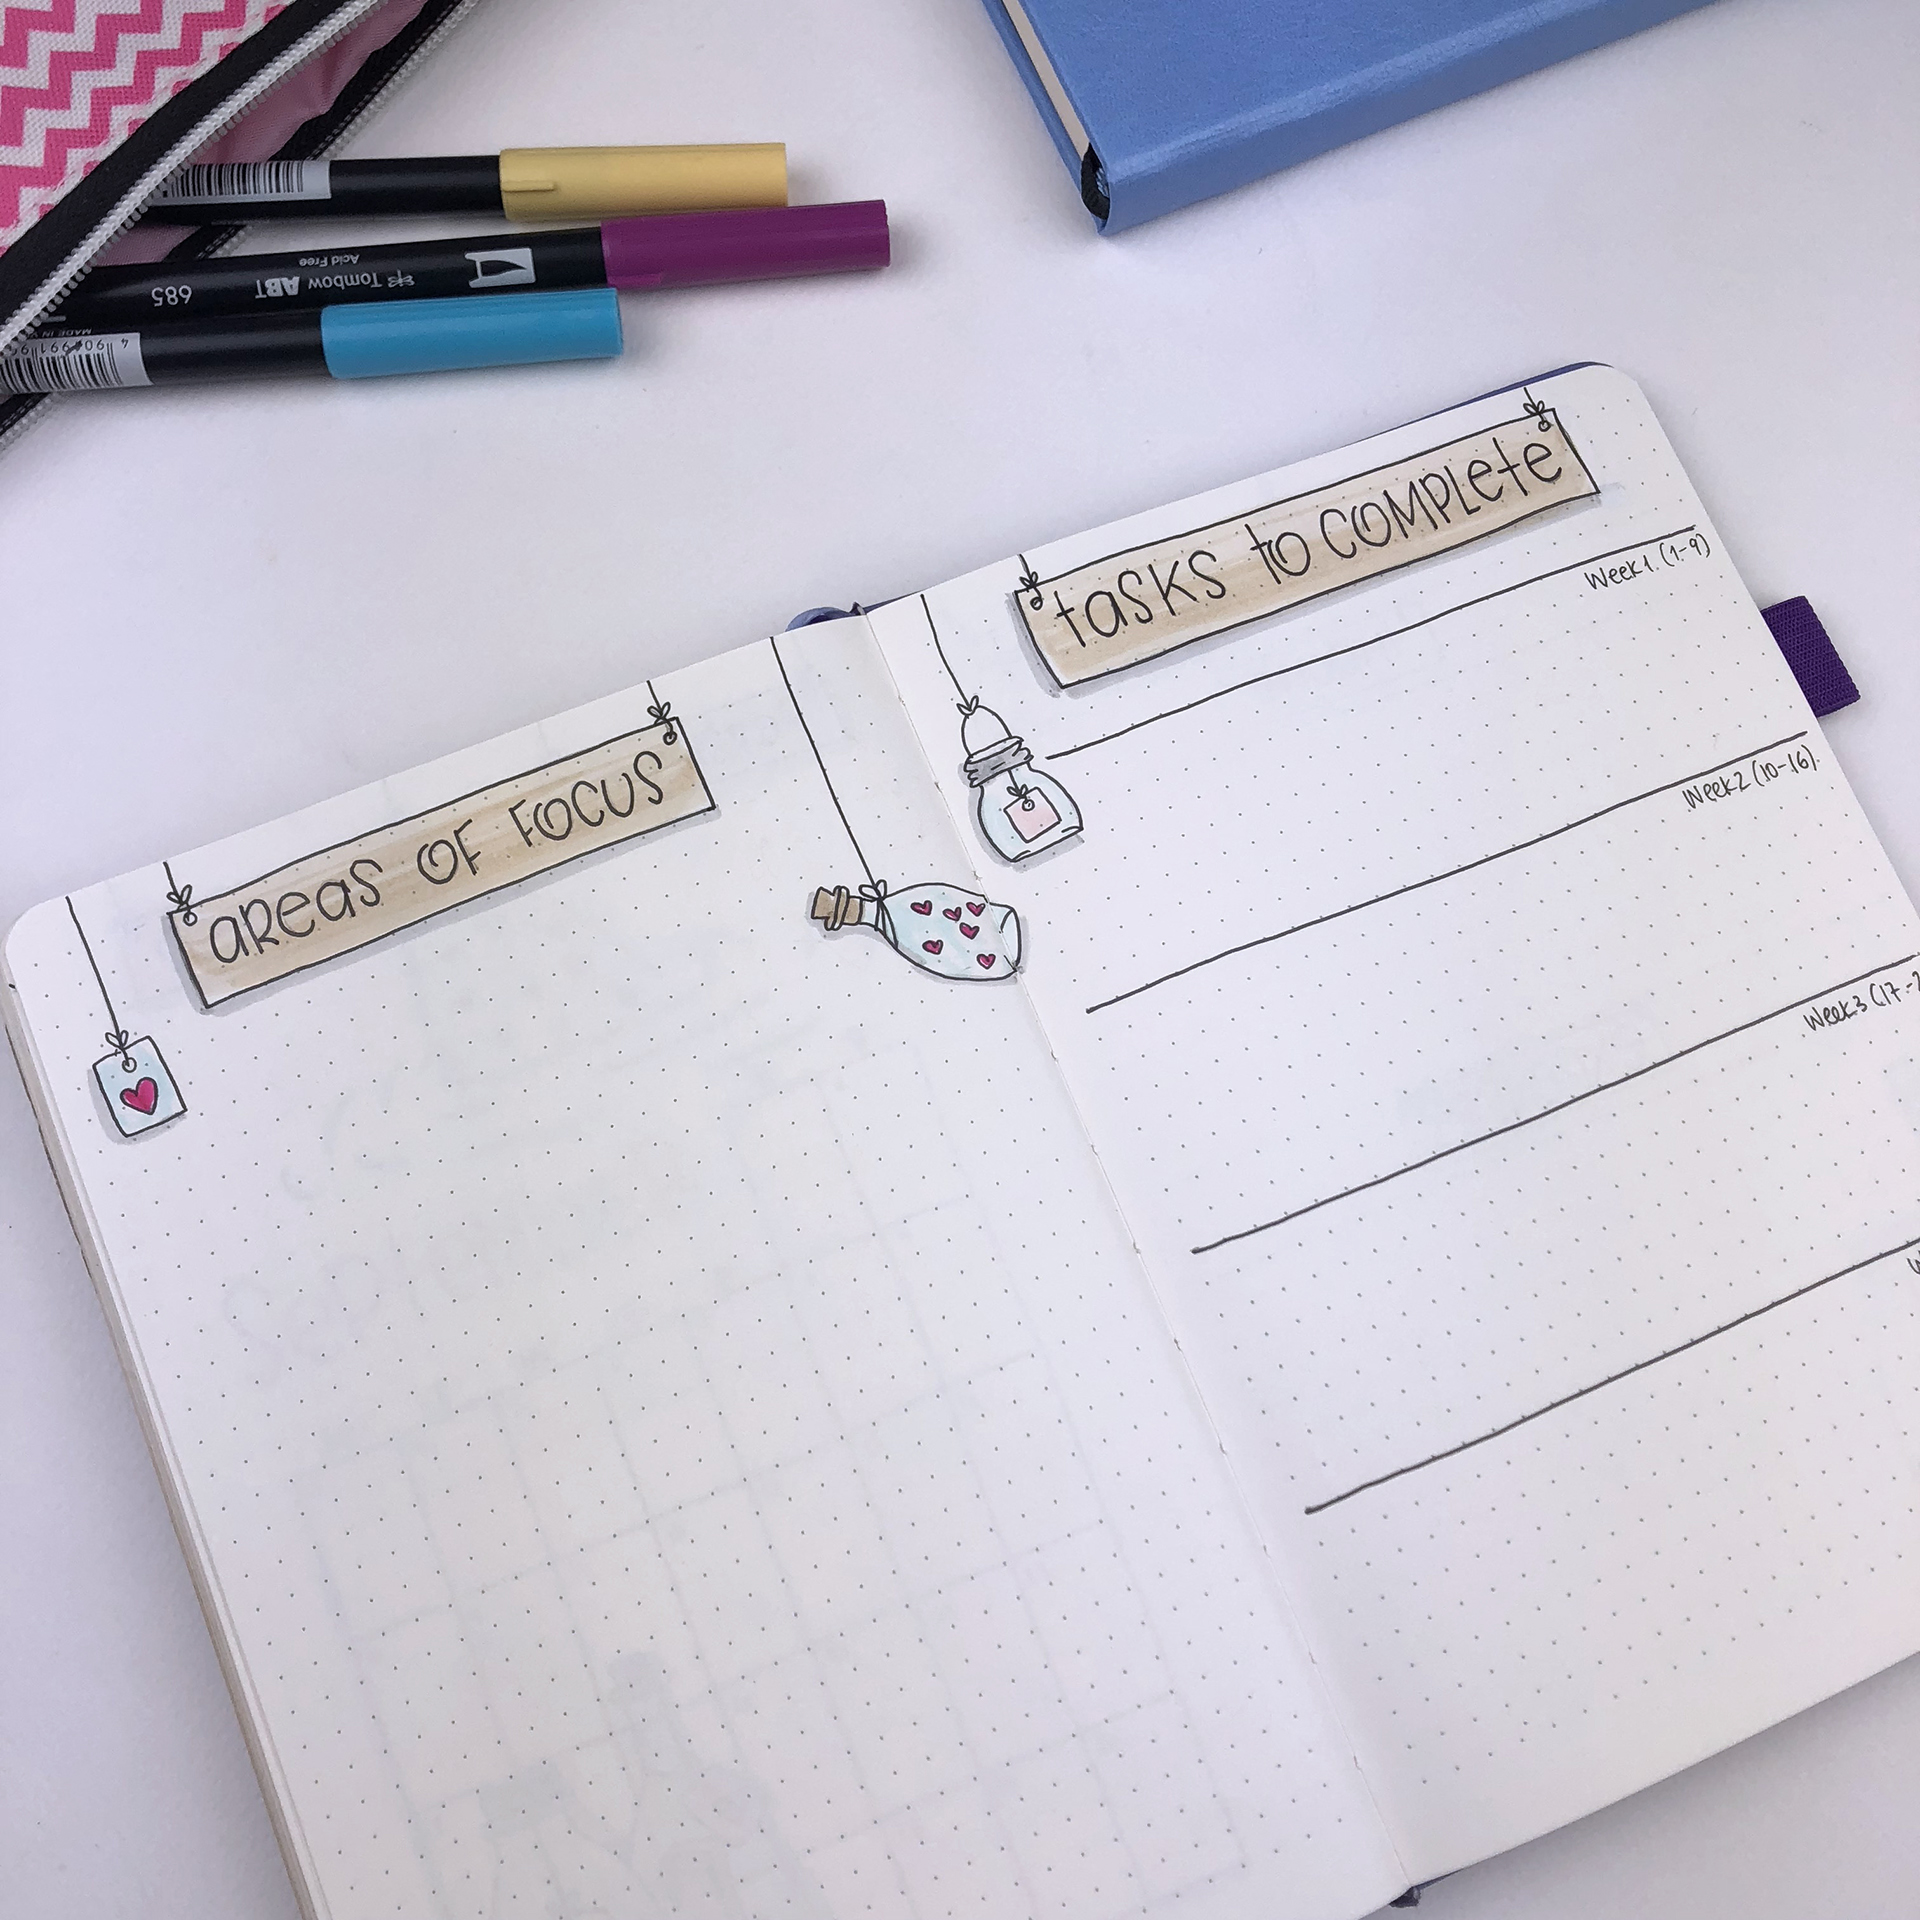
Another layout that I use a lot for my weeklies is the one bellow. I love the sections that separate the vertical lists into categories. And the best part is that you can add as many sections as you want and choose the categories that work for you.

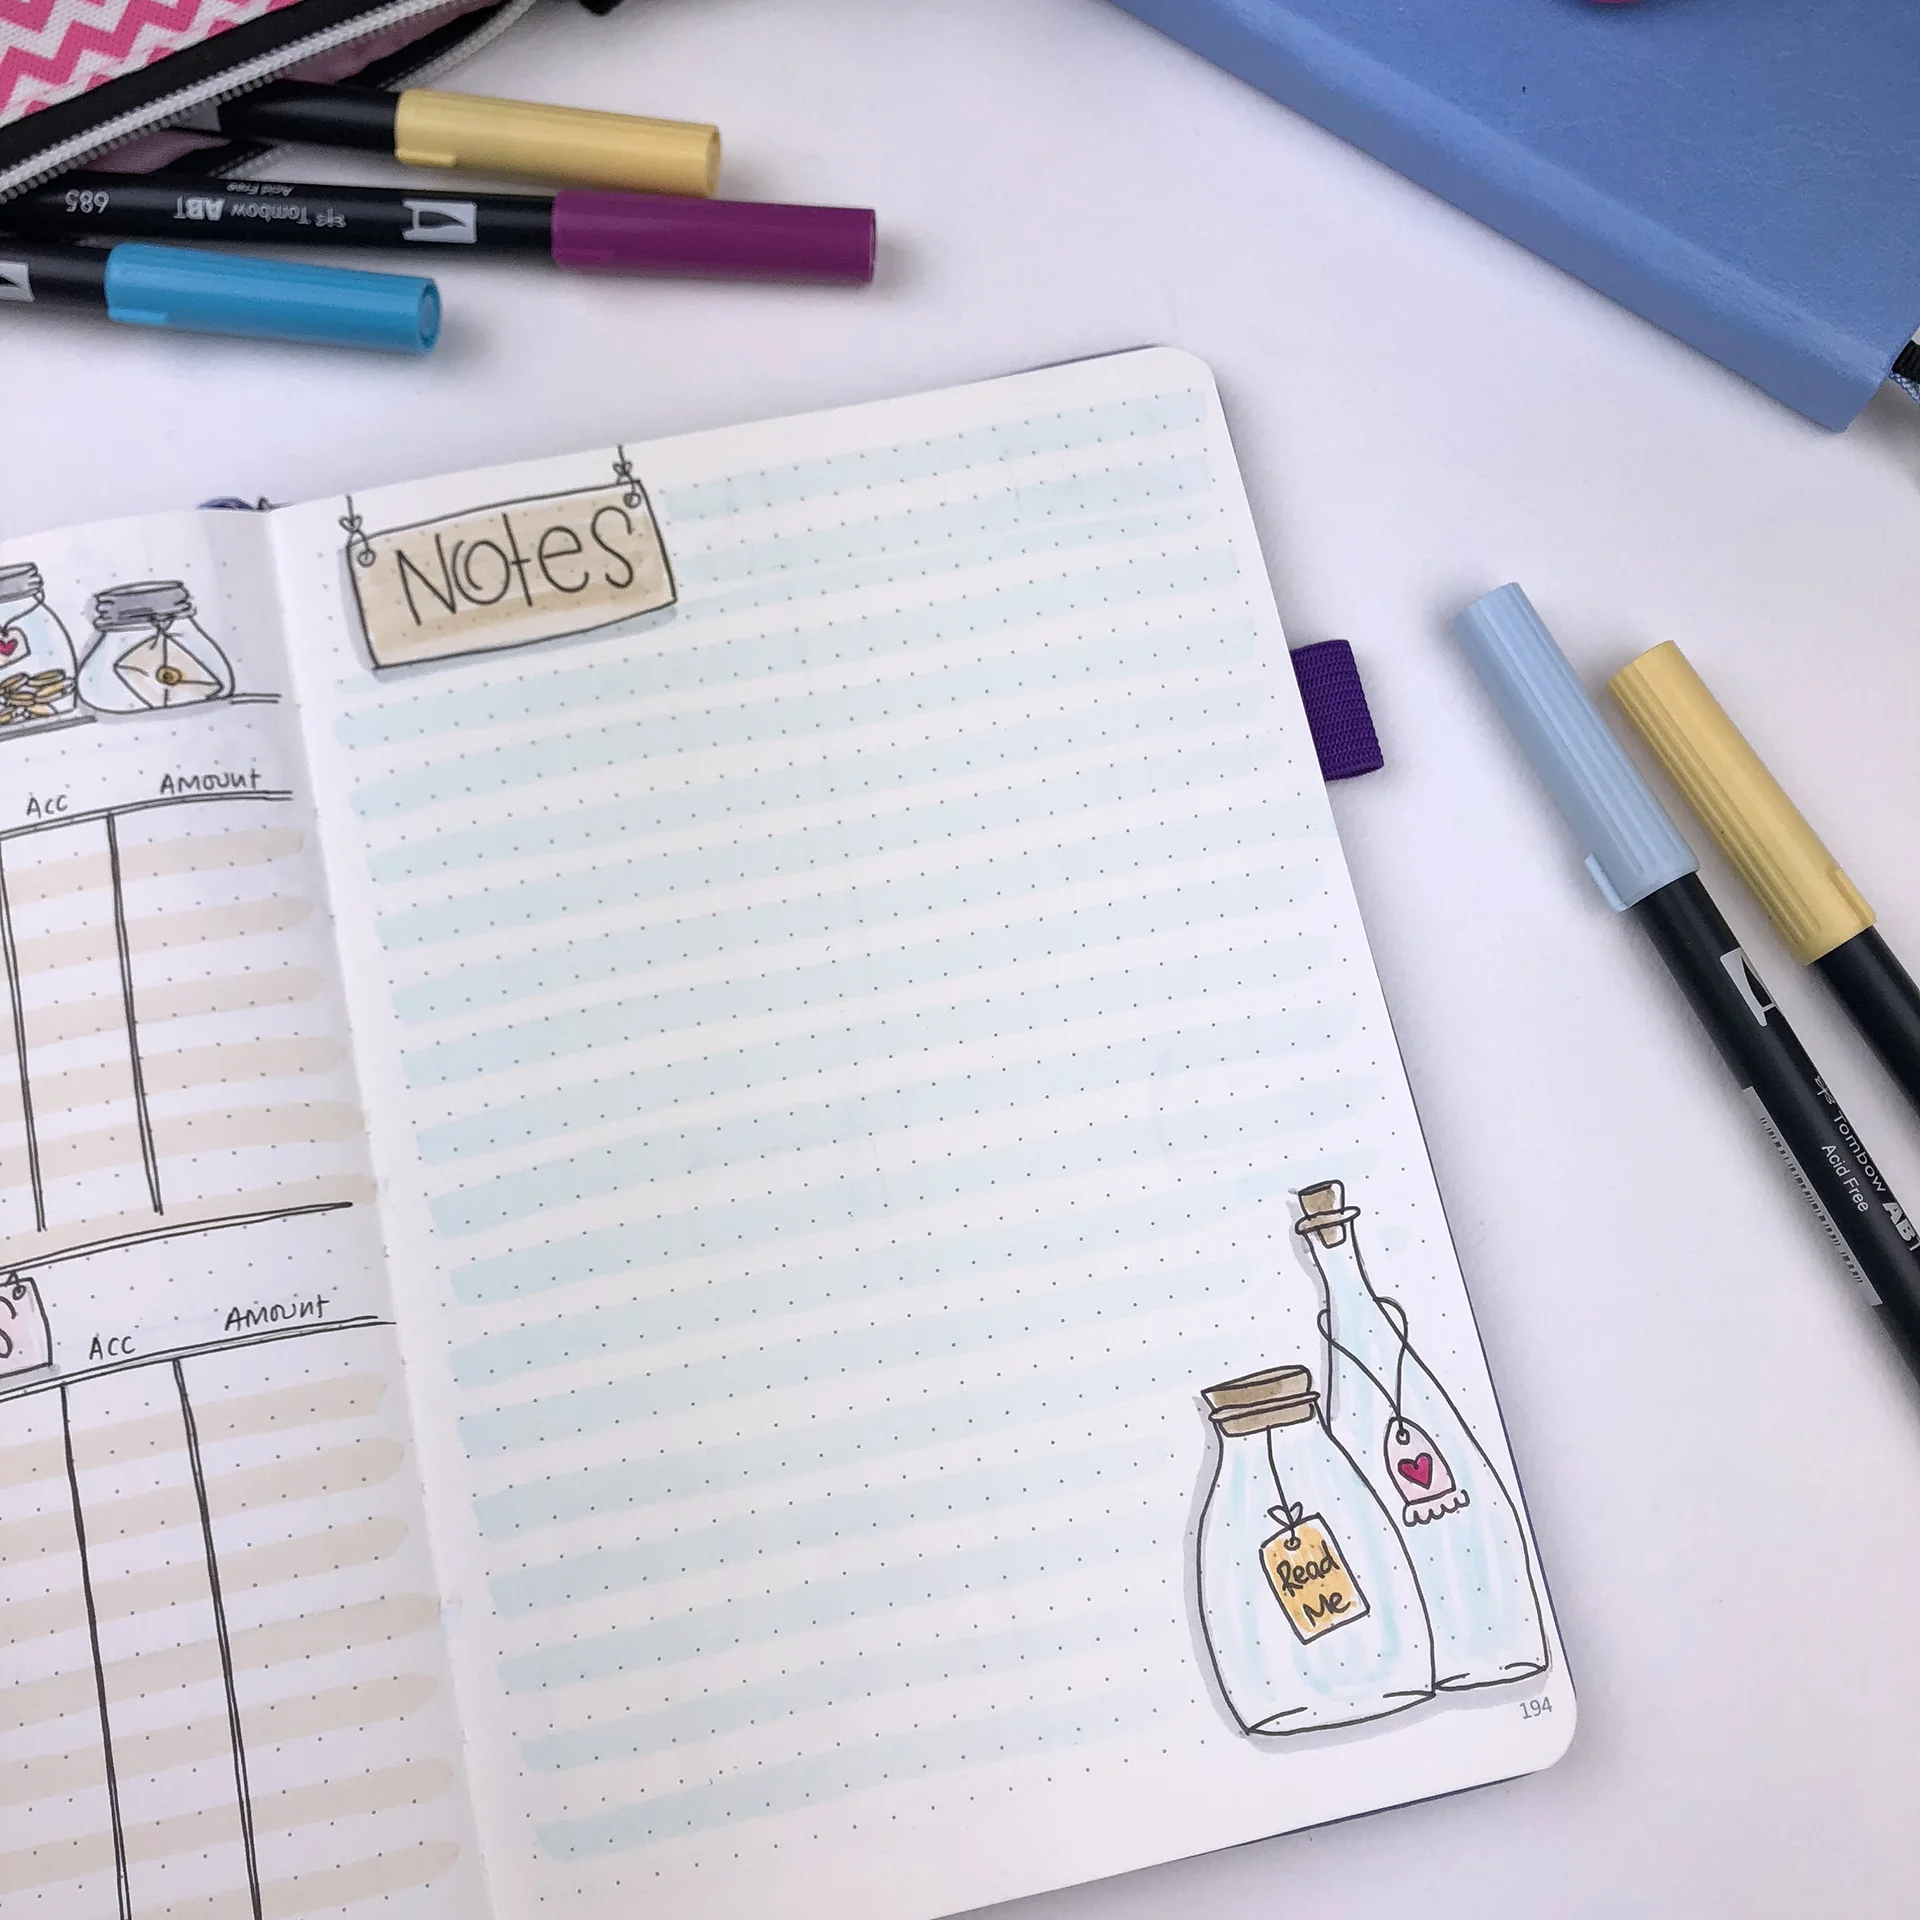
For the last weekly spread of the month I chose another horizontal layout! I like the boxes and the simplicity of it, plus I added a notes section. I might add some vertical lines, like I did in the 2nd layout, to create sections for my to-dos.

SUPPLIES USED:
Faber-Castell PITT Artist Pen in B, S, F
Tombow Dual Brush Markers (673, 491, 990, 533, 553, N89, N95, 451, and 800)
So, these are the 5 weekly layouts for September. I hope you liked this post and that you found some inspiration for your own weekly layouts. If you liked the theme and you'd like to recreate it, please send me some pictures. I'd love to see your pages!! You can always contact me at christina77star@gmail.com


Instagram Challenge: #doodlewithusinseptember2018
I'm excited to announce our Instagram Challenge for the month of September! 👏🏻
It's the #doodlewithusinseptember2018 Instagram Challenge created by me and Alexandra (from @alexandra_plans).
It's going to be 30 days of doodles that will hopefully get you to be creative and have fun! We're going with a 'Famous Landmarks' for this month. I seriously can't wait to start drawing!
As we did before, all the doodles are part of one big comprehensive picture. Imagine each day to be one piece of the puzzle. So, at the end of the month you will have one big doodle picture! :)
If you decide to follow this way, you'll have to create a table with 5x6 boxes and you shouldn't add the days on the top. You can also make the boxes and dates in pencil, if you don't want the lines to obscure the end result. It's totally up to you.
Of course, if you prefer to draw the doodles in the traditional way, that's absolutely fine as well. The important thing is to have fun!
You can also download a free printable with the daily prompts here.

If you want to join us then:
- Follow me (Christina) @christina77star and Alexandra @alexandra_plans over on Instagram.
- Download the prompts below.
- Draw something according to the day's prompt, take a photo of it, and share it with us on Instagram.
- Don't forget to add the hashtag #doodlewithusinseptember2018 and spread the word.
- Everyone is welcome!

We're excited to see what you'll share!
Thank you for joining in!
Christina x

Plan With Me: My September Setup in my Bullet Journal + Video
I'm finally back from my holidays! July and August have been such amazing months, full of laughter and lots of great memories and experiences. I needed some time off and I'm really grateful that I managed to do it. But now, August is almost over and we have to start getting ready for September.

I'm finally back from my holidays! July and August have been such amazing months, full of laughter and lots of great memories and experiences. I needed some time off and I'm really grateful that I managed to do it. But now, August is almost over and we have to start getting ready for September.
This is the last month I will be setting up in my Scribbles That Matter notebook. I can't believe that I'm finishing my 4th bullet journal already and I'm ready to move on to my 5th one! If you would like me to make a video of how I set up my 5th bullet journal, let me know in the comments below.
The theme I chose for this month is 'Message in a Bottle'. You can do so much with this type of theme and I think that it turned out pretty good. I've always wanted to find a message in a bottle, while I'm walking by the sea. And on the other hand sometimes I wonder what I would write in a message that I would put in a bottle, so that the sea will travel it to someone else to find. I find this sort of thing fascinating for some reason.
For the colours, I used again a limited palette of different shades of blues, greys and beige colours, with a pop of pink and some pastel yellow. You can check all the supplies I used for this theme at the end of this post 😉
Make sure you scroll down to the bottom of the post, because there's also a video, where I'm showing you exactly how I've created each spread.

As always we start with the Cover Page of the month. I created lots of jars and bottles with different types of messages and hanging details to add more dimension and interest to the page. I think it turned out nice and cute and I'm really pleased with the result.

The theme continues into my Monthly Spread. I've noticed that I don't need a double page spread for this layout. Even though I do use the page, I saw that I can turn it into a one-page layout and still have space to write the things I need to. So, I turned the squares into 3x5 rectangles and this is the end result. Changing a layout can be tricky sometimes. I made a lot of mistakes while I created this page. And even though I always plan my pages in pencil, I still managed to mess up the boxes and the dates in the beginning. But with the use of some correction tape , it still looks good.
Because of the change I made with my monthly layout, my monthly goals moved to the page opposite. I decided to make the lists for the two different sections vertically this time, and I have to say that I prefer it this way. I'll see how it works when I'll actually use the page, and I might keep this setting for the next months as well.
I didn't create my monthly focus page this time. Even though I still like the purpose of the page, I couldn't fit it into the layouts I wanted to create for this month, so I decided not to include it in the September setup.
Next comes my 'Areas of Focus / Tasks to Complete' spread. I love planning each week separately. Allocating different tasks and projects per week is very helpful, especially when you're trying to focus and re-organise things!

On the next page I created my Finances page. I use the same layout over and over again because it's really simple and functional. I added some coins into the jar to combine the page with the theme. I also like to add coloured lines in the two sections.
As always I include a Notes pages into my monthly setup. It's good to know that I have a page to write anything I want to remember or to keep a note of, without having to create a specific layout for it. I was thinking of turning it into a 2-page spread, but I believe that the space is enough for now. Also, if I run out of space, I can still create a second page like that in a following page.

Next comes my first weekly spread of September. I wanted to include a tracker for this week, but I still wanted to have enough space for my daily to-dos. So, I thought to use a dutch door layout with a shorter middle page. I used a weekly layout that I tend to use at least once every month. It's simple and functional and it works well with this dutch door layout.
In the middle page, that I cut in half vertically, I added my tracker on one side and planning for this week and next week on the other.

The tracker is separated into 3 different sections: personal, work and house. I don't usually add trackers to my layouts because I tend to forget to fill them in, and in the end they just use up space in my notebook for nothing. Plus, I fill bad for not filling them in... But, I wanted to track some things this week, and I also thouht that having the tracker right in the middle of my weekly will help with me remembering to fill in the boxes. 😉
I really like how this turned out and I'm definitely going to be using this dutch door layout again for sure!
If you want to learn more about dutch door layouts, I have written these blog posts you can check out:
SUPPLIES USED:
Faber-Castell PITT Artist Pen in B, S, F
Tombow Dual Brush Markers (673, 491, 990, 533, 553, N89, N95, 451, and 800)
And that is one more month planned in my bullet journal. Have you setup your bullet journal for September? What theme did you use? Also, if you'd like me to make a video of how I setup my 5th bullet journal, let me know in the comments below.


Improve Your Handwriting Challenge - September
I'm back with one more "Improve your Handwriting Challenge"!
It's a fun way to practice daily, keep a photo archive of your handwriting and see how you've improved through time. You can also interact online with other people doing the same challenge, and also you can get inspired by others' handwriting too.
So, for September it's going to be 30 days of handwriting prompts that will hopefully get you to start practicing your handwriting every day. The theme for this month's words is 'School'. And I thought it was very appropriate for this time of year. 📚🖊

HERE'S HOW TO PARTICIPATE:
- Follow me (Christina) @christina77star over on Instagram.
- If you want, you can download and print the monthly prompts here.
- Each day there is a corresponding prompt, that you simply have to write on a piece of paper. You can also choose to have a dedicated notebook for your daily handwriting practice. Try and focus on the word and the letters as you write them. You can repeat the word as many times as you want. Look at the way that you wrote the word the first time and the way you wrote it the last time. Is there a difference? Do you think you need to work on a specific letter?
- Take a photo of your practice and tag it with #improveyourhandwritingchallenge, so that it gets added to the feed.
- At the end of each month look back at your practice pages and see how you've improved.
- Make sure to encourage each other and have fun!
- Please share this post to spread the word and invite others to join in the fun and improve their handwriting as well!
Thank you for joining in!
Christina x

Pad And Quill Notebook Review
If you've been following me for a while, you'll know that I love testing and reviewing notebooks. Especially notebooks that are meant for bullet journaling. All through the years that I've been bullet journaling, I've tried lots of brands of dotted grid notebooks, and I get so excited when I find new notebooks that I haven't seen before. So, when the people from Pad & Quill contacted me to review and give my honest opinion about their notebooks, I immediately said yes.

If you've been following me for a while, you'll know that I love testing and reviewing notebooks. Especially notebooks that are meant for bullet journaling. All through the years that I've been bullet journaling, I've tried lots of brands of dotted grid notebooks, and I get so excited when I find new notebooks that I haven't seen before. So, when the people from Pad & Quill contacted me to review and give my honest opinion about their notebooks, I immediately said yes.

I received the package within the next few days and I liked how nicely and securely everything was packaged. I always pay attention to details, and I loved the wax seal with the company's logo.

I was also surprised that they've sent me not one but two notebooks and a leather case!

Leather Case
I'll start with the leather case that is amazing! It feels so soft and it is of very good quality.

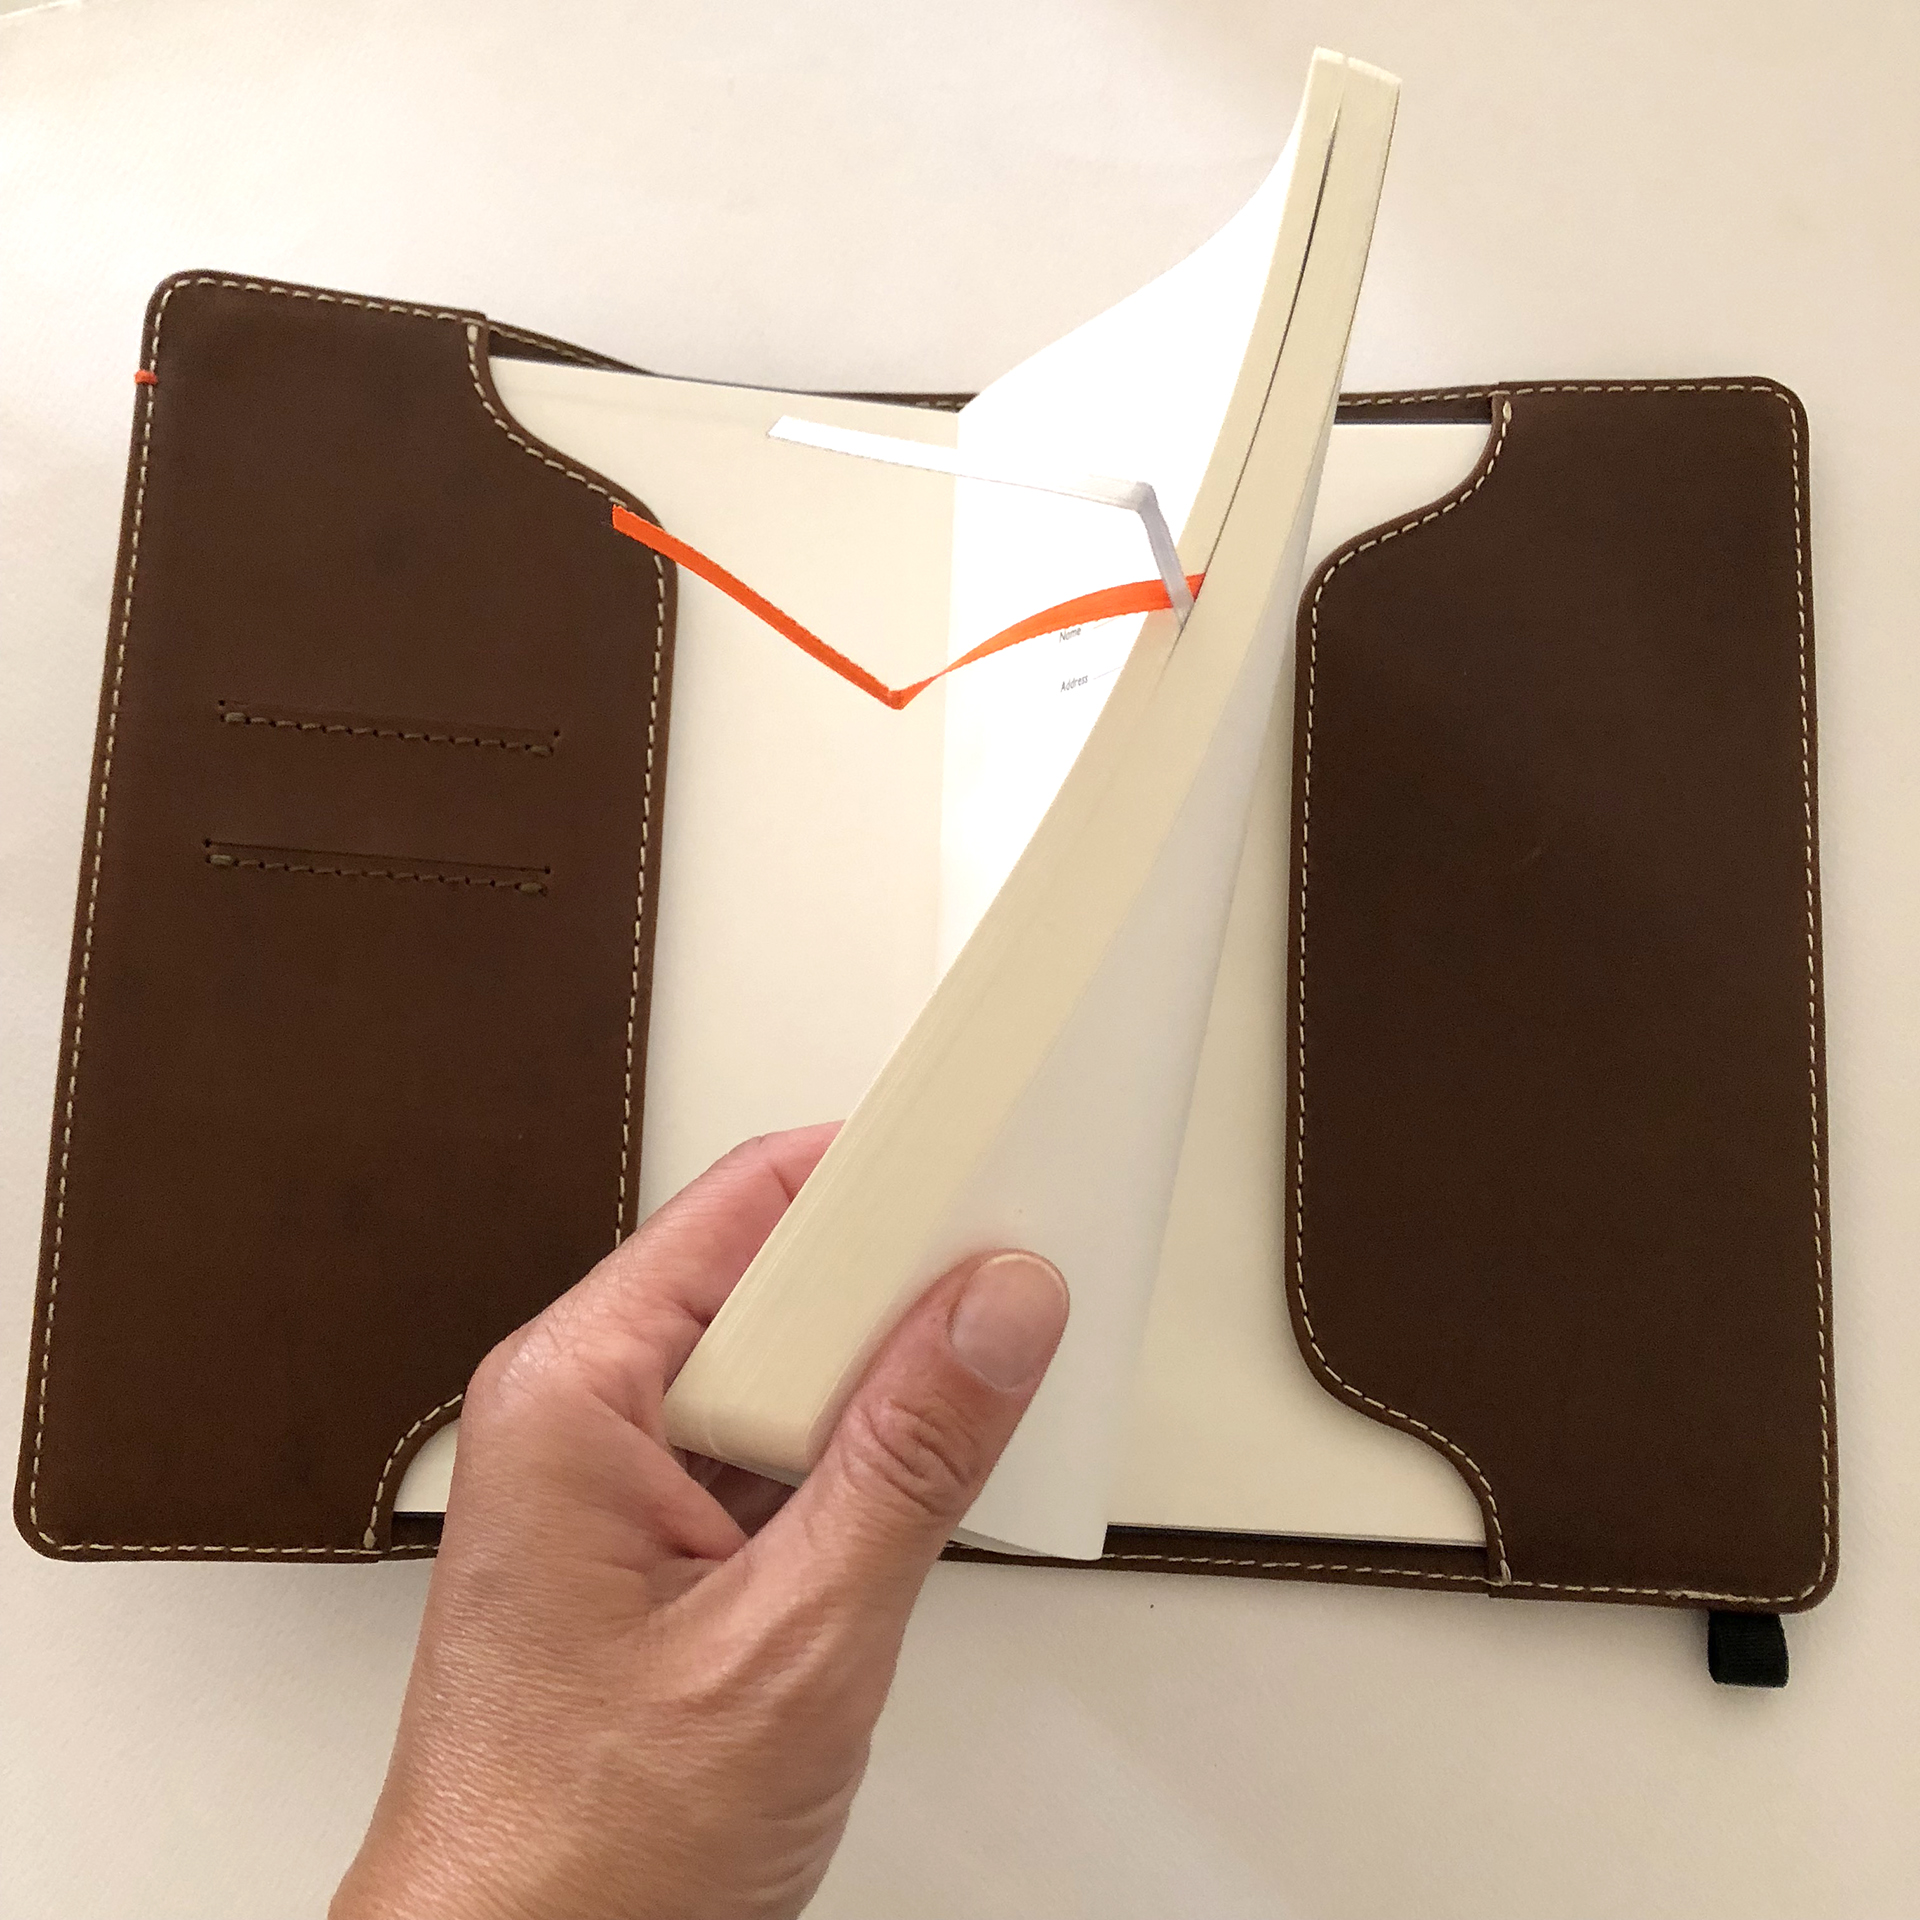
It is their Deluxe Full-Grain Leather Journal Cover in medium size, which comes in two different colours. I have the 'Whiskey' colour which is a lovely light brown one.

It has a very sturdy and thick elastic band in black colour, and a lovely engraved detail of the company's logo at the back. It has parachute grade thread all around and elegant French-hemmed edges.

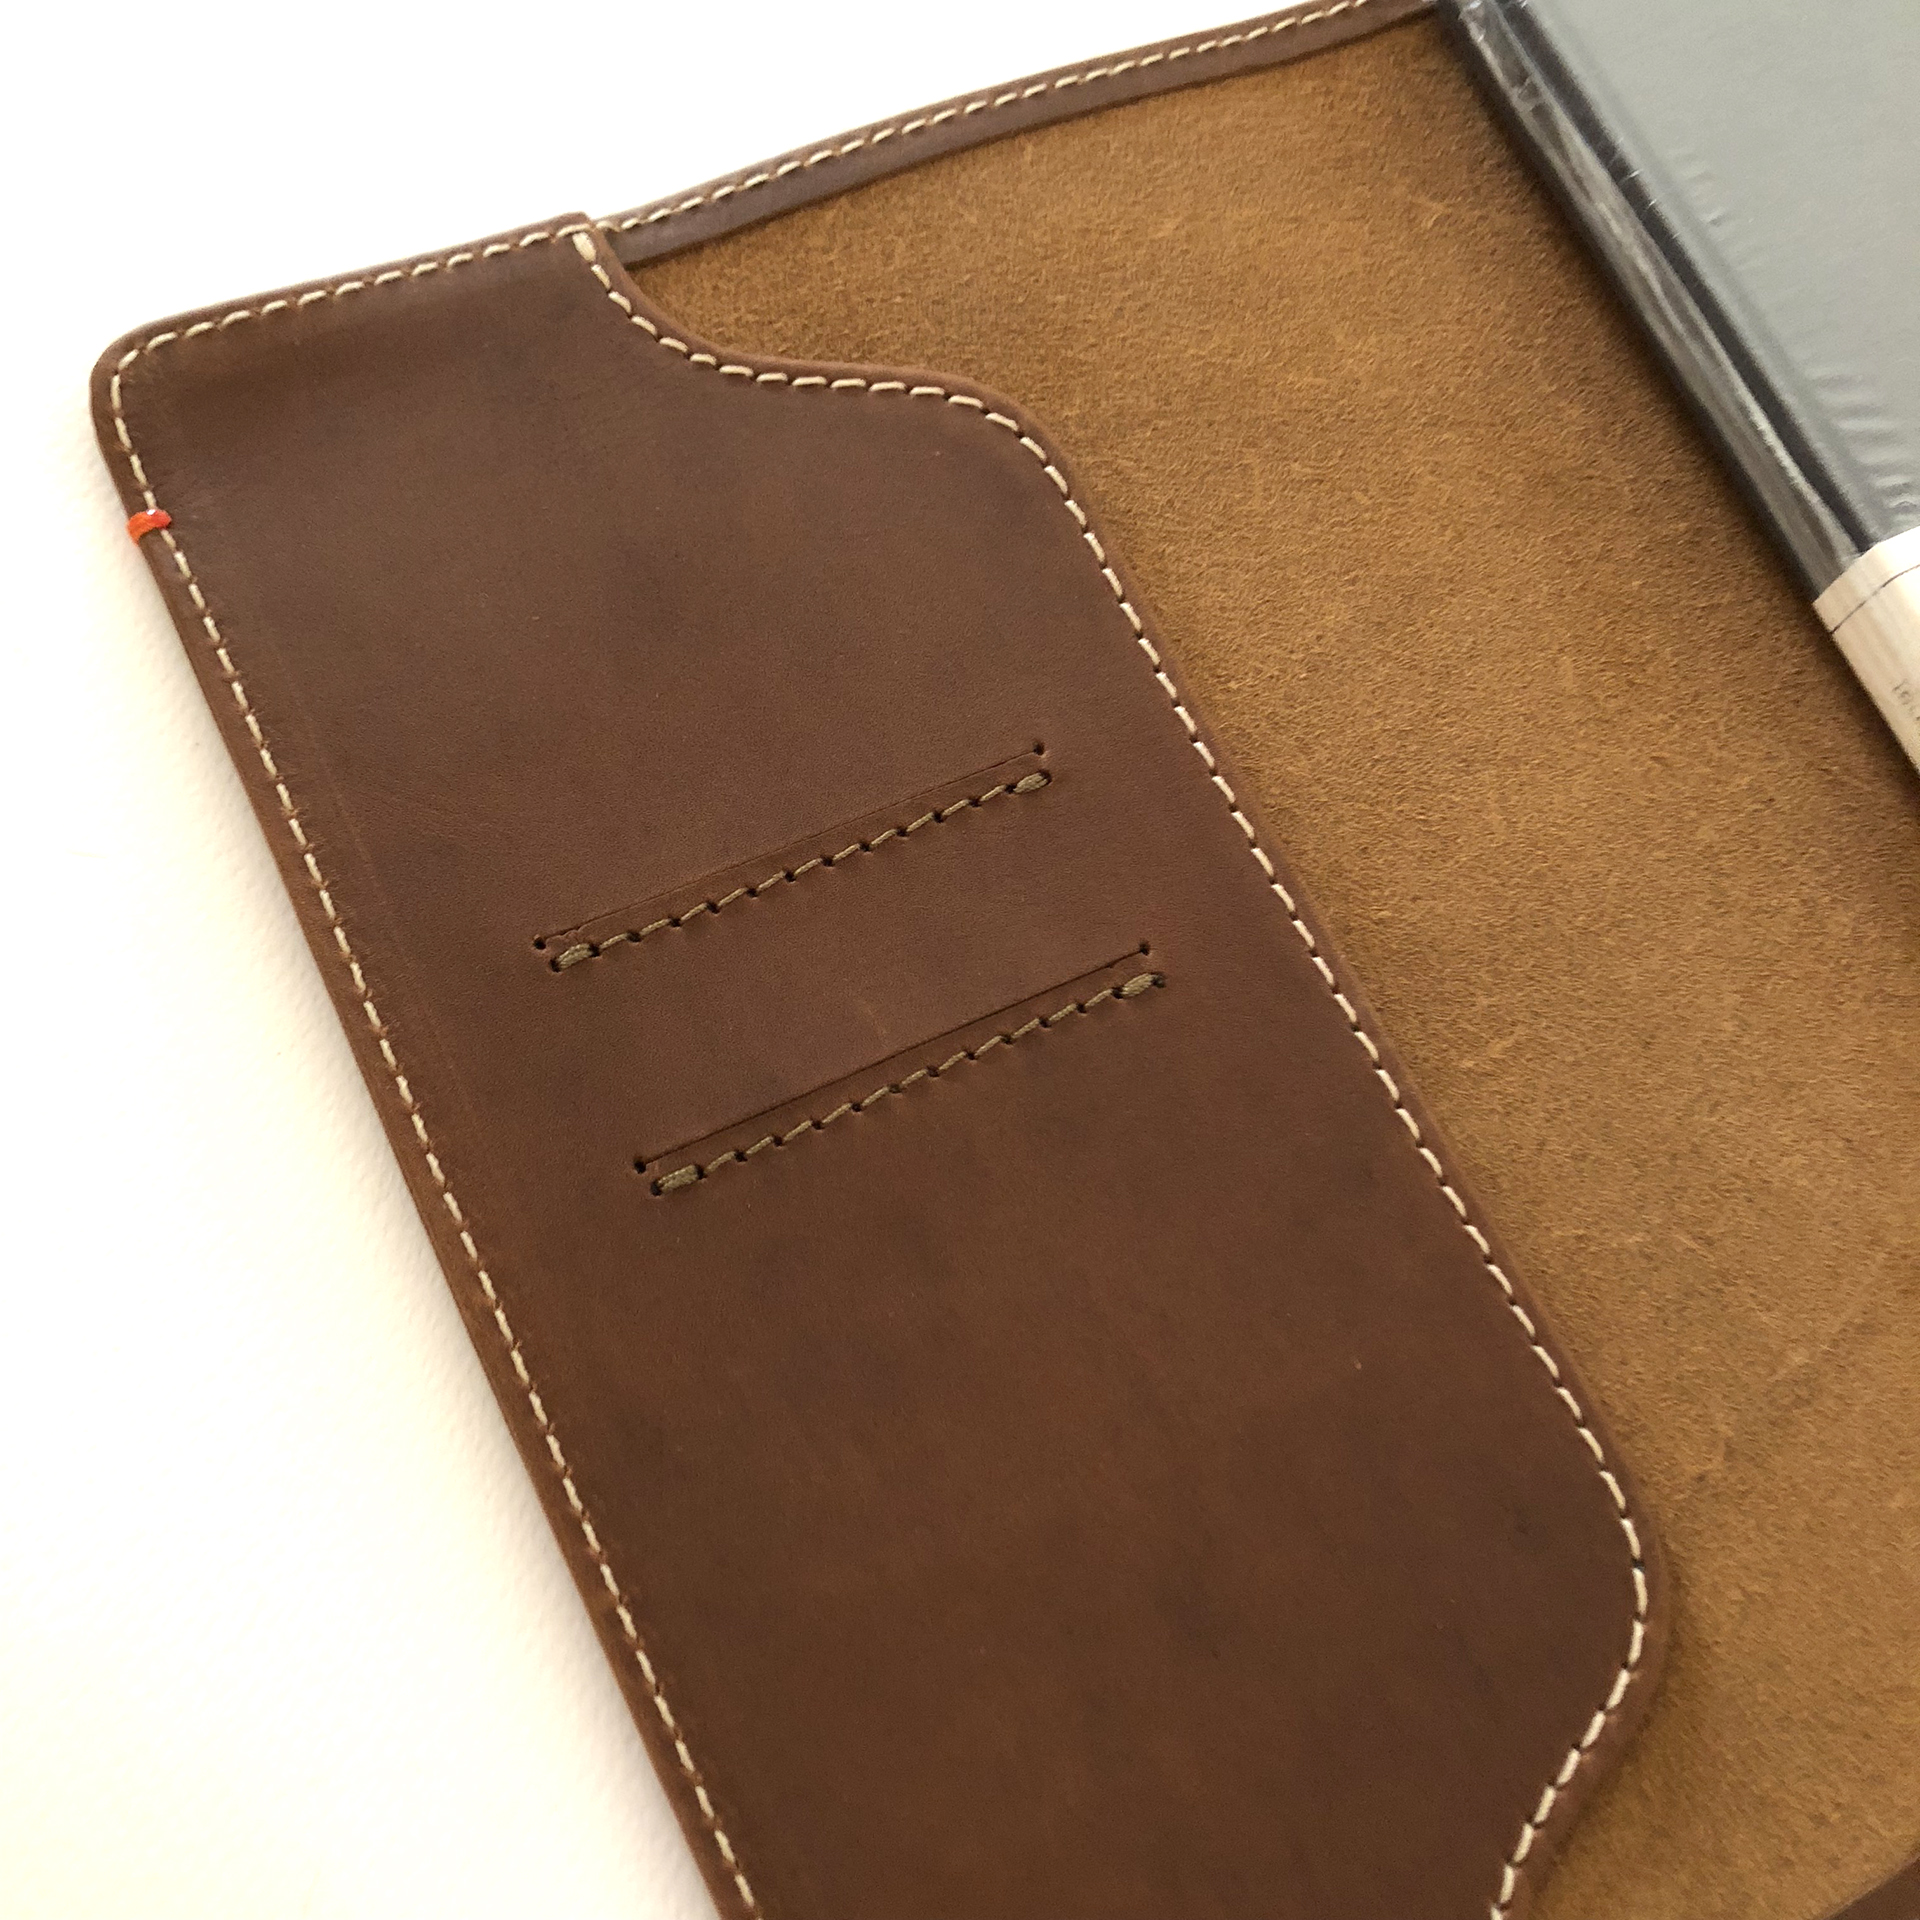
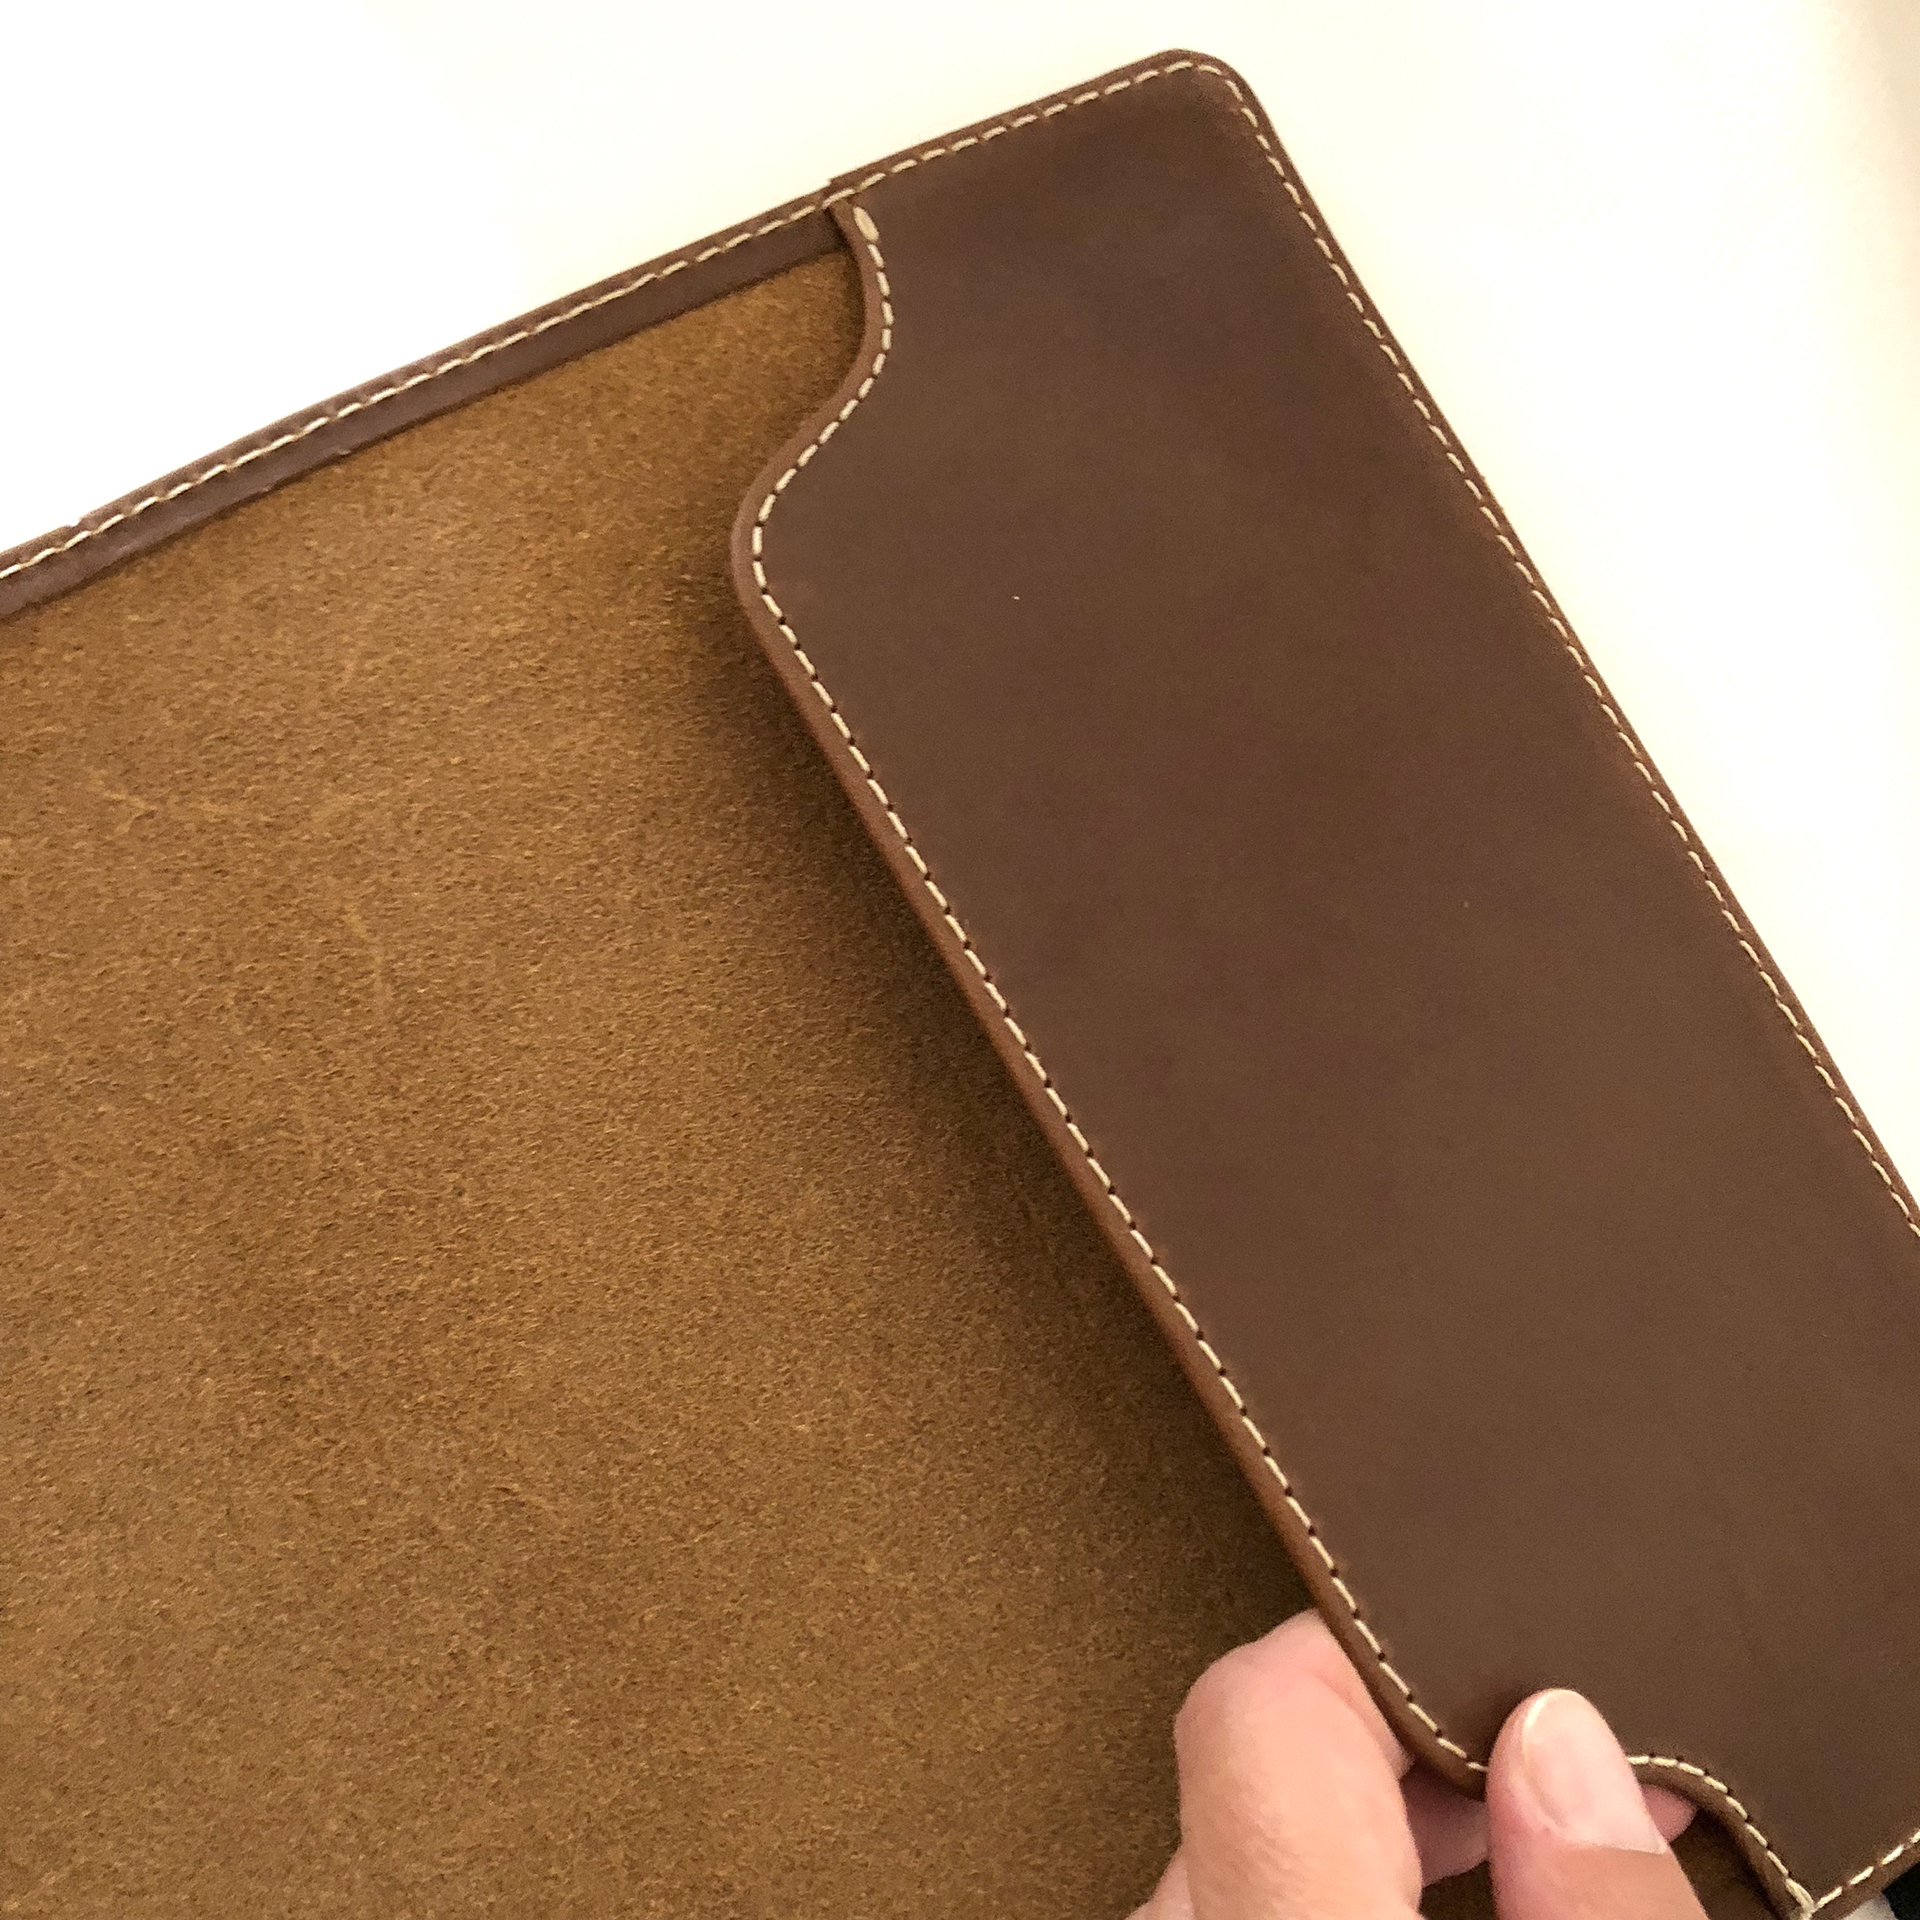
It has 2 business card slots on the inside and each case is discreetly signed on the inside by the artisan who crafted it. The dimensions of the leather case are 8.9in x 6.5in and it fits nicely A5 sized notebooks

I really like the quality of the leather case and it makes your bullet journal look more professional, no matter what notebook you're using.
Journal Notebook Medium

The first notebook I received was this lovely grey one. It is a linen cloth bound hardback in the colour London Grey. That is the only colour their notebooks come in, and it aims for a more classic and professional style, that is unisex as well.

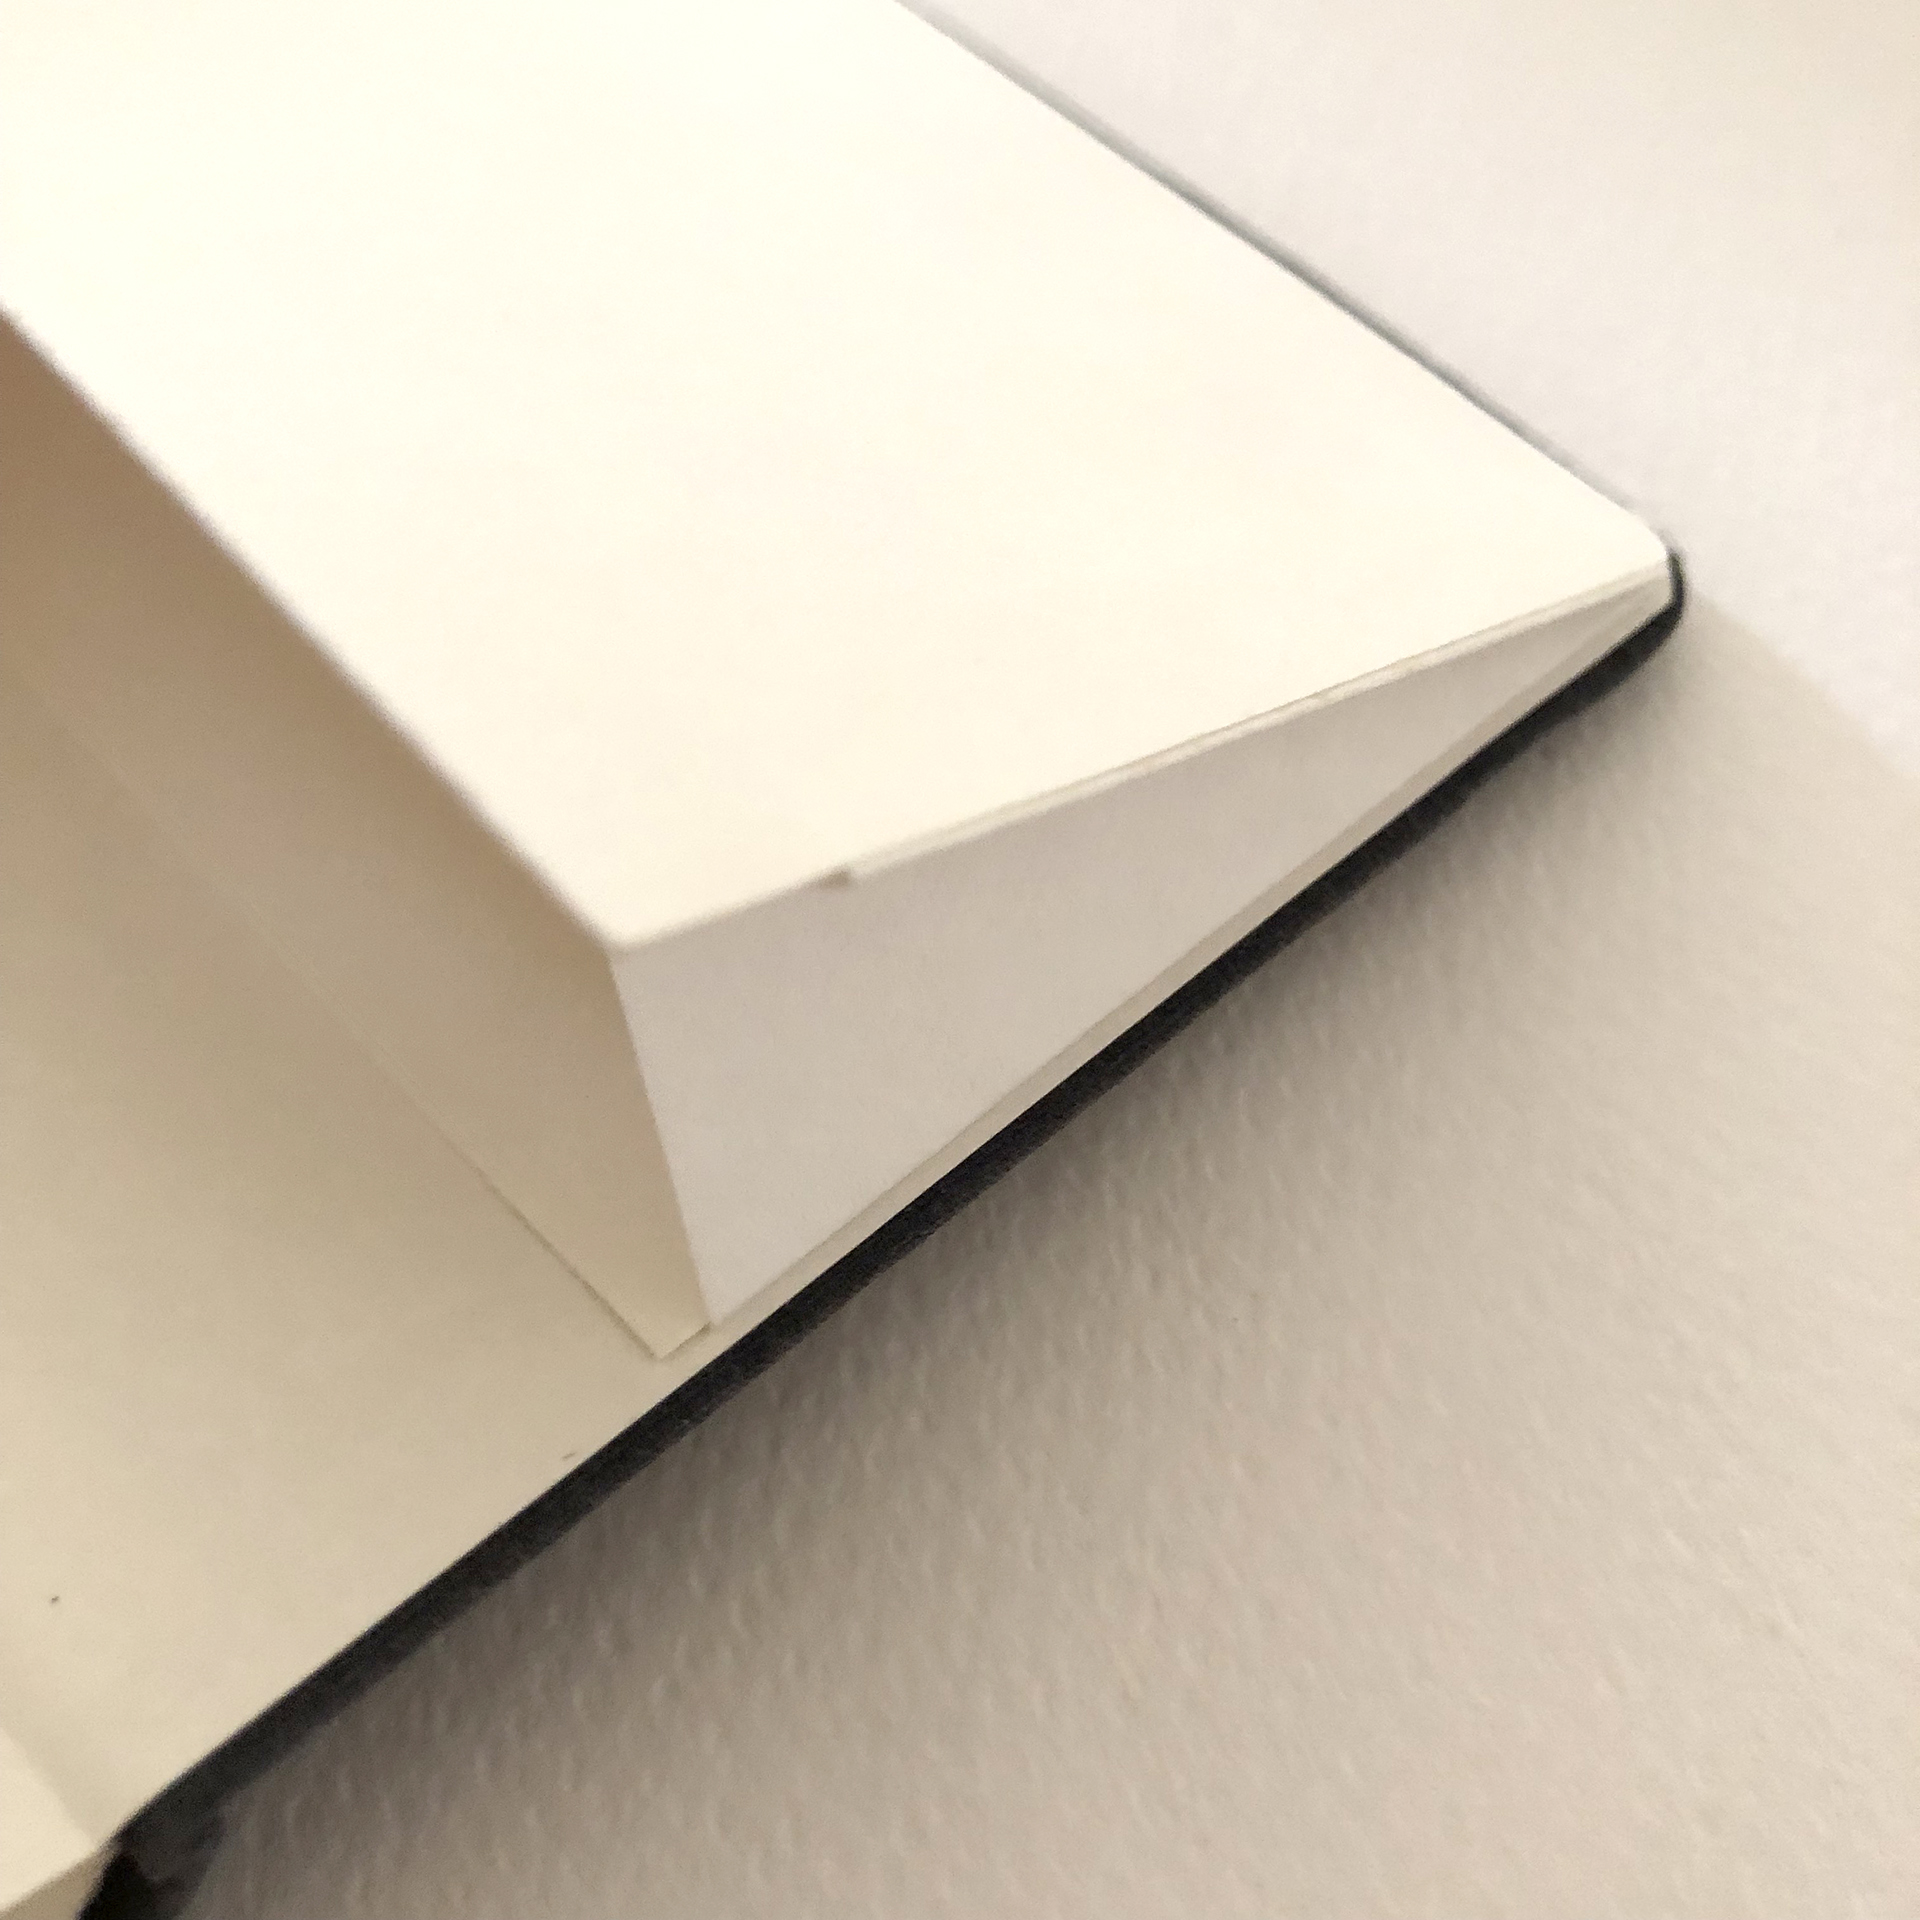
It is slightly smaller than an A5 sized notebook with dimensions 8.3in x 5.6in. and has a Smyth-sewn lay flat bookbinding.
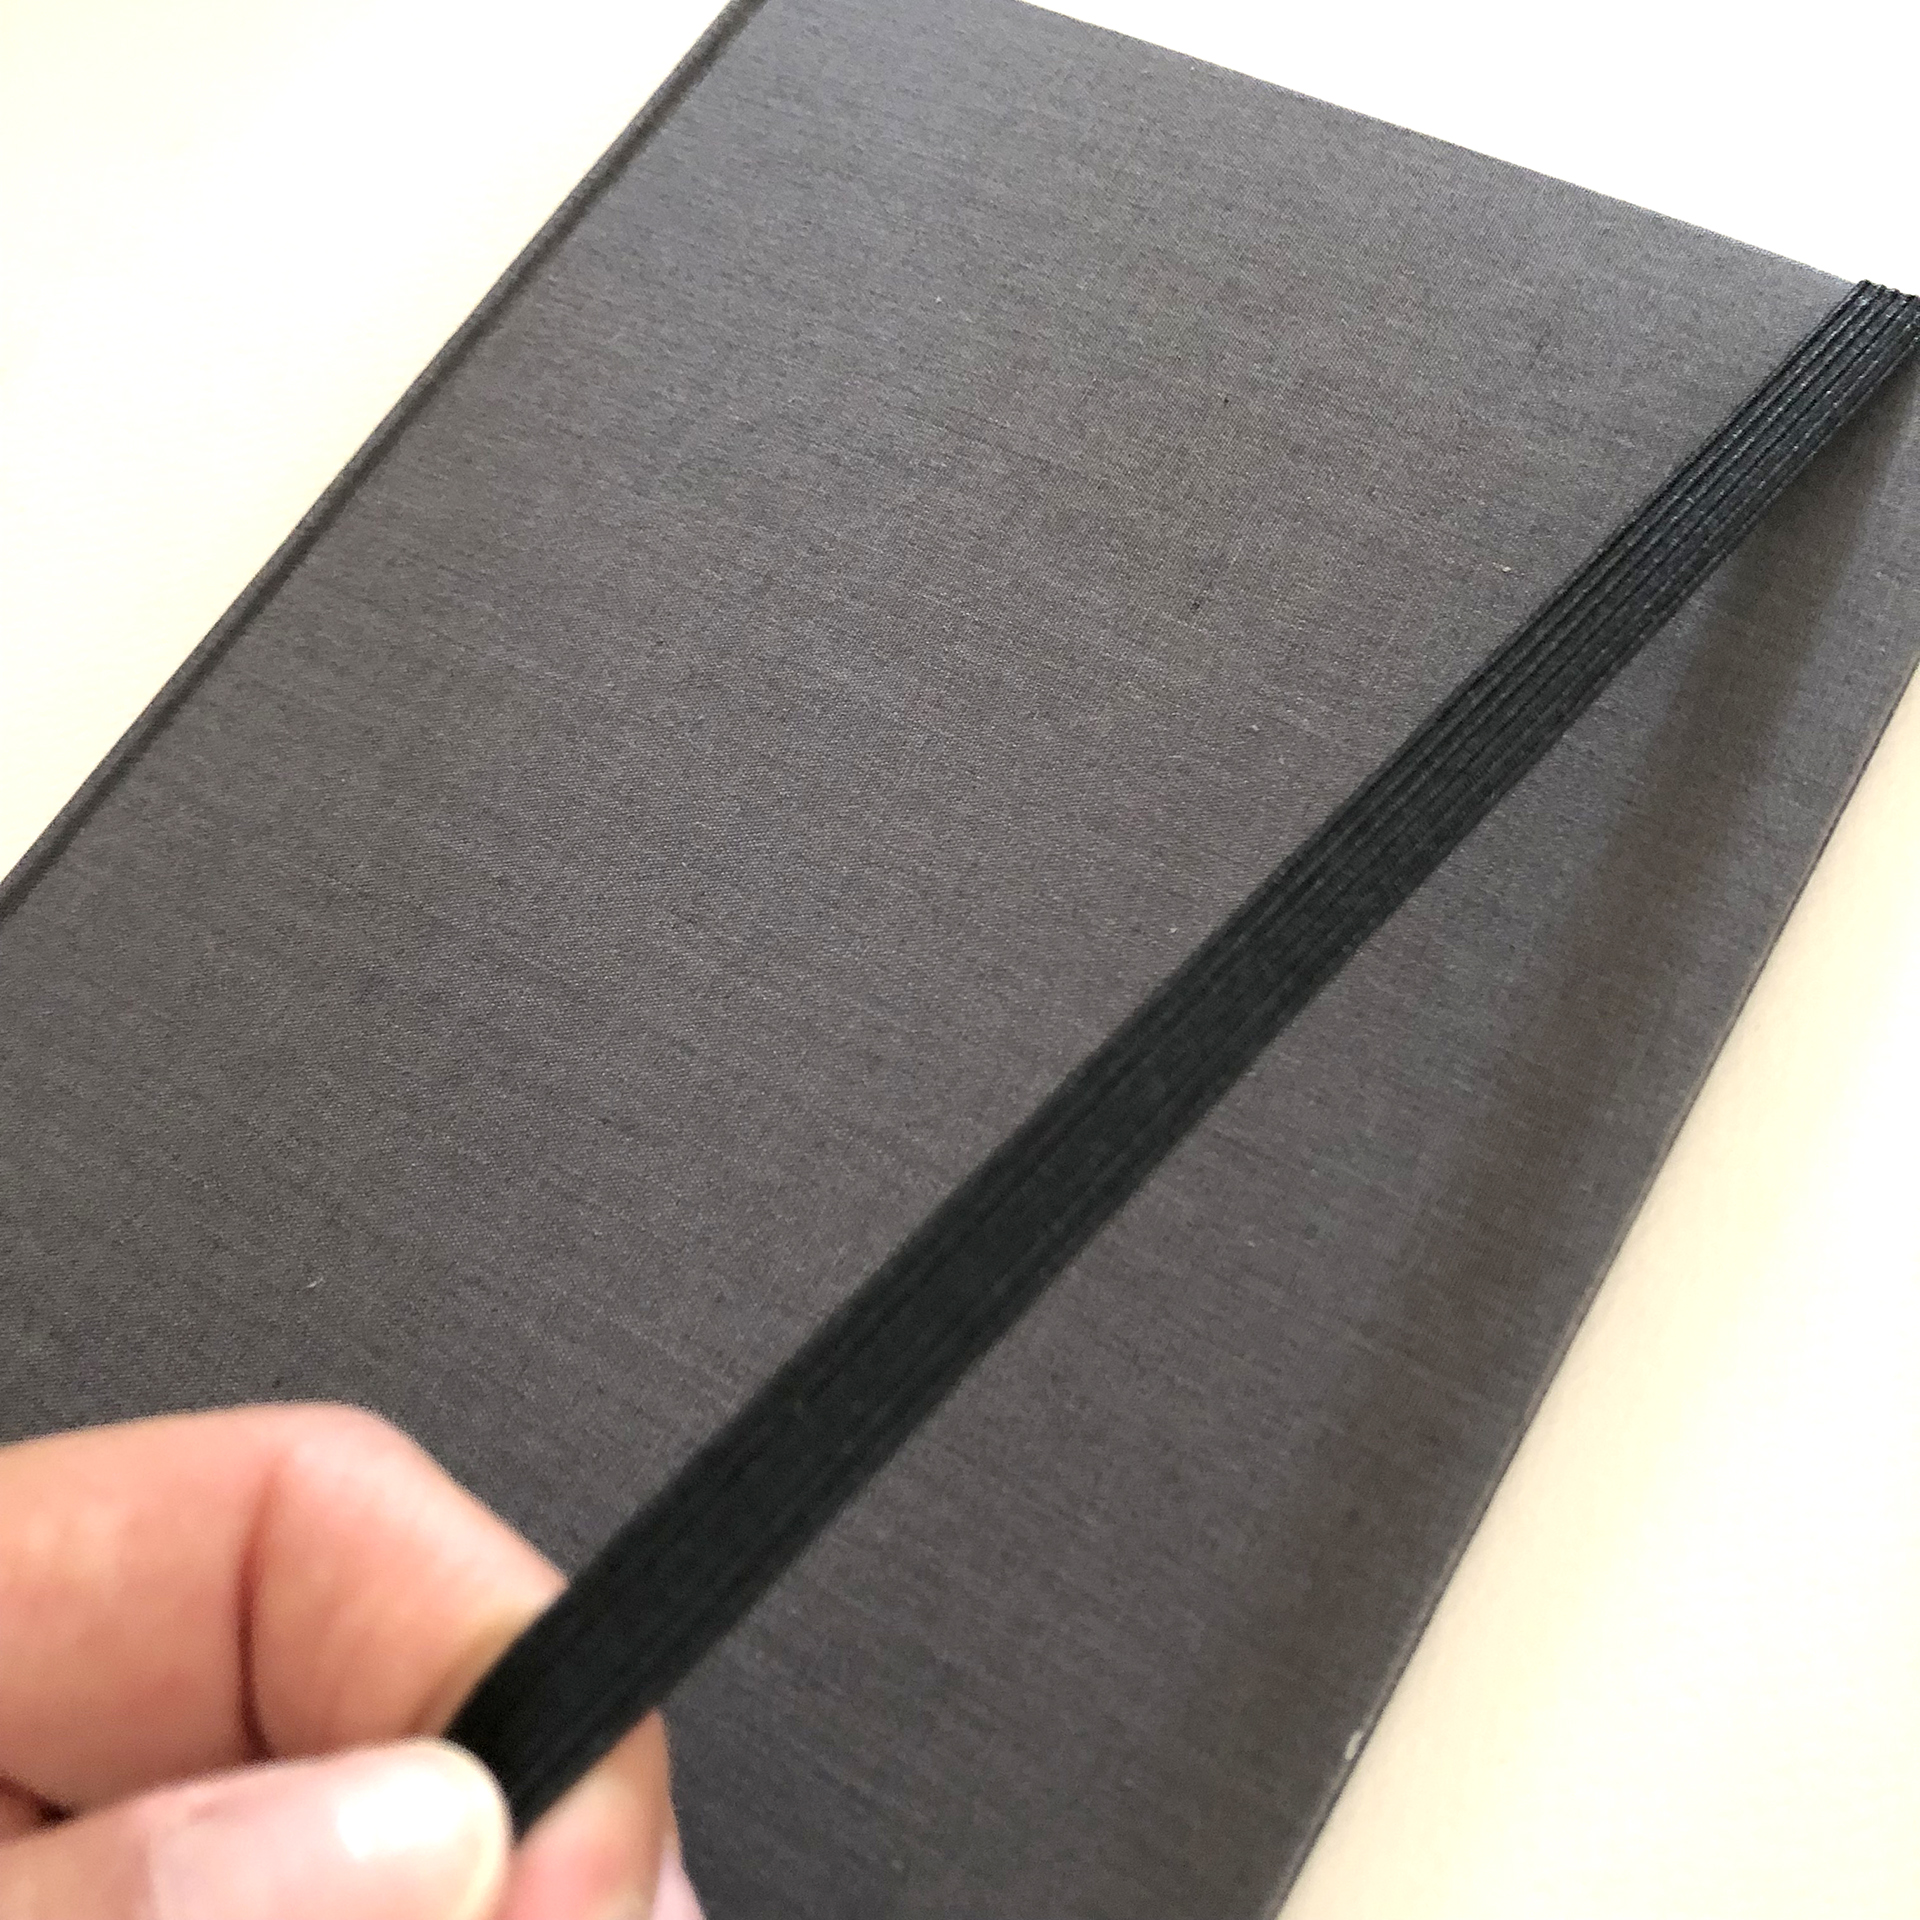
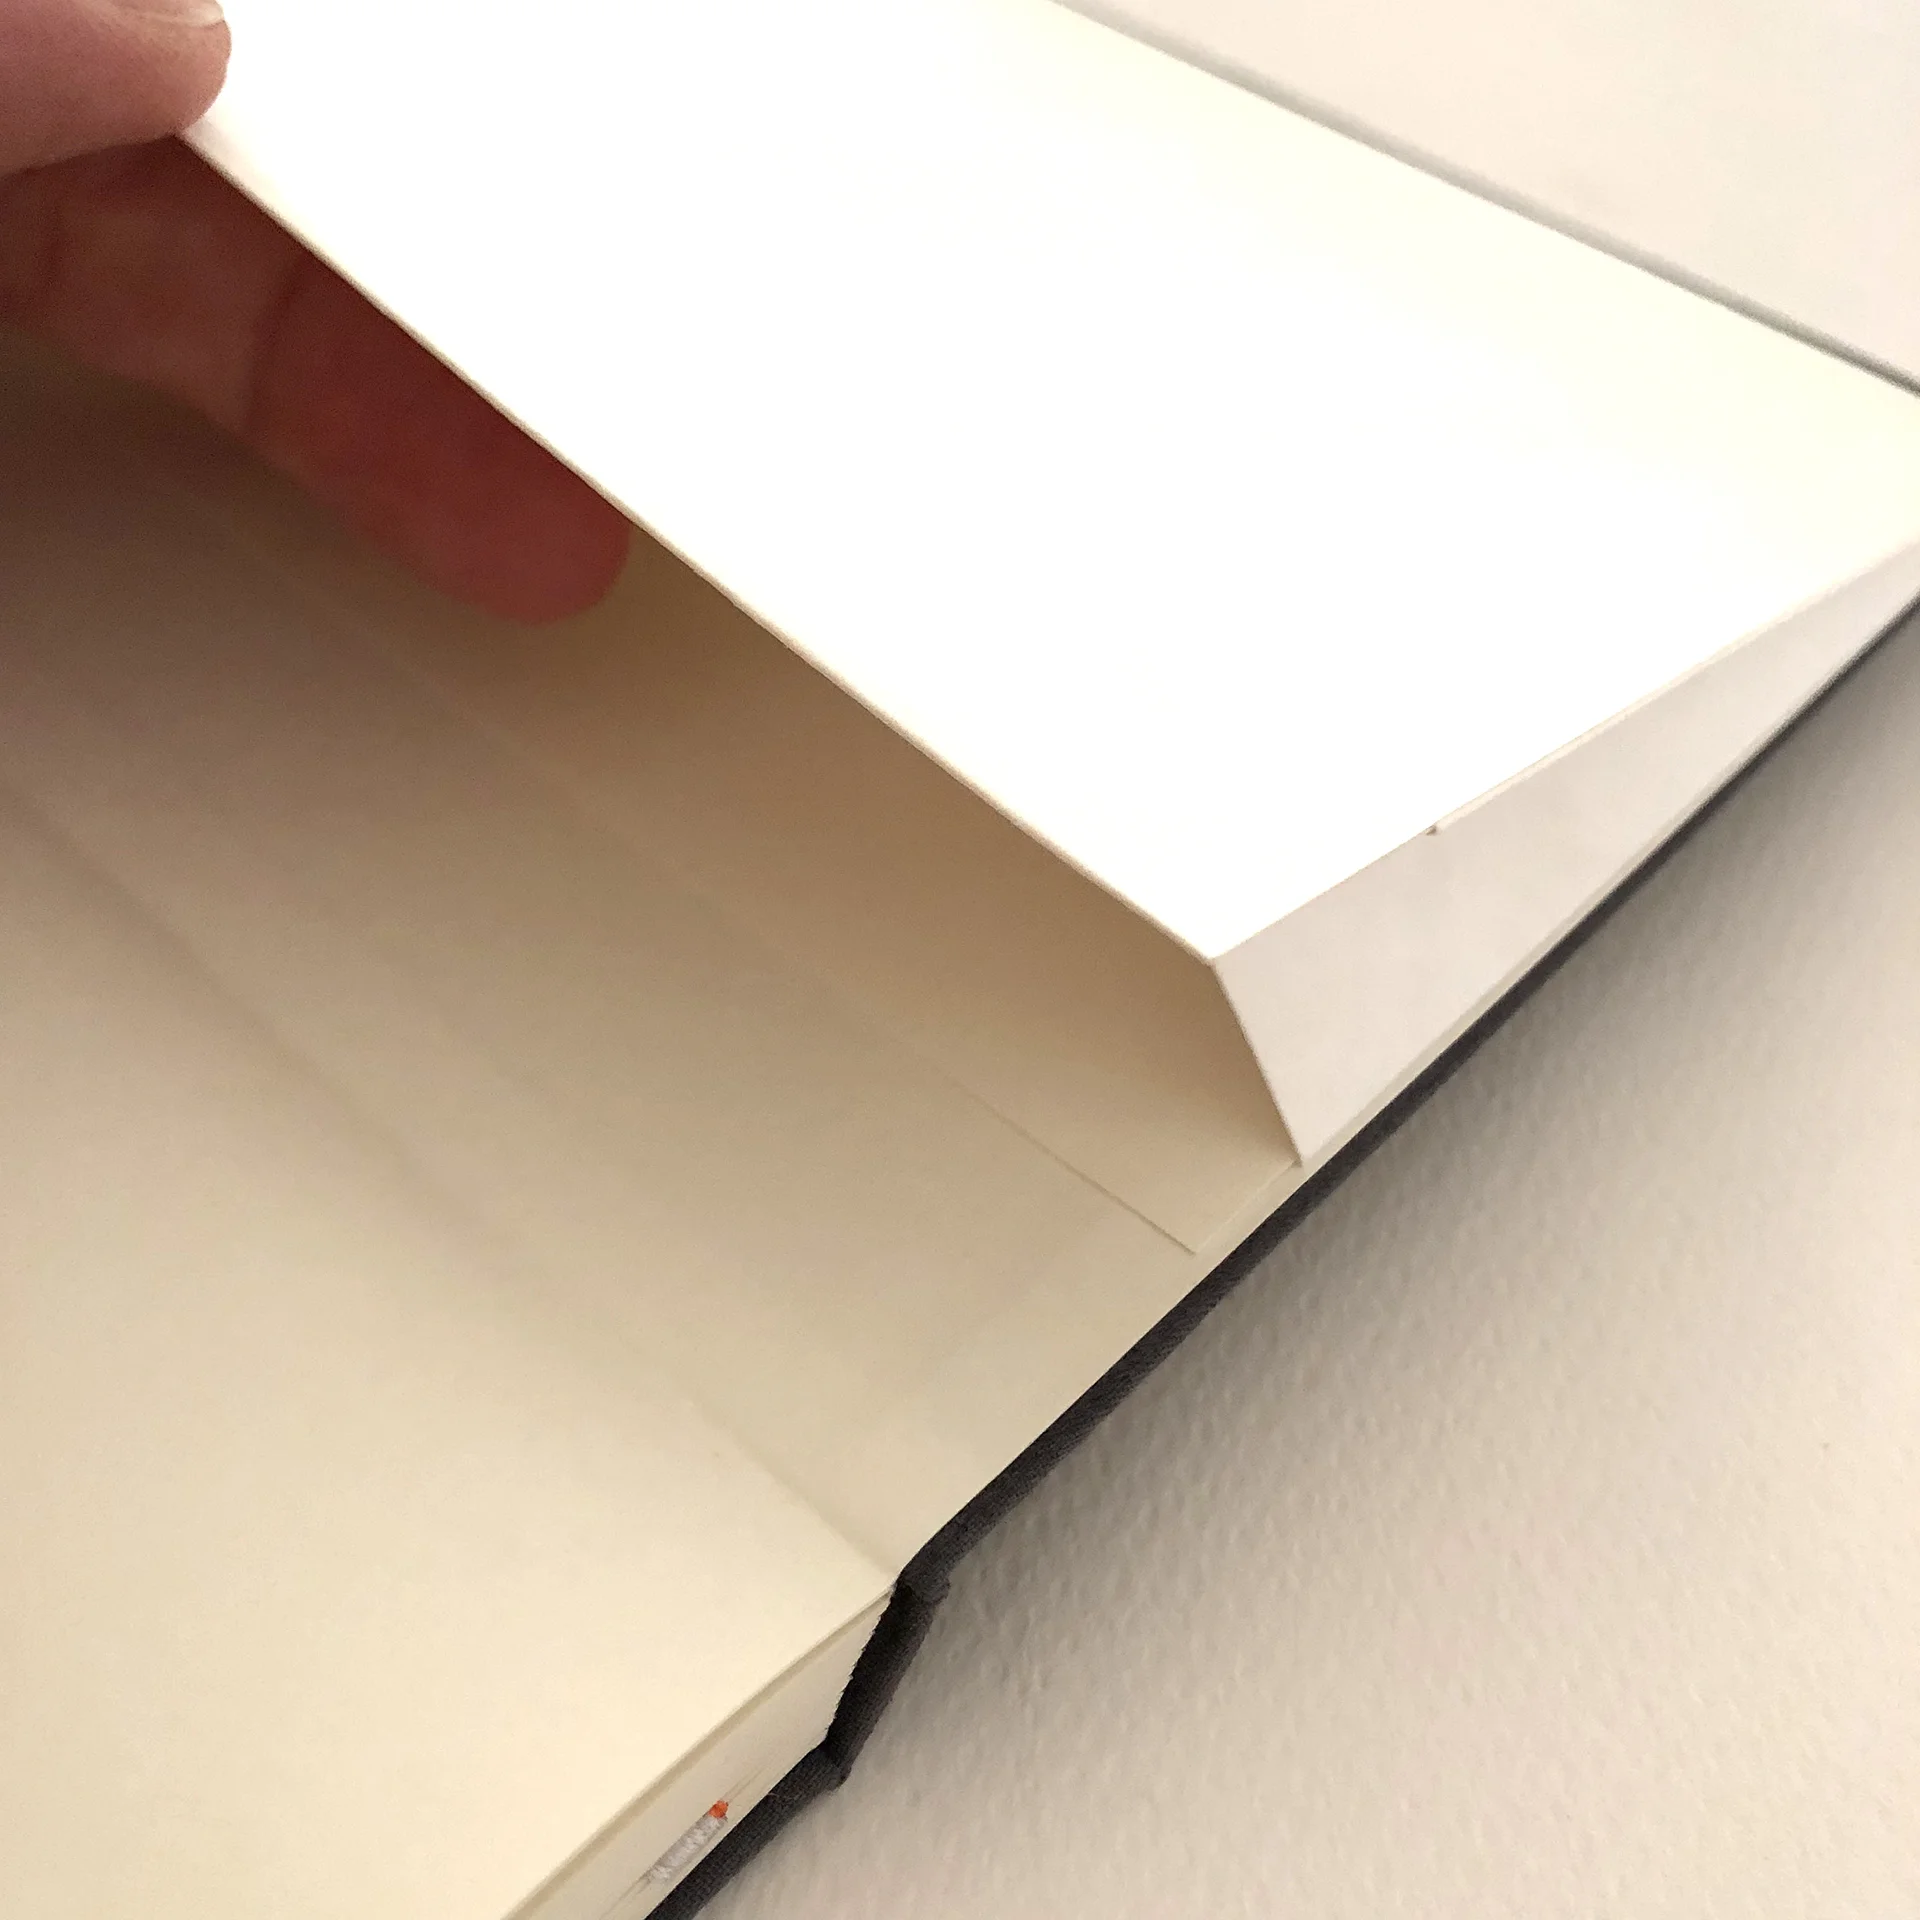
It has an elastic band closure and an expandable back pocket, which is always handy!
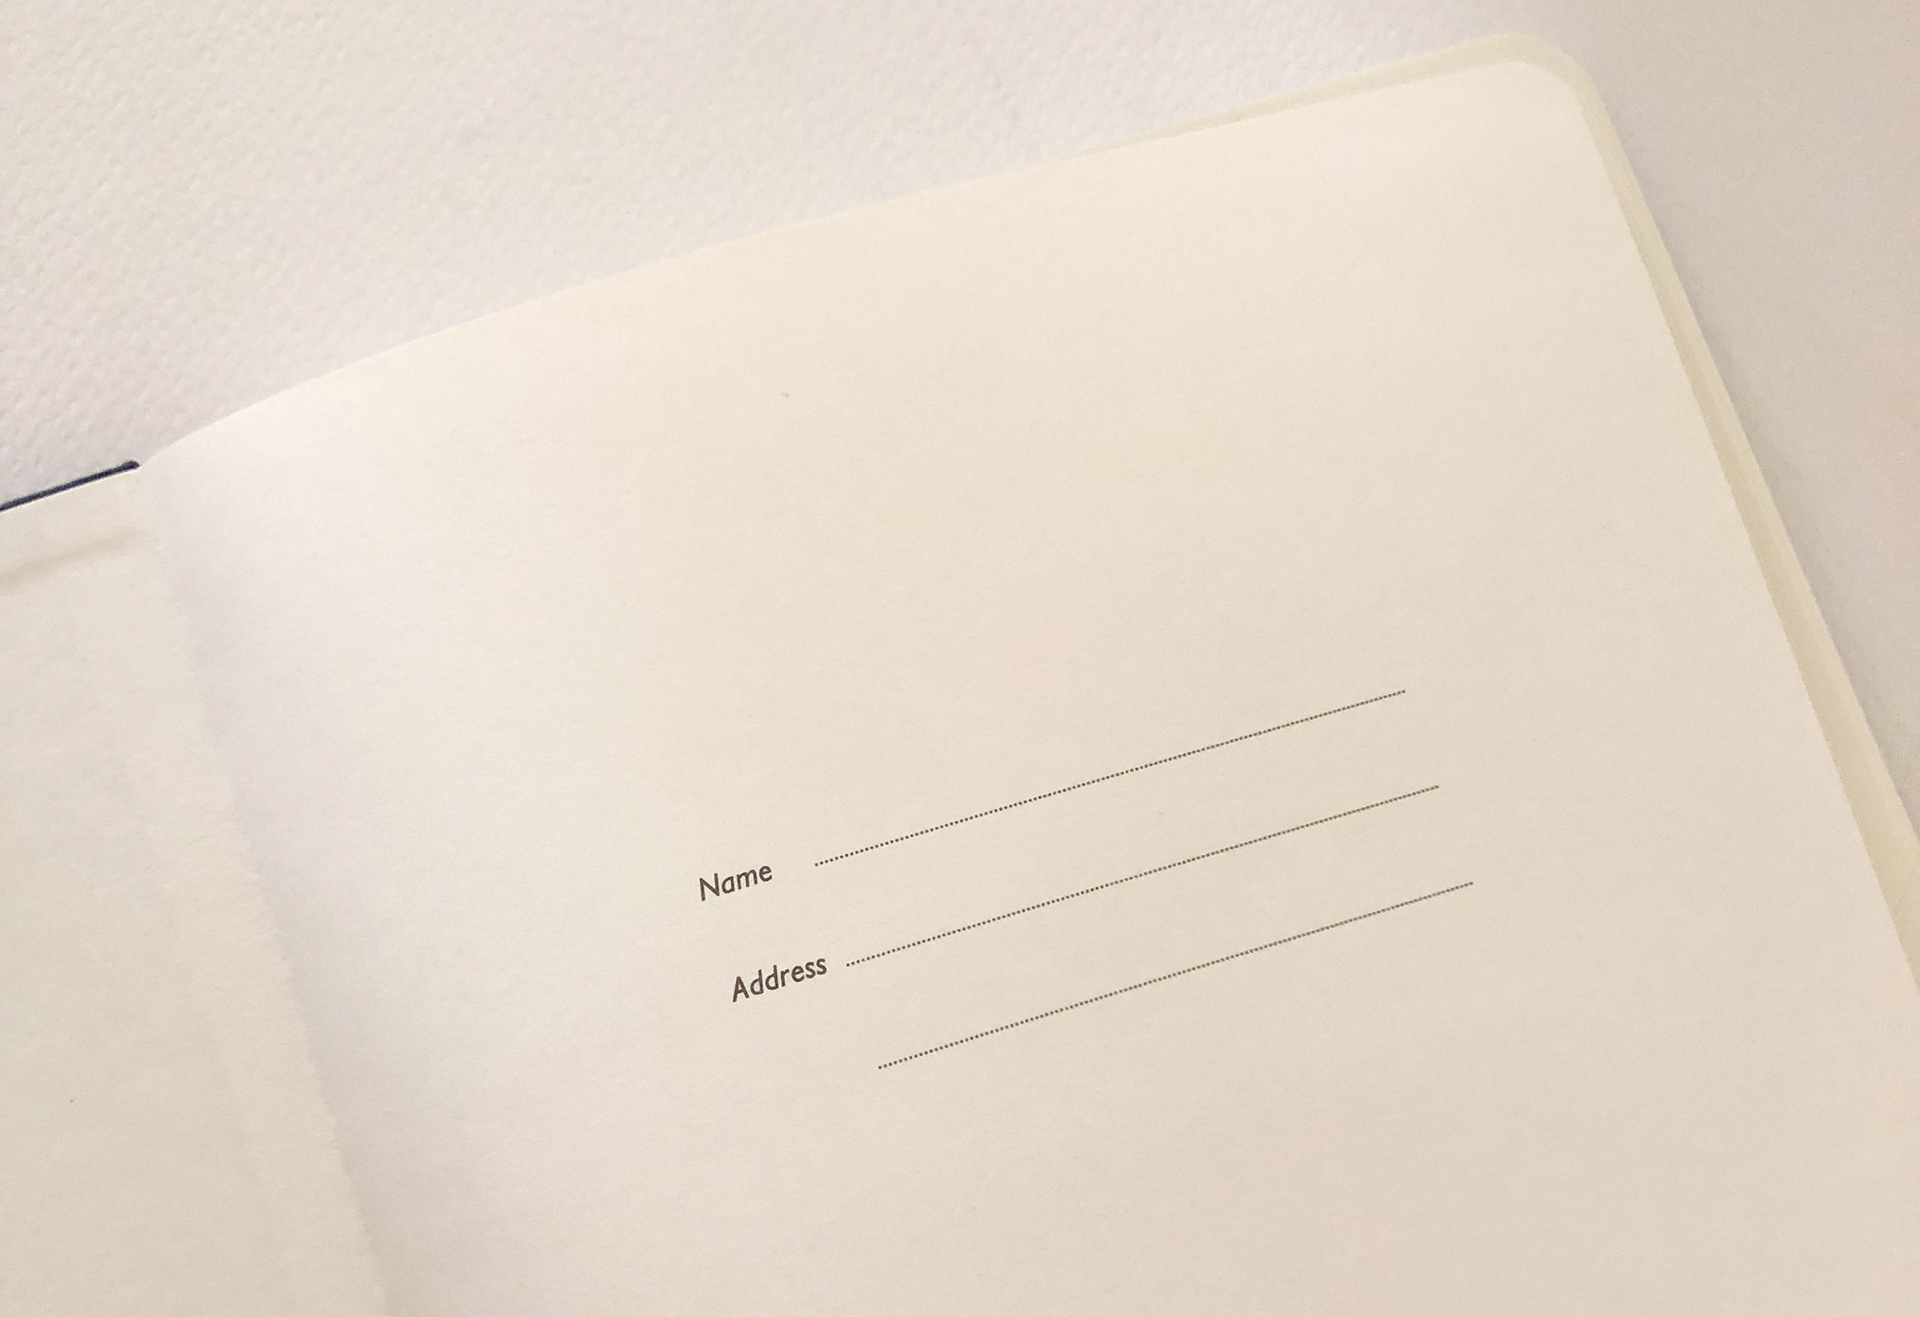
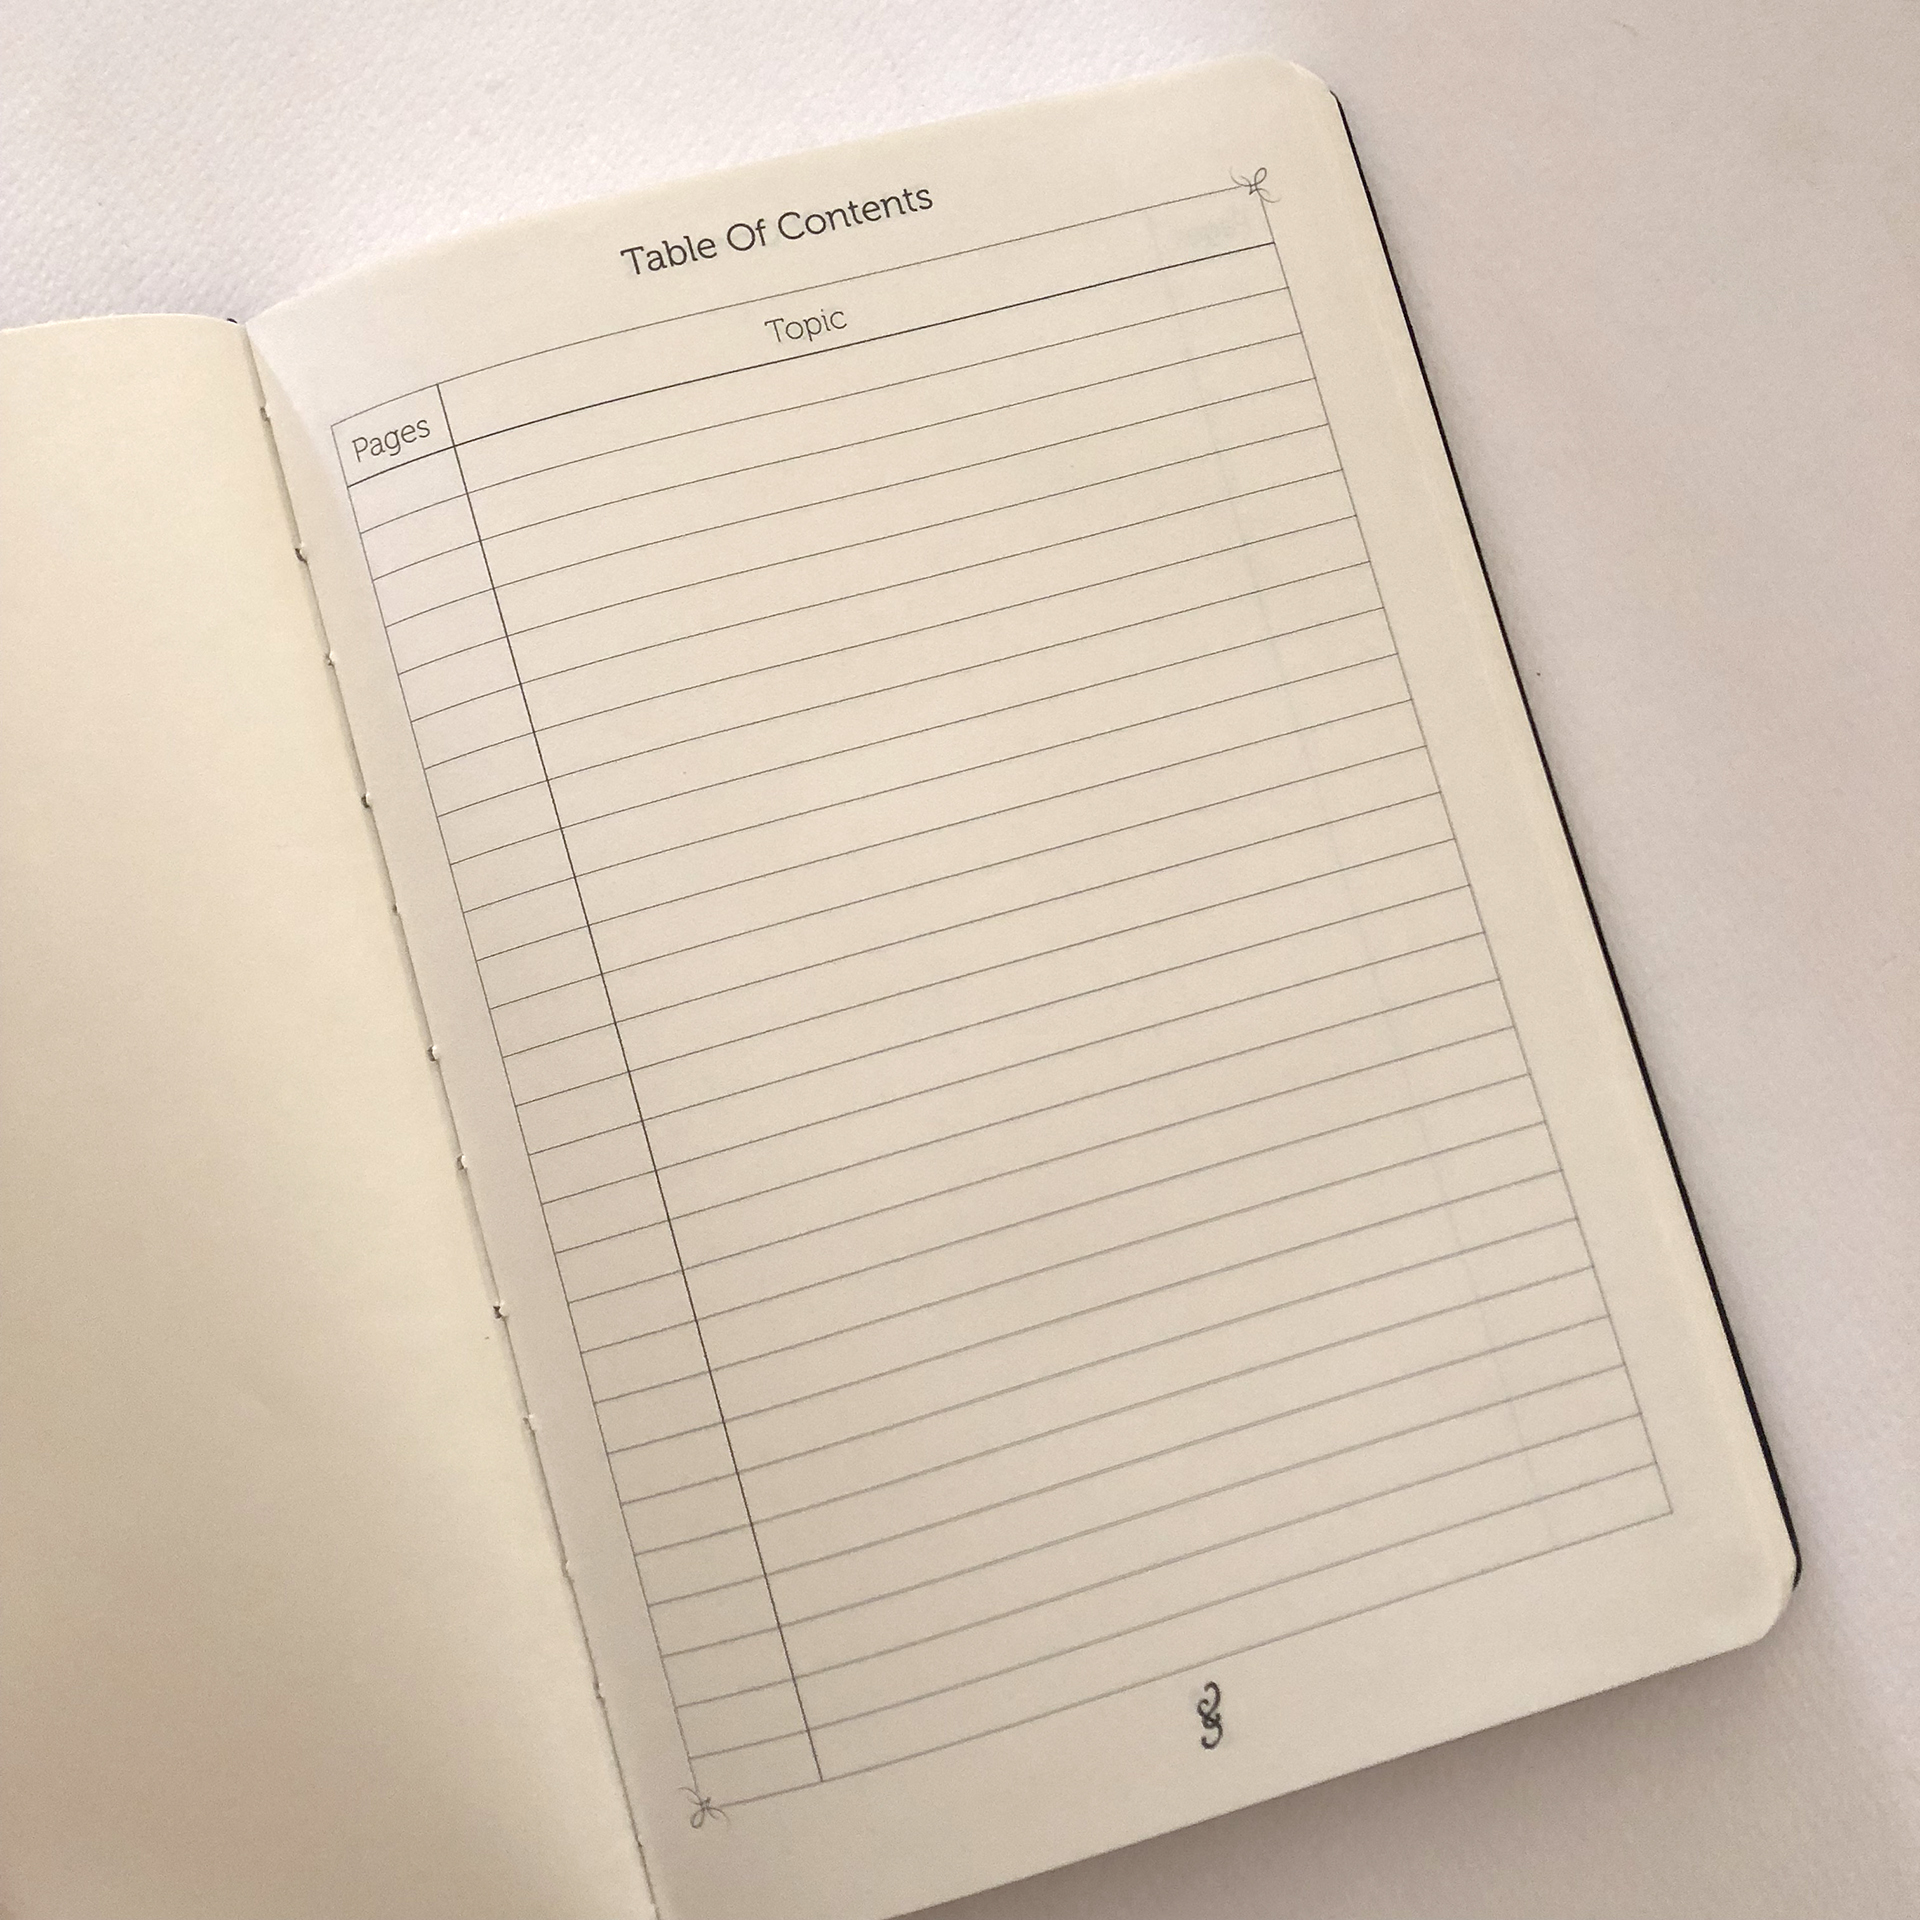
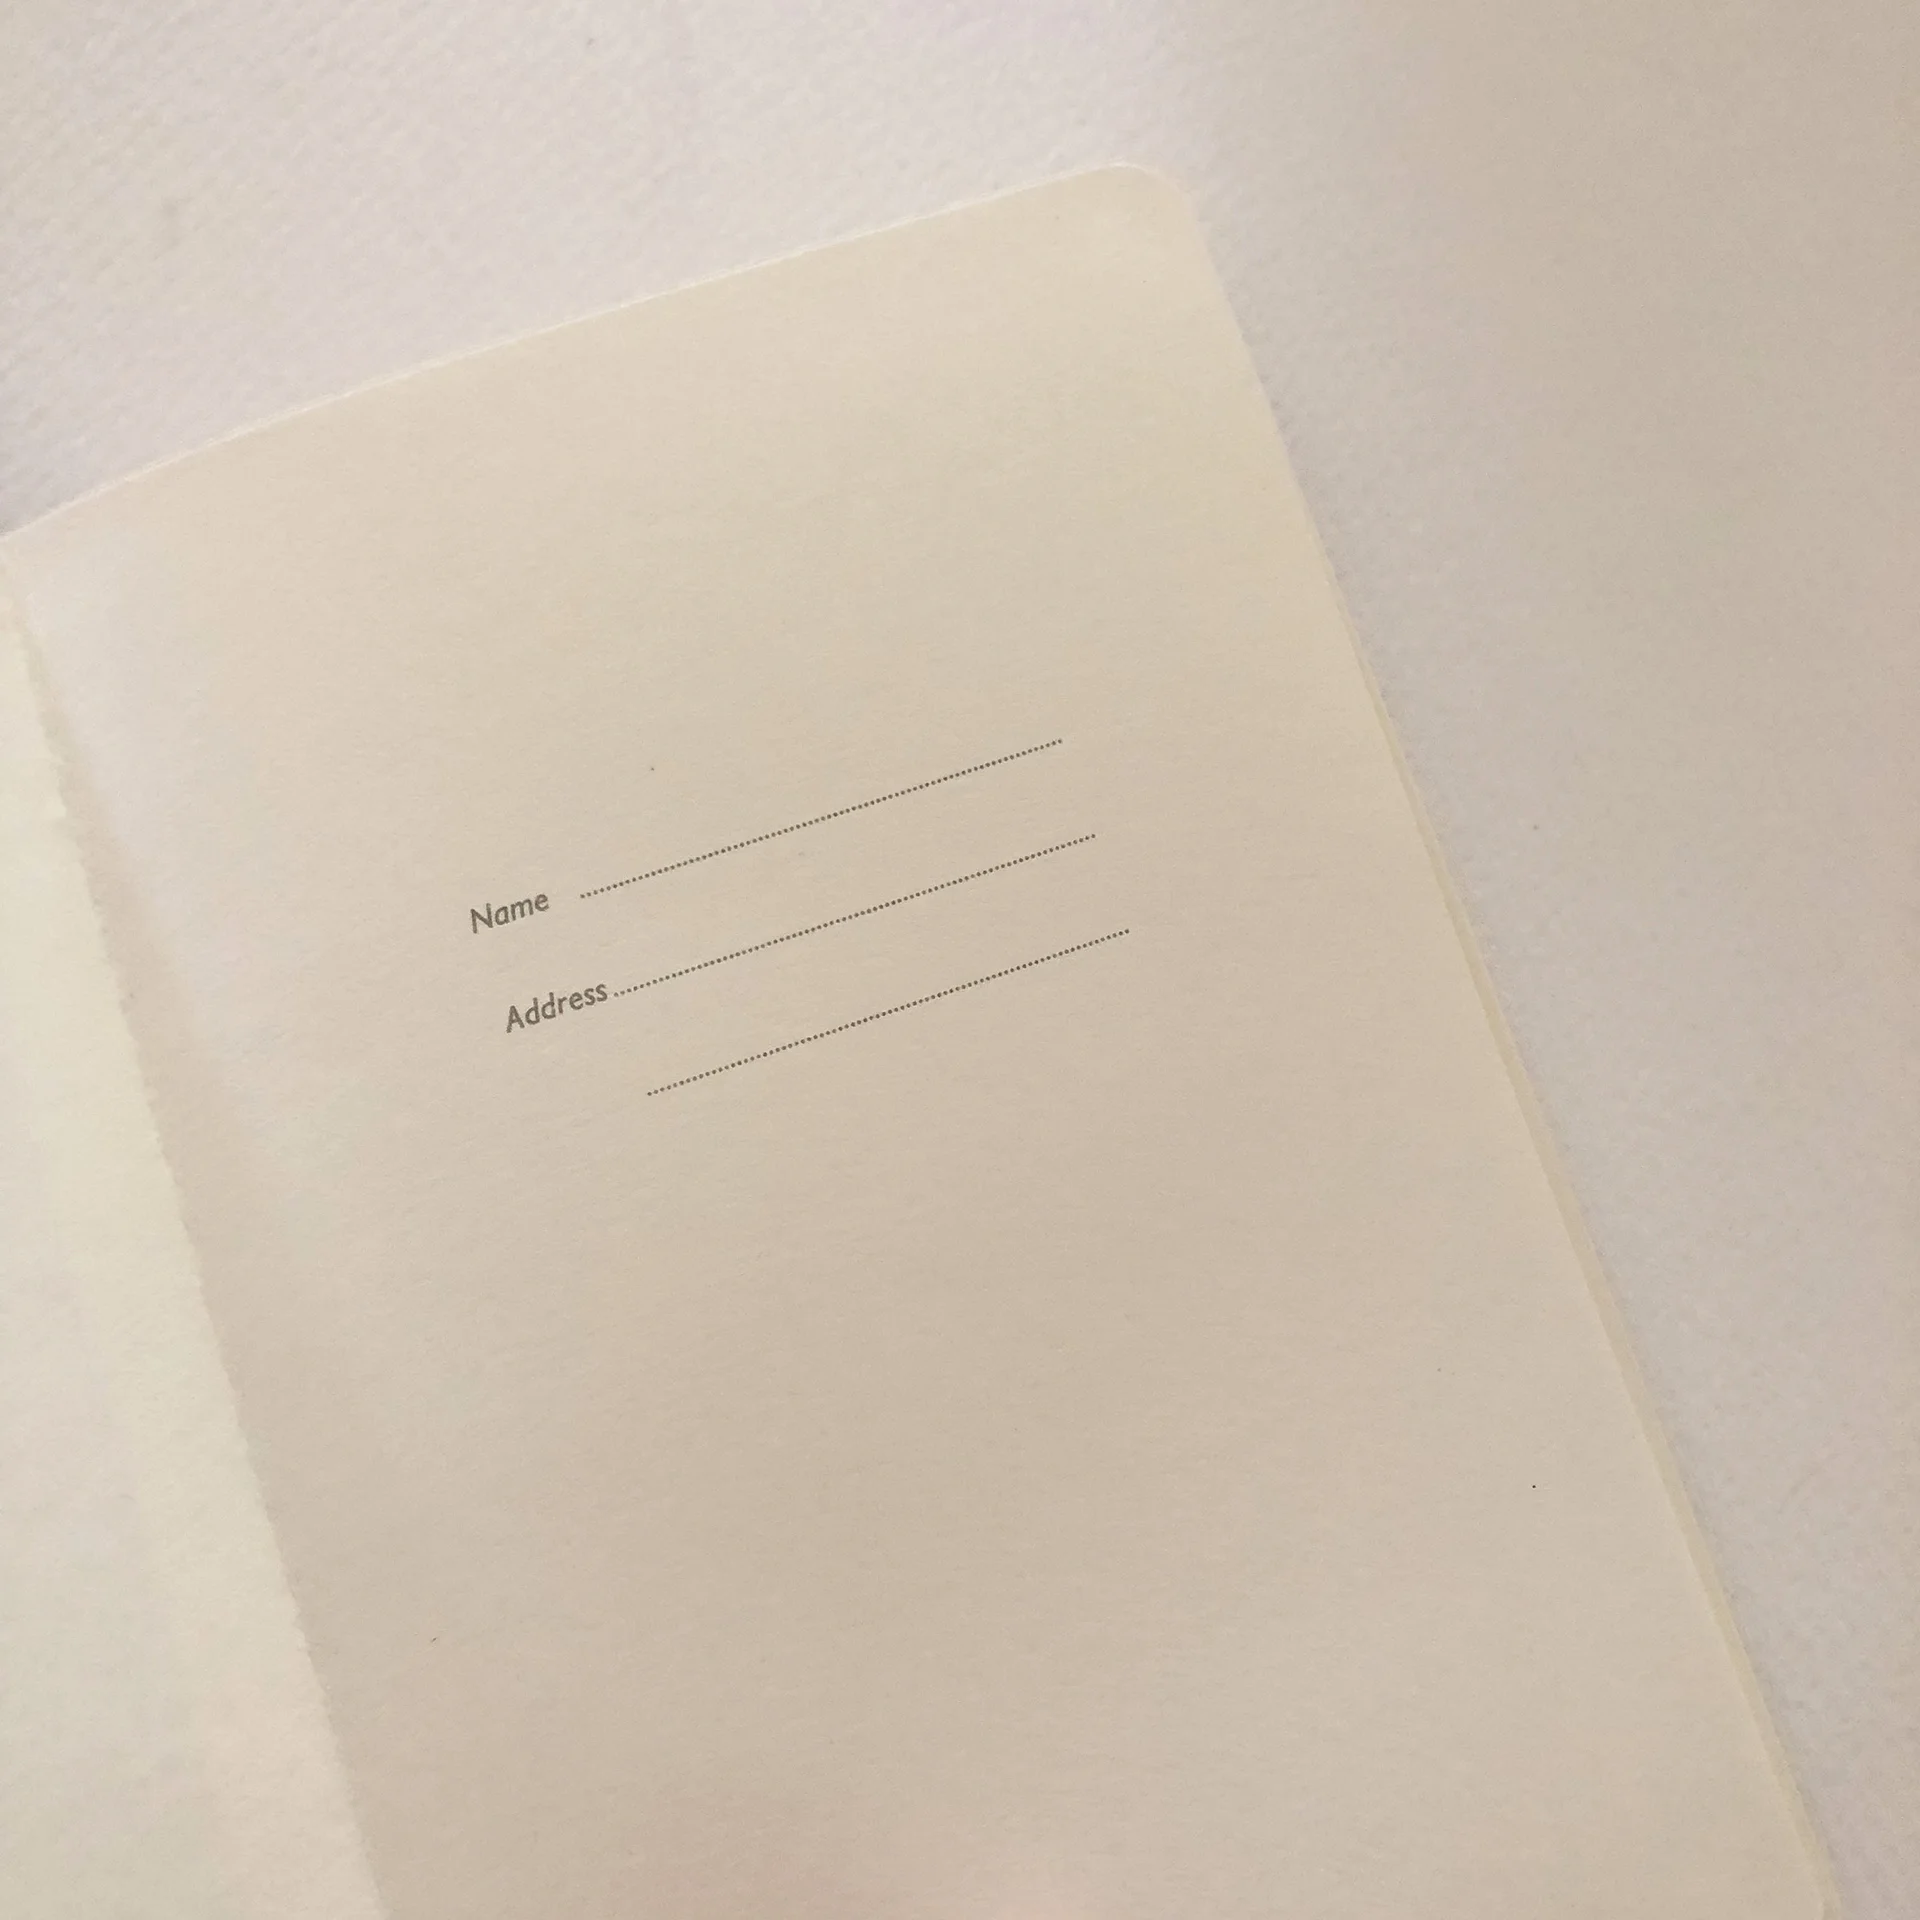
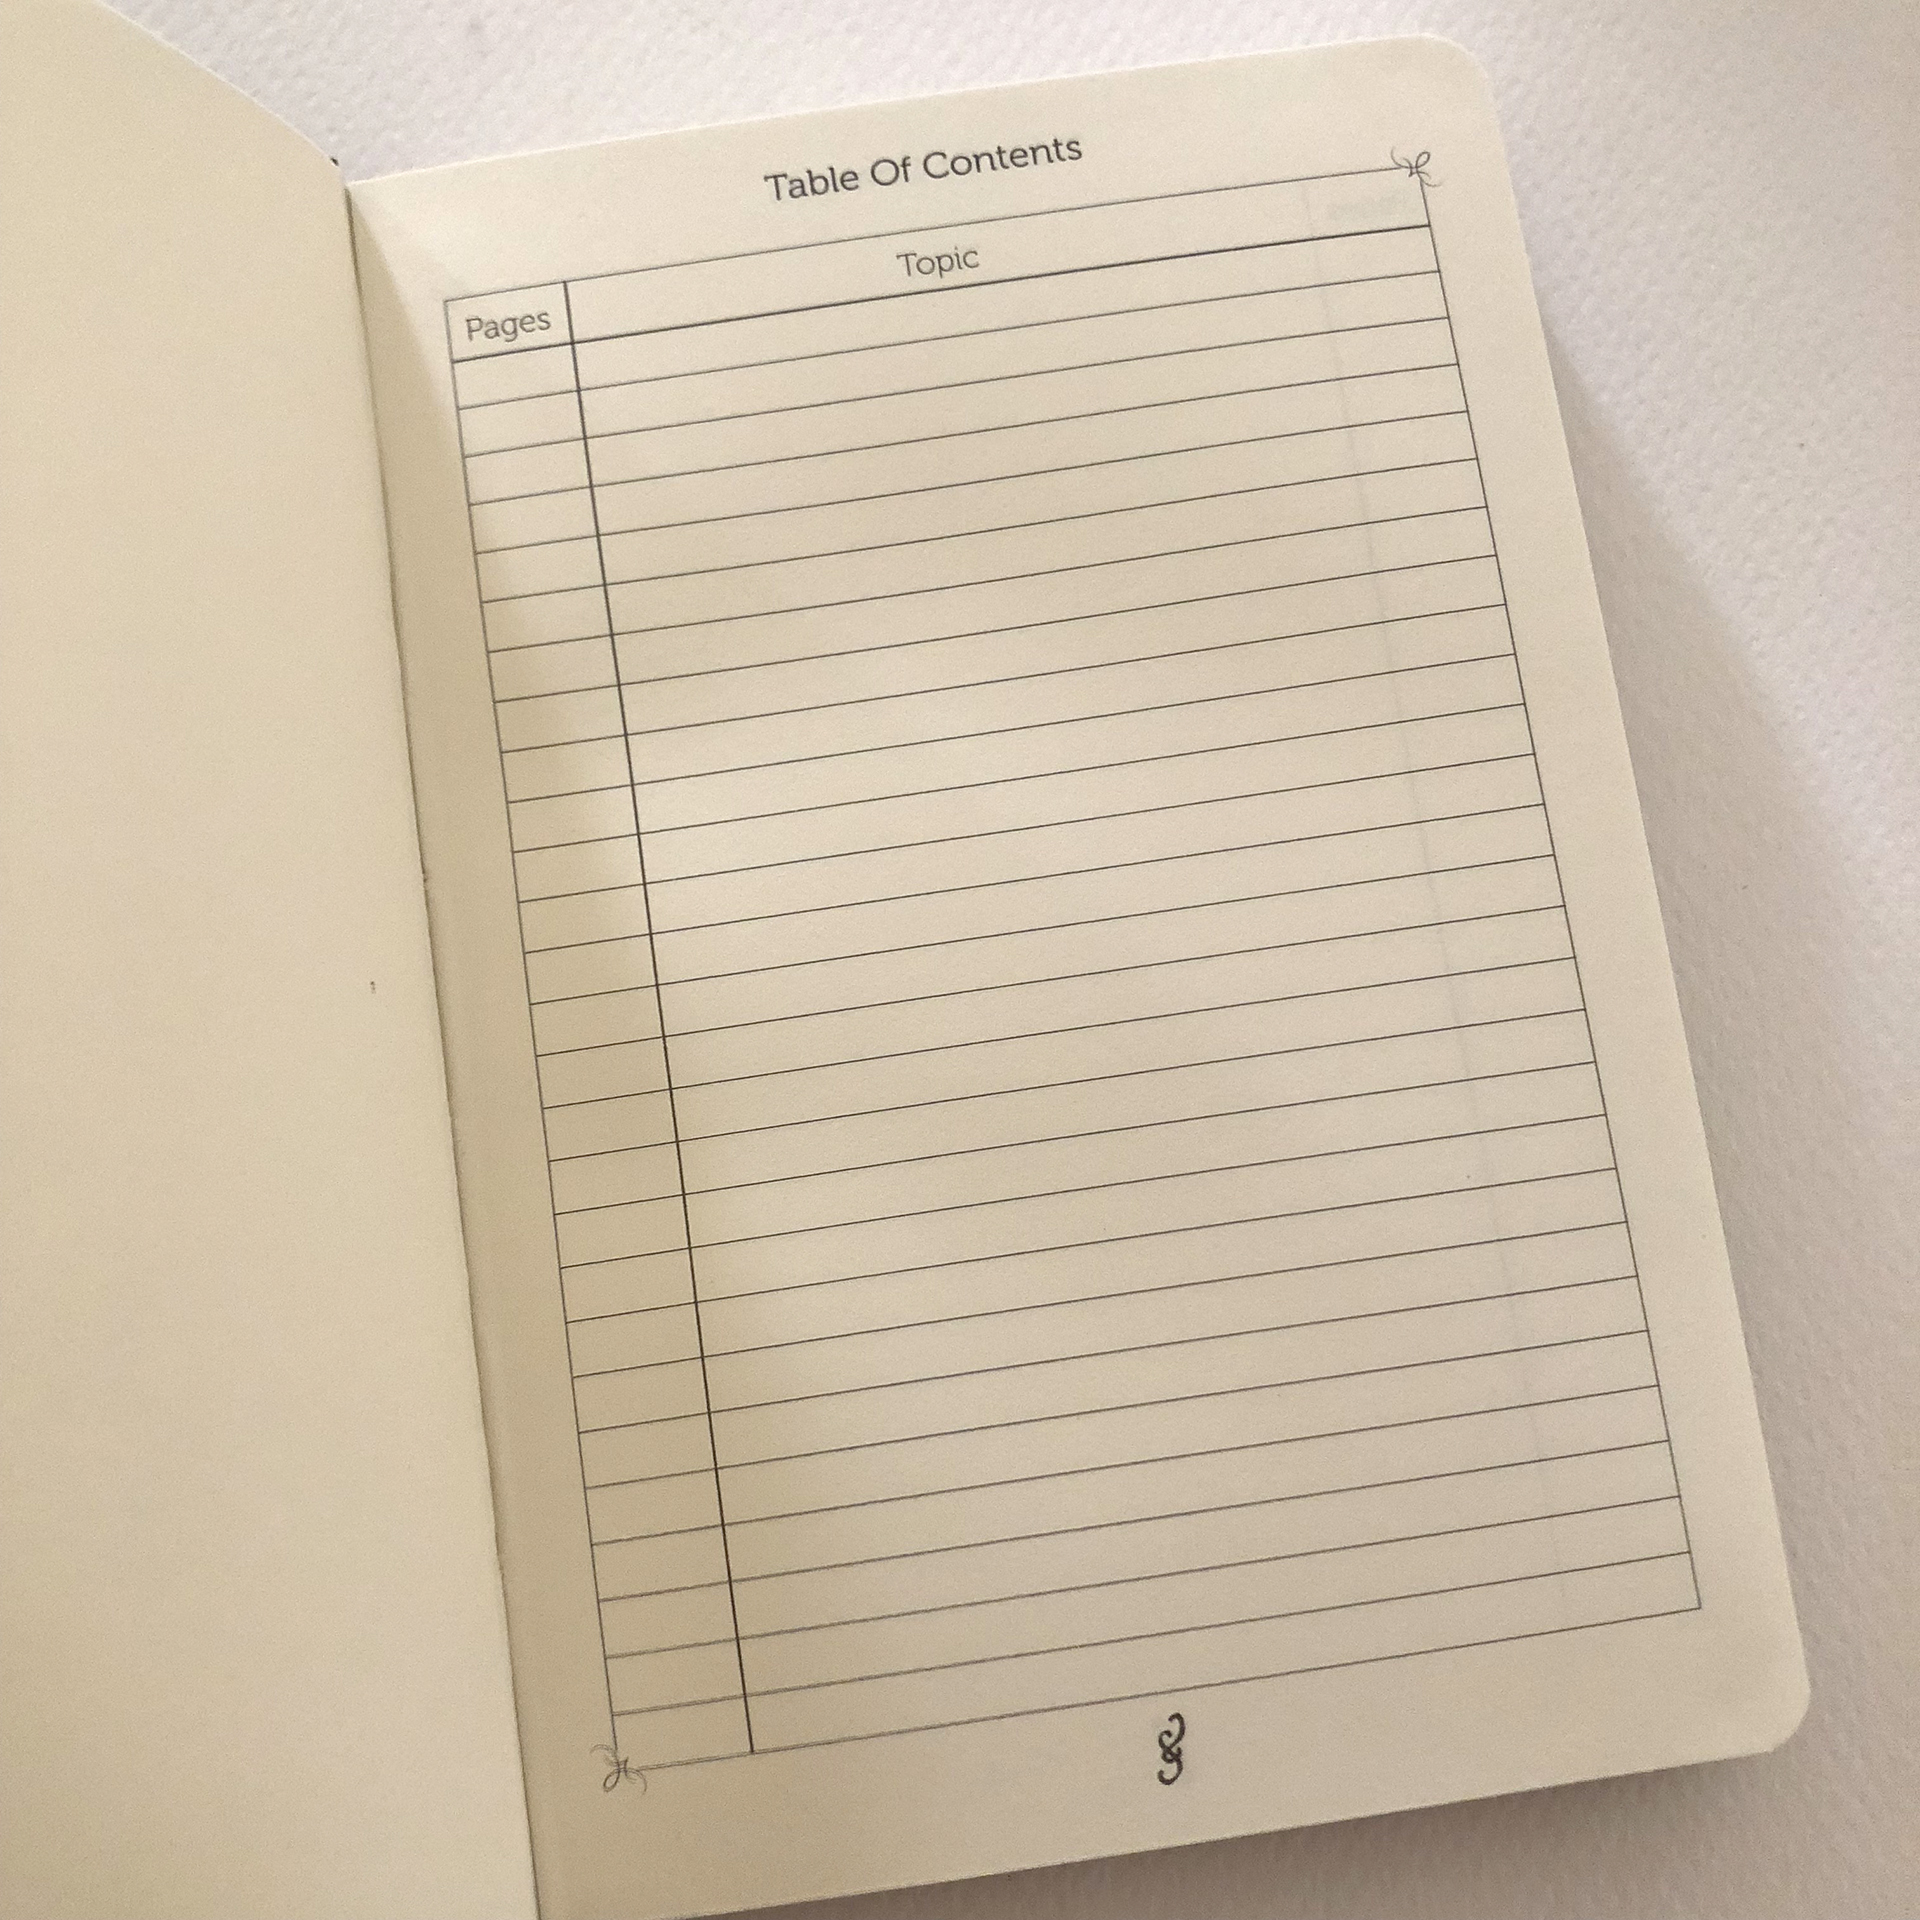
On the very first page you find a nameplate where you can add your details, followed by a 2-page table of contents.


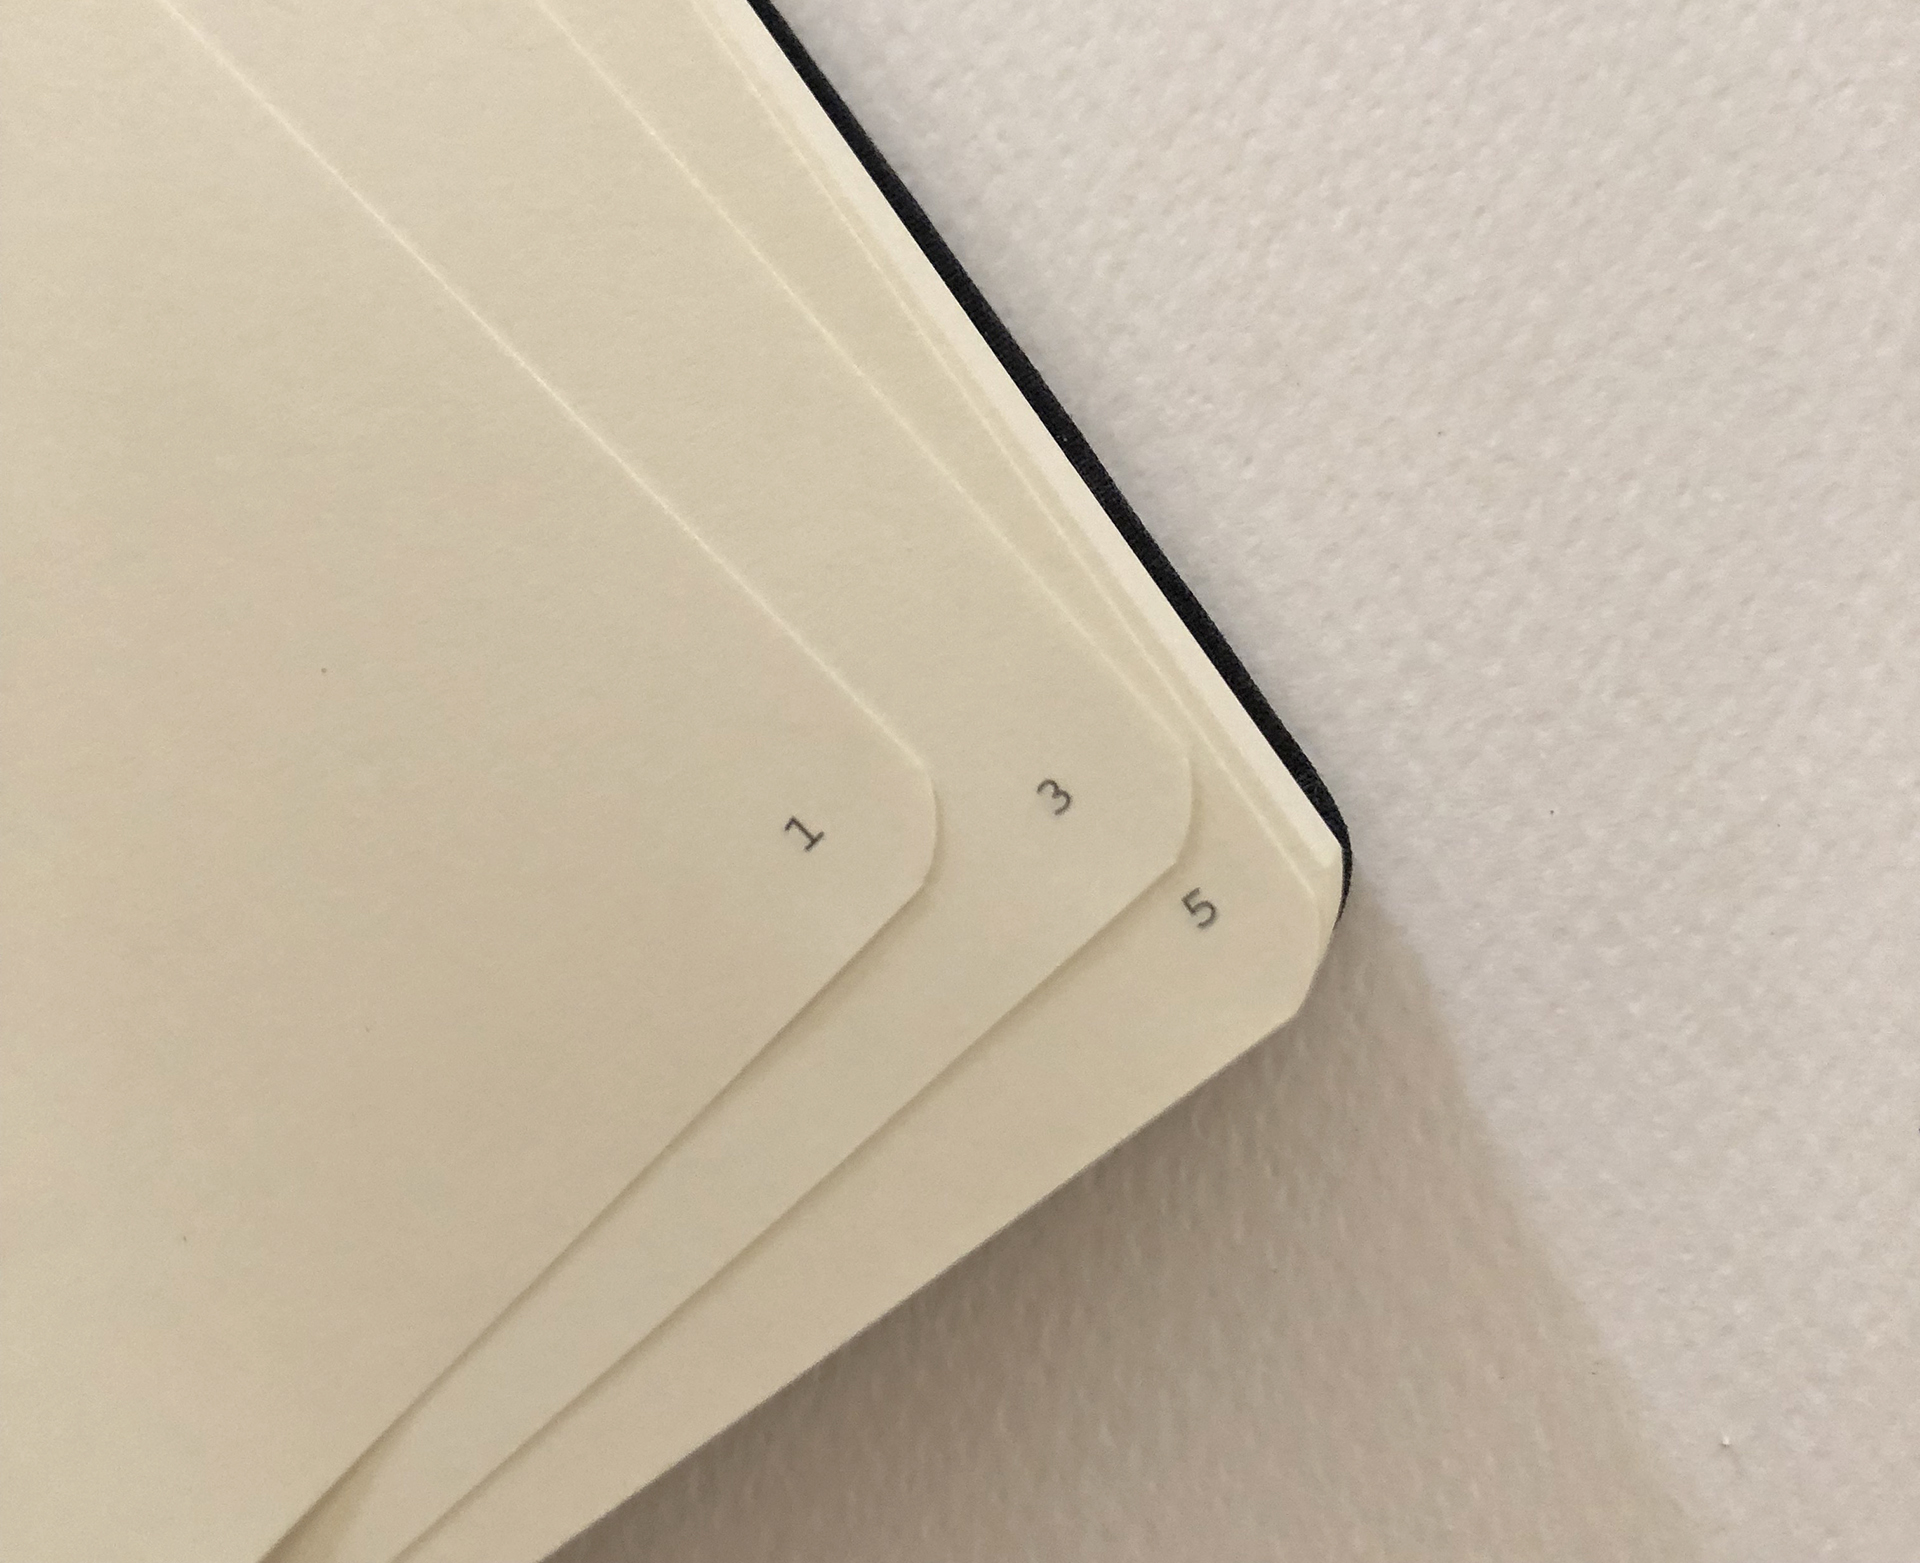
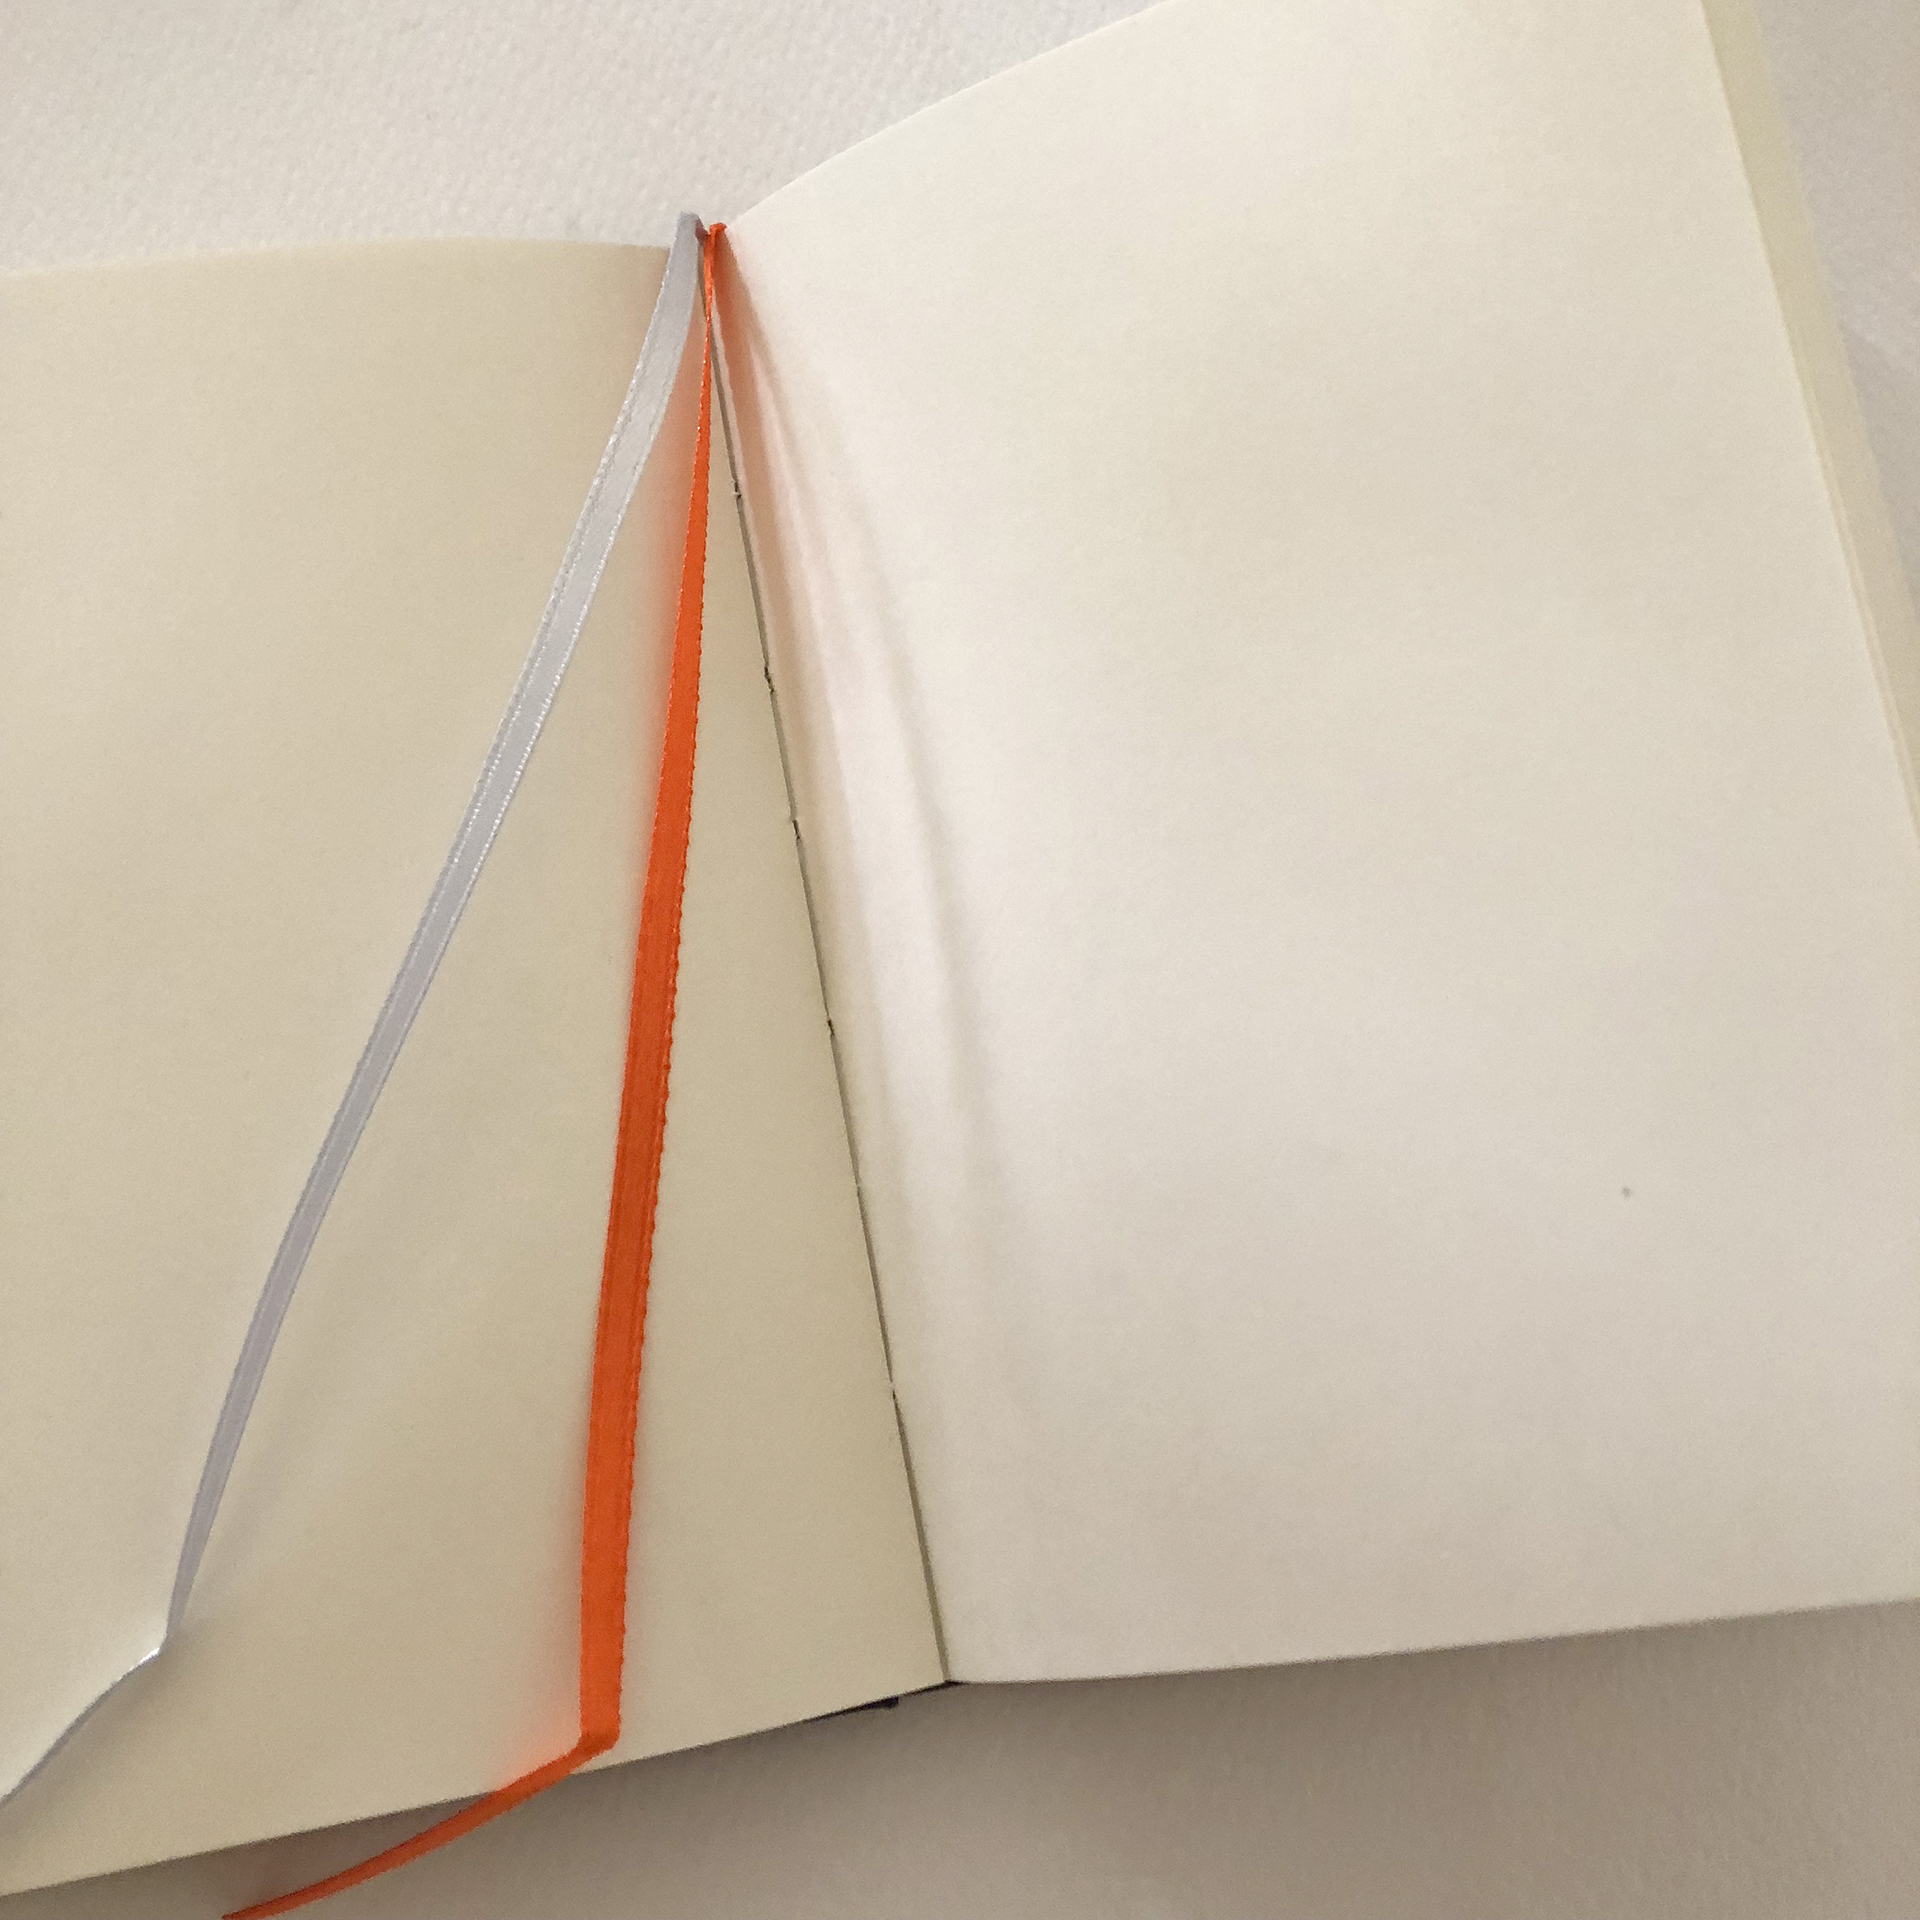
The pages are numbered and the dots are very light grey that come 5mm apart. It also comes with 2 ribbon bookmarks in light grey and orange. The notebook has 192 pages of 100gsm acid-free recycled paper.

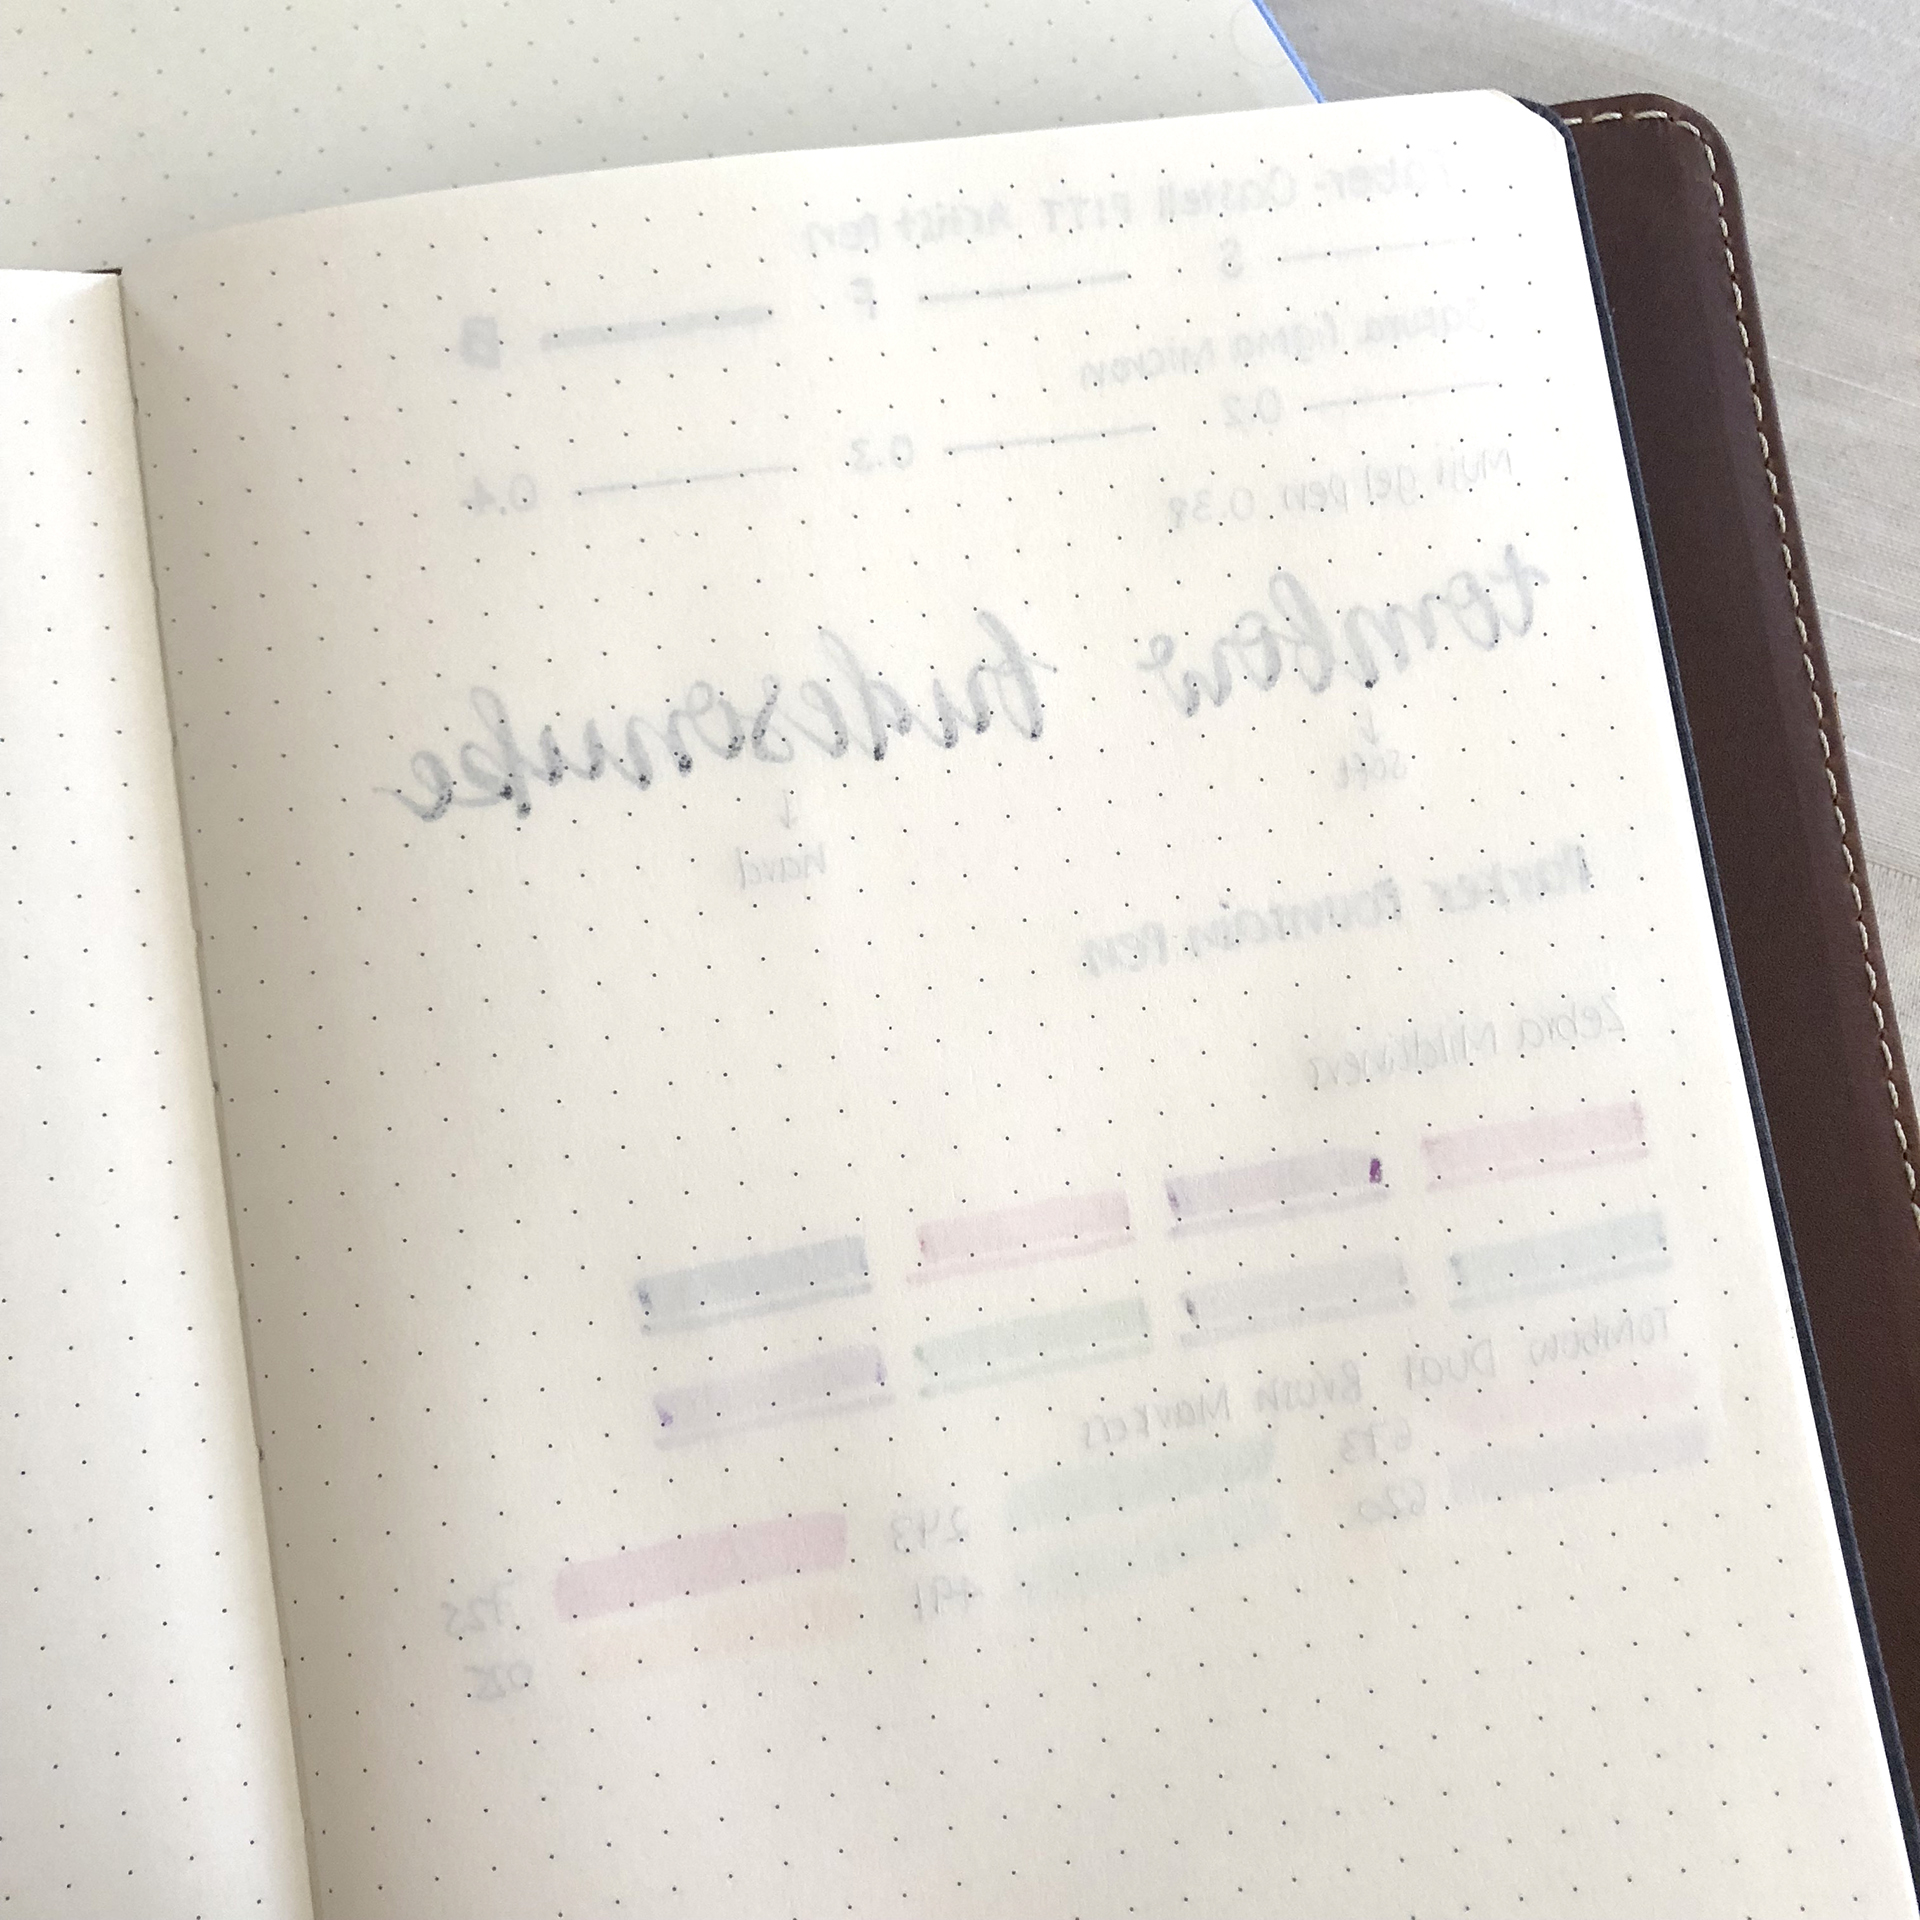
As always I tested my most used pens at one of the back pages of the notebook and I was surprised to see that it didn't do as well as I was expecting. There is definitely lots of ghosting but there was also some bleeding from the Tombow Fudesonuke pens and the Zebra Mildliners. However, there was no bleeding from the fountain pen, which I found really interesting.
Journal Notebook Small

The smaller notebook is simply adorable! The cover is made of the same fabric material as the first one, and it also comes in one grey colour as you can see in the picture. I was sent the plain paper one.
Apart from the plain pages, the smaller notebook has the same exact characteristics that the medium sized one has.
I was pleasantly surprised with the quality of the all of the Pad & Quill products that I was sent. Especially the leather case was amazing and I would totally recommend it, if you're looking for a cover for your notebook. The notebooks are really good, for journaling. But if you like to draw and doodle with markers in your journals, be prepared because there will definitely be ghosting and possible bleeding through the pages. For more information about the Pad & Quill products, make sure to visit their website: www.padandquill.com
Have you used any of the Pad & Quill products? What do you think of them? Let me know in the comments below.


Traveling Bullet Journal
Around 2 years ago Helen from @journalwithpurpose had this amazing idea of creating a Traveling Bullet Journal. And when she announced it on Instagram, I was one of the first people to apply in order to take part in this cool project.

Around 2 years ago Helen from @journalwithpurpose had this amazing idea of creating a Traveling Bullet Journal. And when she announced it on Instagram, I was one of the first people to apply in order to take part in this cool project.


But, what is the Traveling Bullet Journal?
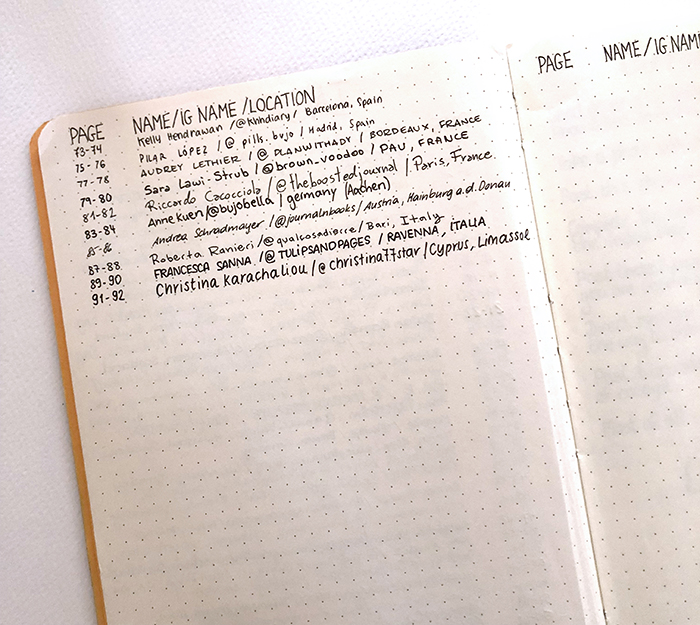
It is a bullet journal that travels around the world and every bullet journalist that takes part can create any type of spread they want in 2 of it's pages. It started it's journey on the 12th of September 2016 and it has been already in so many different countries - UK, Denmark, Norway, Sweden, Germany, the Netherlands, USA, Spain, France, Austria and Italy! There is a page on Helen's blog where you can see pictures of what all the previous bullet journalist have created in it's pages.
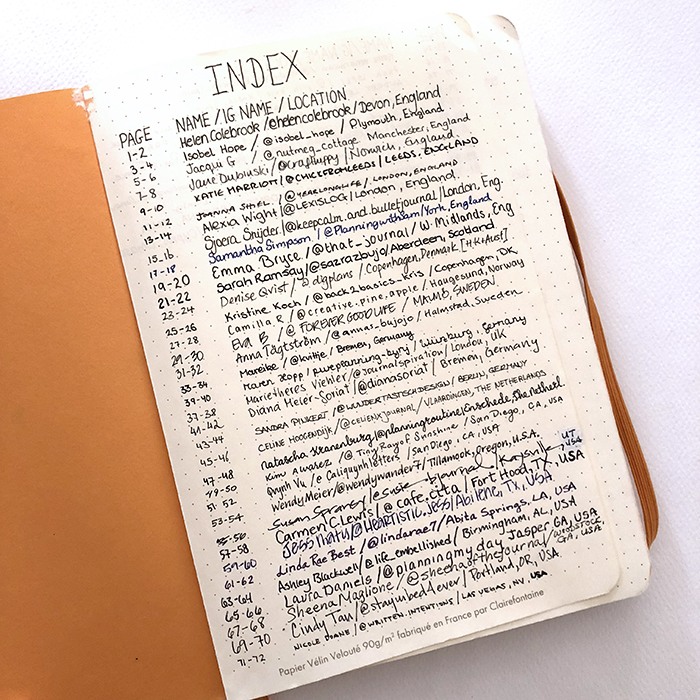
When I was contacted by Helen to tell me that I was the next one to receive it, I was so so excited! I literally couldn't wait. And when I finally got it in the post, I spent so long going through all the pages and taking in all the details.
Pages created in the Traveling Bullet Journal
I thought it would be fun to share with you some of the pages that were created in the Traveling Bullet Journal so far, in order for you to see all the creativity and to get inspired.


@kvittie


My creations in the Traveling Bullet Journal
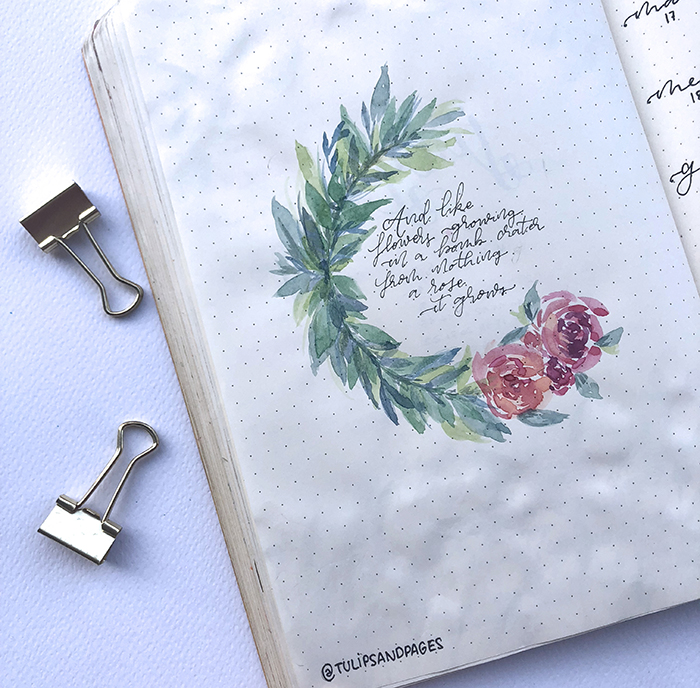
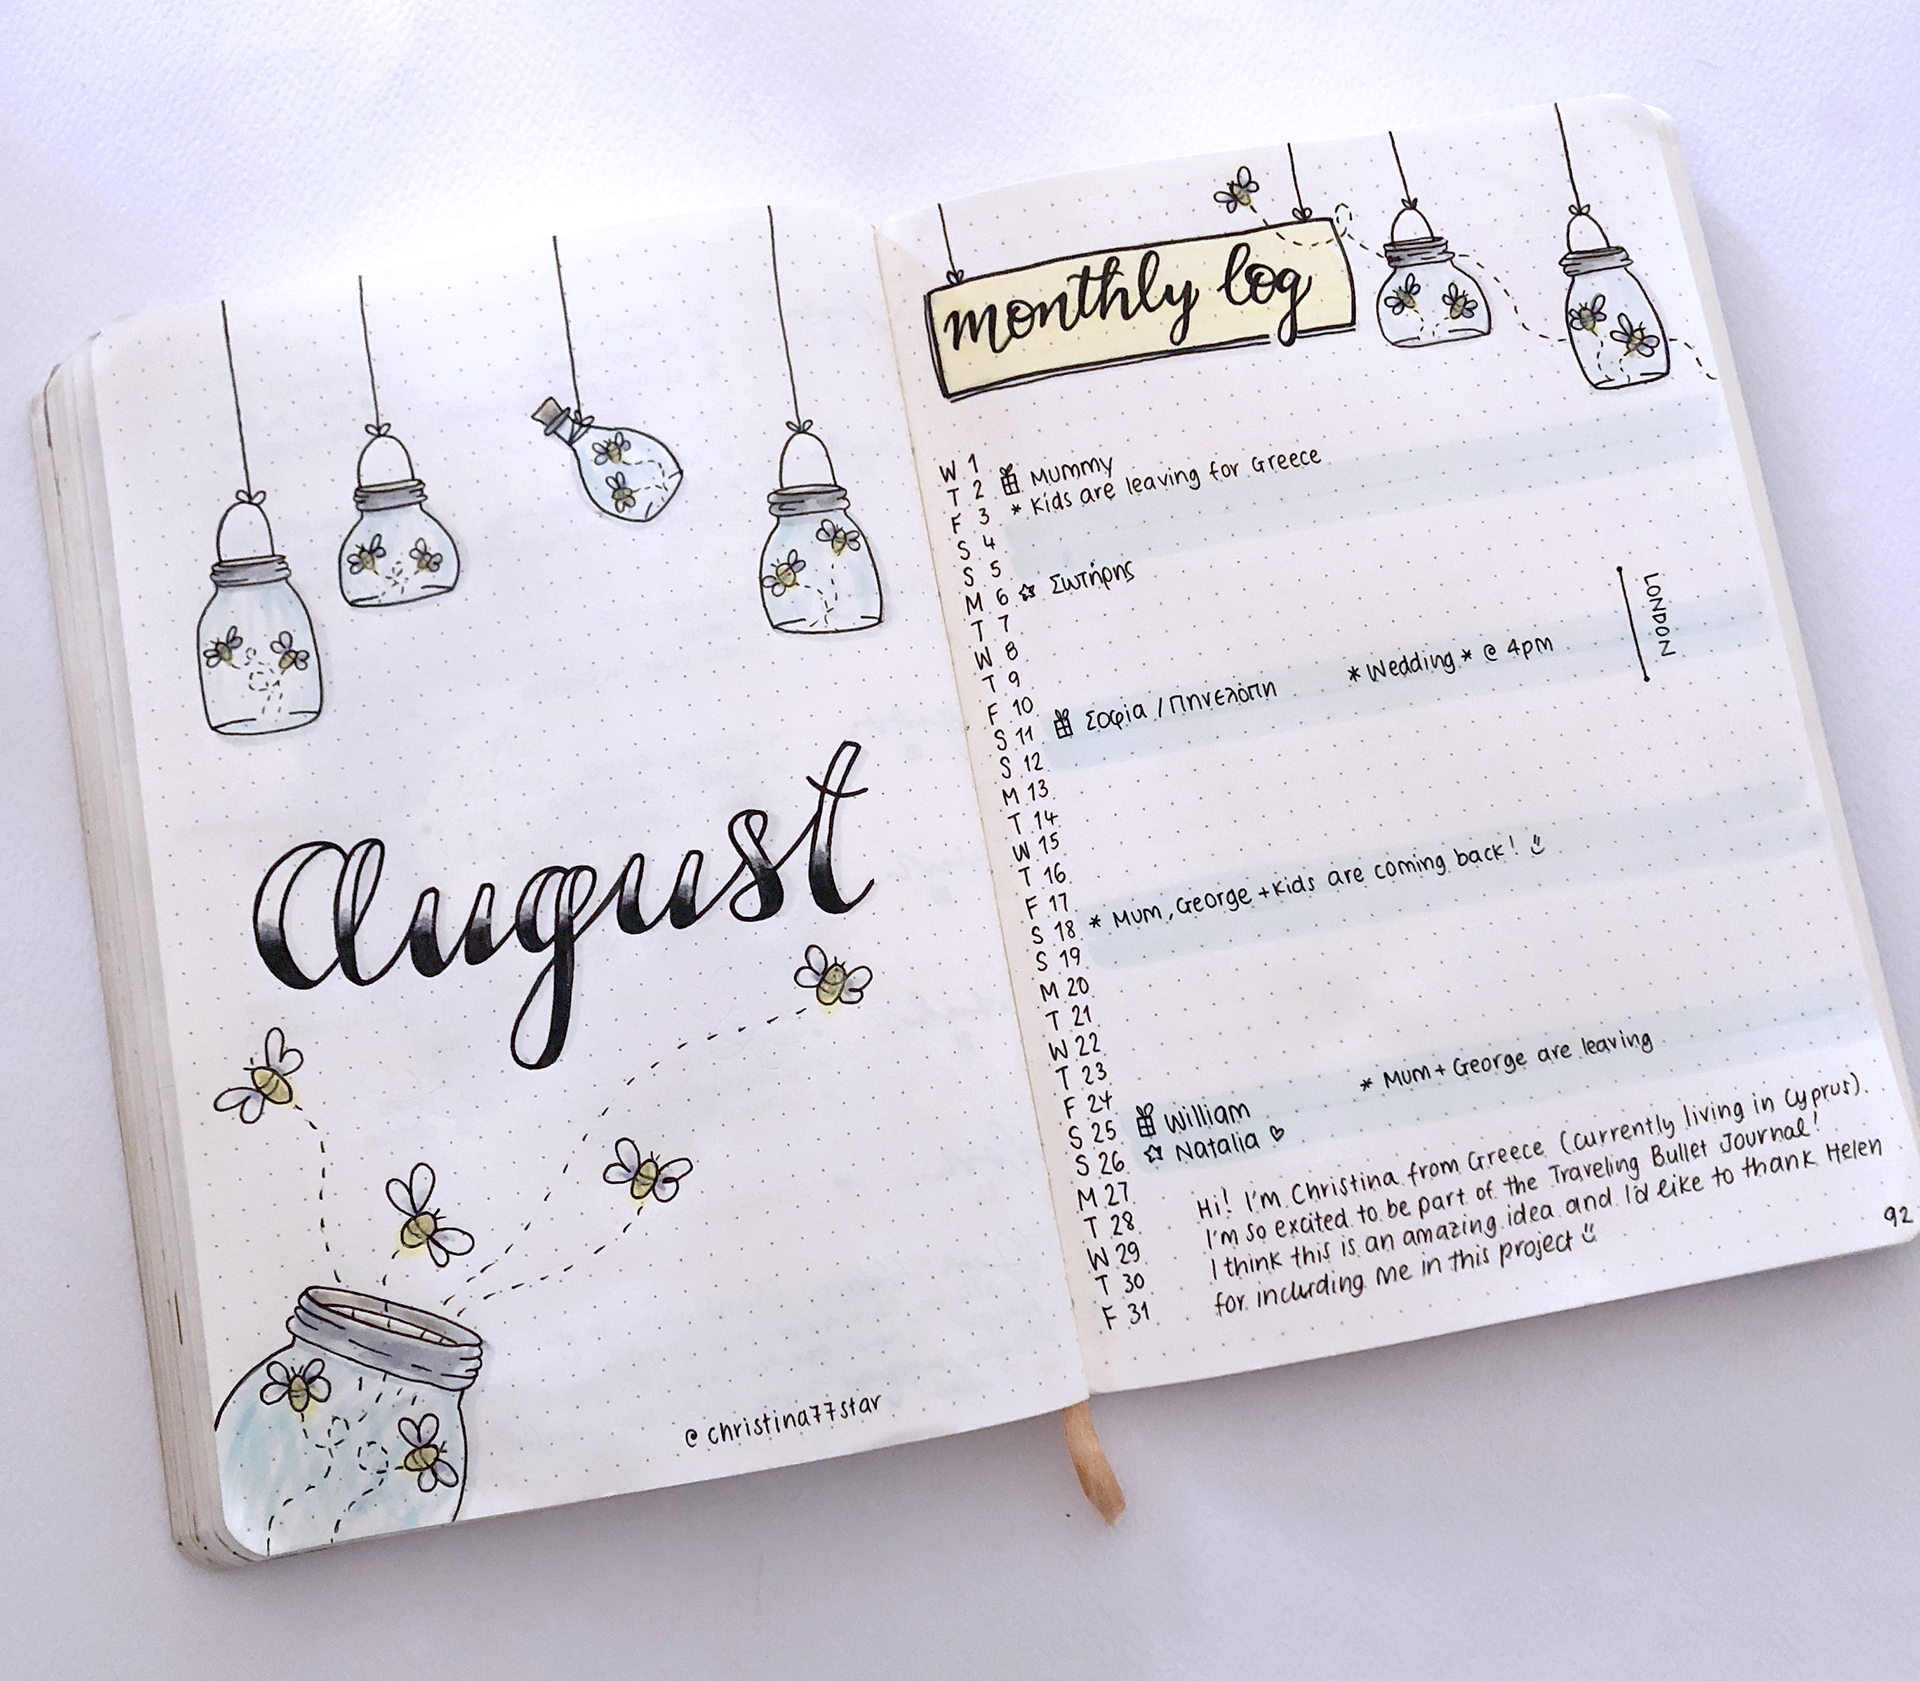
I won't deny that even though I was excited to take part in this project, when I decided to create my two-page spread in it I didn't know what to do! The possibilities were endless! Should I create a spread? Should I create something about the month we're in? Should I recreate a design / page that I'm known for? Should I do something new? I just couldn't decide.... In the end I decided to create the first page of the month - since it was going to be the first spread for August - and to create a new design.

The theme I chose was 'Mason Jars and Fireflies' and I think it turned out pretty good! I only used 3 pastel colours - light blue, light yellow and grey. I wanted a fun and pretty clean design and I think it came out ok!

On the next page I created my Monthly Log. Again I continued the theme so that the two pages match and I added some of my personal details, as if I was using that bullet journal for myself. I also added a small note for Helen and everyone that takes part, saying a few things about me and how grateful I am to take part in this amazing project!
What do you think of the Traveling Bullet Journal? Would you take part in a project like this? Let me know in the comments below.


Bullet Journal Ideas: 3 Weekly Spread Layouts for August 2018
In today's post I'll show you the 3 layouts I’m using for my weekly spreads in my bullet journal for August, and how I've decorated them.
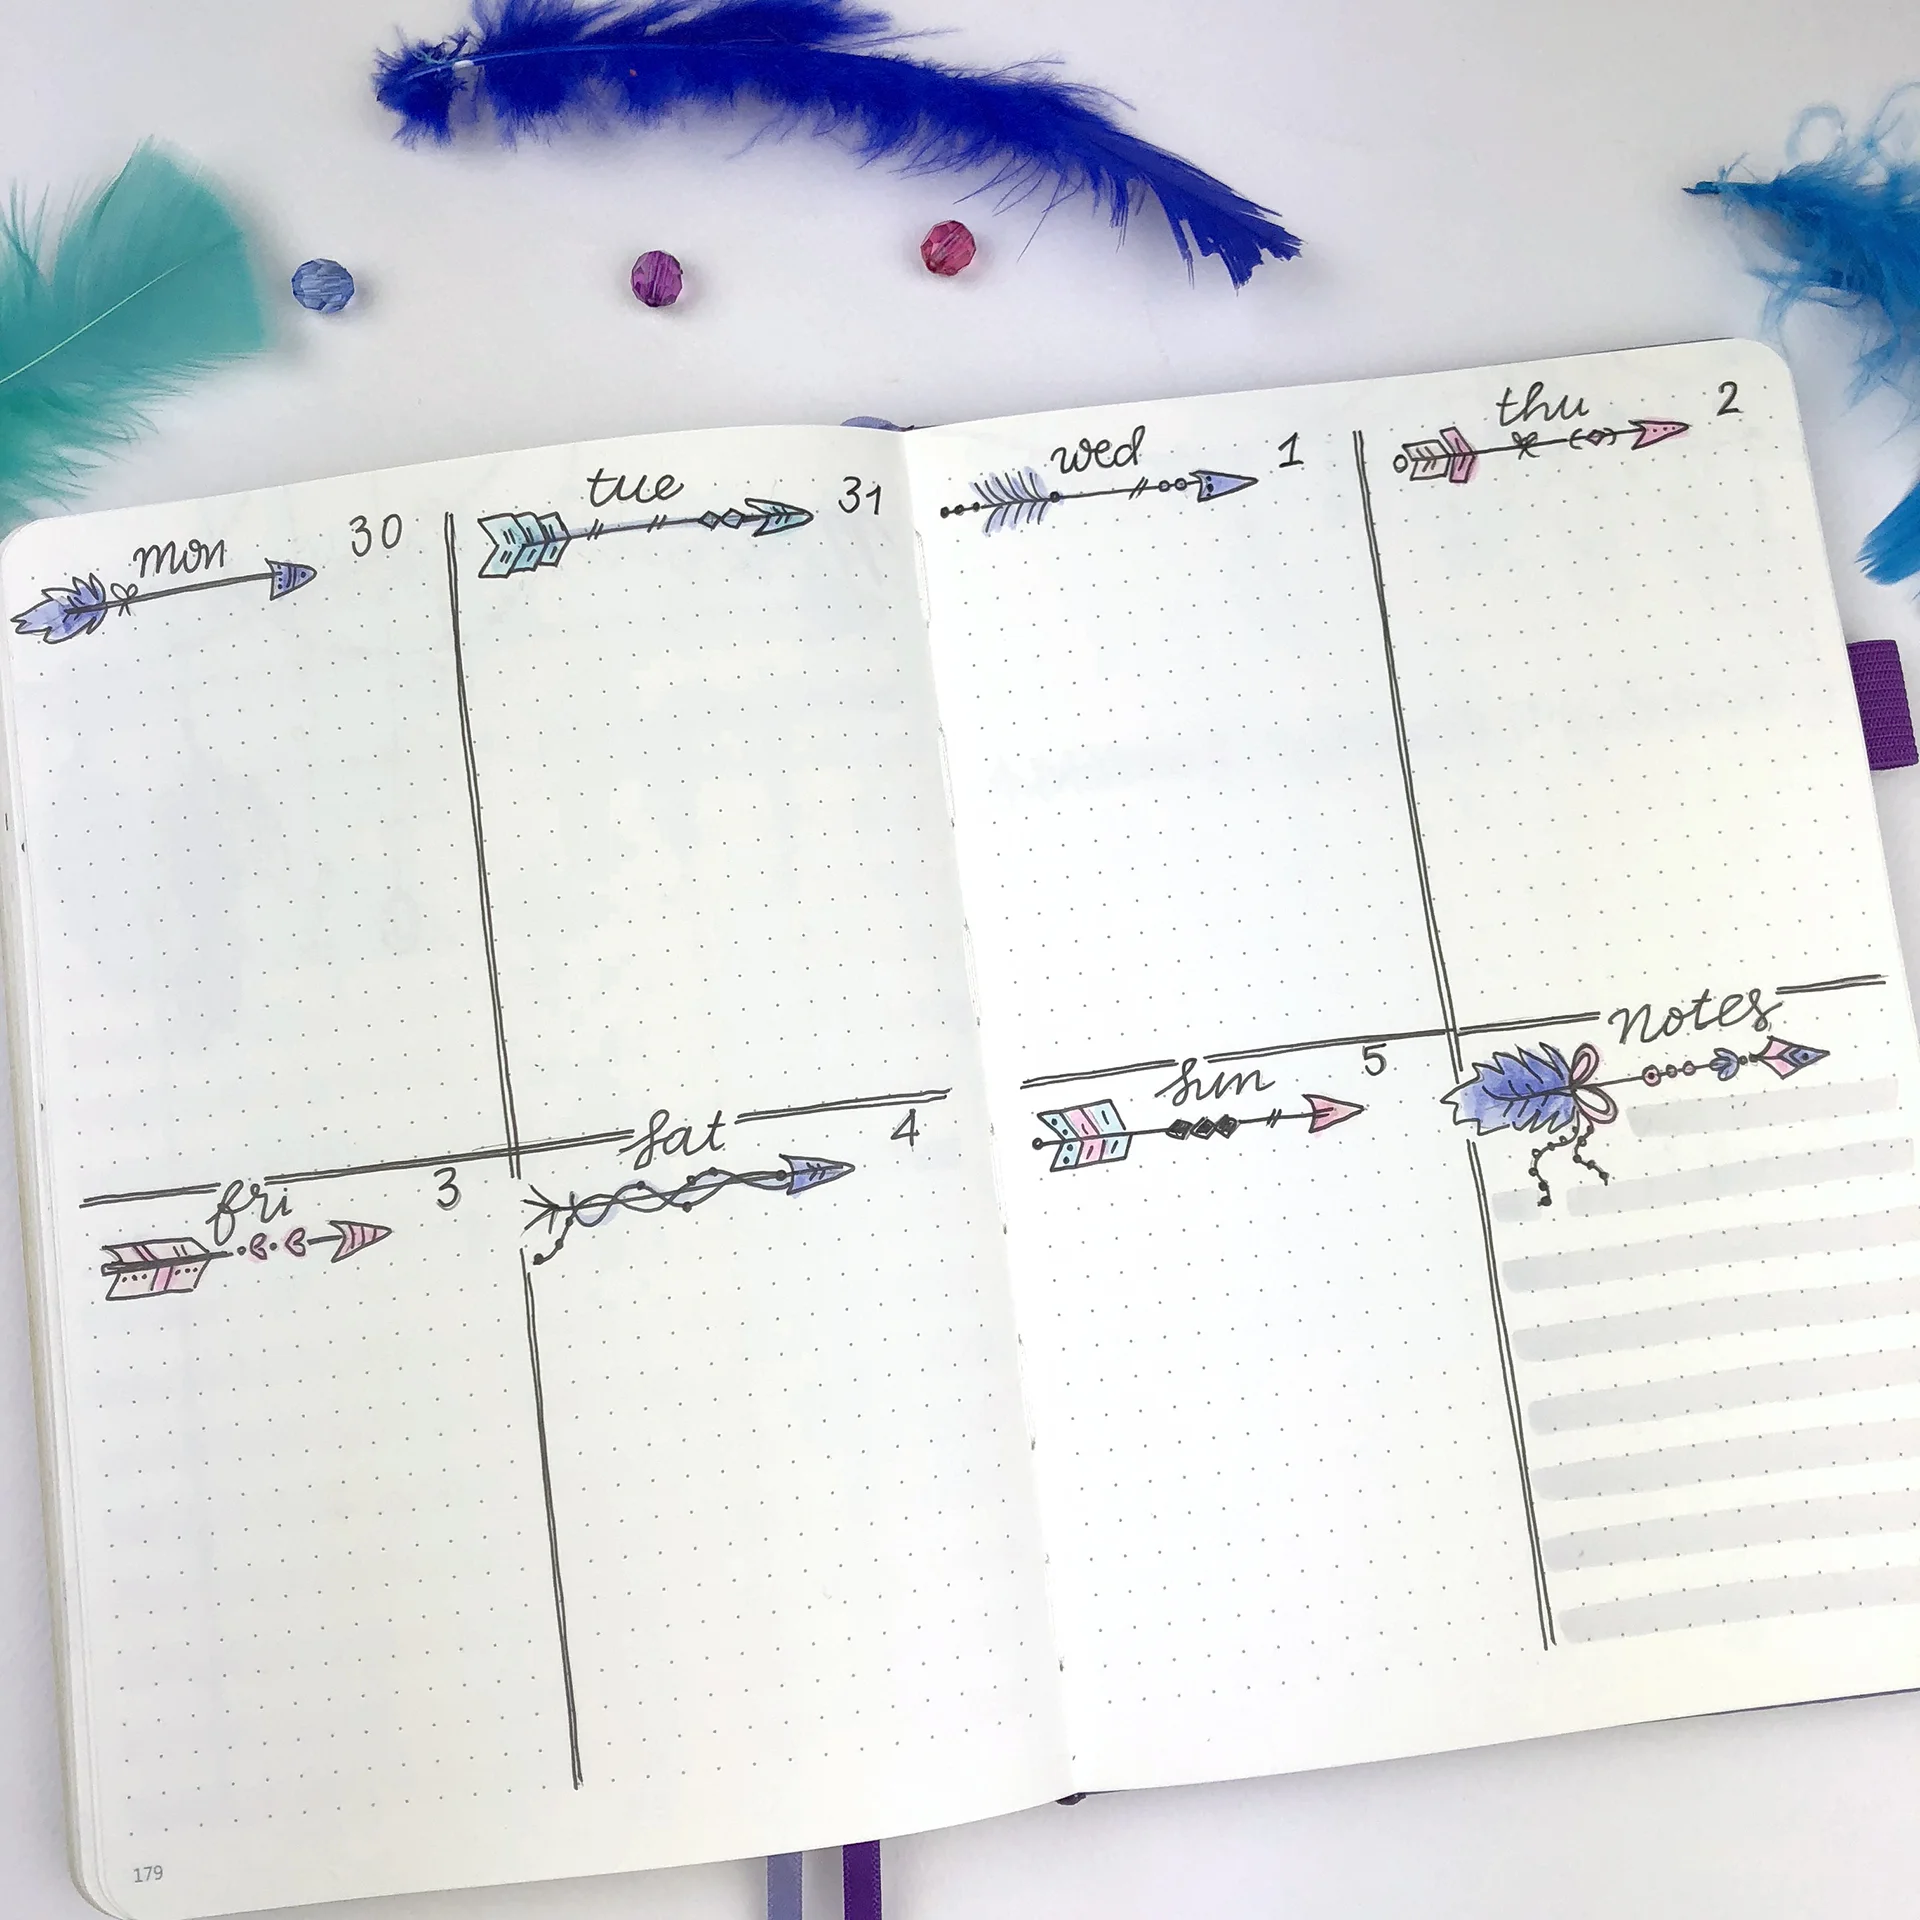
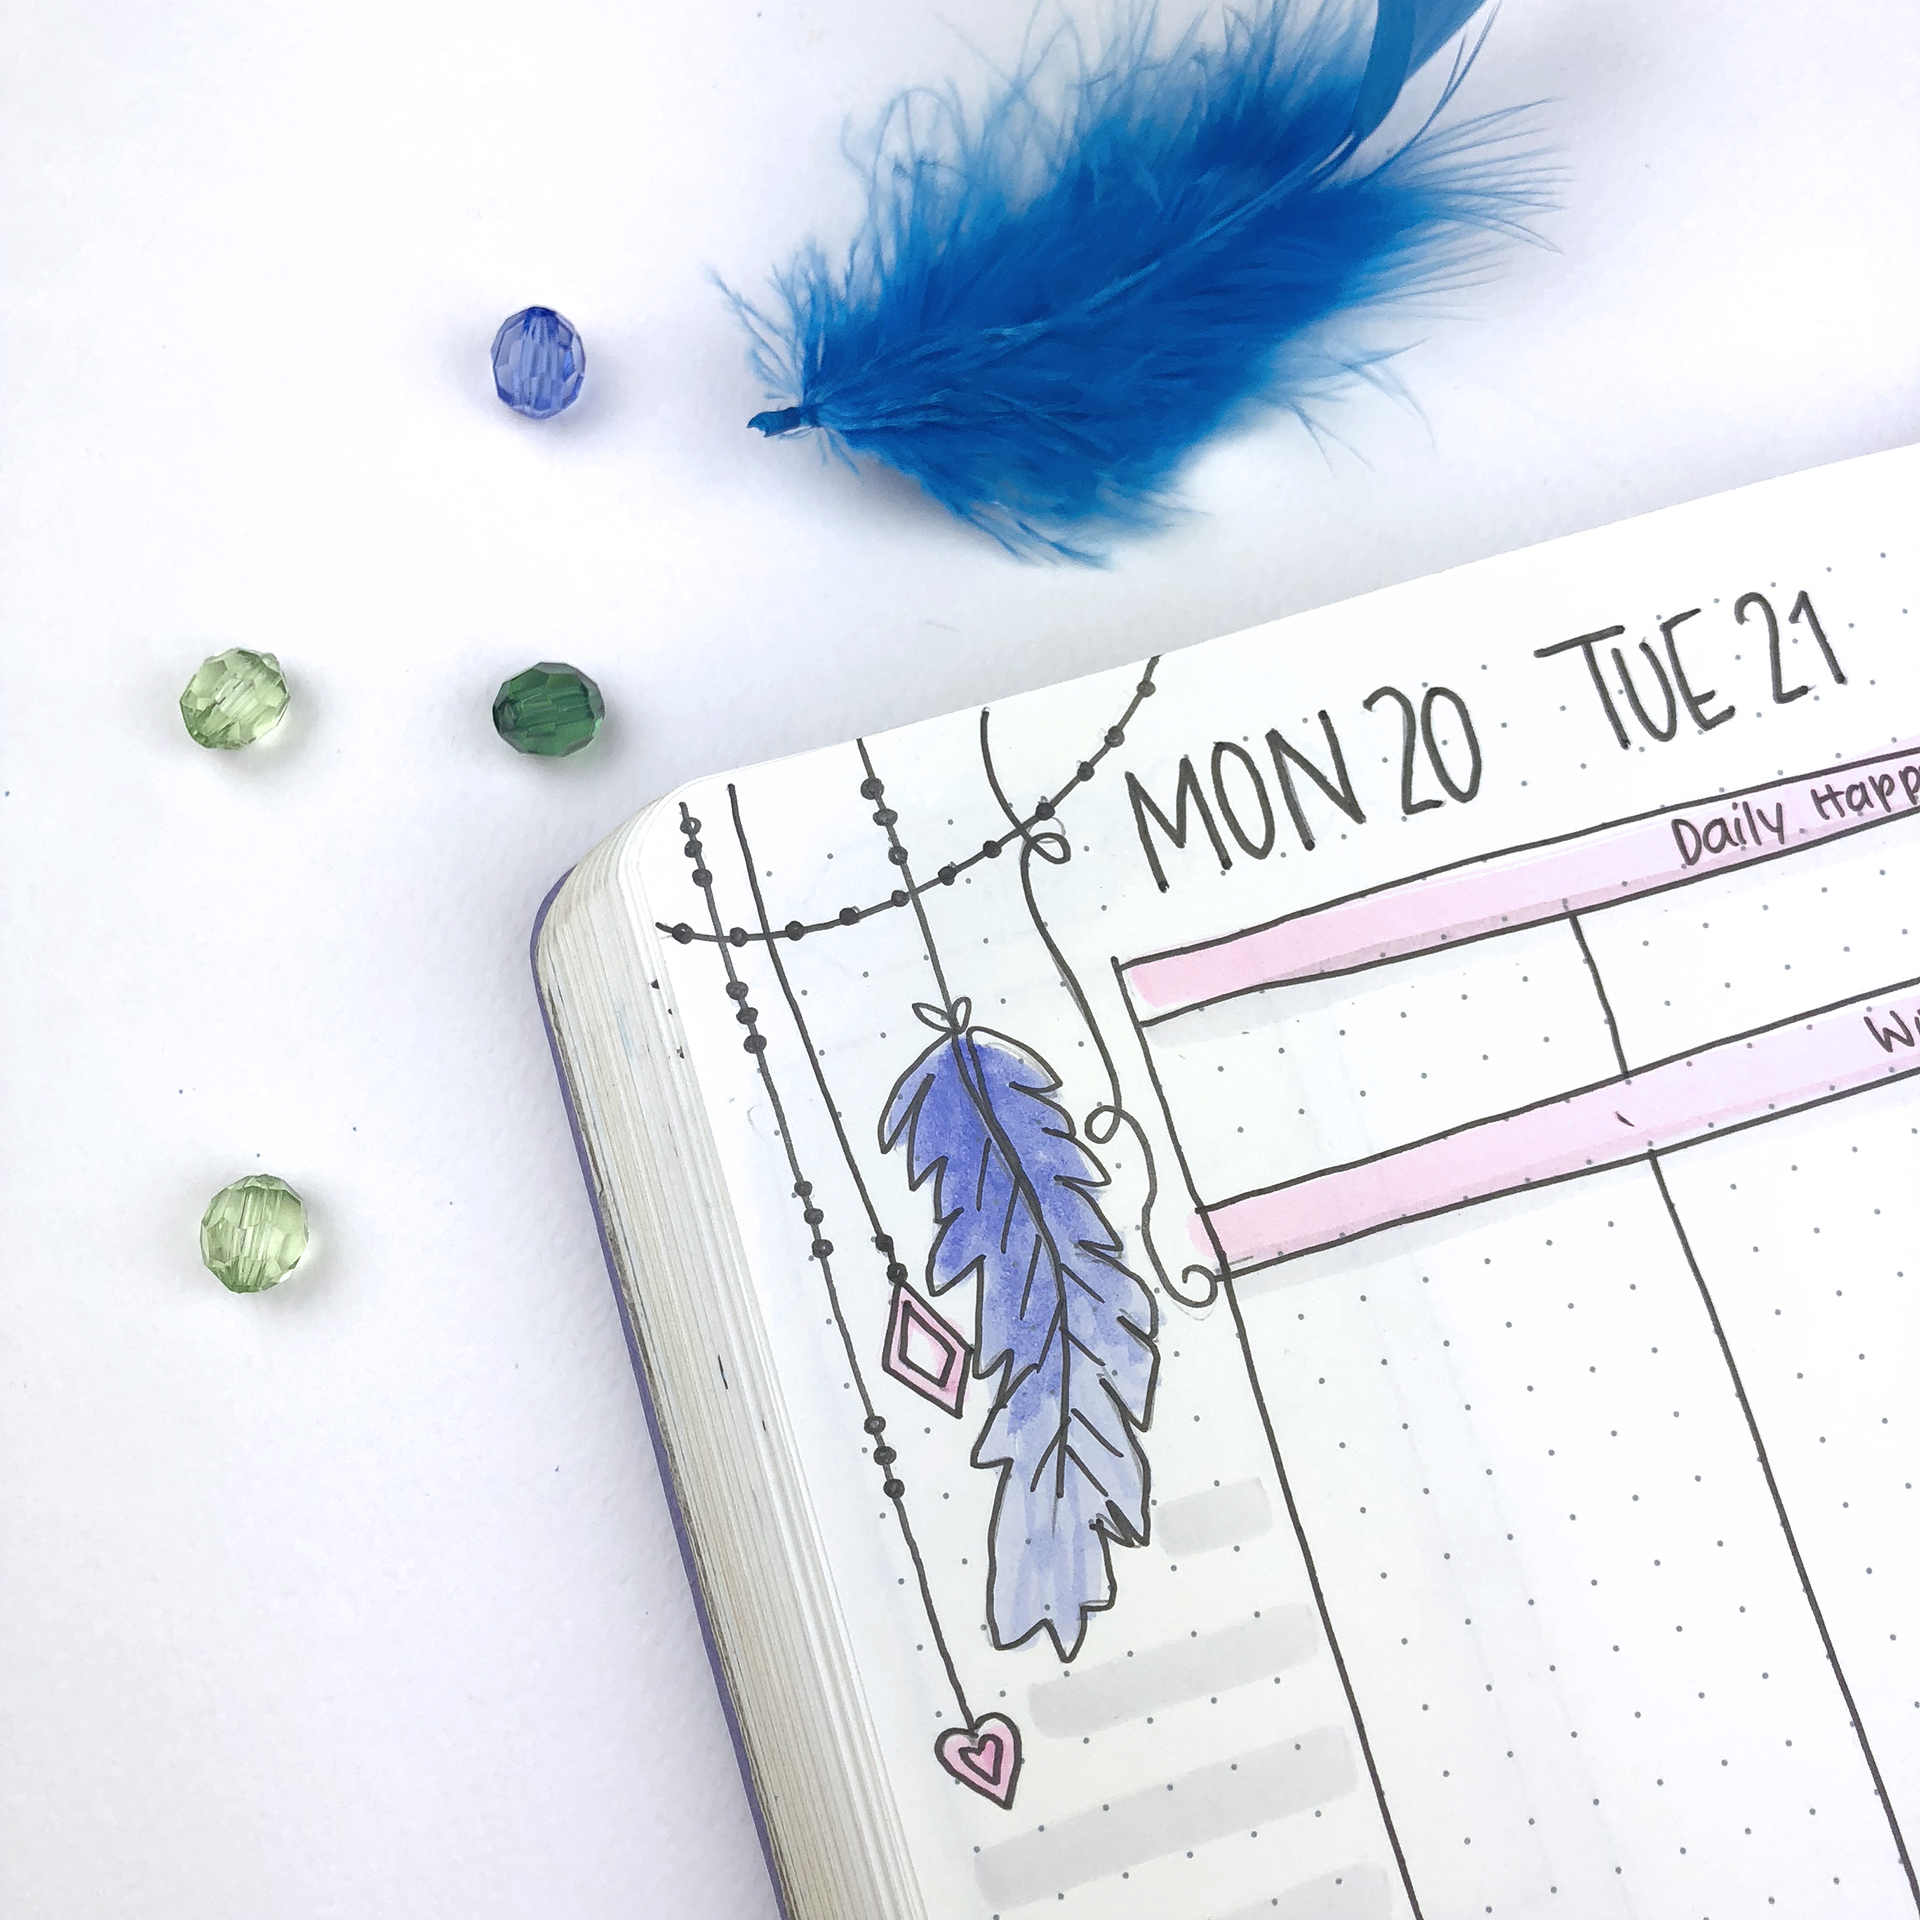
I tend to have 3-4 layouts for my weekly spreads which I rotate during the month. And of course I try to make them more interesting by decorating them according to that month’s theme. For August the theme is 'Boho Feathers'.
In today's post I'll show you the 3 layouts I’m using for my weekly spreads in my bullet journal for August, and how I've decorated them.
I tend to have 3-4 layouts for my weekly spreads which I rotate during the month. And of course I try to make them more interesting by decorating them according to that month’s theme. For August the theme is 'Boho Feathers'.
This is my first monthly spread of August. You can see exactly how I've set it up in this video.
The second spread is a classic one that I'm using every month. It gives me a lot of space to add all the things I want, plus I can use the space on the left page for doodling (like I did) or to add more sections if I need to.
I kept the colours very simple and pastel, as always. I think it's very important to decide which colour palette you're going to use for your theme from the beginning. It makes things easier, and more consistent.
You can find all the supplies I used at the end of this post.
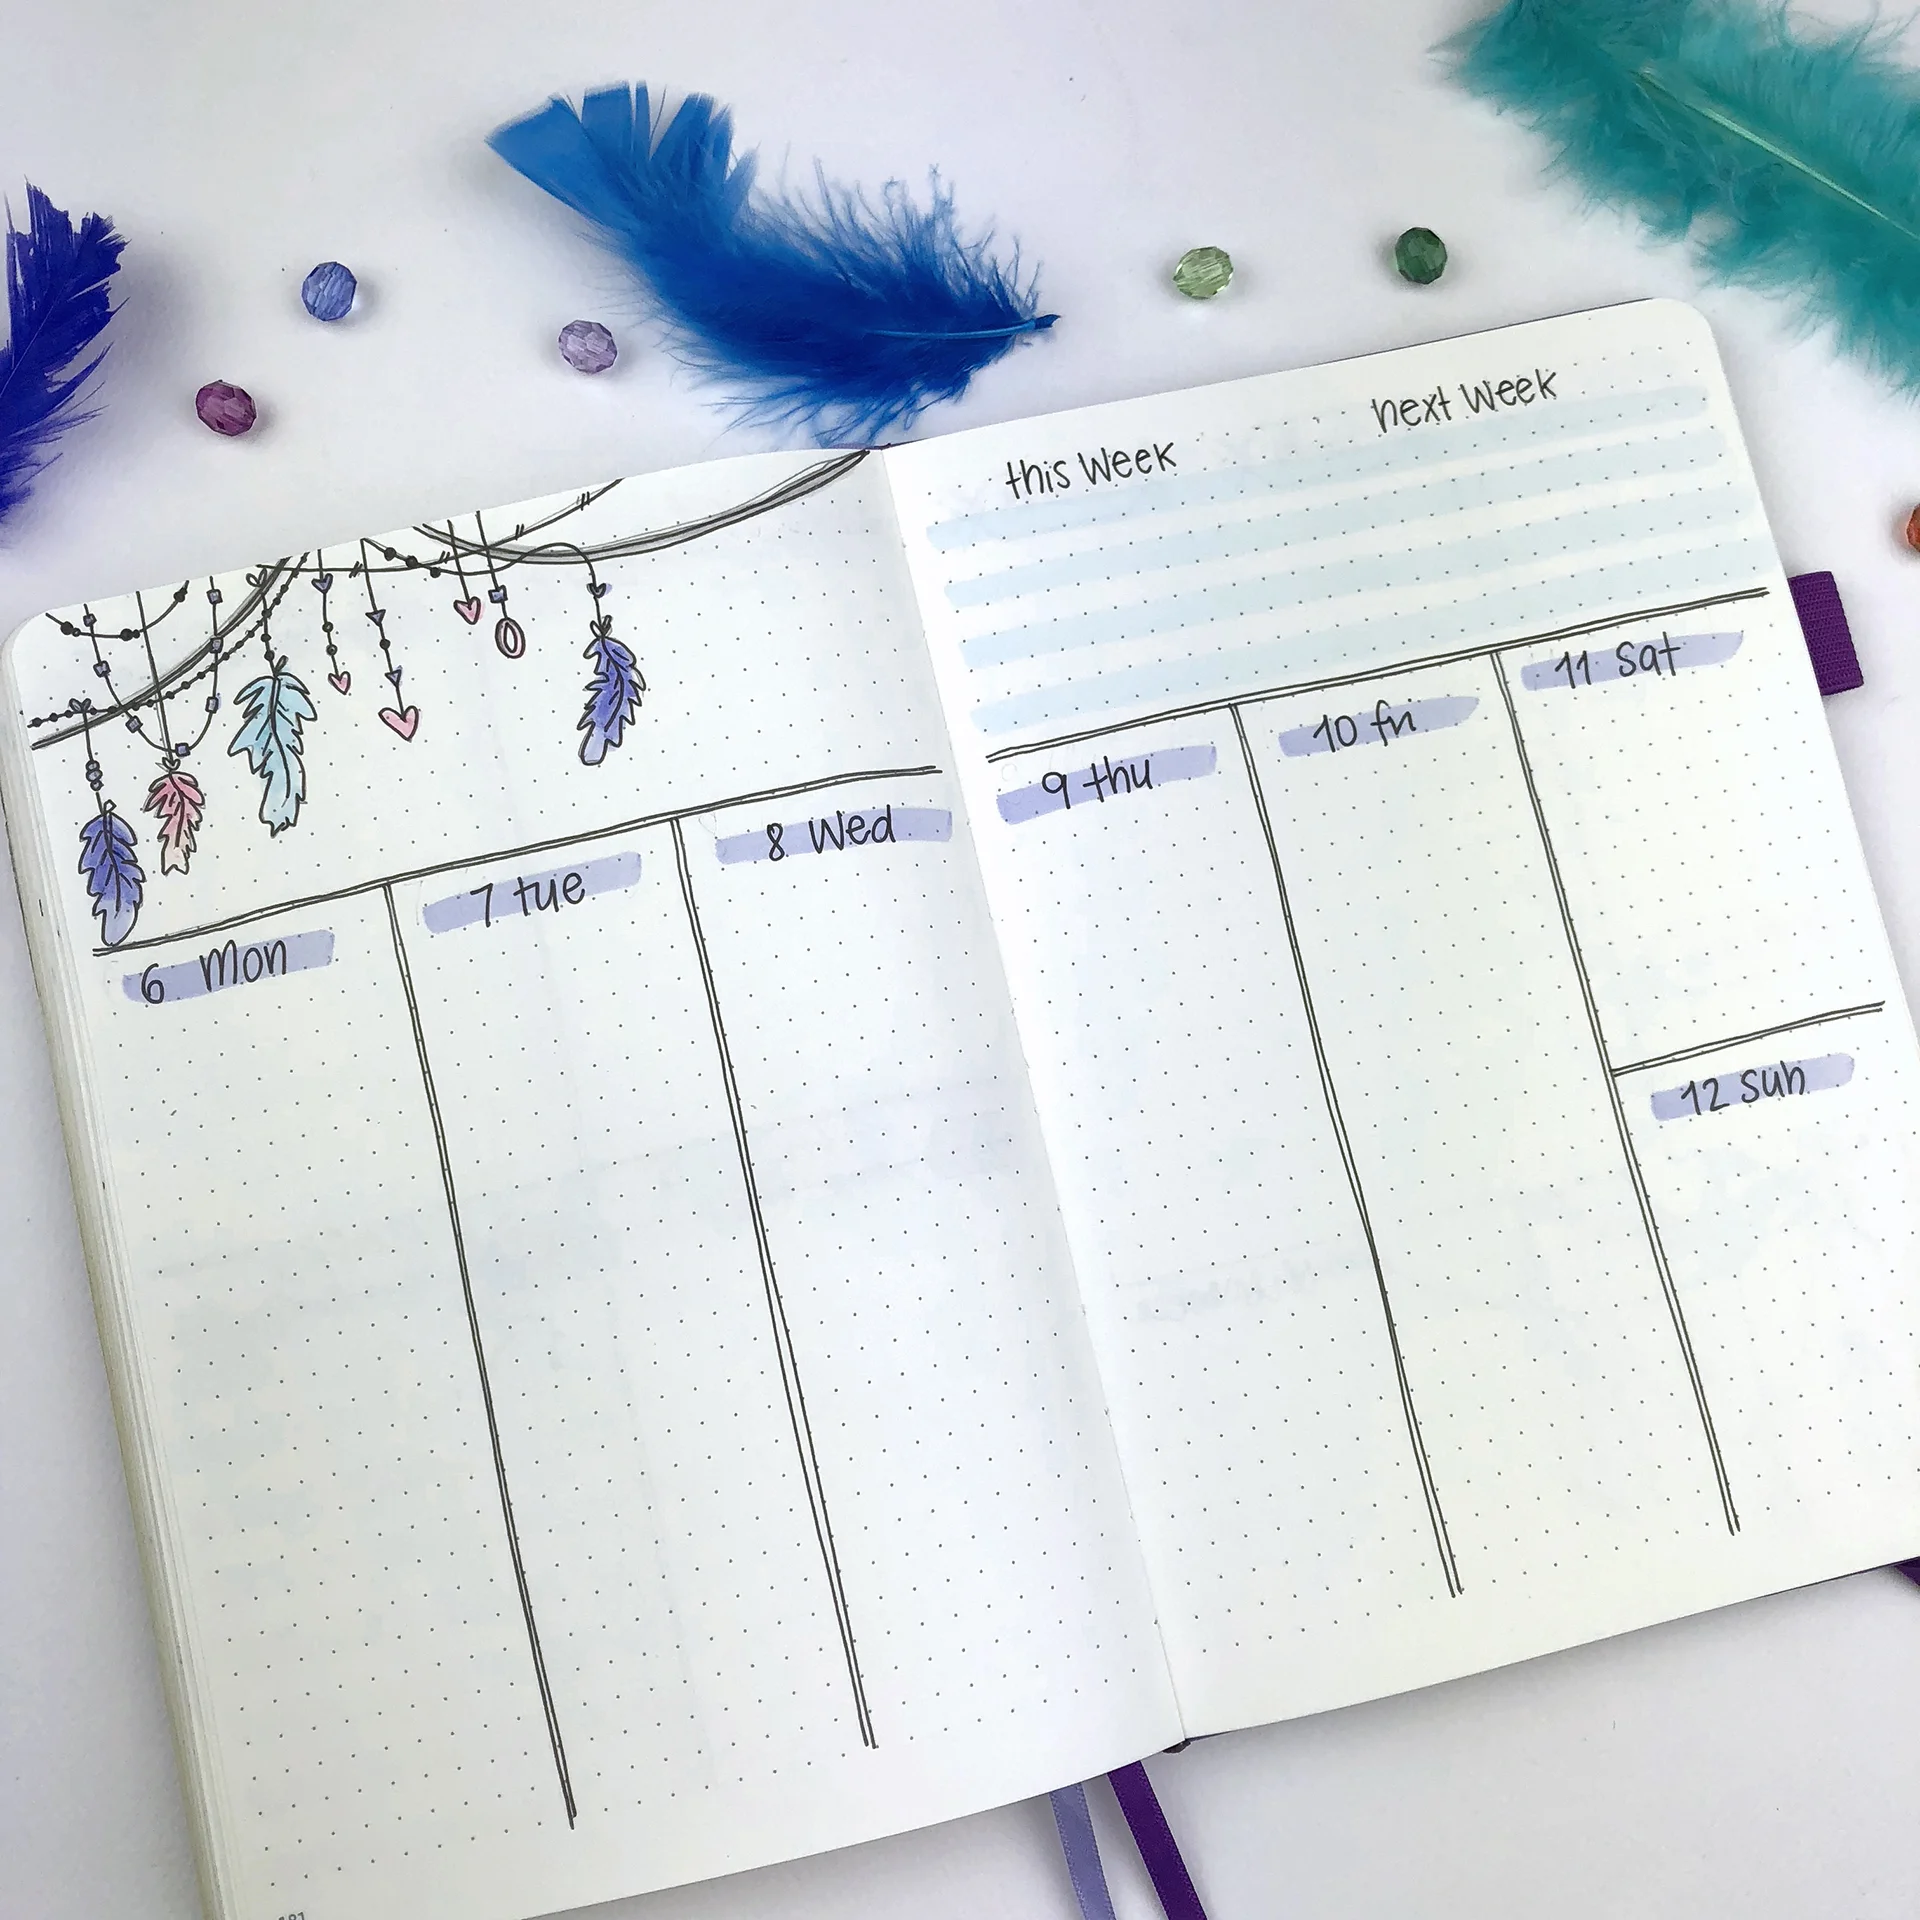
The third weekly spread is again a vertical layout. I always like to add accent lines in my spreads. I think it adds colour without too much effort and makes things more coherent. I usually choose pastel colours that won't interfere with my writing. And this week I also changed a bit my title banners for them to fit with the theme.
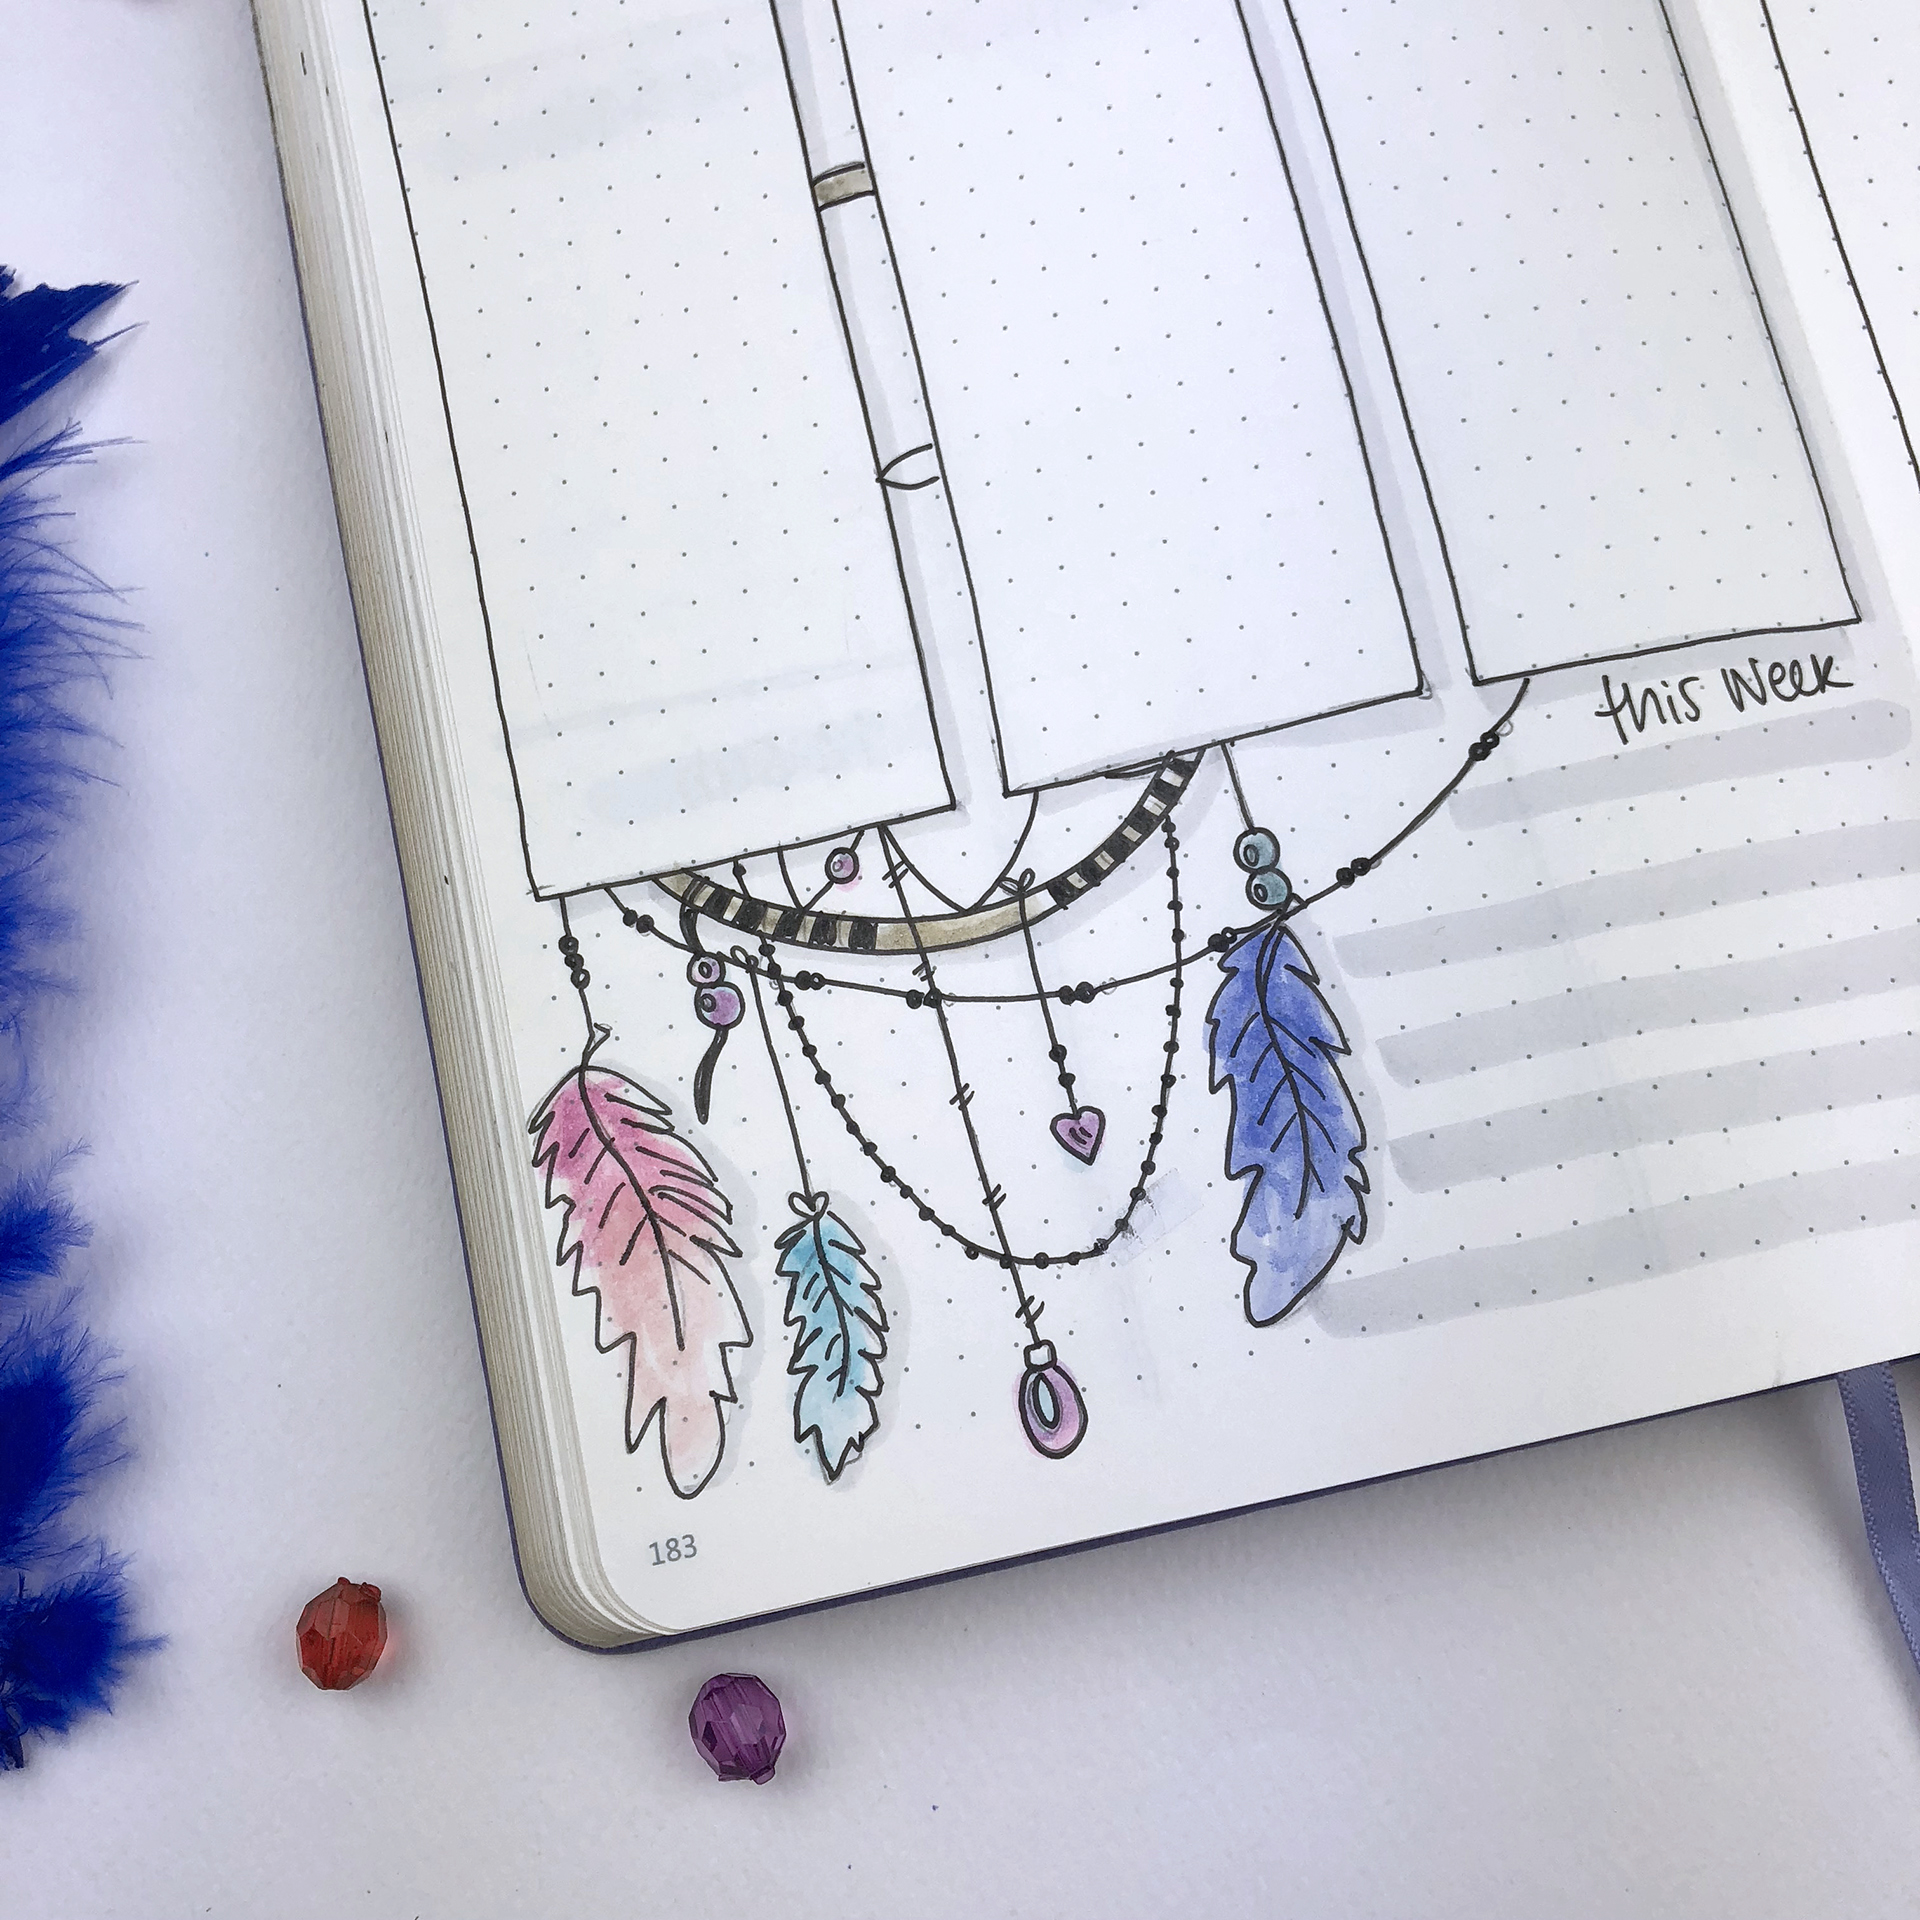
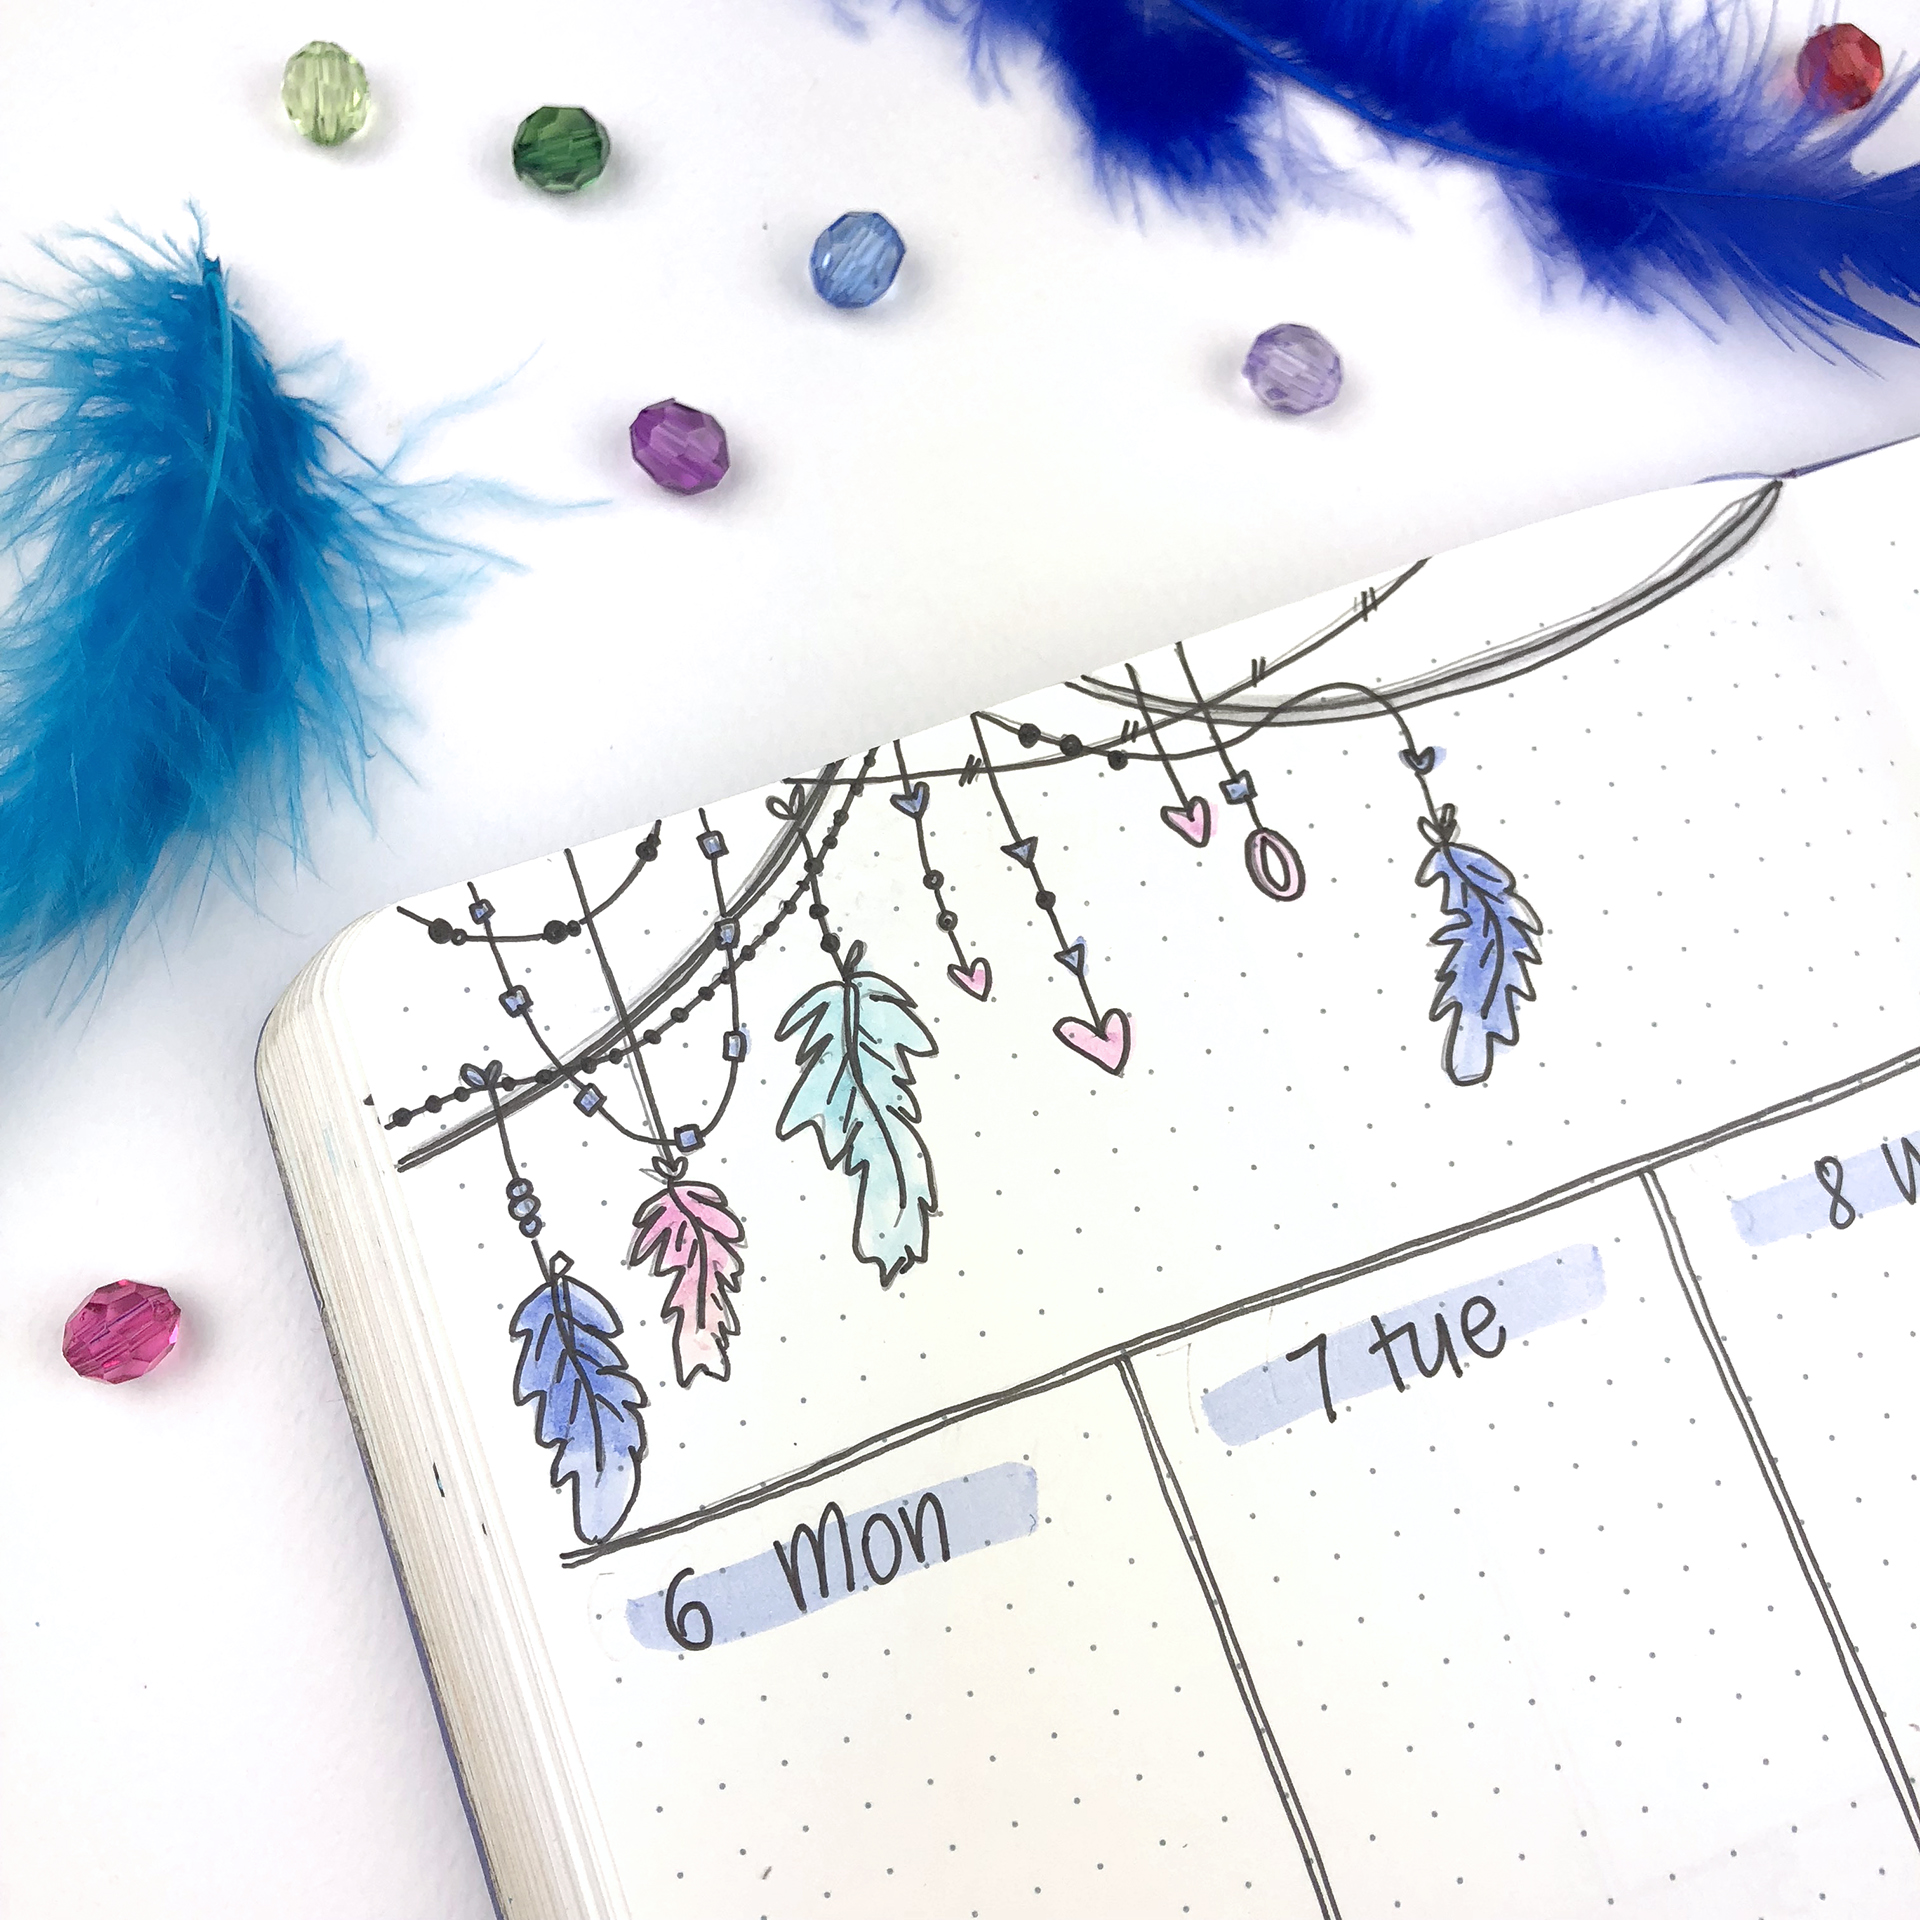
Adding various elements of your theme to your spreads, makes things more interesting and less monotonous. So, when you choose a theme, think of all the elements and doodles you can create - like an inspiration board. For this theme, I had to add various different beads and feathers throughout my spreads.

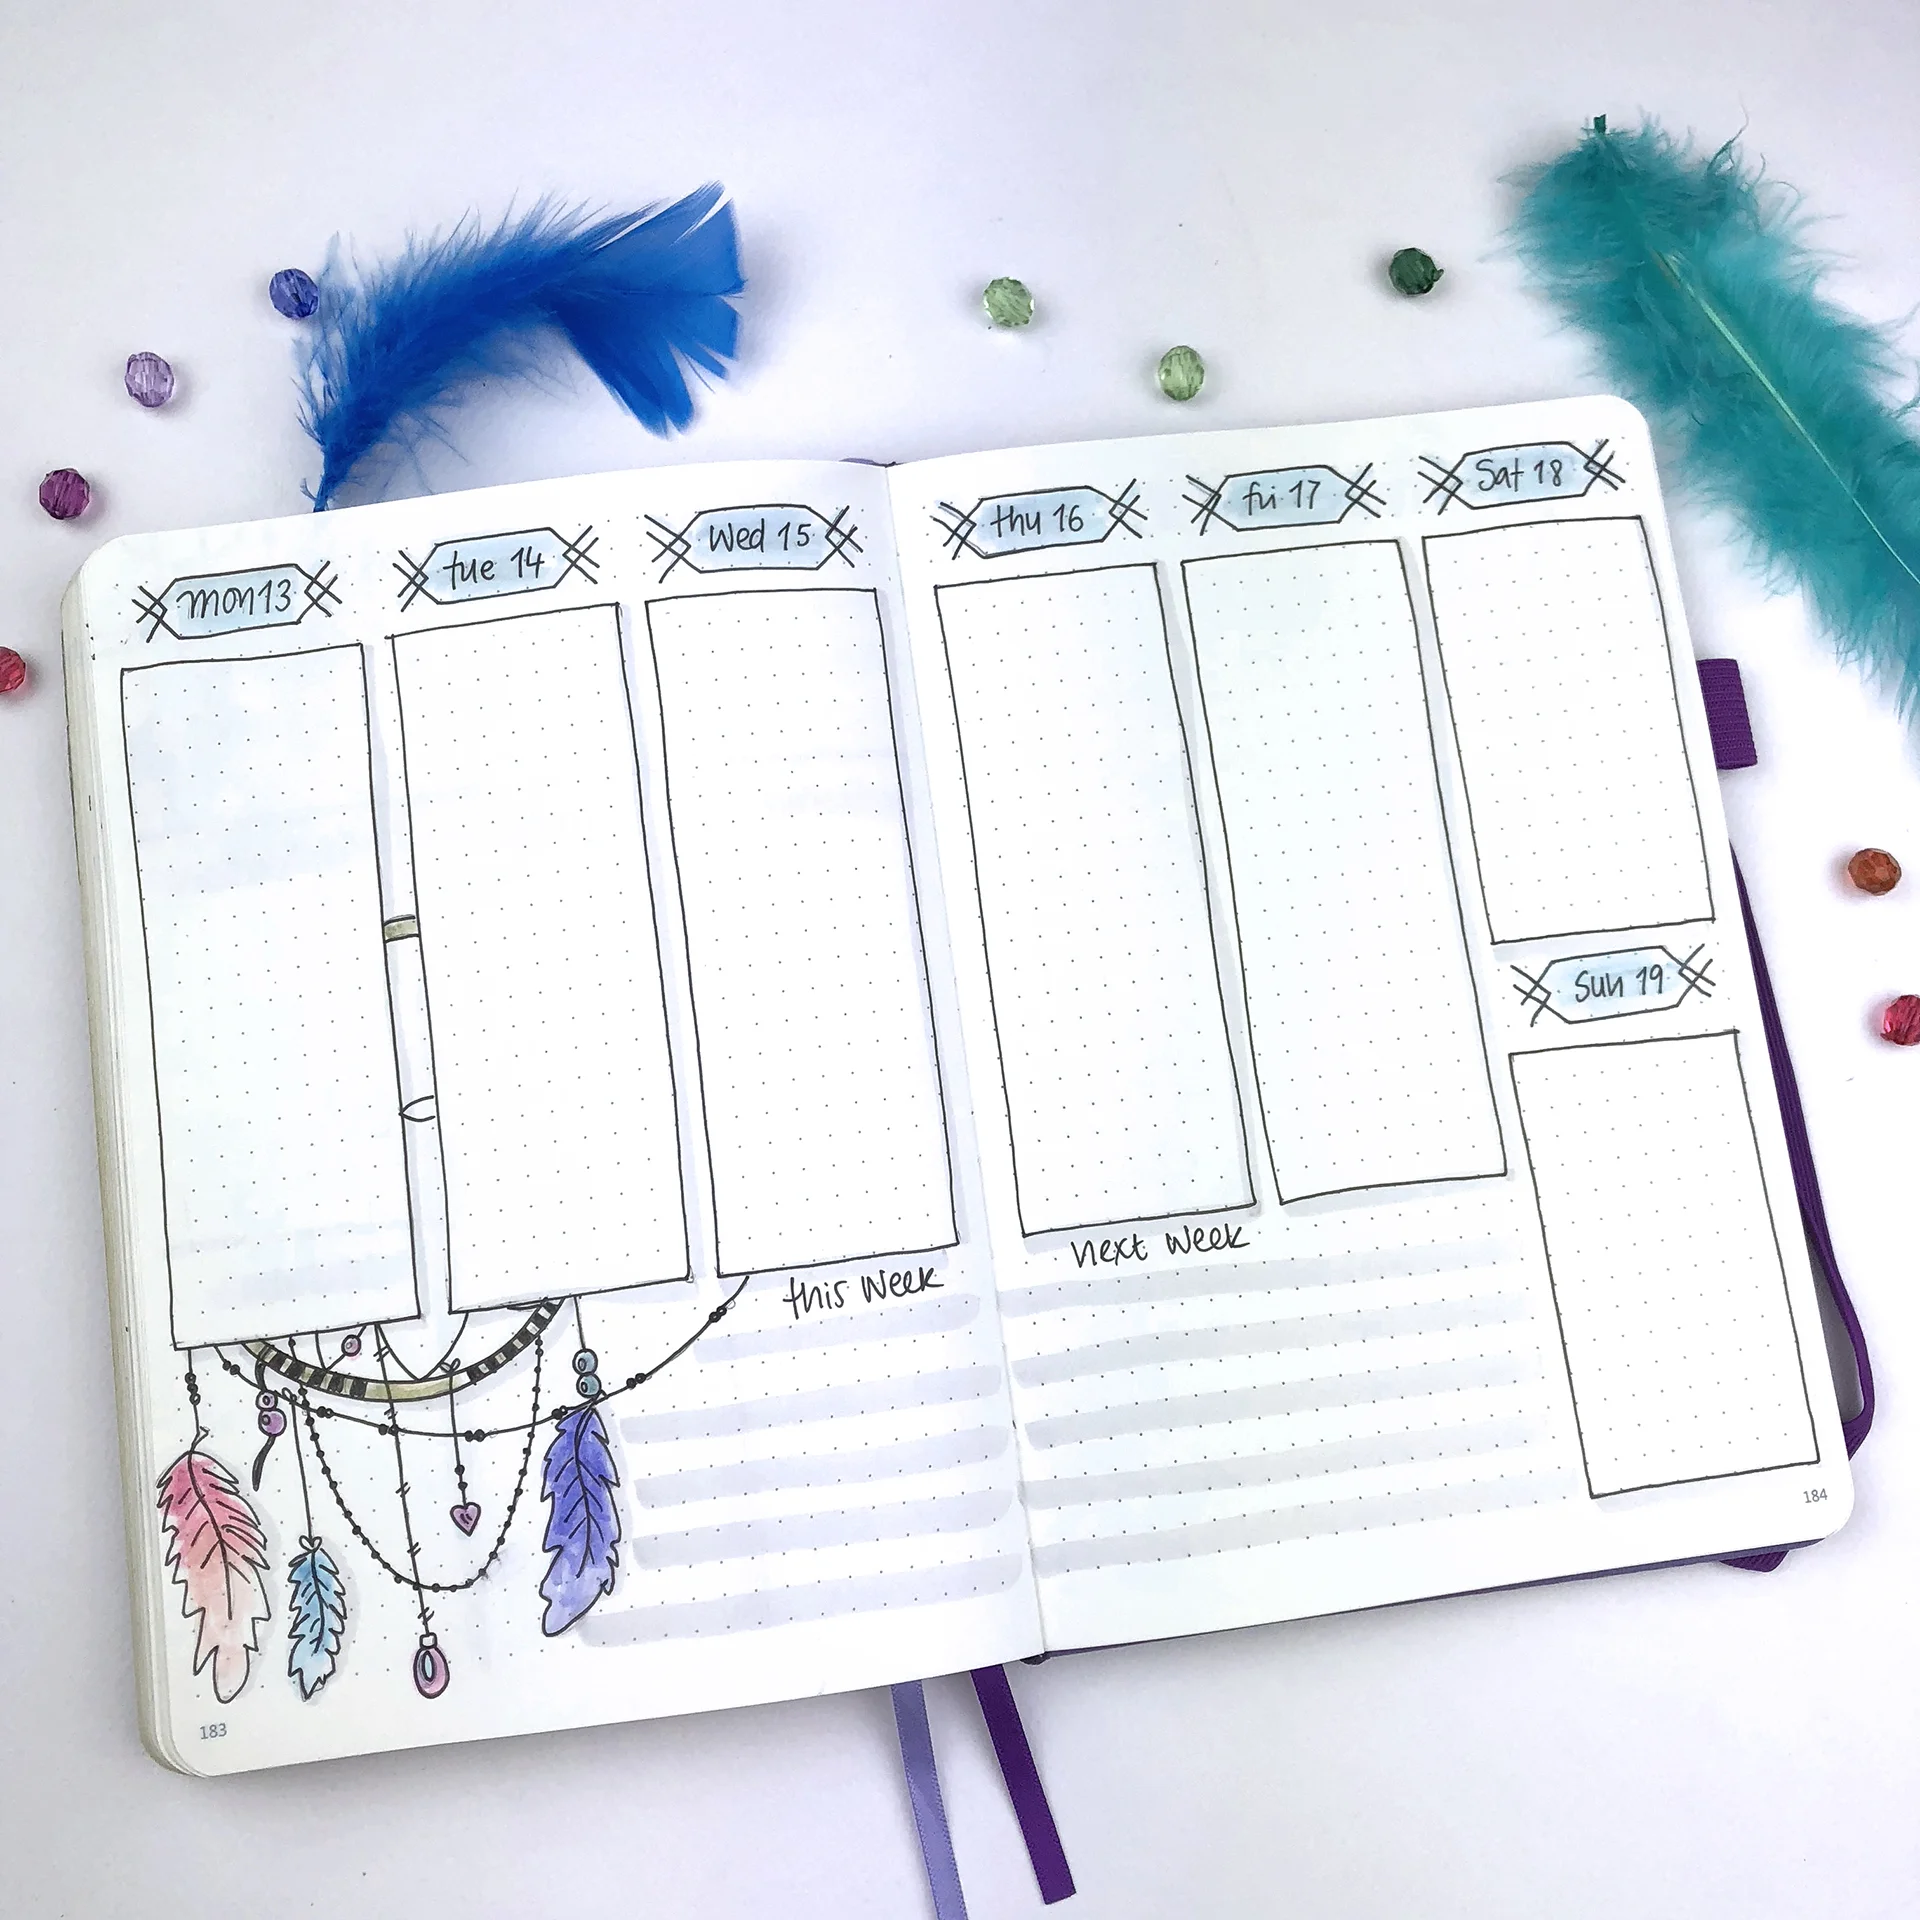
For the last weekly of the month, I decided to go with one of my favourite weekly layouts. I love that it separates your to-do list in categories, and you have the option to change the categories and also add more, if you wish.
SUPPLIES USED:
- Scribbles That Matter notebook
- Faber-Castell PITT Artist Pen in S, M
- Tombow Dual Brush Markers (673, 491, 990, 533, 553, N89, N95, 451, and 800)
- Sakura Pigma Micron 0.2, 0.3, 0.4
- Sakura Gelly Roll Pens 738, 721
So, these are the 3 weekly layouts for August. I hope you liked this post and that you found some inspiration for your own weekly layouts. If you liked the theme and you'd like to recreate it, please send me some pictures. I'd love to see your pages!! You can always contact me at christina77star@gmail.com